
As I get older, the inevitability of of a decline in “athletic” performance looms large. Many eventually resort to the electric bike and I often cycle with folks using one. I thought that maybe one way of putting this off was to opt for improved, i.e. lower, gearing to get me up the hills, whilst still using a standard road bike. Following on from my happiness with the single chainring 11 speed touring bike I made previously I thought I could take this to another level by using the latest 12 speed SRAM kit mated with their compatible mountain bike cassettes and derailleurs to achieve mega low gearing. They are even now available as wireless components.
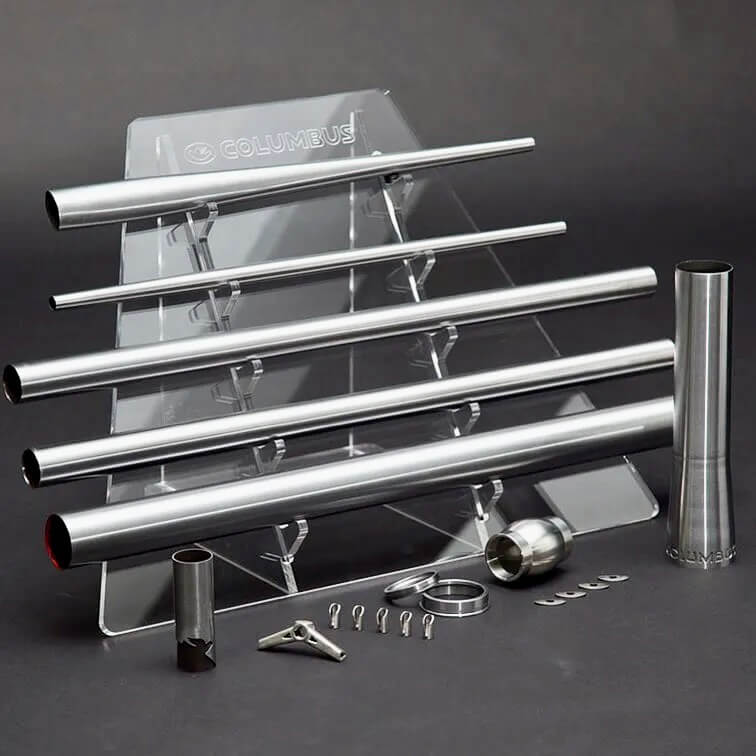
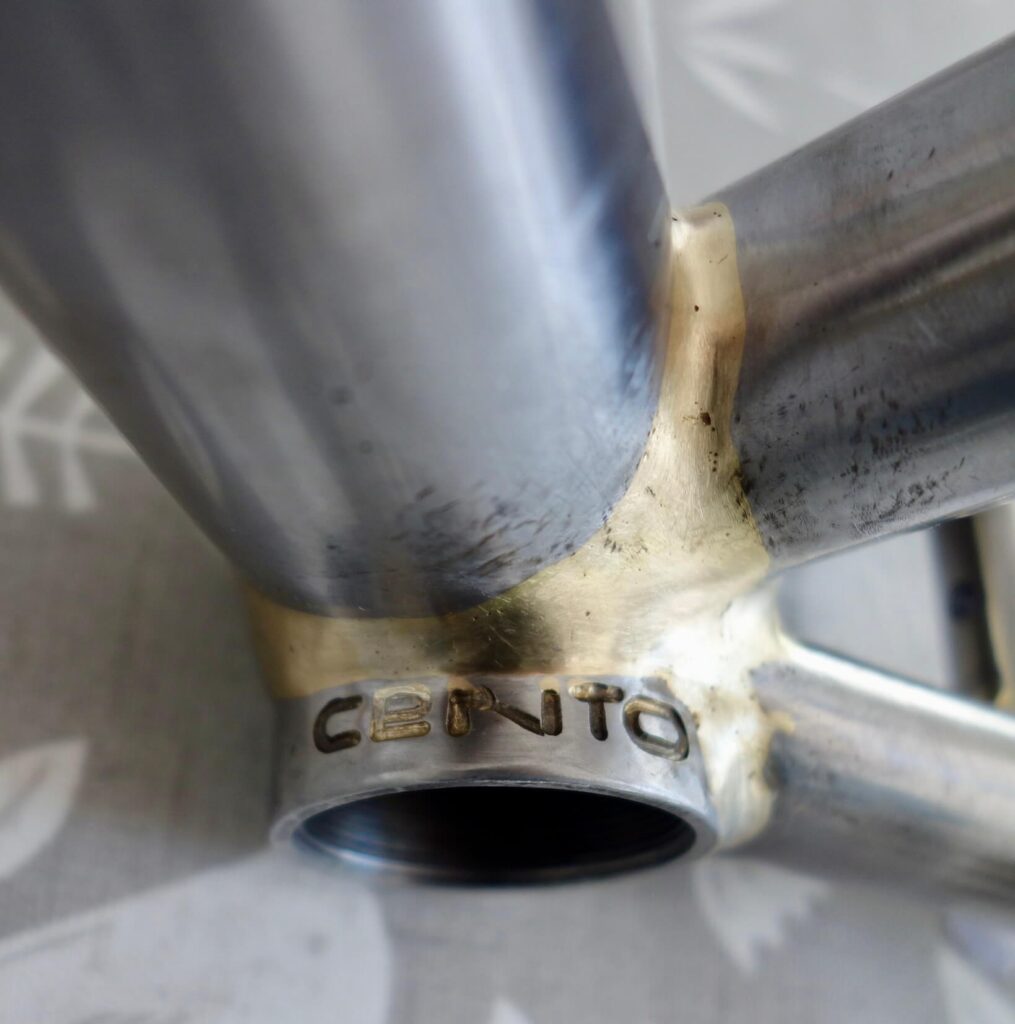
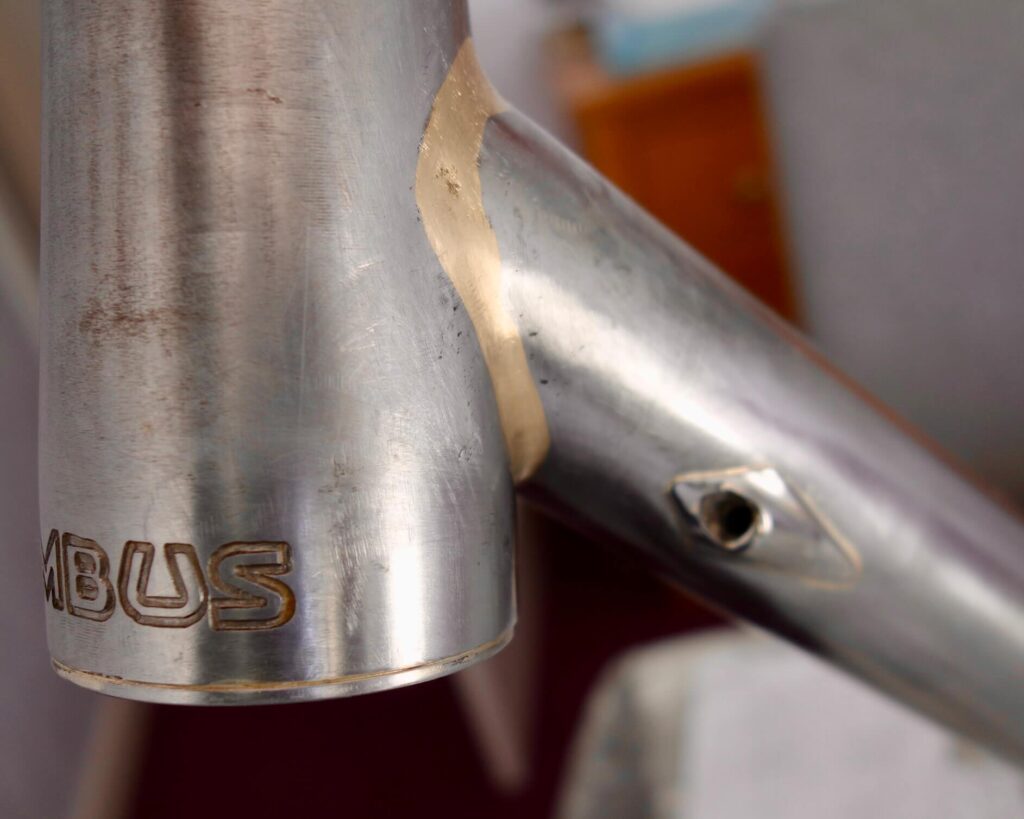
To explore other new territories I intend to use hydraulic discs (something I have hitherto shunned). I managed to get a Columbus Cento Tubeset for the build, as Ceeway still had some in stock, even though this centenary edition set was made as a limited edition in 2019.
After making a start on the frame I went in search of the componentry. Unsurprisingly a lot of it is not only unavailable, but may not be available for some time; so it may be a while before this frame becomes a complete bike.
Columbus Cento
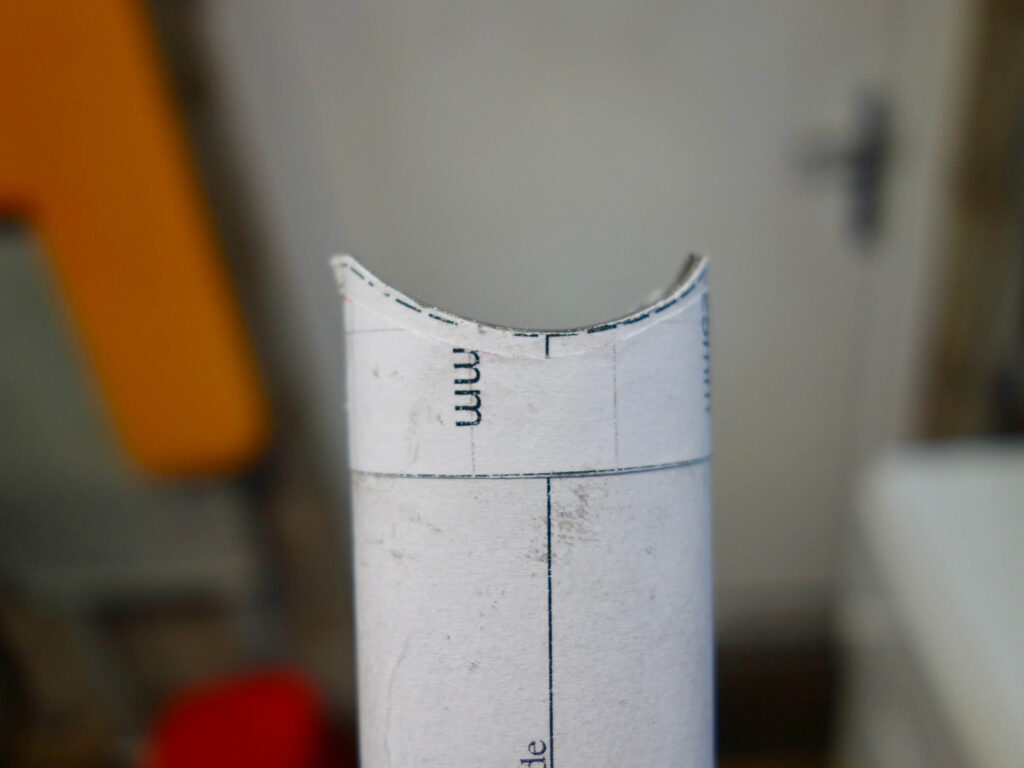
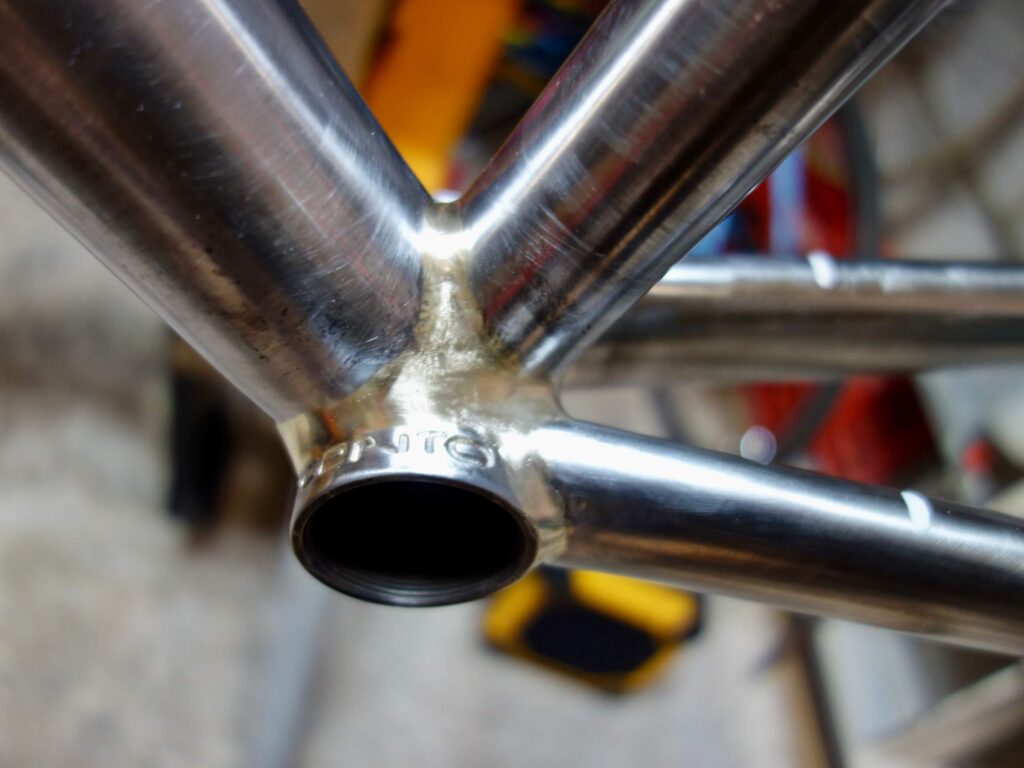
The Cento tube-sets come in three sizes, though this only applies to the down, seat and top tubes. Though I would have liked a large, Ceeway only had medium. I managed to get a Bikecad design that was acceptable, but I needed to use the entire length of the down tube. The other difficulty with the Cento design is the odd shaped bottom bracket, which is a standard British 40 mm at the ends, with a bulbous 50 mm centre. The Columbus publicity material helpfully suggests the framebuilder will know how to mitre this perfectly. I was unable to find any tube mitre program that will produce a paper template specifically to overcome this, including Bikecad, which only allows cylindrical bottom brackets. I assume a fully fledged engineering CAD program may help, which is no use to me. As I could only have one go at getting the mitre right on the down tube, I obtained some aluminium tube the same size (44 mm od) so I could create a template by hand then transfer it to the tube. In the event, by considerable trial and error, I managed to find formulas using a stand alone tube mitre program (Pipe Saddle Layout Calculator – on iPhone). Other programs are likely to work just as well. Having established that the templates worked using the aluminium tube and scrap seat tube for the seat tube mitre, I was able to mitre with decent accuracy first time, though all by hand on this build.
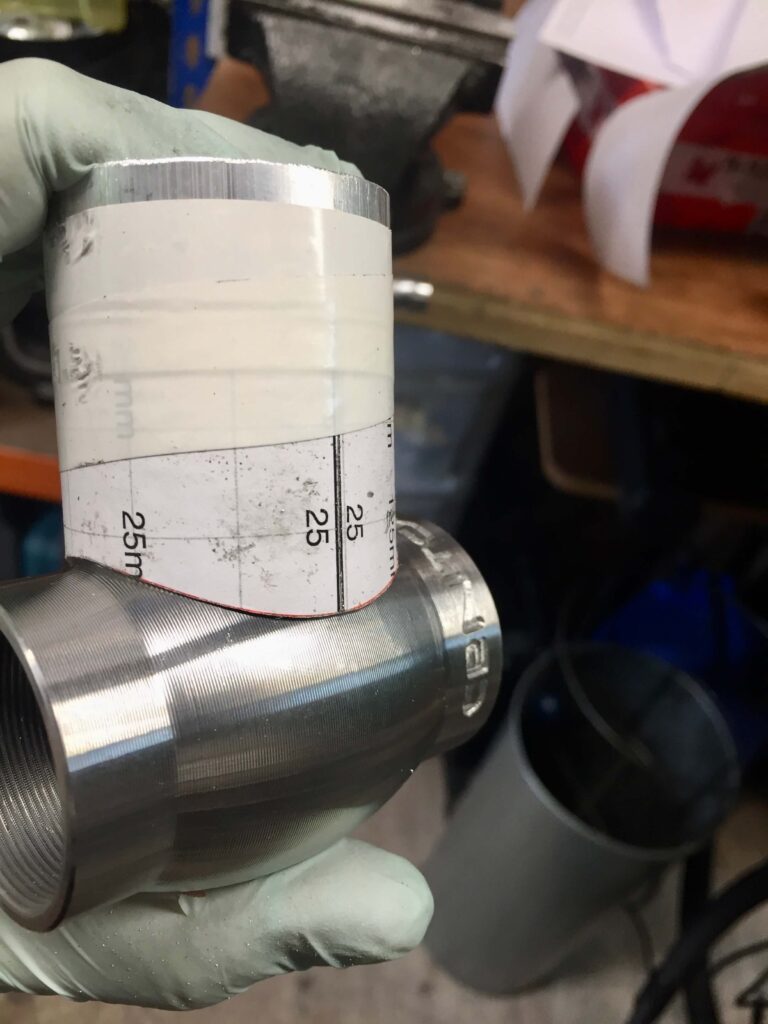
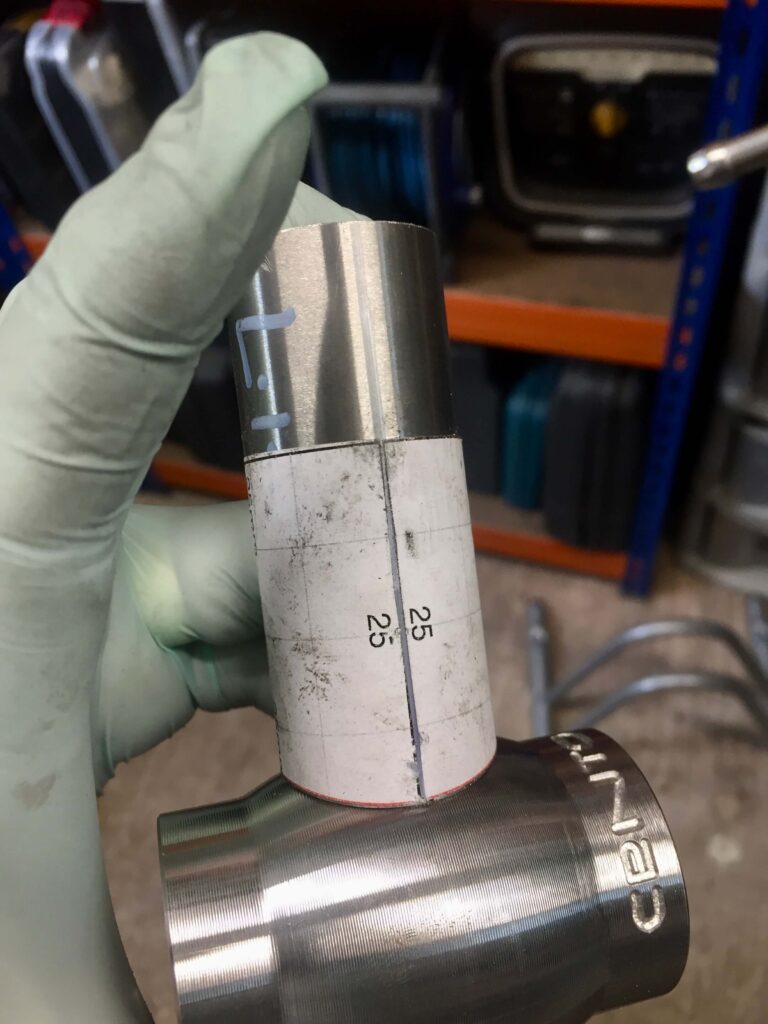
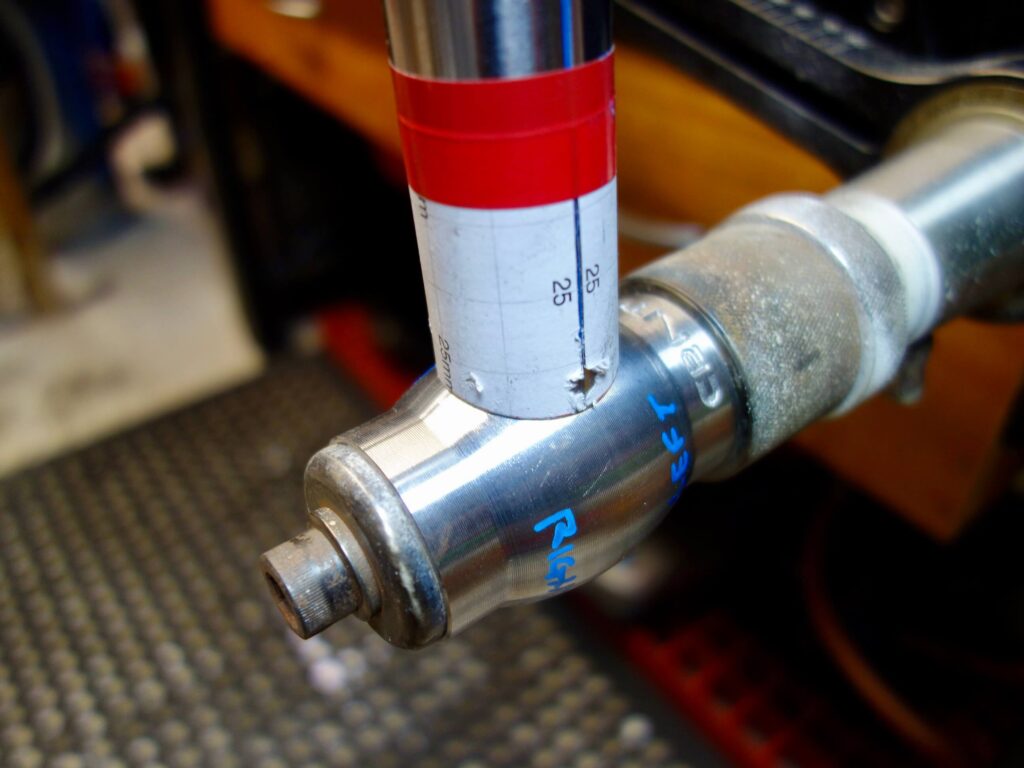
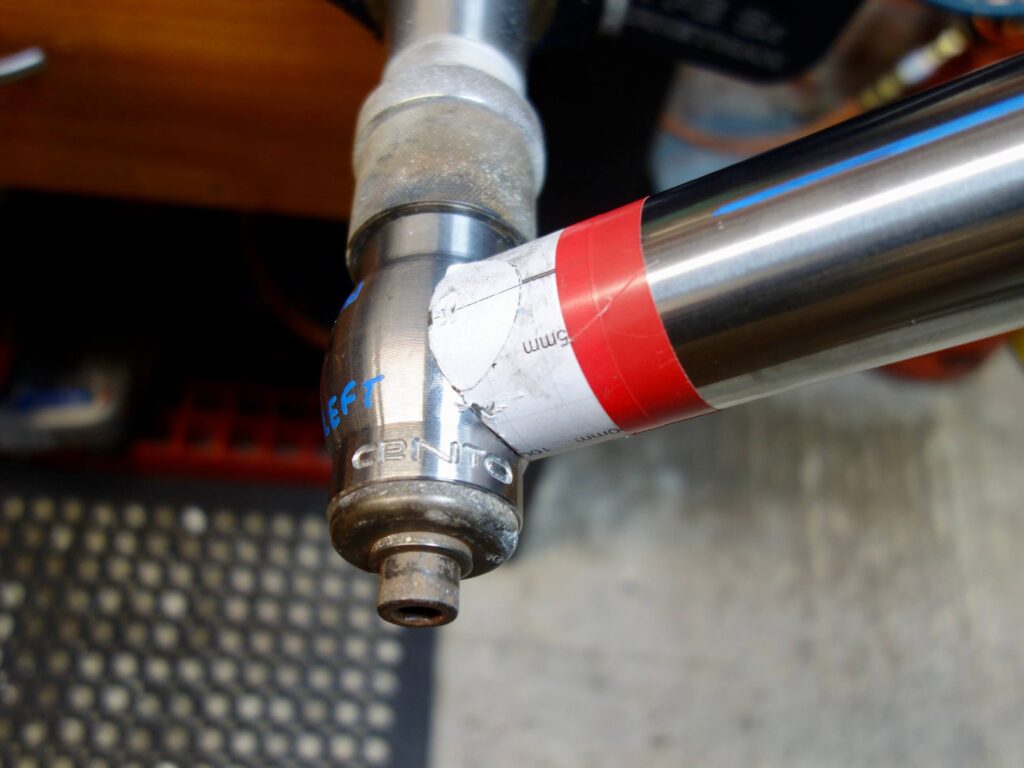
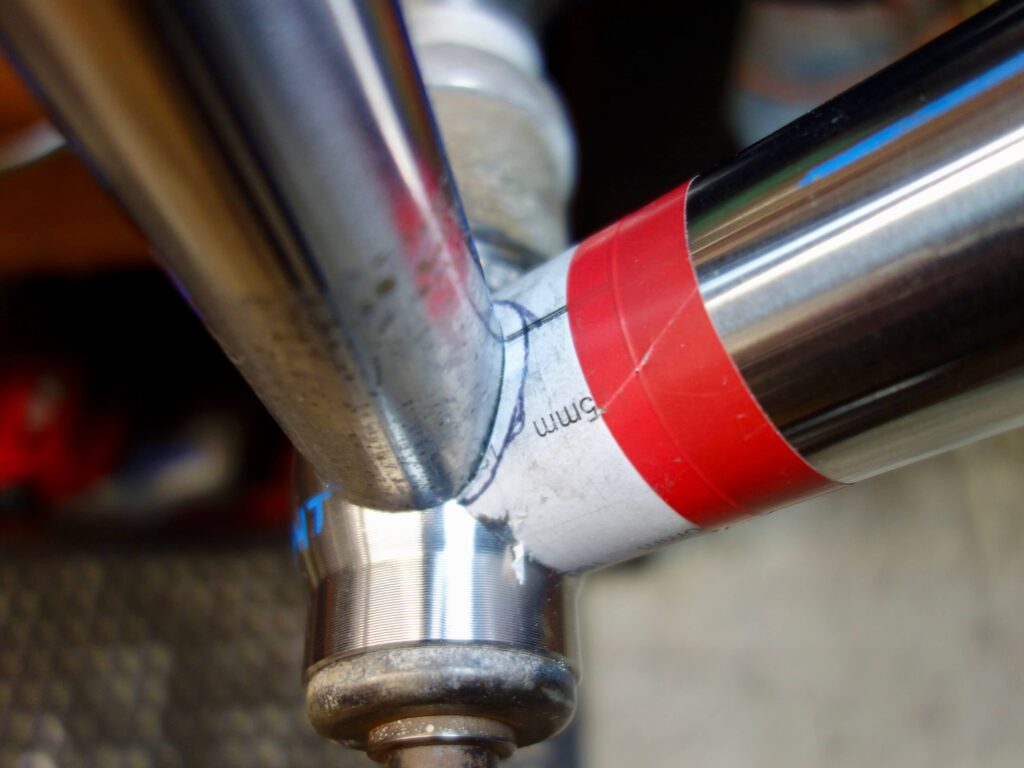
Cento bottom bracket mitre template specifications:
For anyone interested, these are the parameters I used for my paper templates:
Seat tube: branch (lower ST) diameter. 31.7 mm, Main (BB) diameter 94 mm, wall thickness was 0.8 mm, branch angle 90 degrees.
Down tube: branch (lower DT) diameter 44 mm, Main (BB) diameter 70 mm, wall thickness 0.6 mm, branch angle 90 degrees.
Chain stays: branch (front CS) diameter 28 mm, Main (BB) diameter 49 mm, wall thickness 0.7 mm, branch angle 80 degrees.
☀︎NOTE – the chain stay angle of 80 degrees is because my drawing indicated a chain stay angle of 10.3 degrees, but I find the nearest degree is fine.
This template only works for the inside of the chain stay. Having cut this, the outside has to be reduced to match the 40 mm diameter of the outer portion of the bottom bracket. I did this by overlying a 40 mm diameter template at the end, really just to make sure the cut was centred then filing towards it until the chain stay moved outwards towards the 10 degrees.
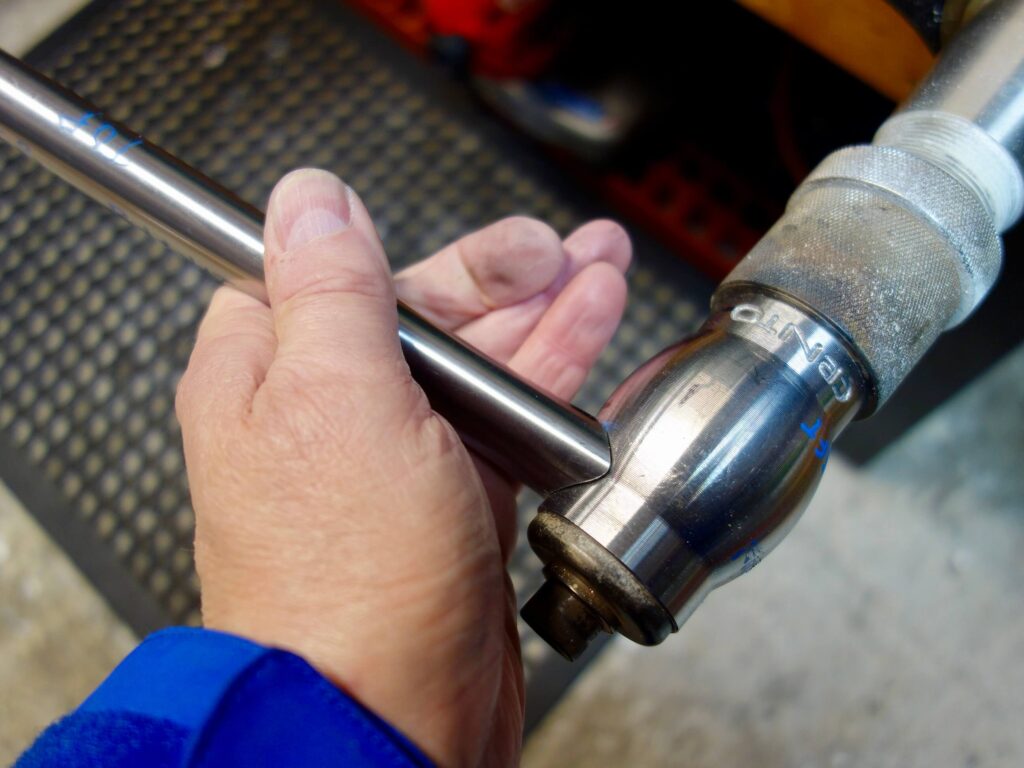
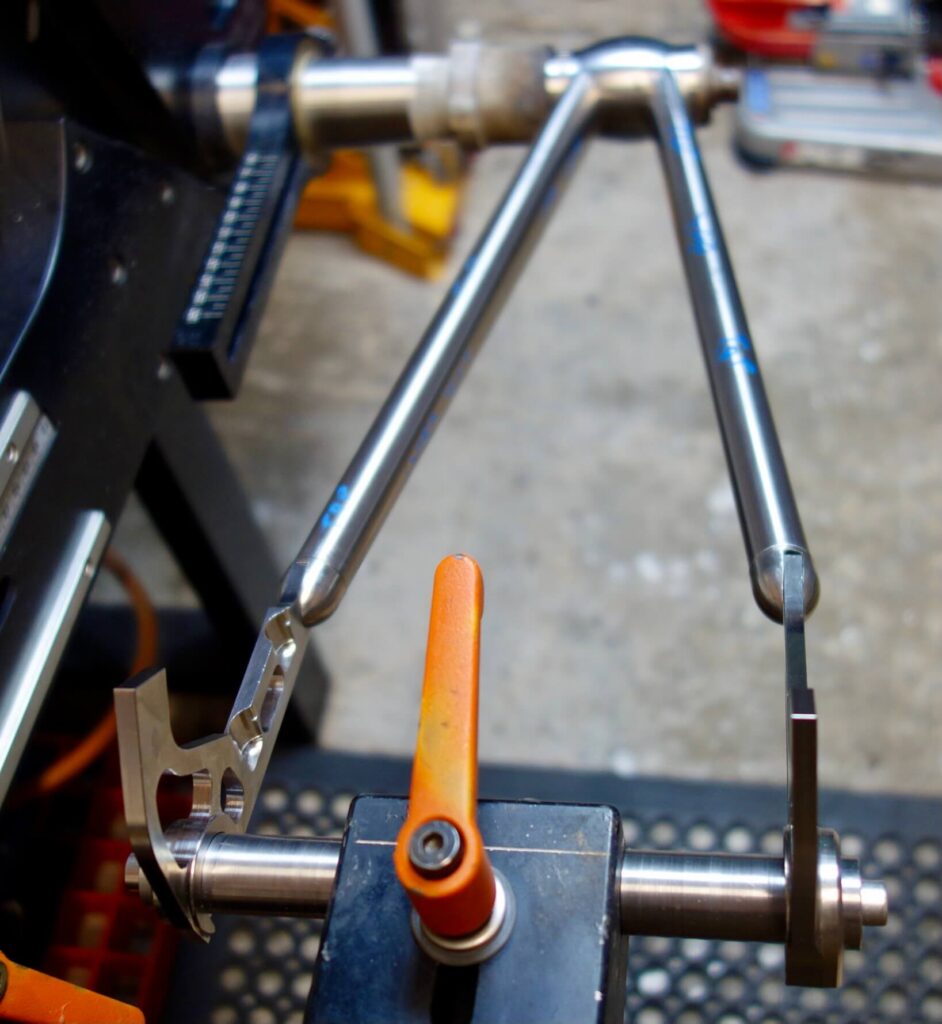
In fact I gradually opened the angle up so the chain stay lined up with the centre of the dropouts I had chosen. (see below). There should be plenty of length available in the chain stays to attack this until it is correct.

Having successfully mitred one chain stay, I used the transfer tracing paper technique to transfer the mitre to the opposite side.
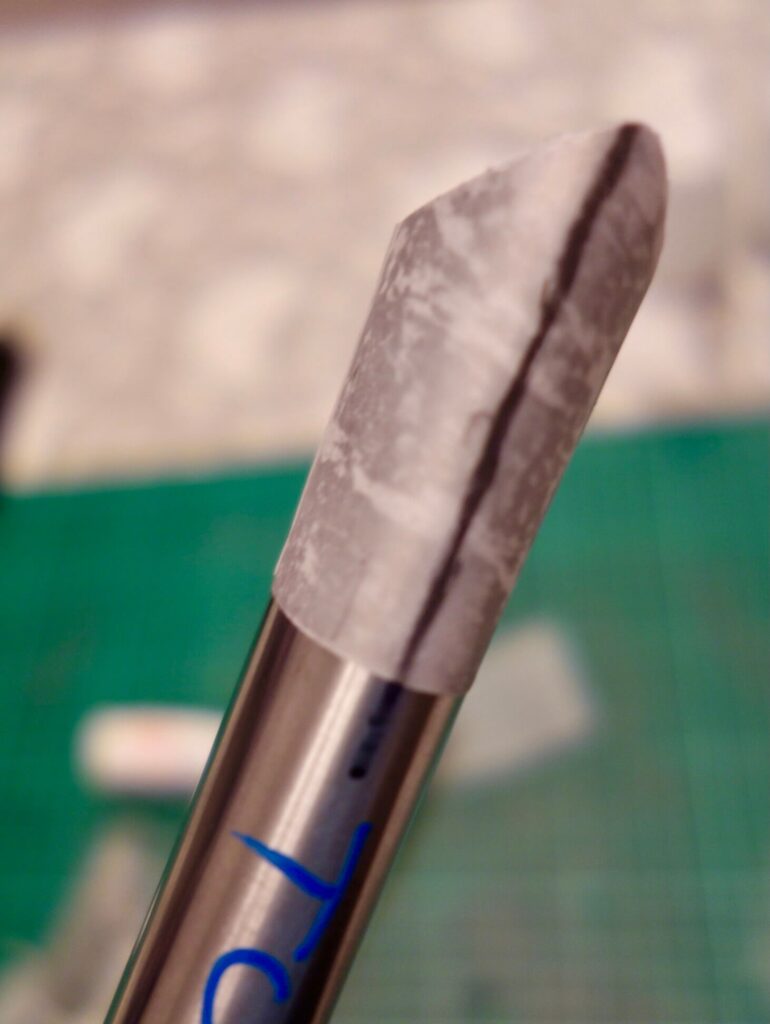
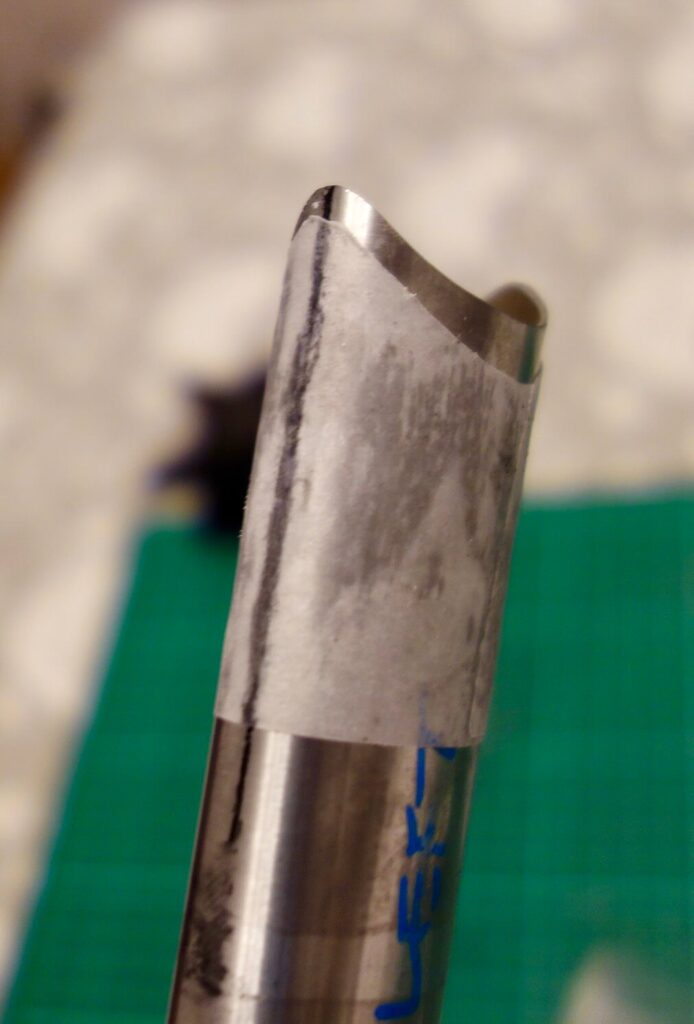
The rest of the build
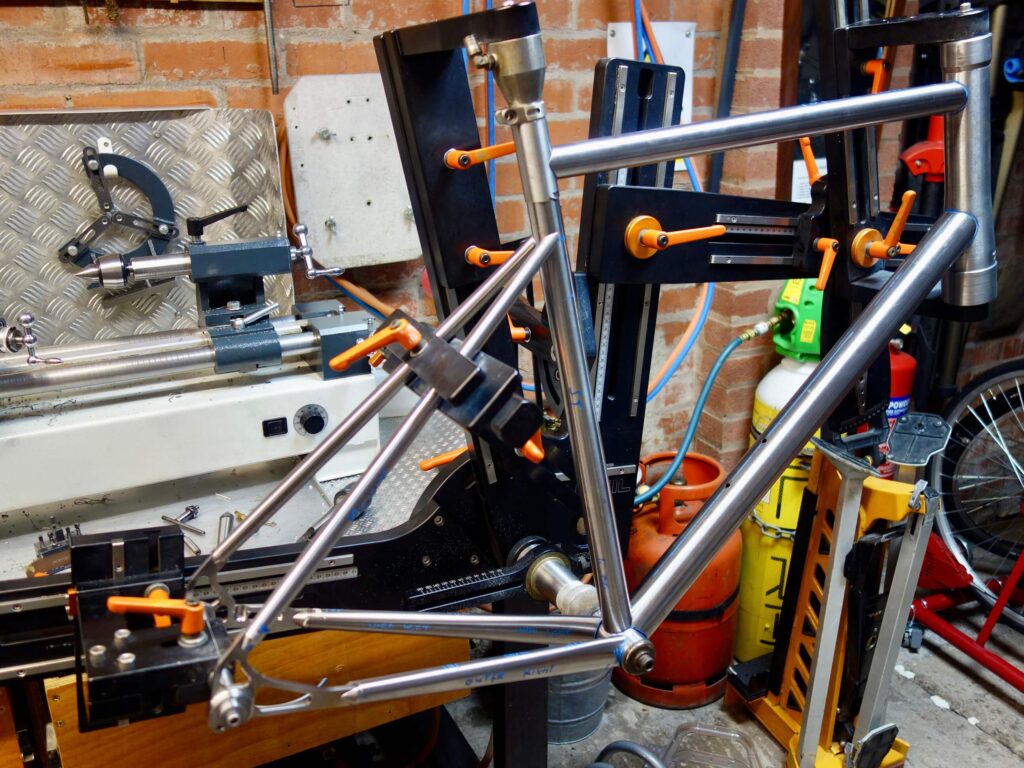
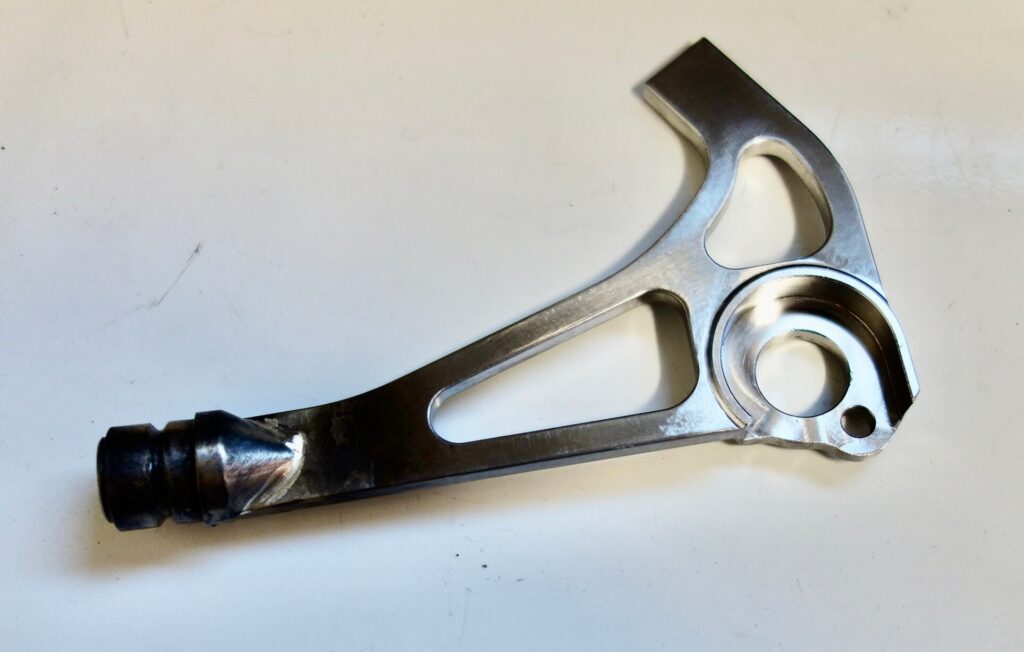
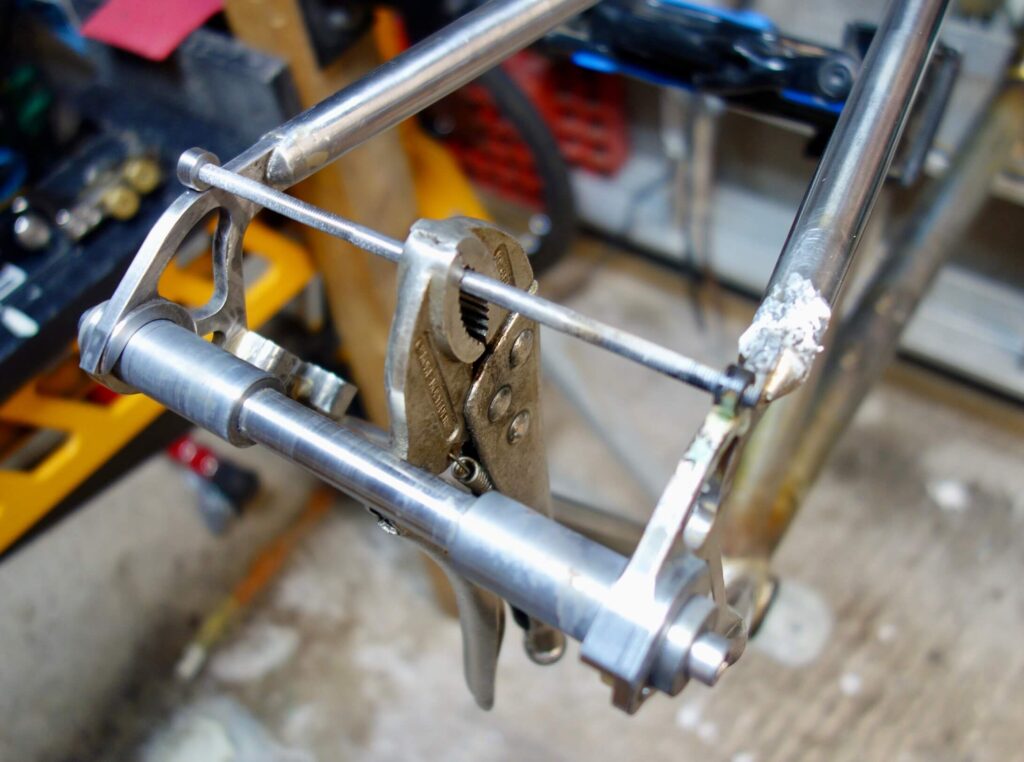
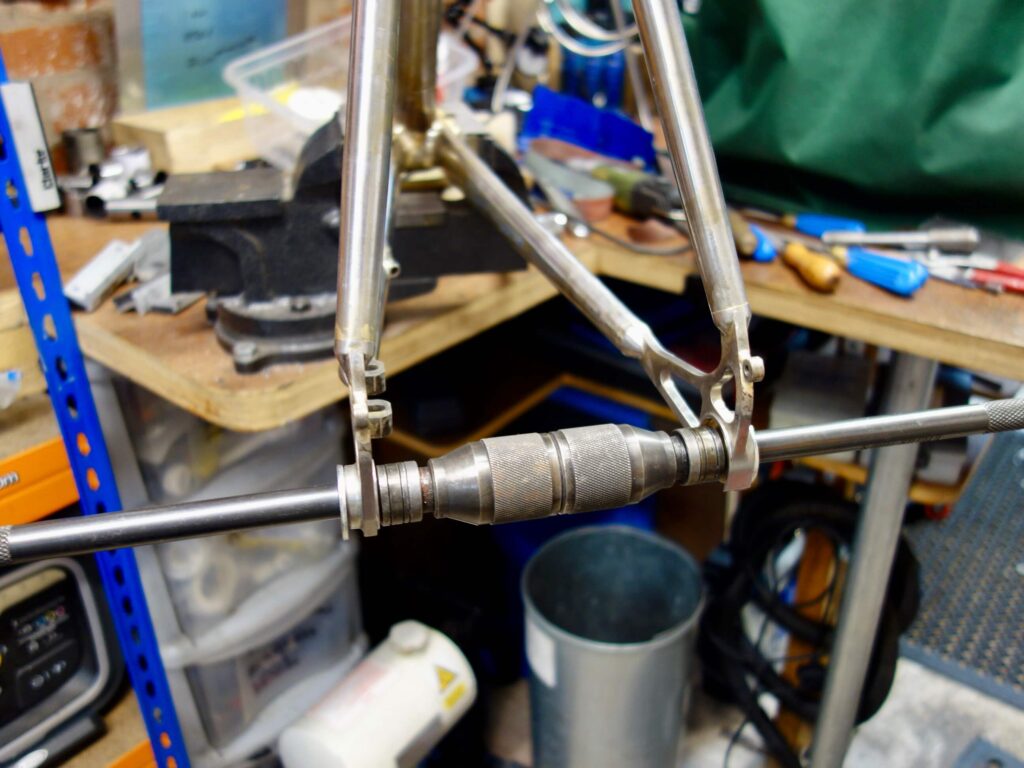
Before I had actually commenced this project I realised that my existing jig was not going to accommodate the tubes. The Cento set has a massive head tube (56 mm at the bottom and 46 mm at the top) so I had to make replacement enlarged top and bottom tube holders for the jig, and also a rear axle (142 mm), with appropriate spacers, to accommodate the Bear Frame Supplies rear disc dropouts I had decided on. These dropouts have the flat mounts as a separate piece which has to be brazed on. However it should braze into exactly the right spot so a fixture is not necessary. In fact disc fixtures are, or were, in very short supply. There were not any other dropouts I could find that would fit the chain stays, so the last resort would be to fix individual flat mounts into the stays by drilling holes. Again this would require a fixture and I was not at all keen on the prospect of weakening the rear stays, which are very thin. In fact I would contend this tube set was made with caliper brakes in mind.
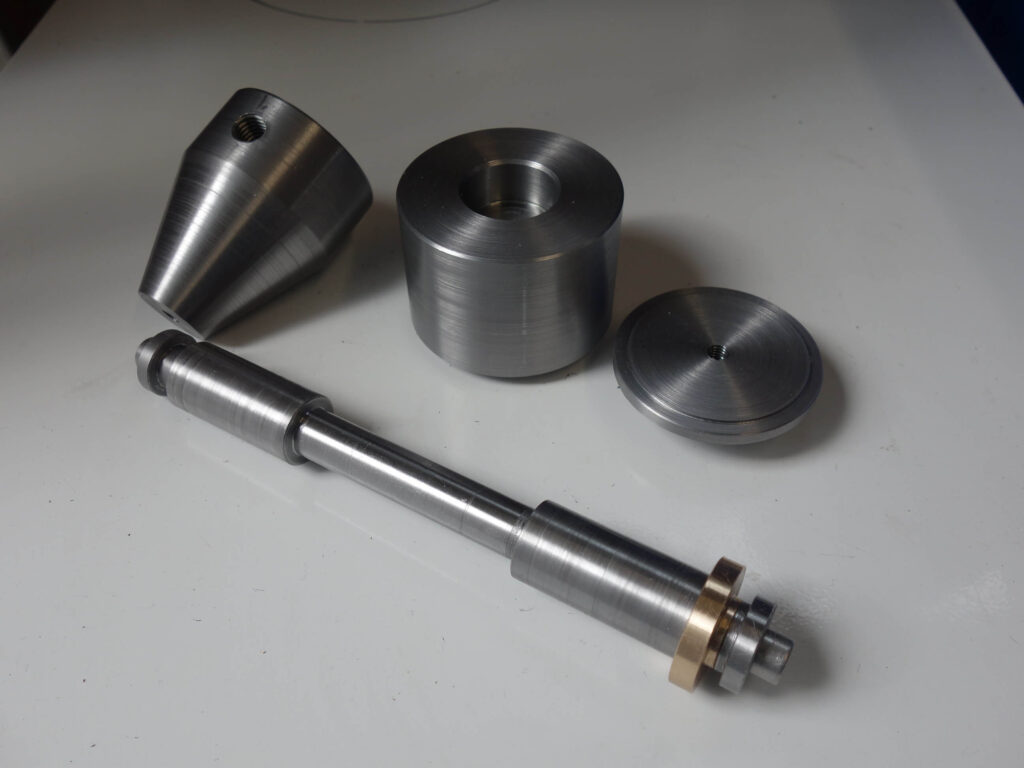
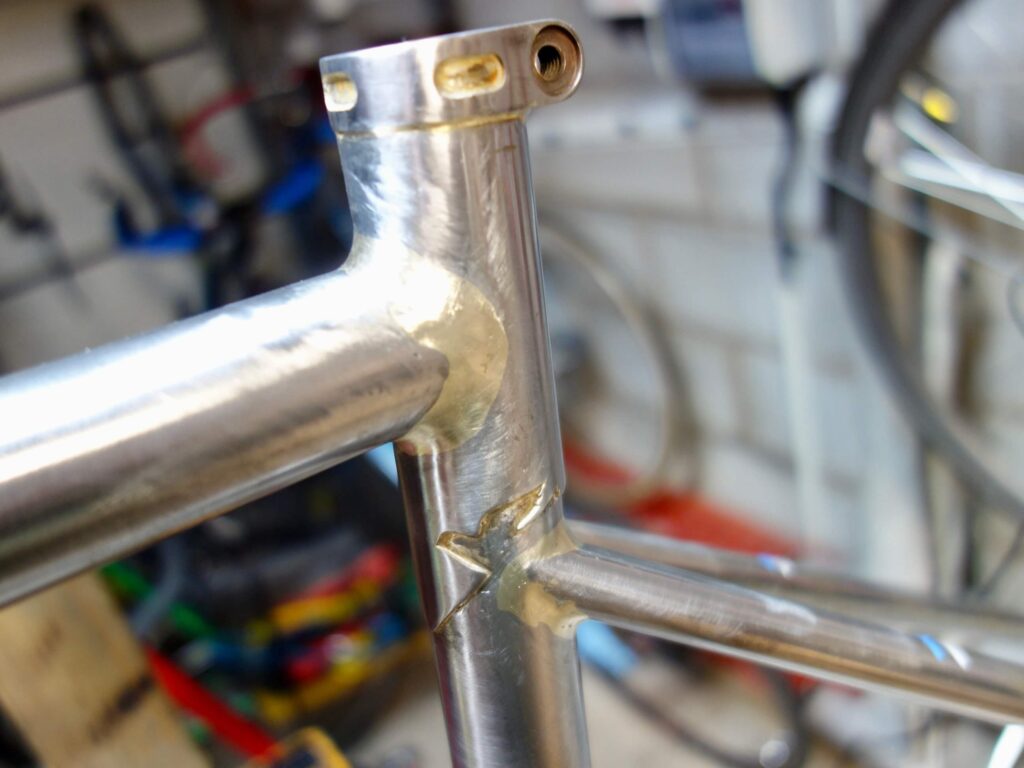
The other mitres are more straight forward, though you will have difficulty with the down tube to head tube mitre as the lower head tube has an a widened section at the bottom. Fortunately the Bikecad program allows modelling of the head tube to account for this so will produce a paper template for it.
The seat tube has a sleeve to add at the top where it joins the seat tube, giving a diameter of 30.7 mm. This sleeve has a neat dove shaped cut out at the lower edge. The top tube is 28.6 mm at the rear and 31.7 mm at the front, the seat tube being similarly tapered.
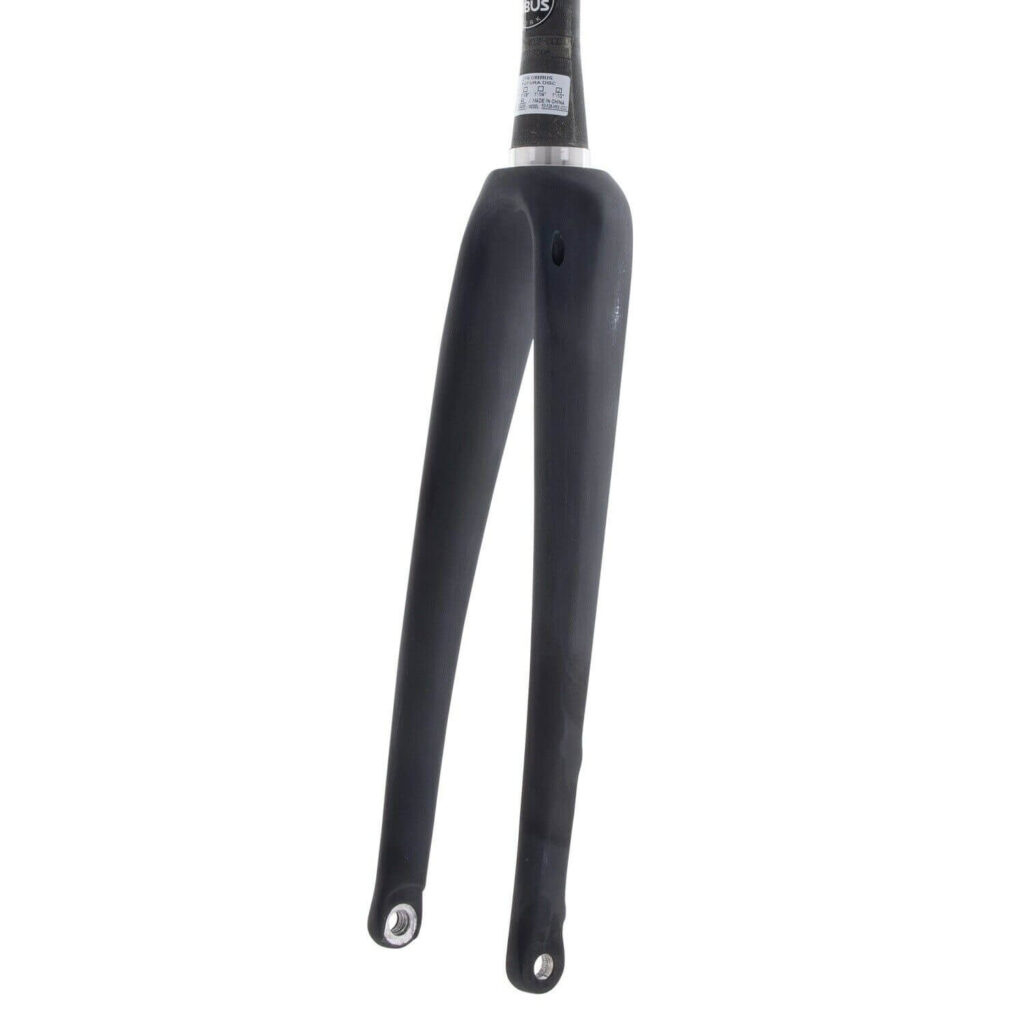
To finish off the front triangle I needed to slightly shorten the head tube. The head tube is designed for drop in bearing seats which have to be brazed in. There is a specific semi integrated headset for it and specific carbon forks. Hopefully the bearing seats will be square after brazing in and require nothing else, because in any case head tube facing cutters do not seem to exist for these diameters. To ensure I would be able to ensure squareness of the top end of the head tube I cut it down with a bandsaw initially, then faced it off in a mill. It would have been possible to use a lathe, but a bit trickier.


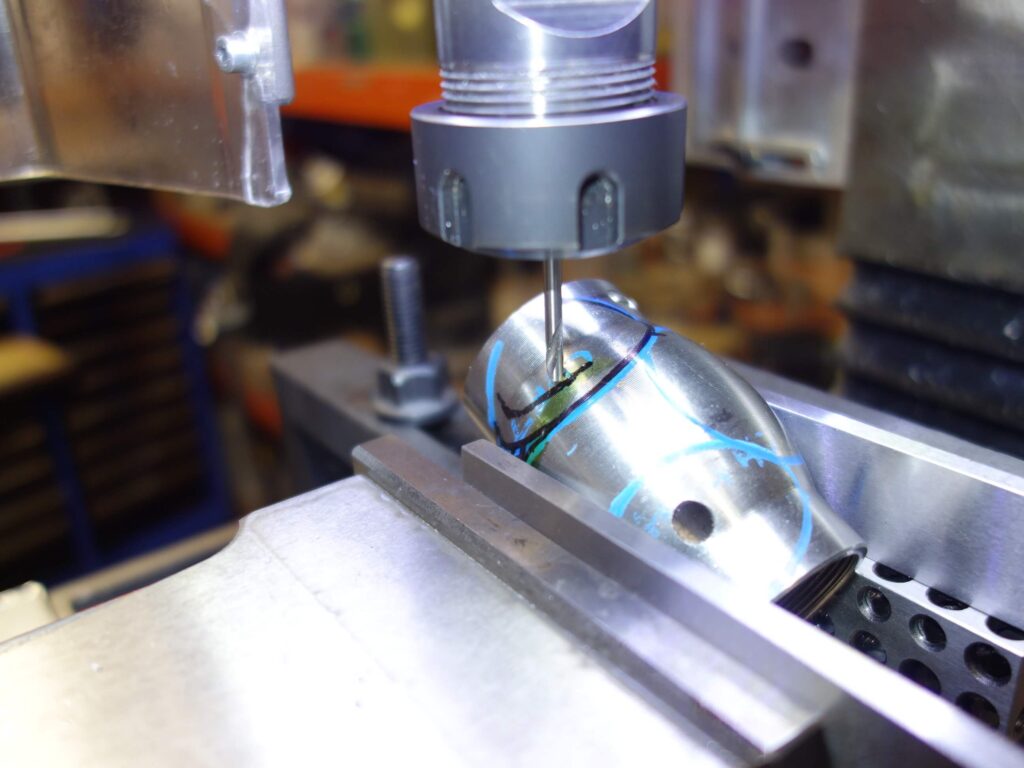
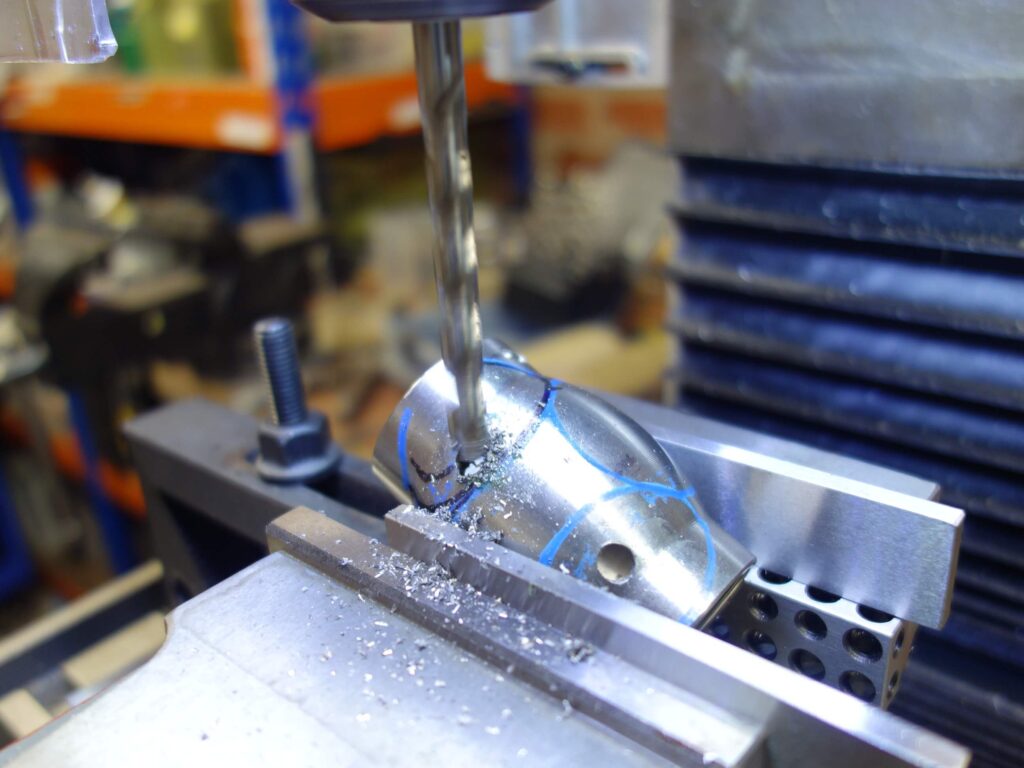
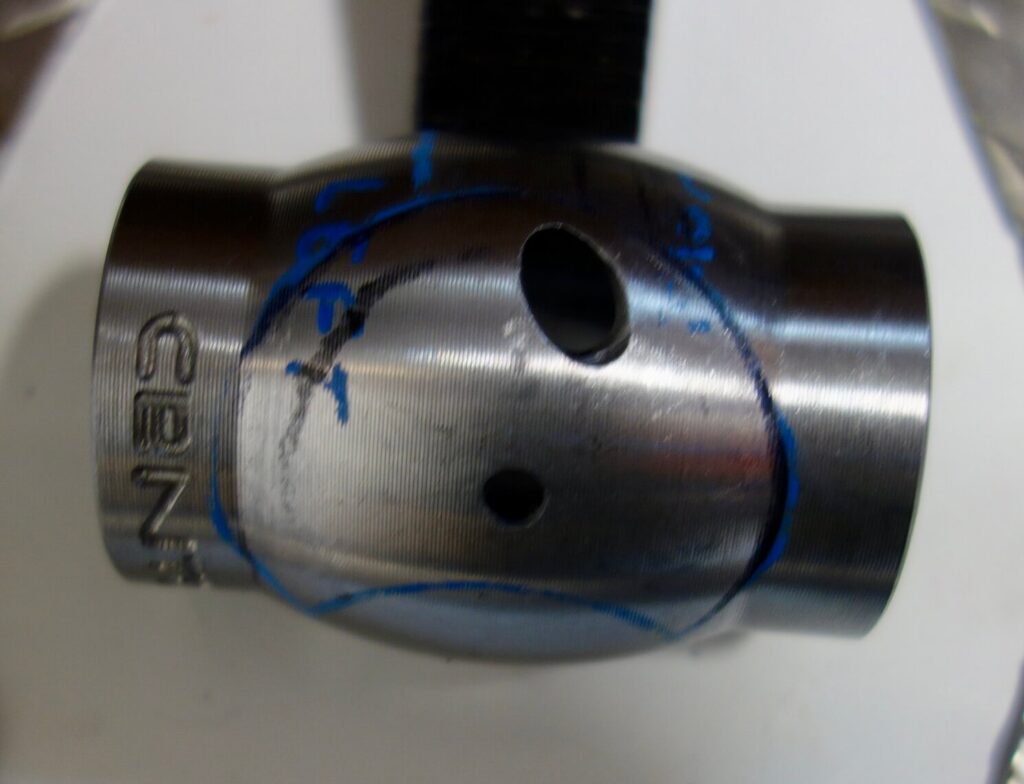
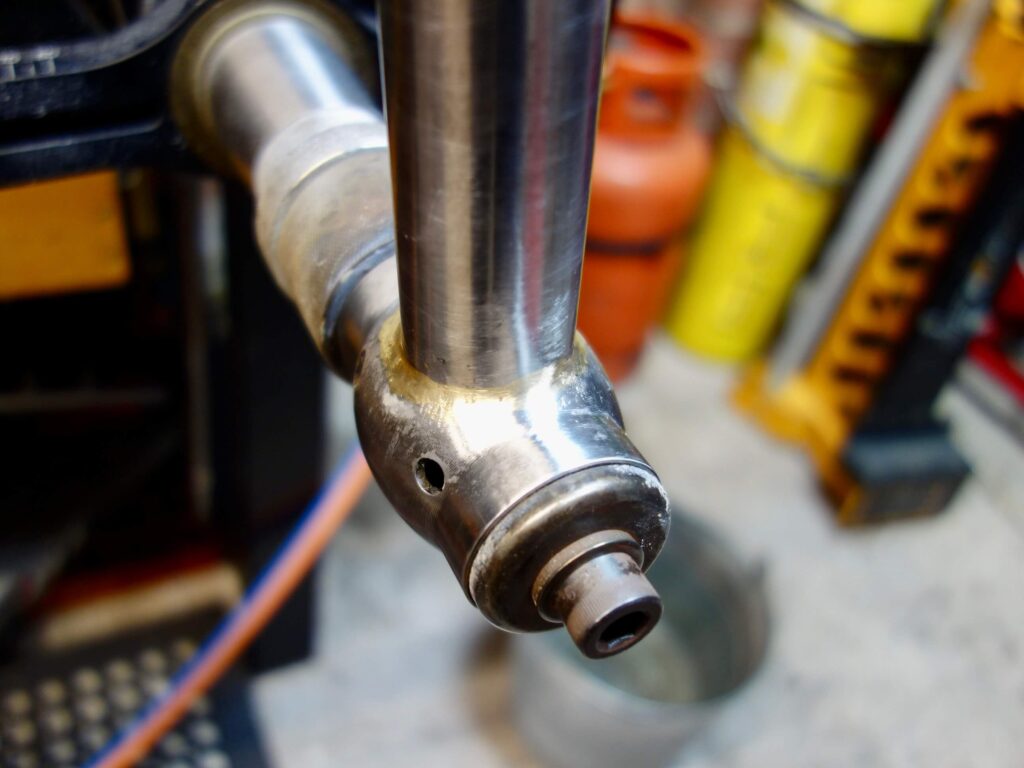
I intend to run the disc brake pipe through the down tube, bottom bracket and chain stay so drilled the bottom bracket accordingly to best direct the guide tubing, together with internal vent holes.

Rear Dropouts
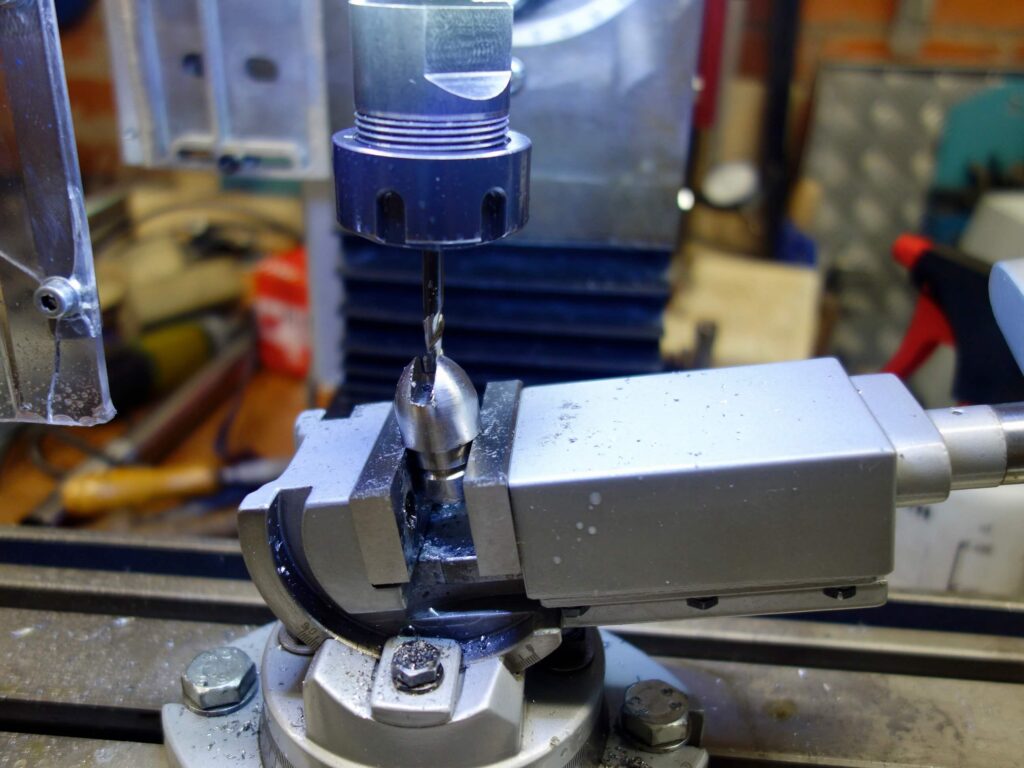
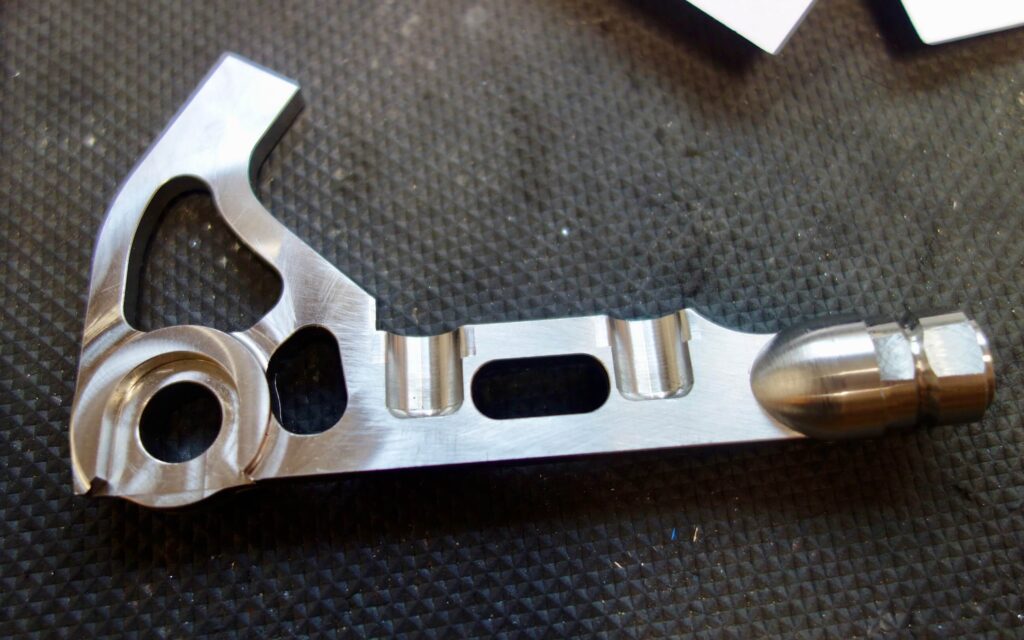
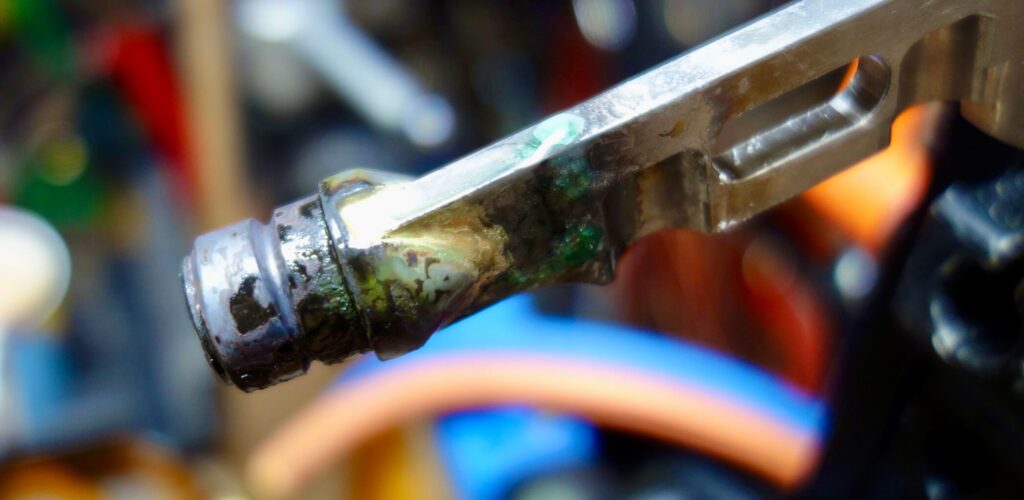
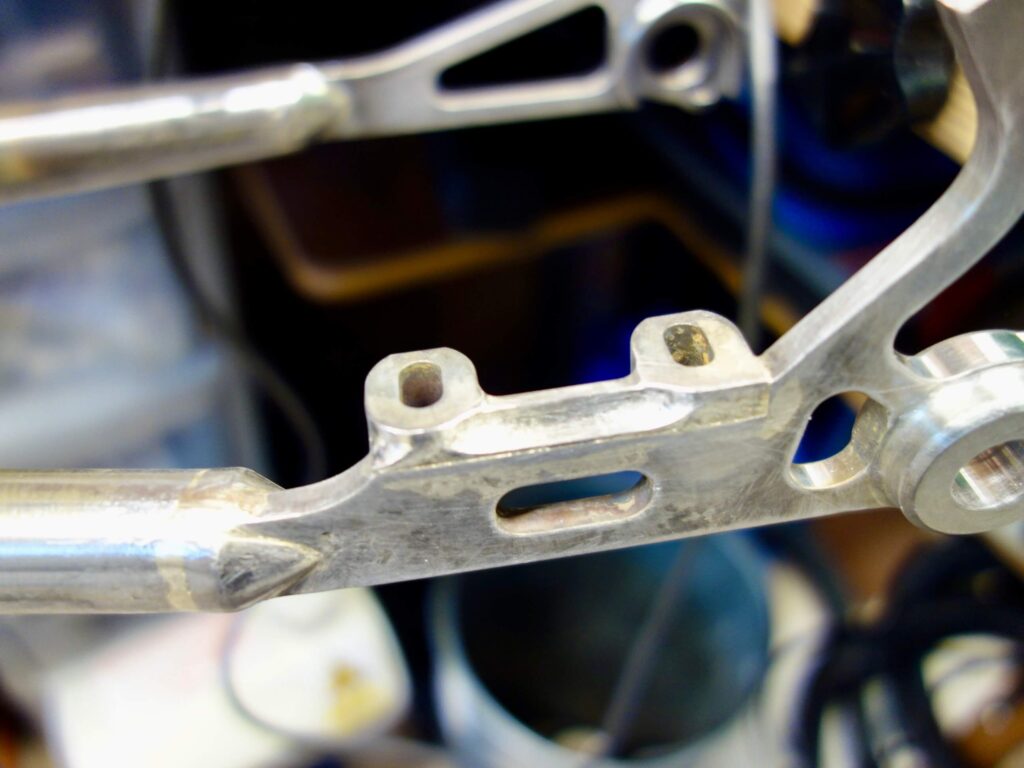
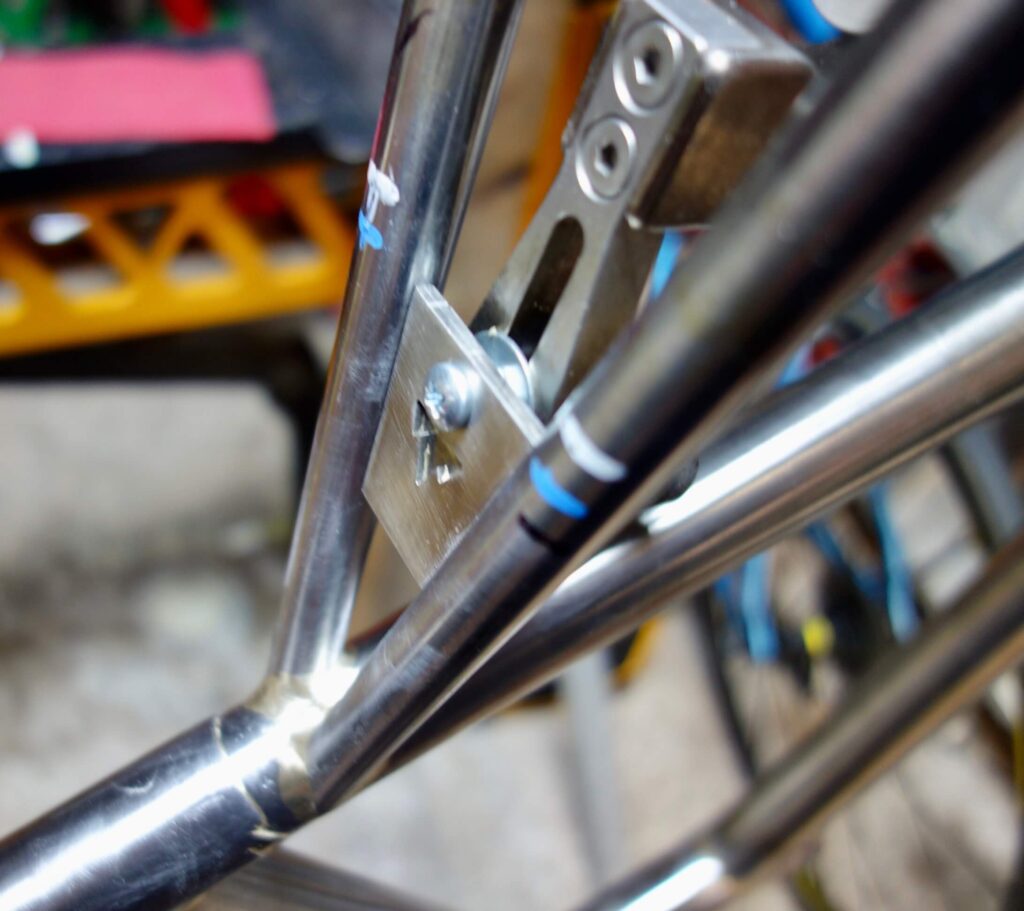
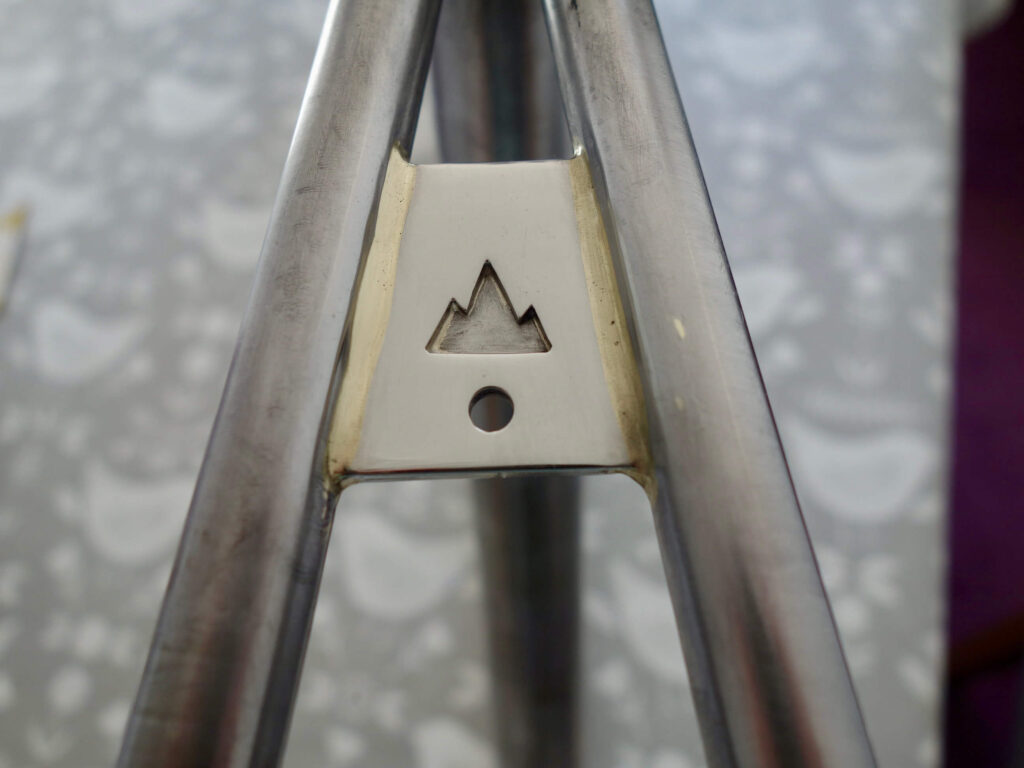
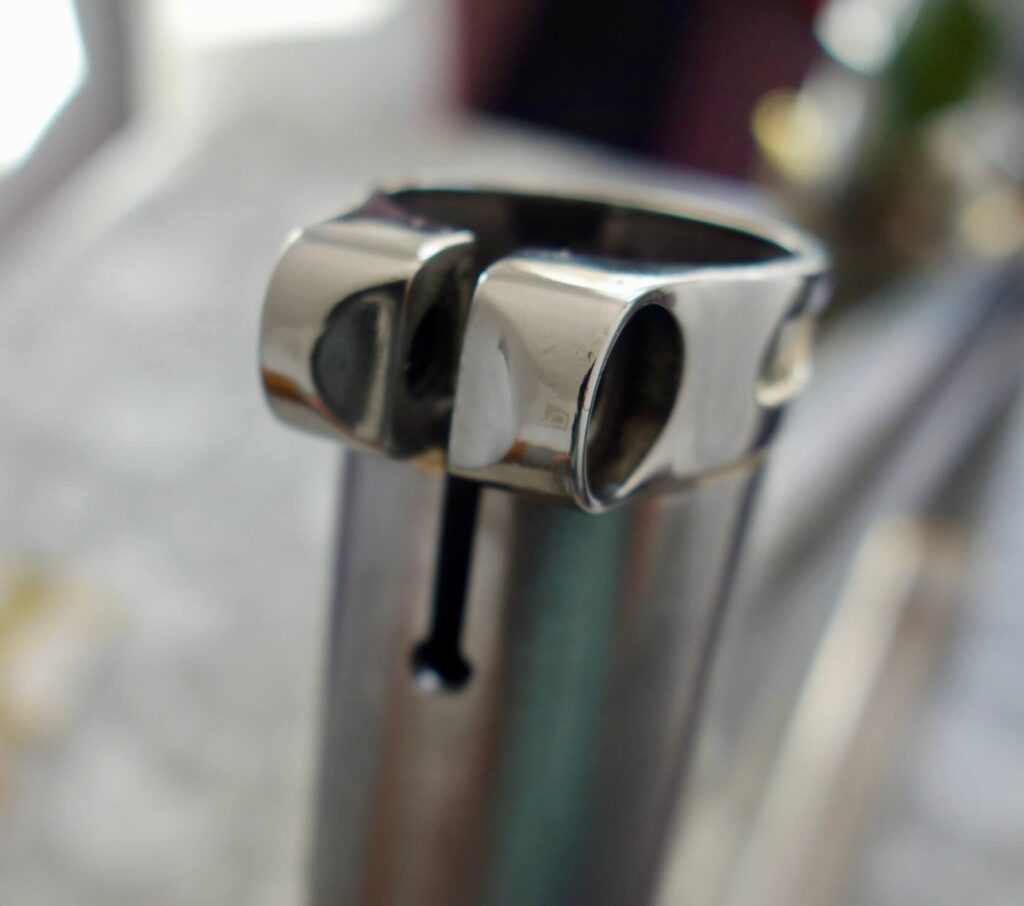
The very nice rear dropouts from Bear Frame Supplies, https://bearframesupplies.co.uk/flat-mount-thru-axle-dropout-stainless-steel/, call for the chain stays to be either slotted, or as I prefer, adapted through some plug in adapters I then was tasked to make. Initially I made the ends rounded (as seen in the pictures, but after deciding they were rather heavy duty and reduced the size or the ends by making them into cones. I made some similar adaptors for the seat stays. Both had to be slotted at 10 degrees.


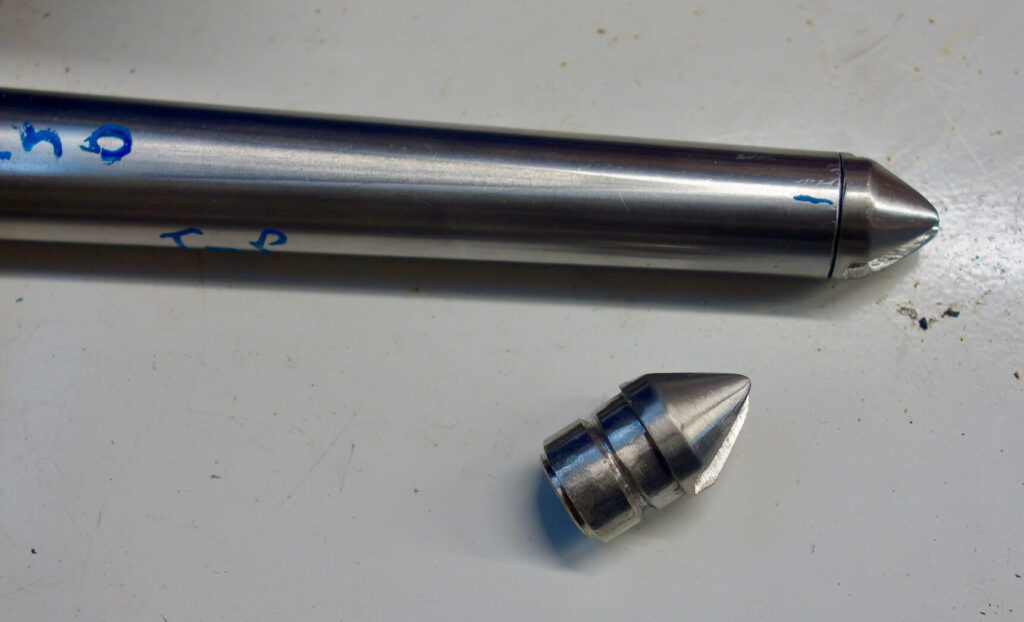
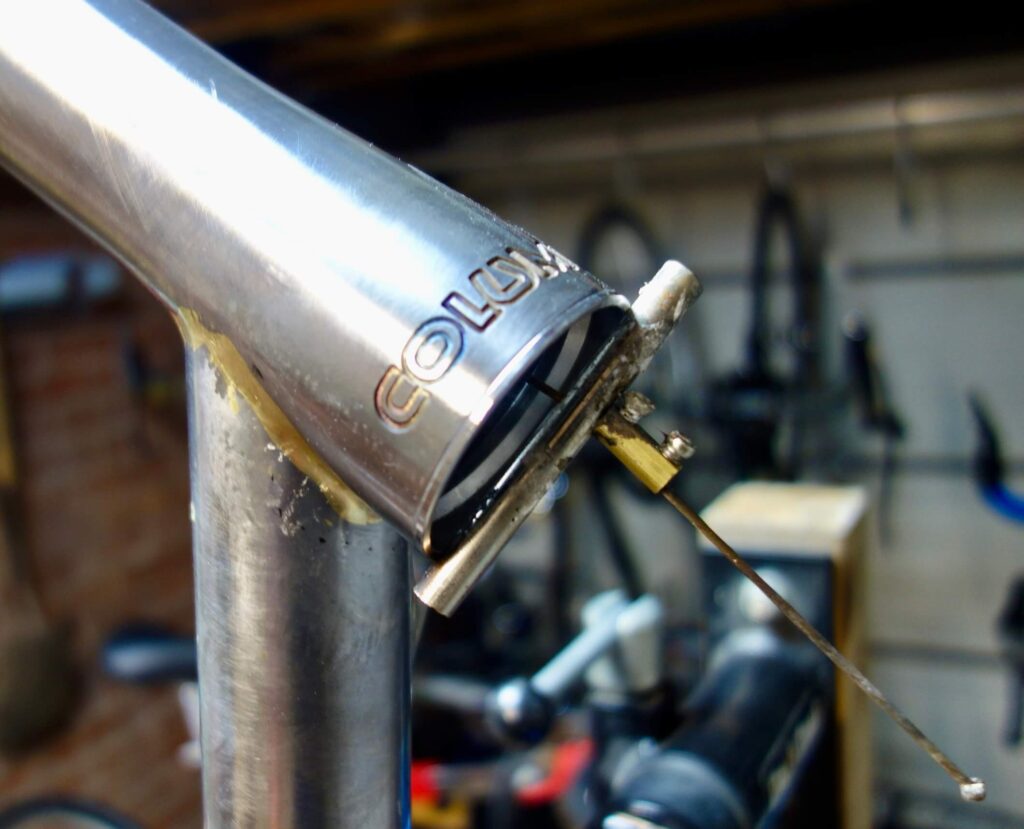
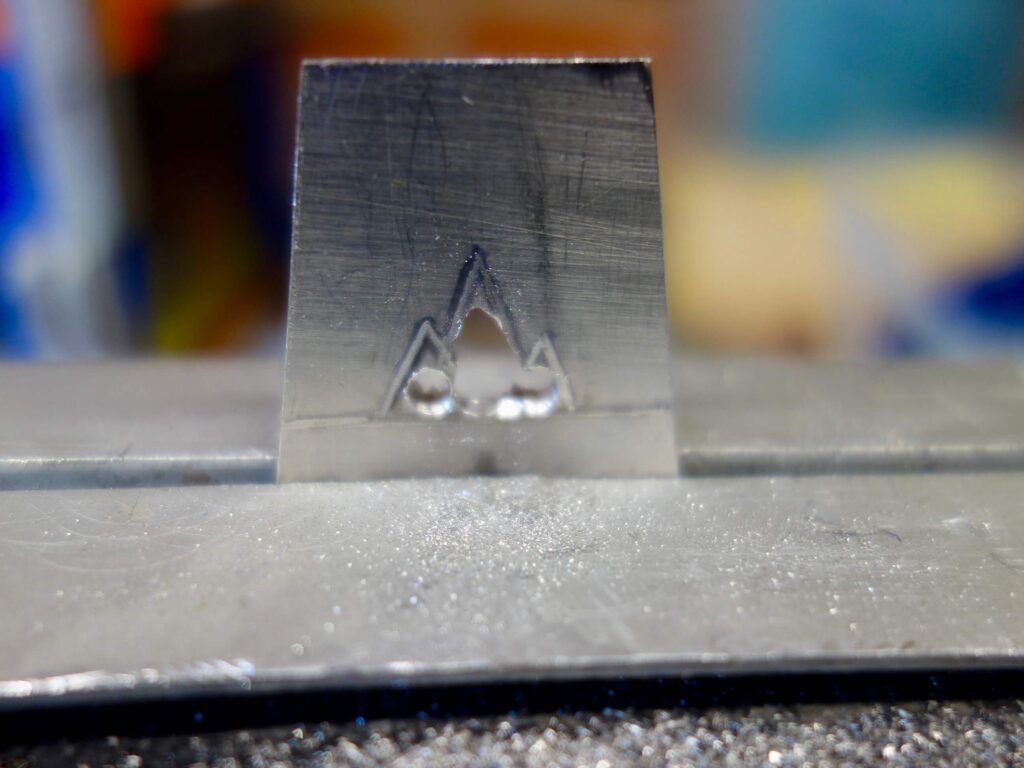
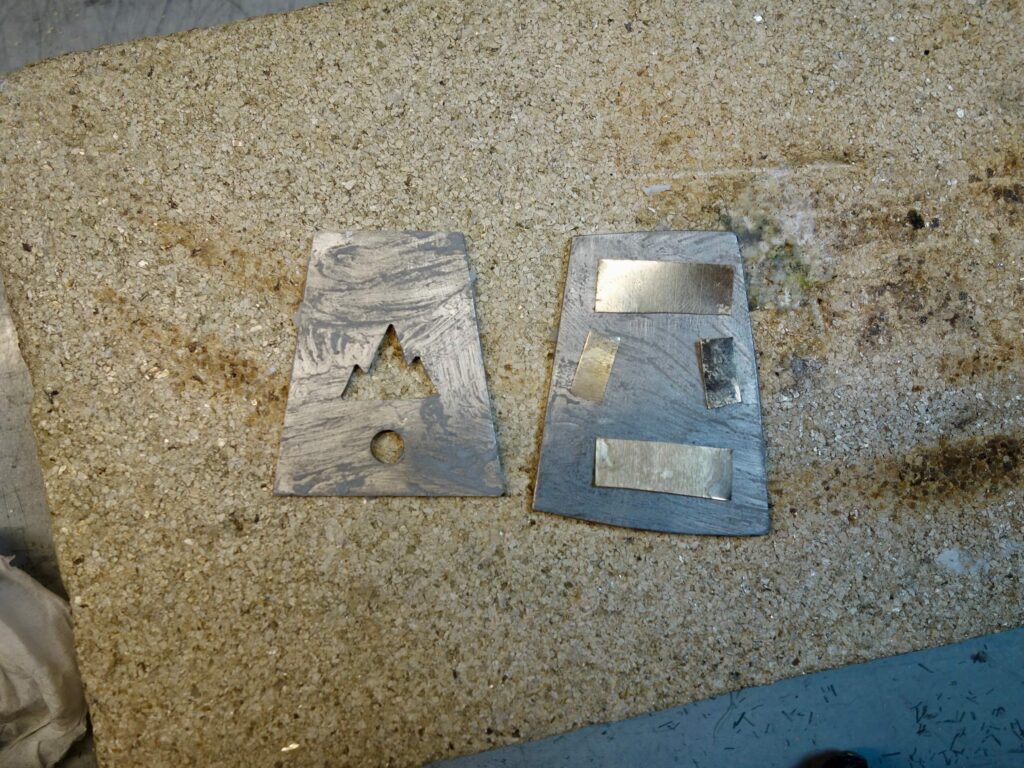
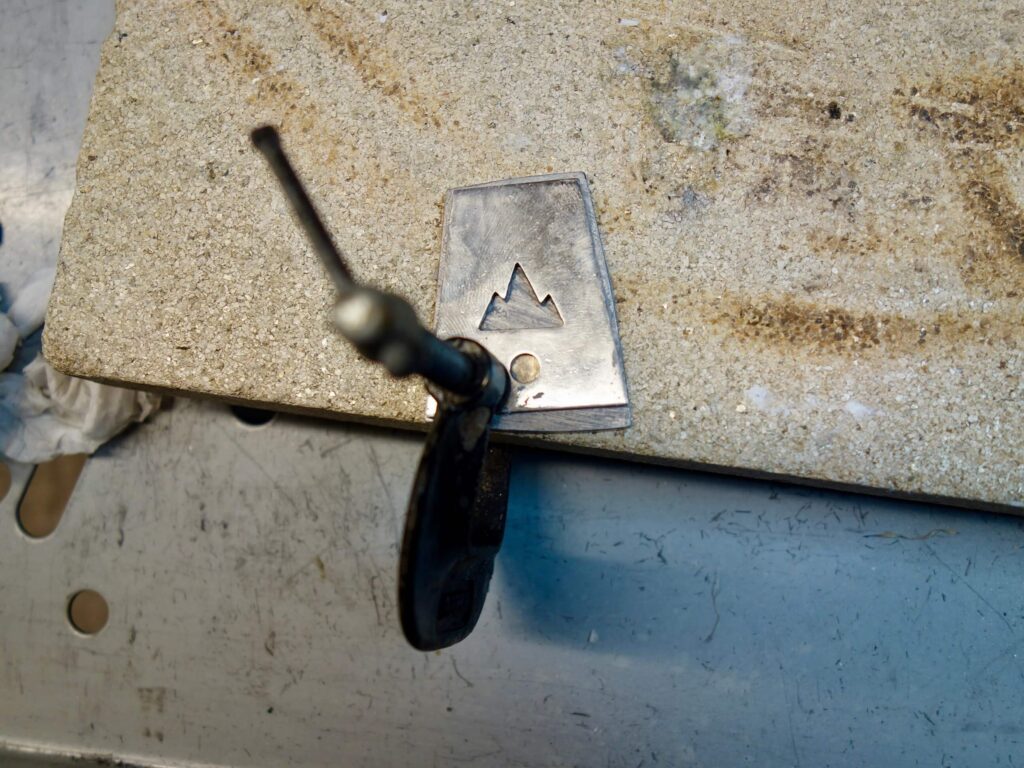
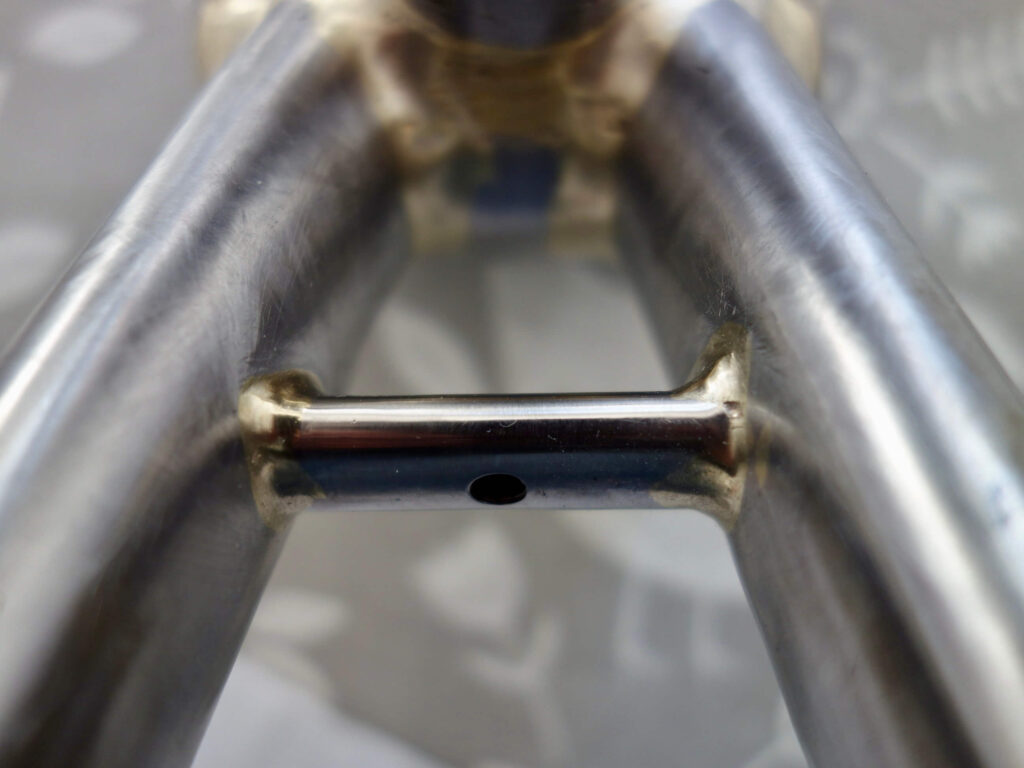
Lastly bottle boss holes added and any other necessary vents before checking everything fits together before brazing. The first braze I intend to do is for the hydraulic tube guide tube through the chain stay for which silver solder will have to be used. I have long resisted drilling large holes in the chain stays for this, despite it being widely done. In this instance there is no other way of feeding the tube through, the alternative being a fully external routing. I cut a disc of 0.5 mm stainless steel as a reinforcement and made a short steel tube to reinforce the end of the brass guide tube. This enlarges the tip to 8 mm, drilled out to 7mm for the guide tube but with a 5 mm hole at the end for the hydraulic tube to reduce risk of water ingress.
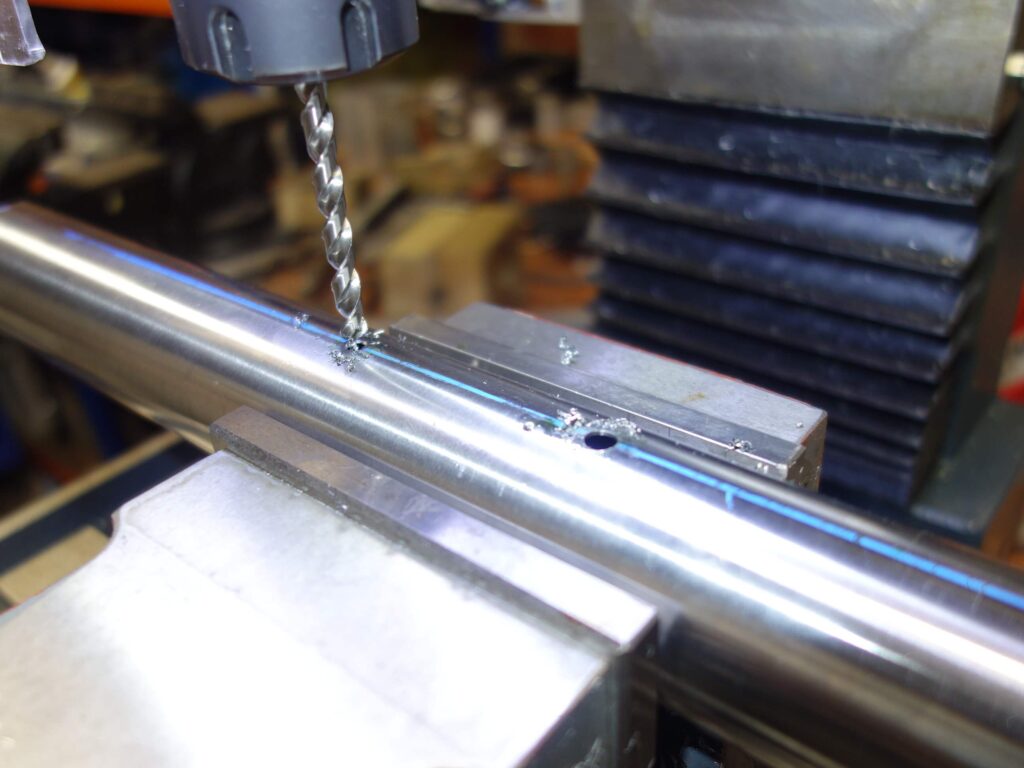

The chain stay reinforcement plate was brazed onto the chain stay, then an 8 mm slot milled in to enable the reinforced guide tube to be brazed in. The tube reinforcement being brazed onto the tube first.
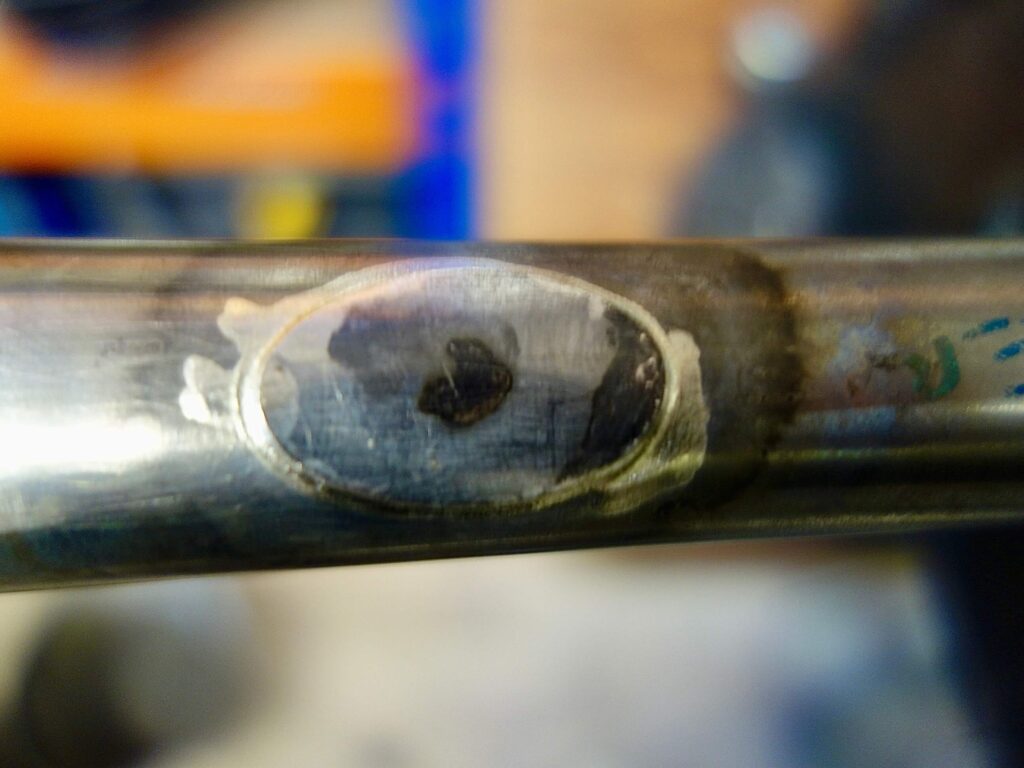
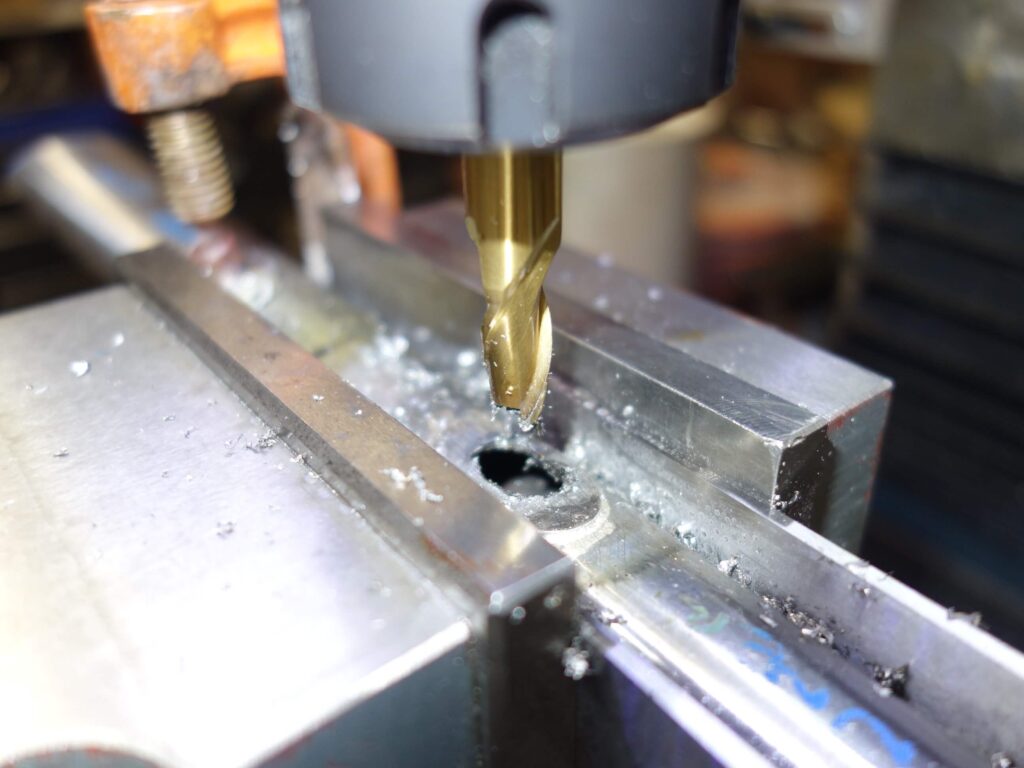
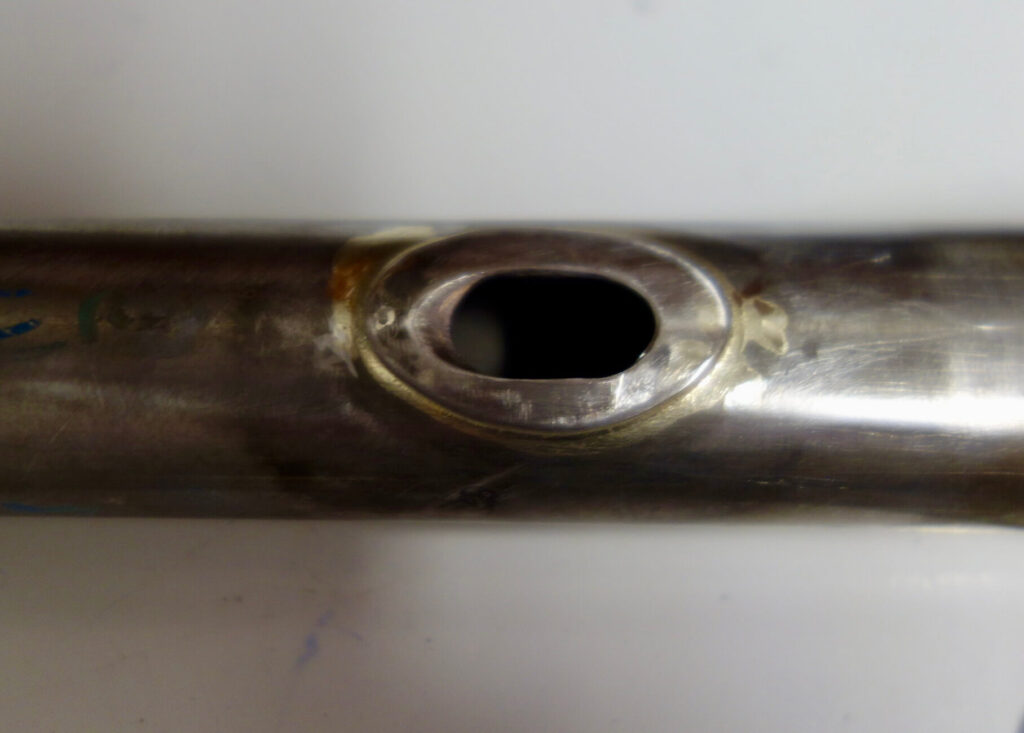
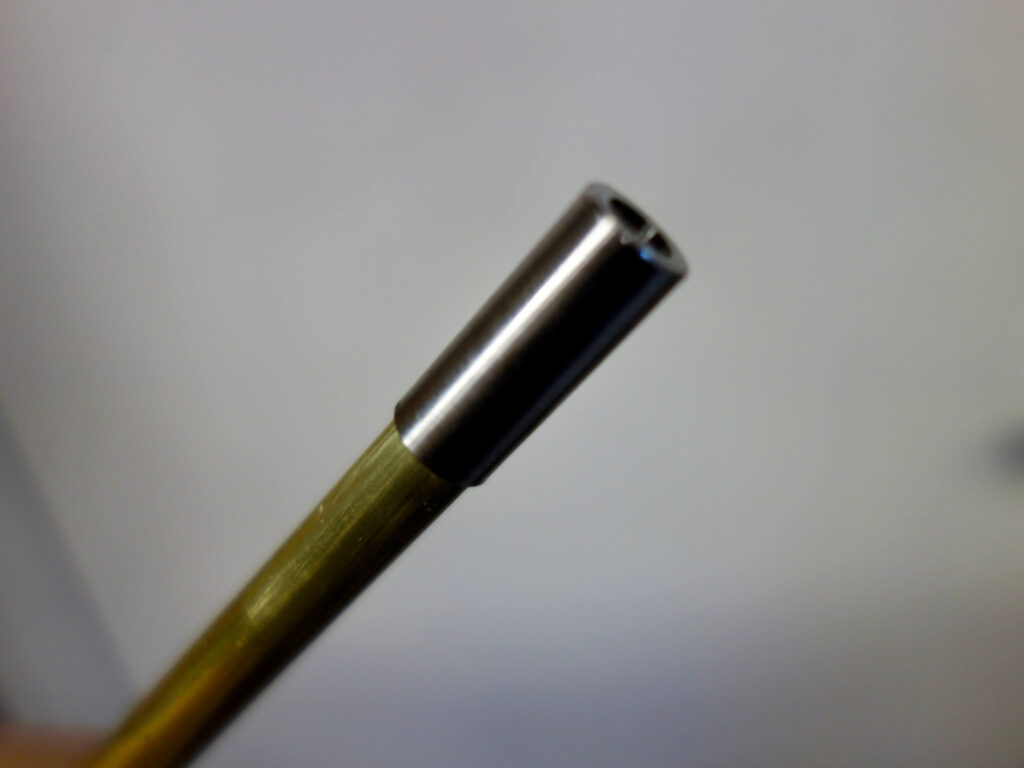
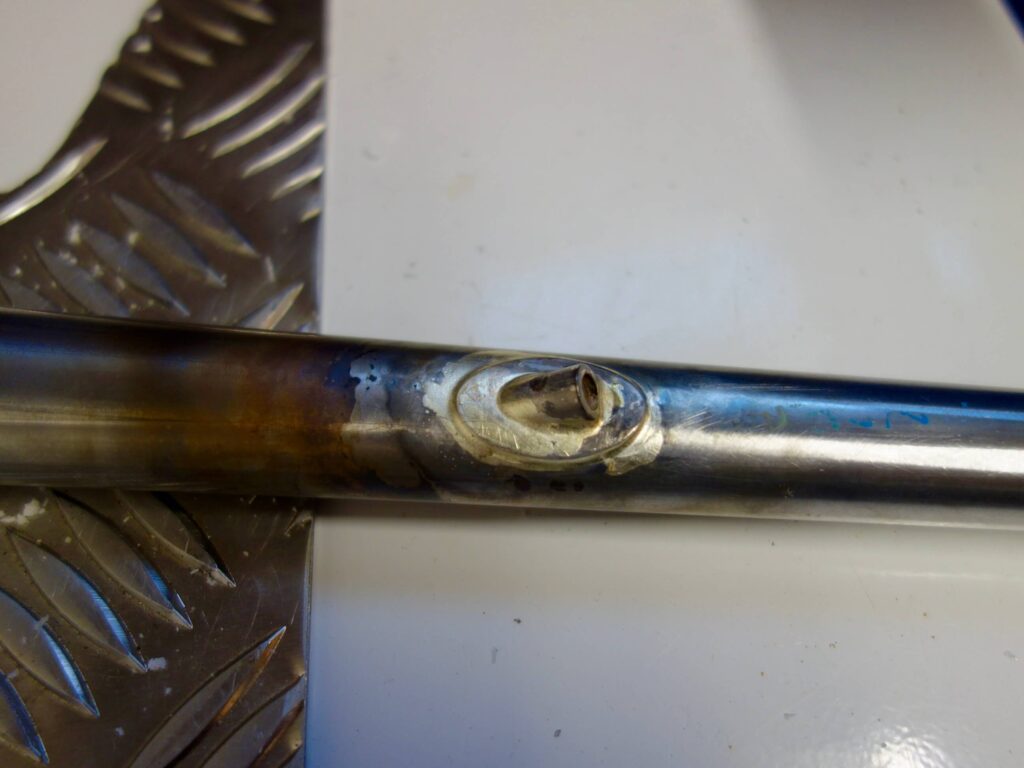
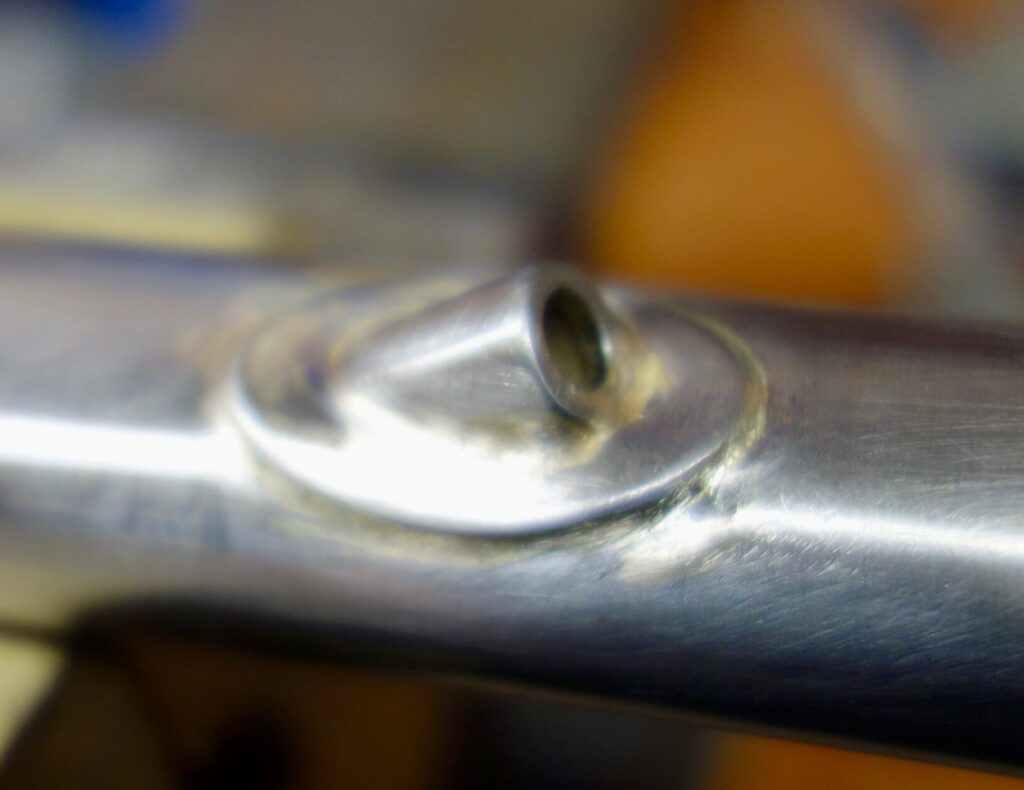
For the Down Tube entrance port for the hydraulic brake tube, I decided only to insert a reinforced brass tube as with the chain stay port, but further reinforce it with a cable cover. This involved another 8 mm slot with a square end to keep the entrance to the hole as near to the tube as possible.
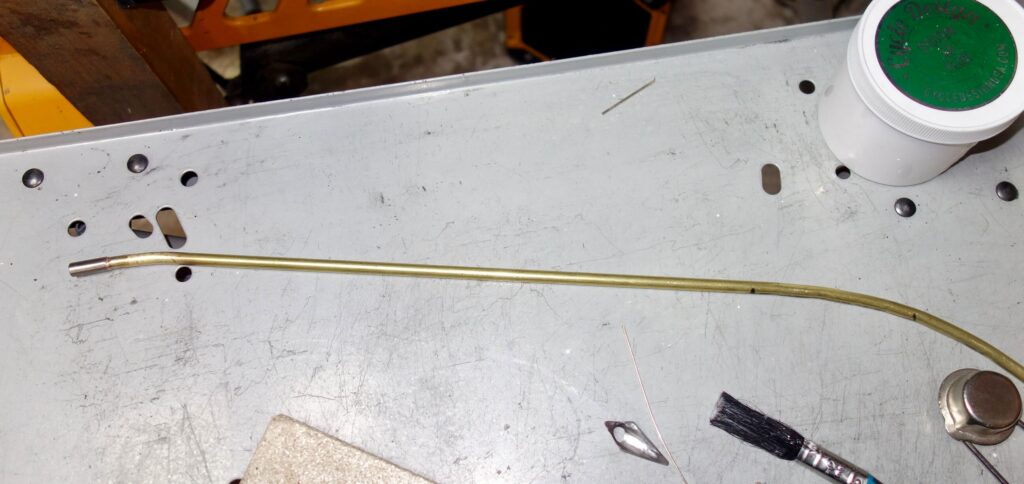
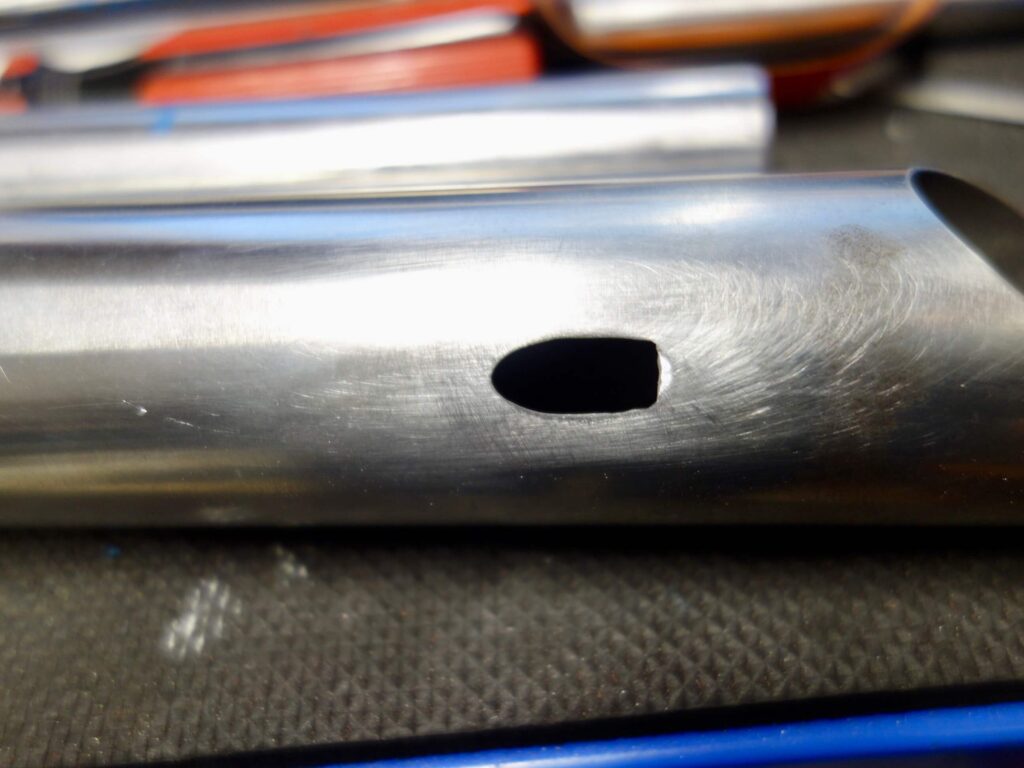
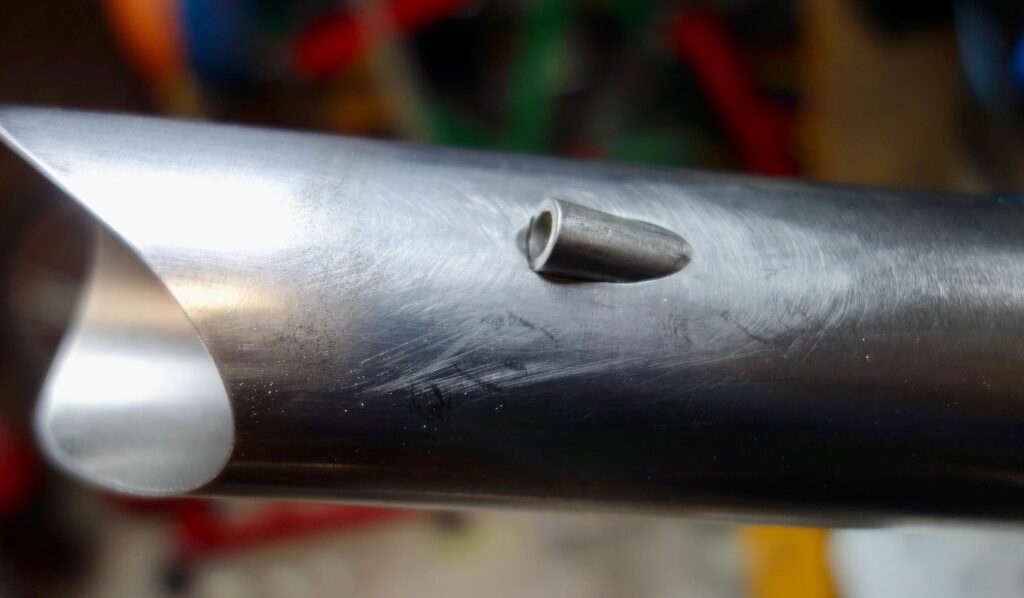
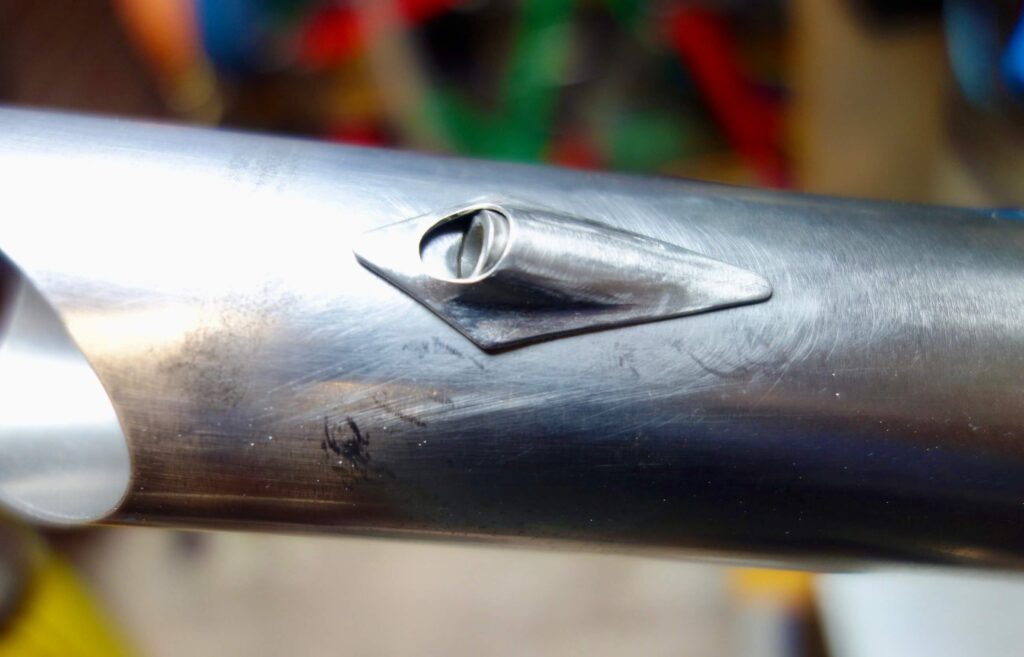
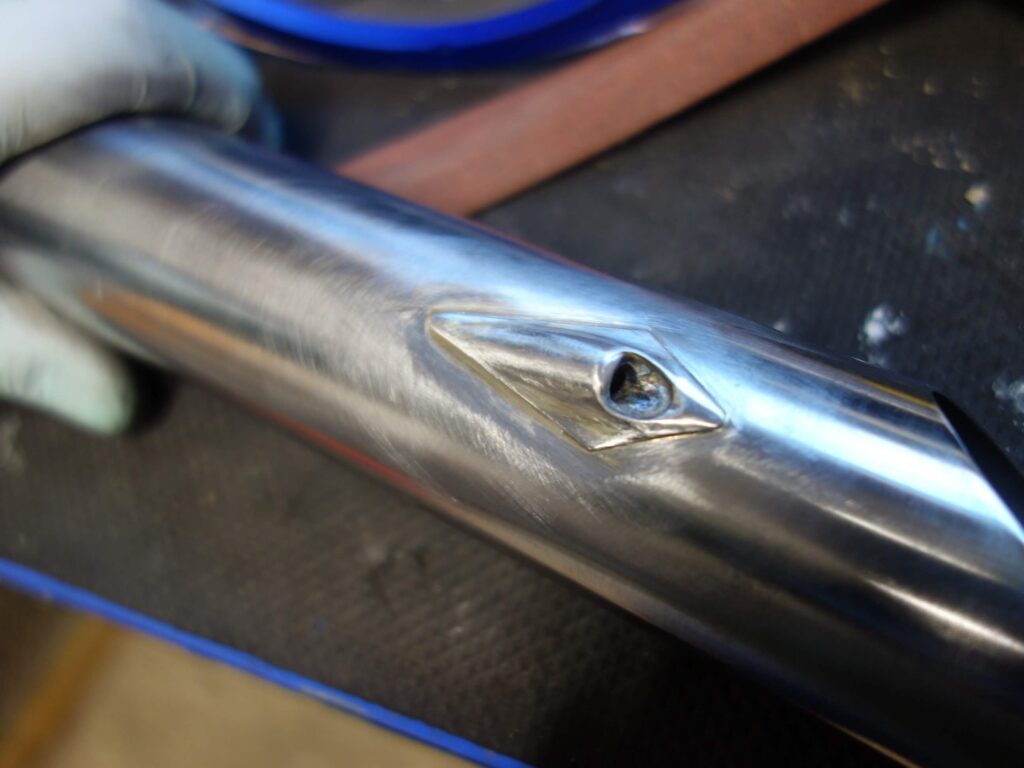
Lastly I decided to add the bottle bosses to the Seat and Down tubes before assembly. Both were supplied with reinforcements with the kit.
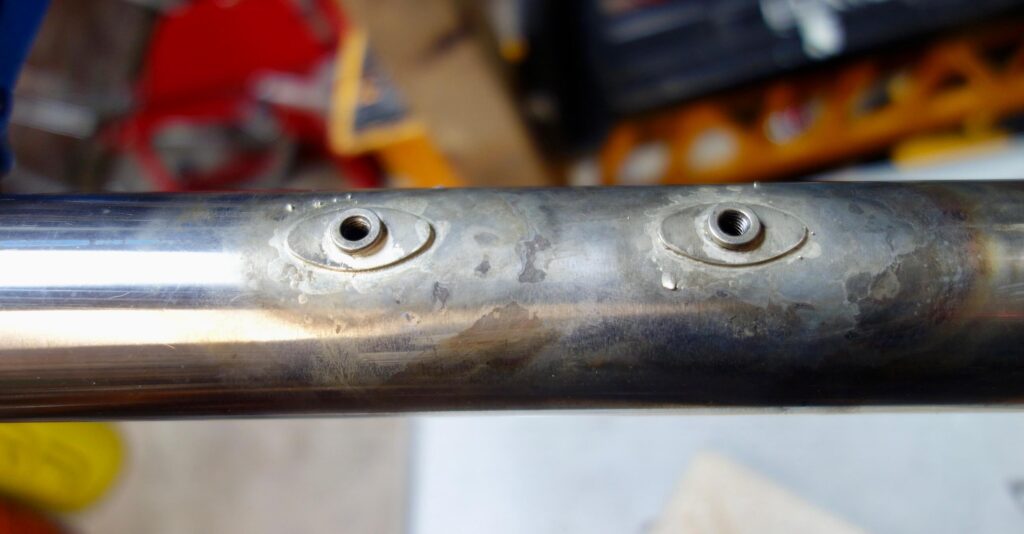
The Final assembly
This was delayed as, coincidentally I had decided to replace my gas fluxer. The ‘in stock’ item proved to be out of stock.






Finished Frame and Forks
The finished frame (excluding forks) weighed approximately 2.1 kg. Disappointing in one sense, but it is a large frame, approx. 58 cm, and uses substantial rear dropouts and additional dropout connectors and solid stay bridges, all adding to the frame weight.
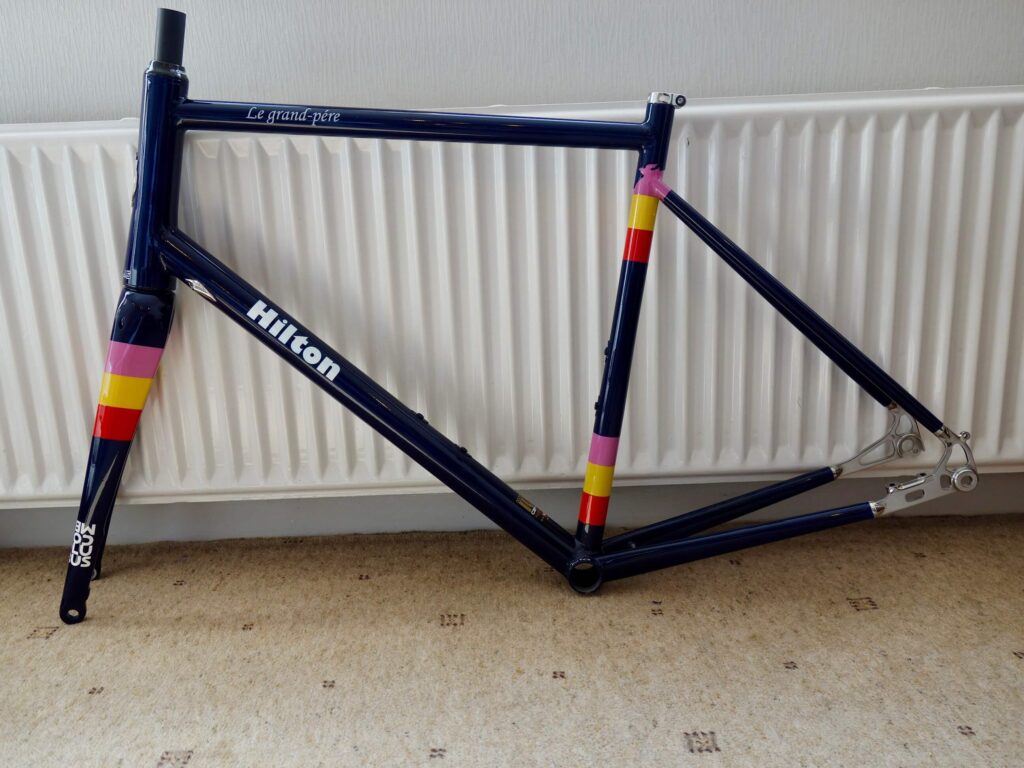
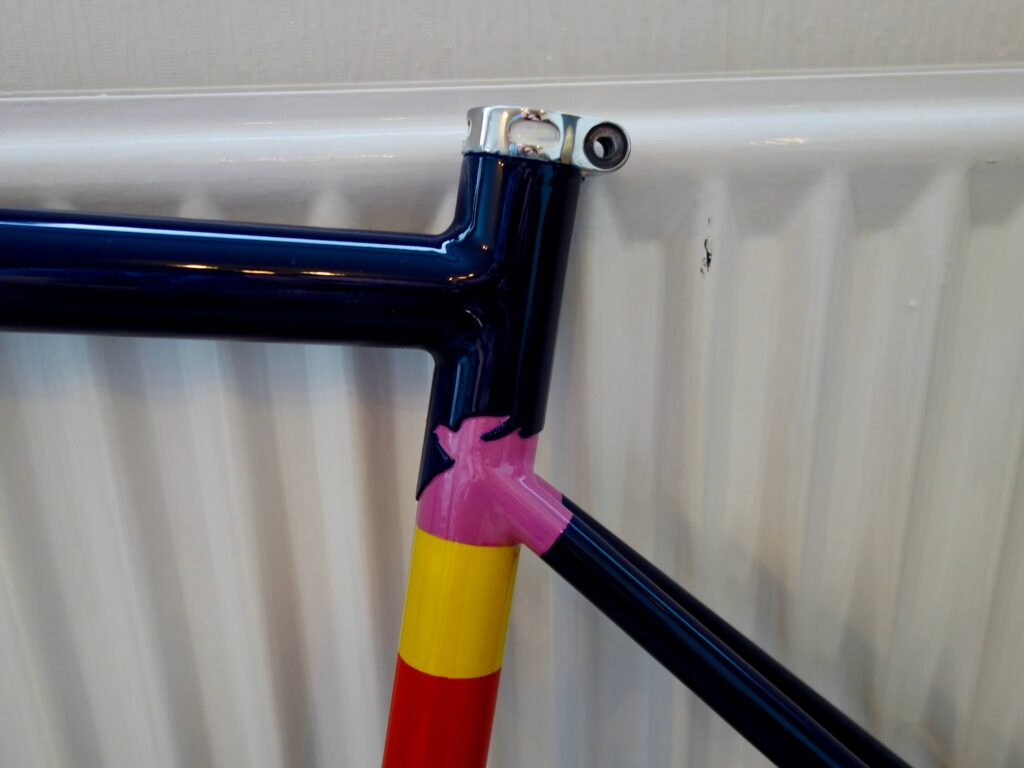
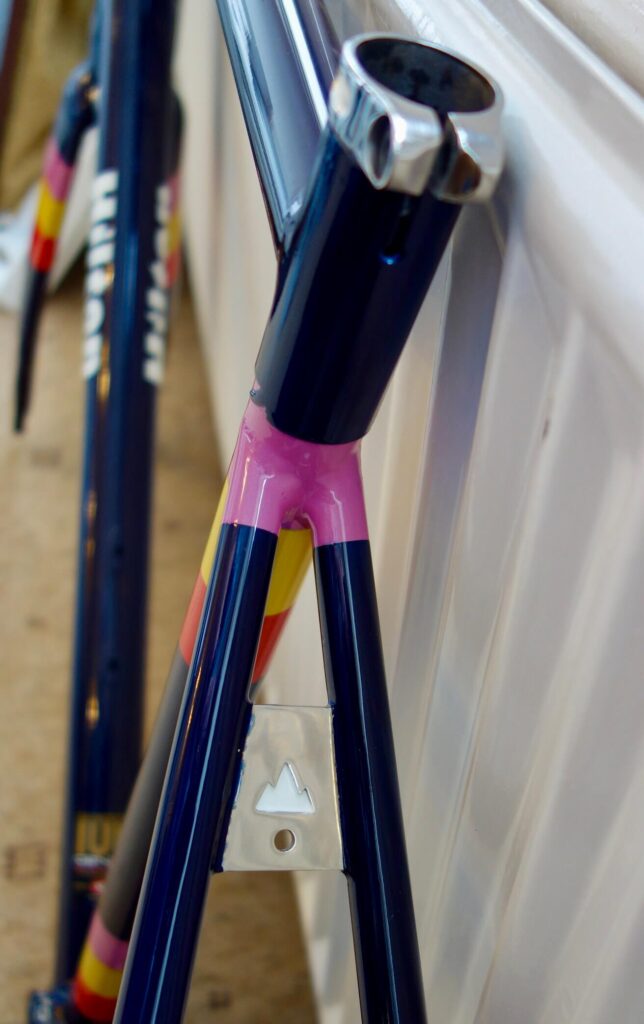
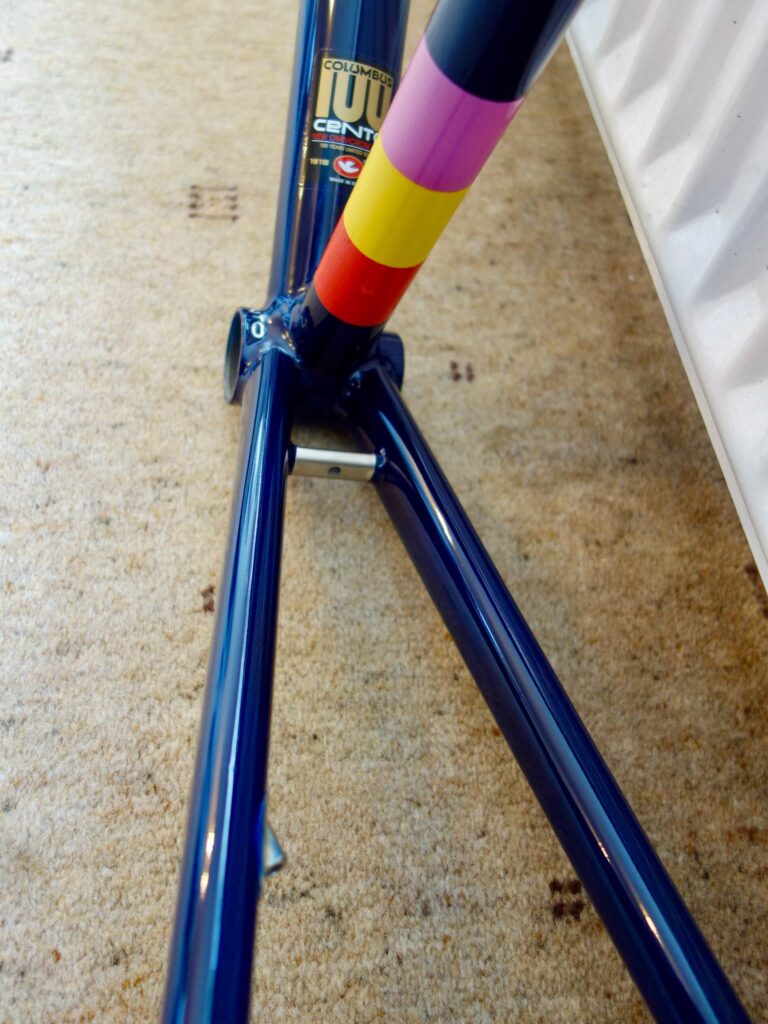
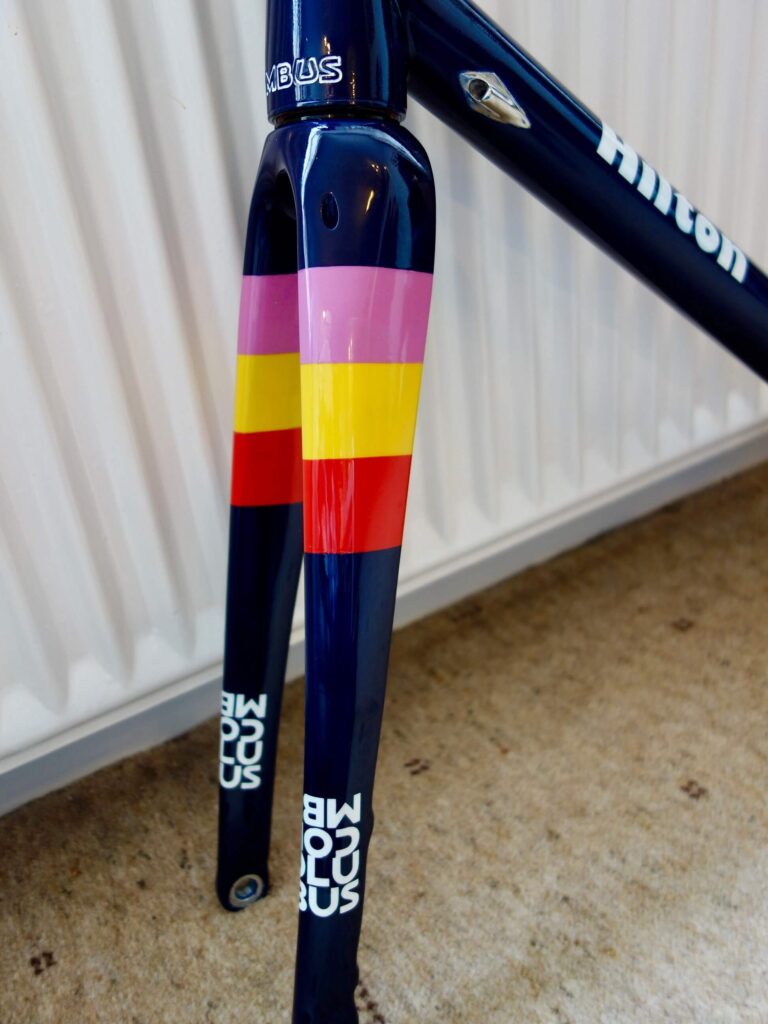
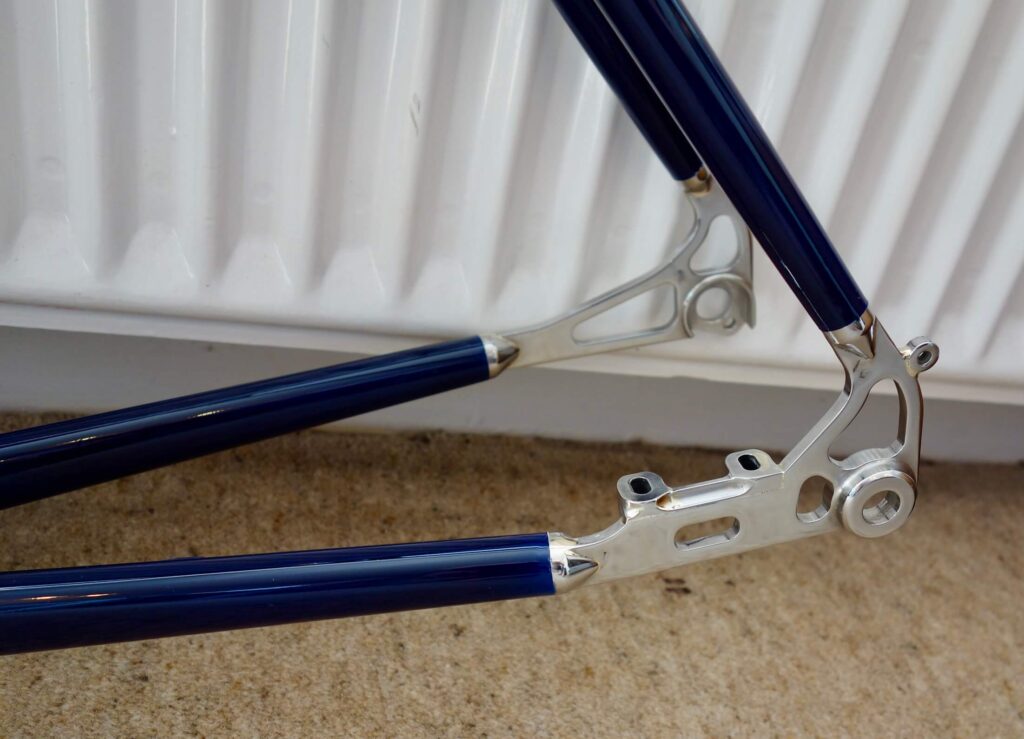
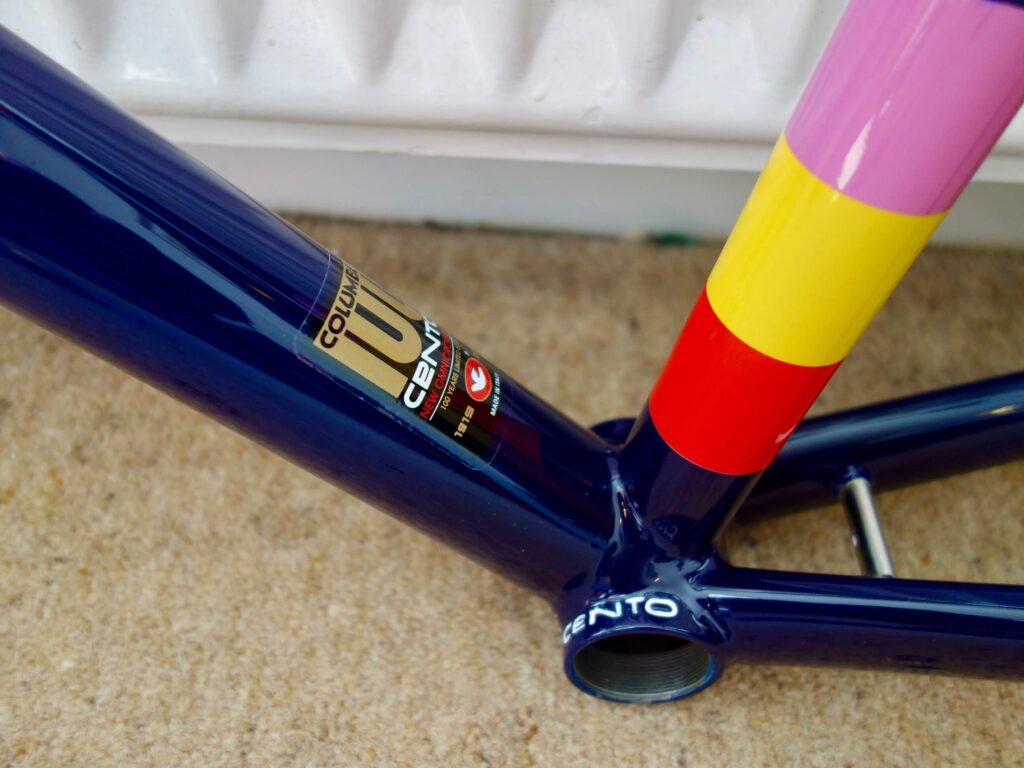
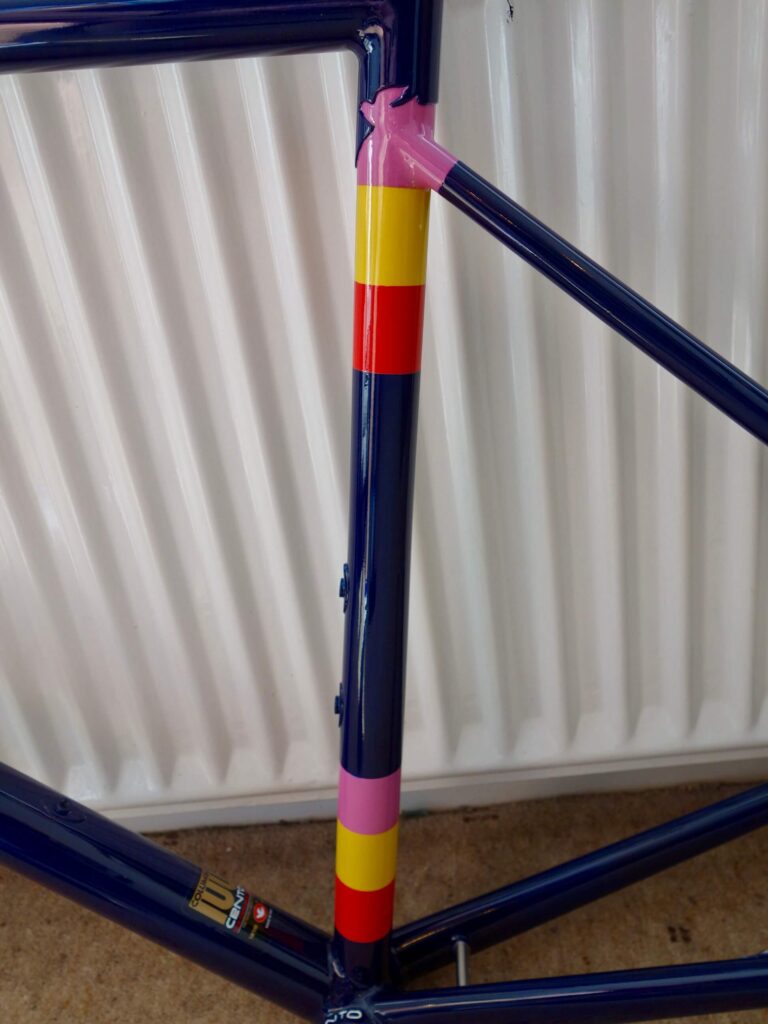
Still waiting for components!
SNH 17/4/22
And at Last!
8 months on from the order the groupset finally arrived. My thanks to Paul Hewitt, https://hewittcycles.co.uk, who pulled out all the stops to get hold of the sram parts. Looking forward now to some hills.
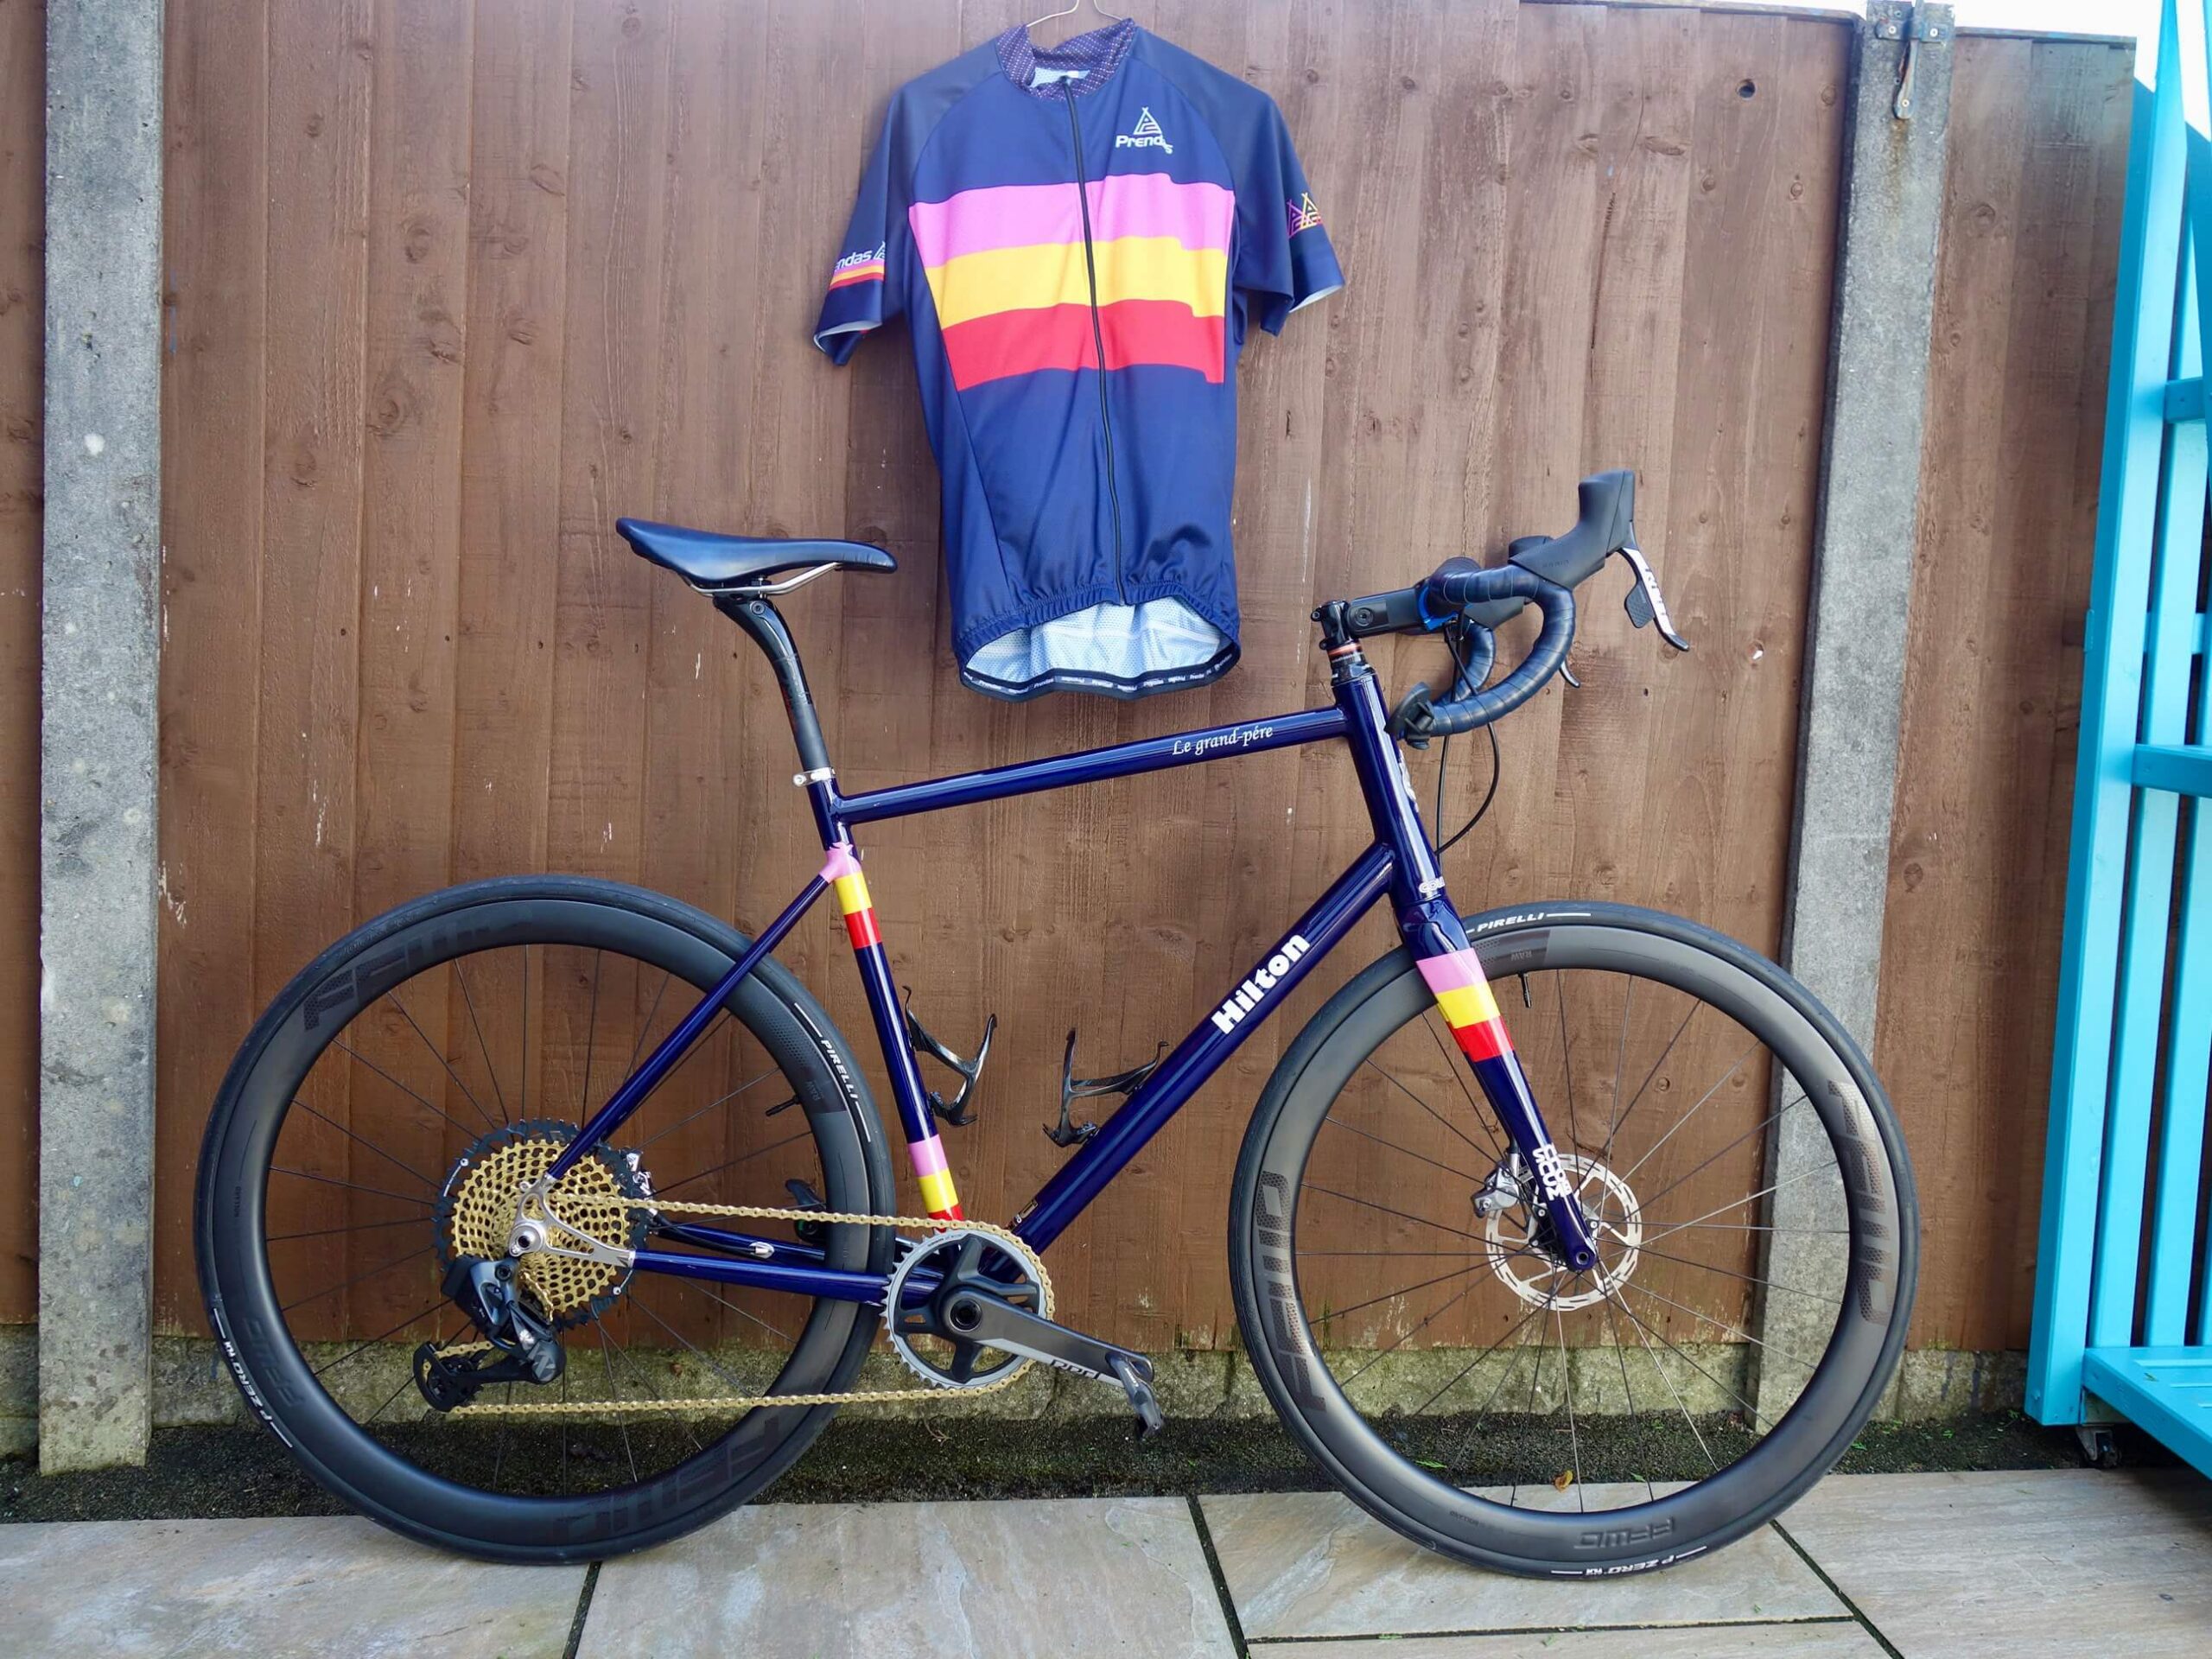
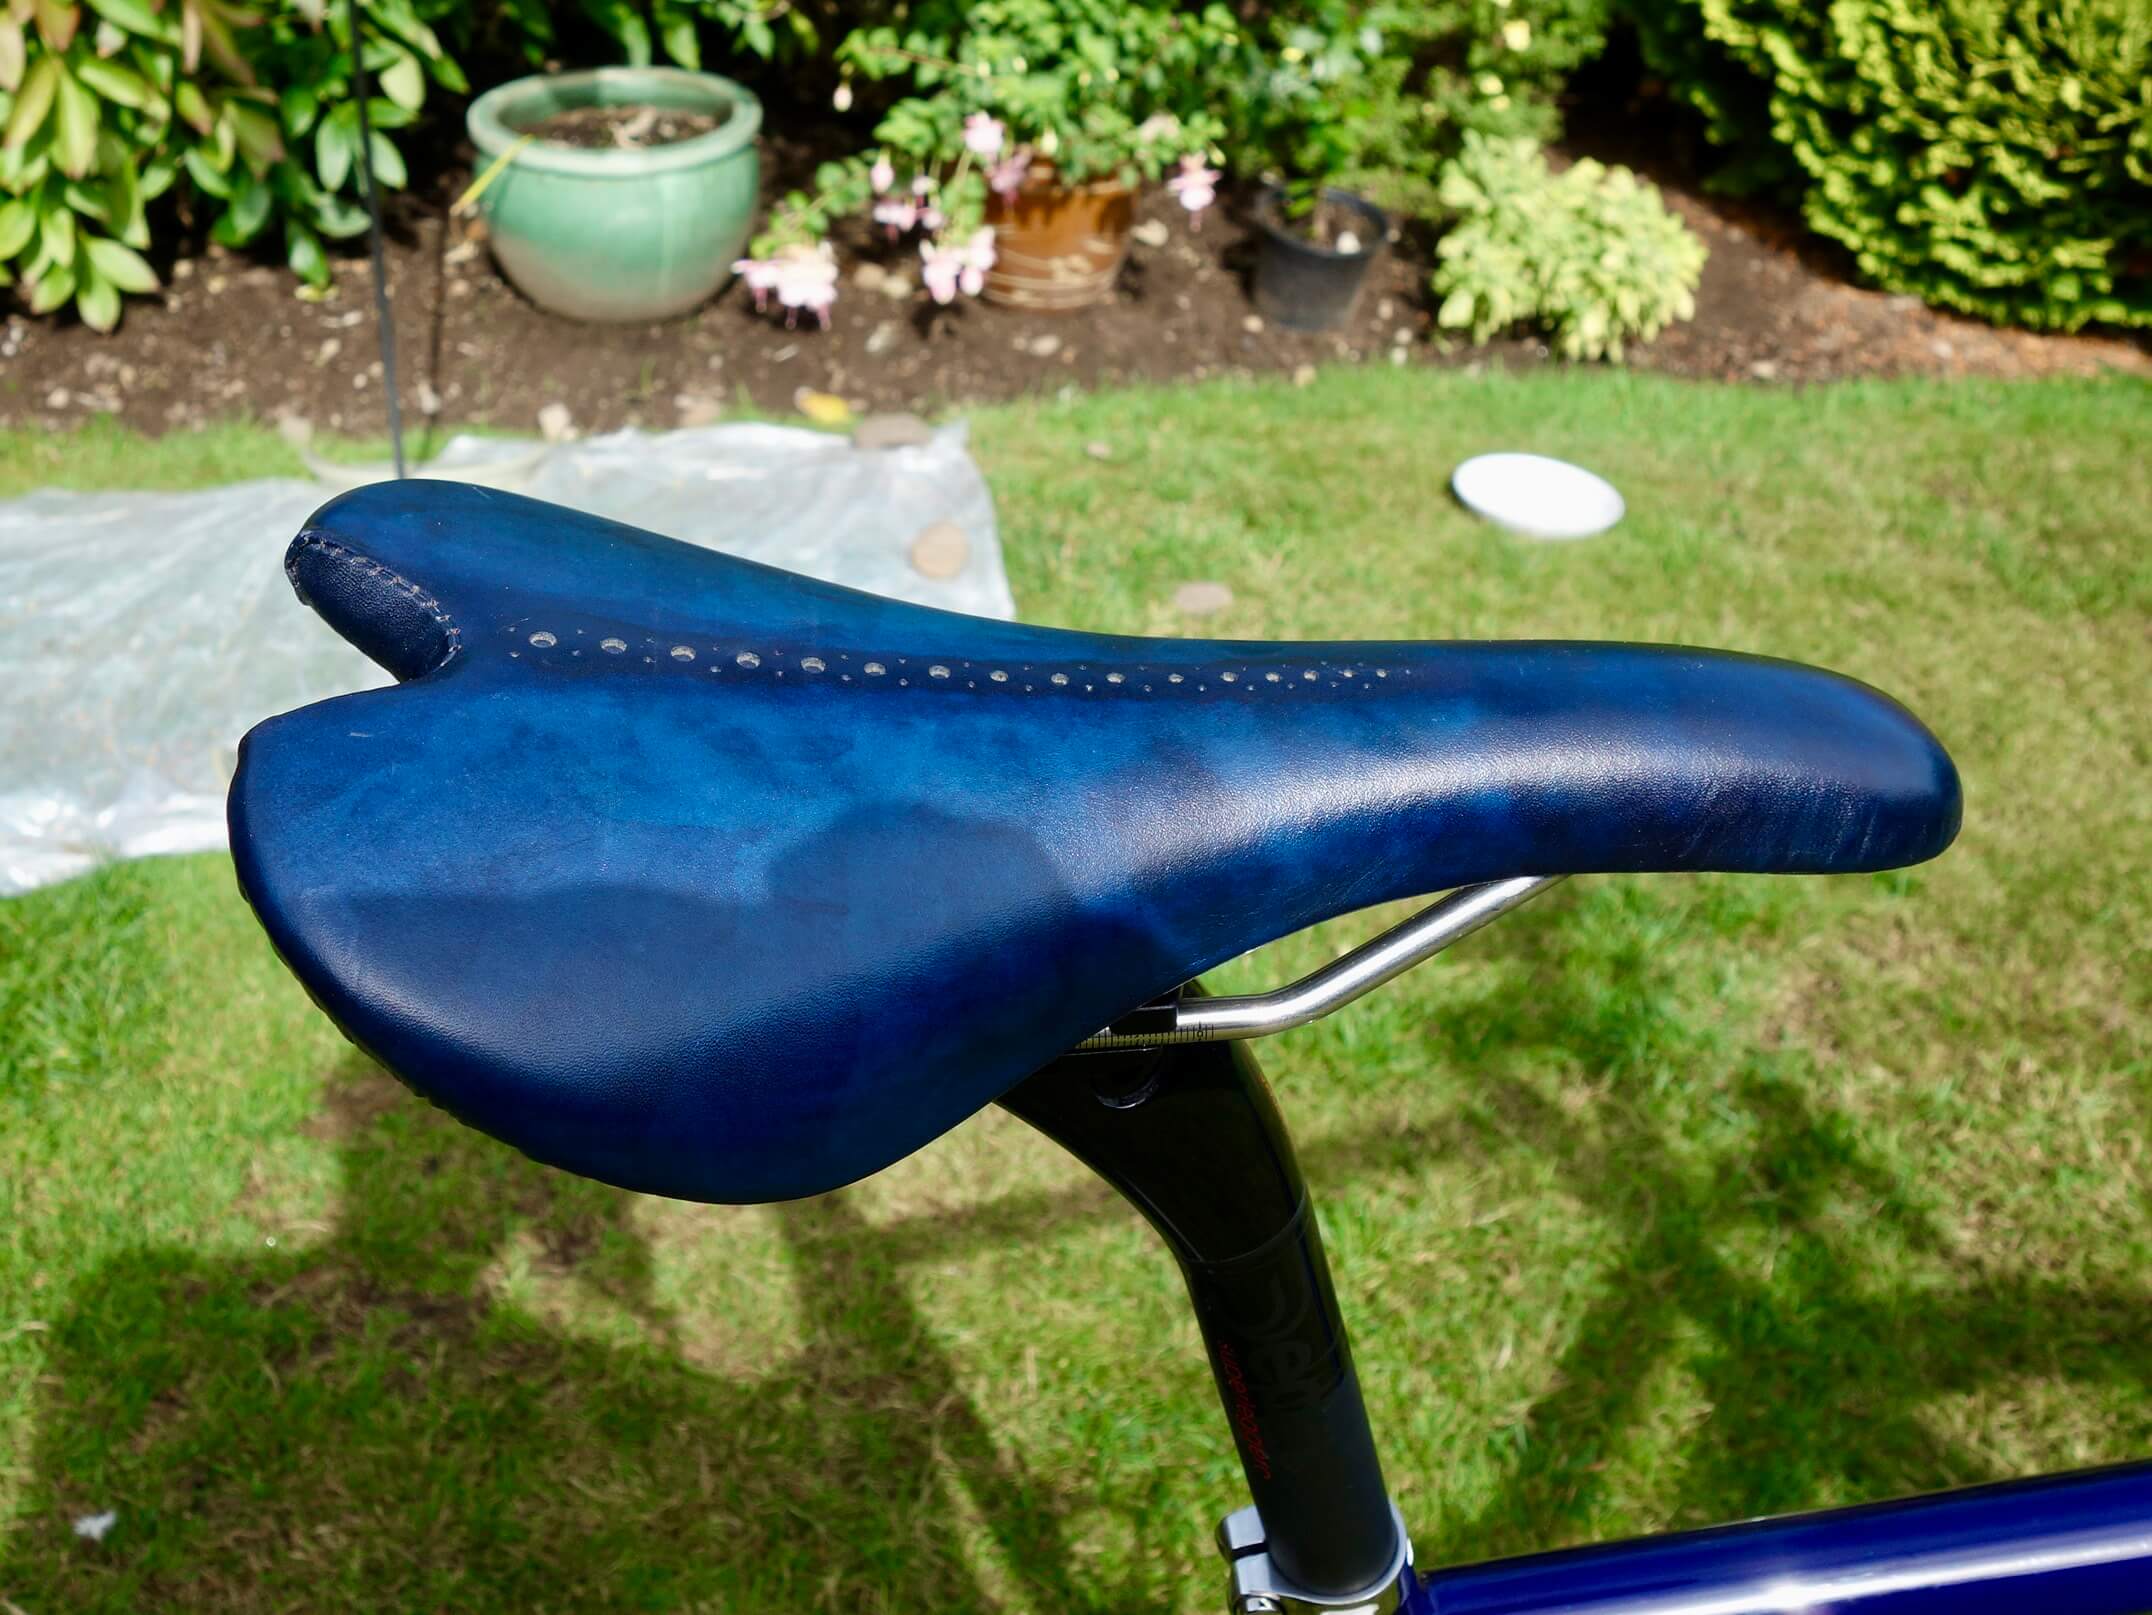
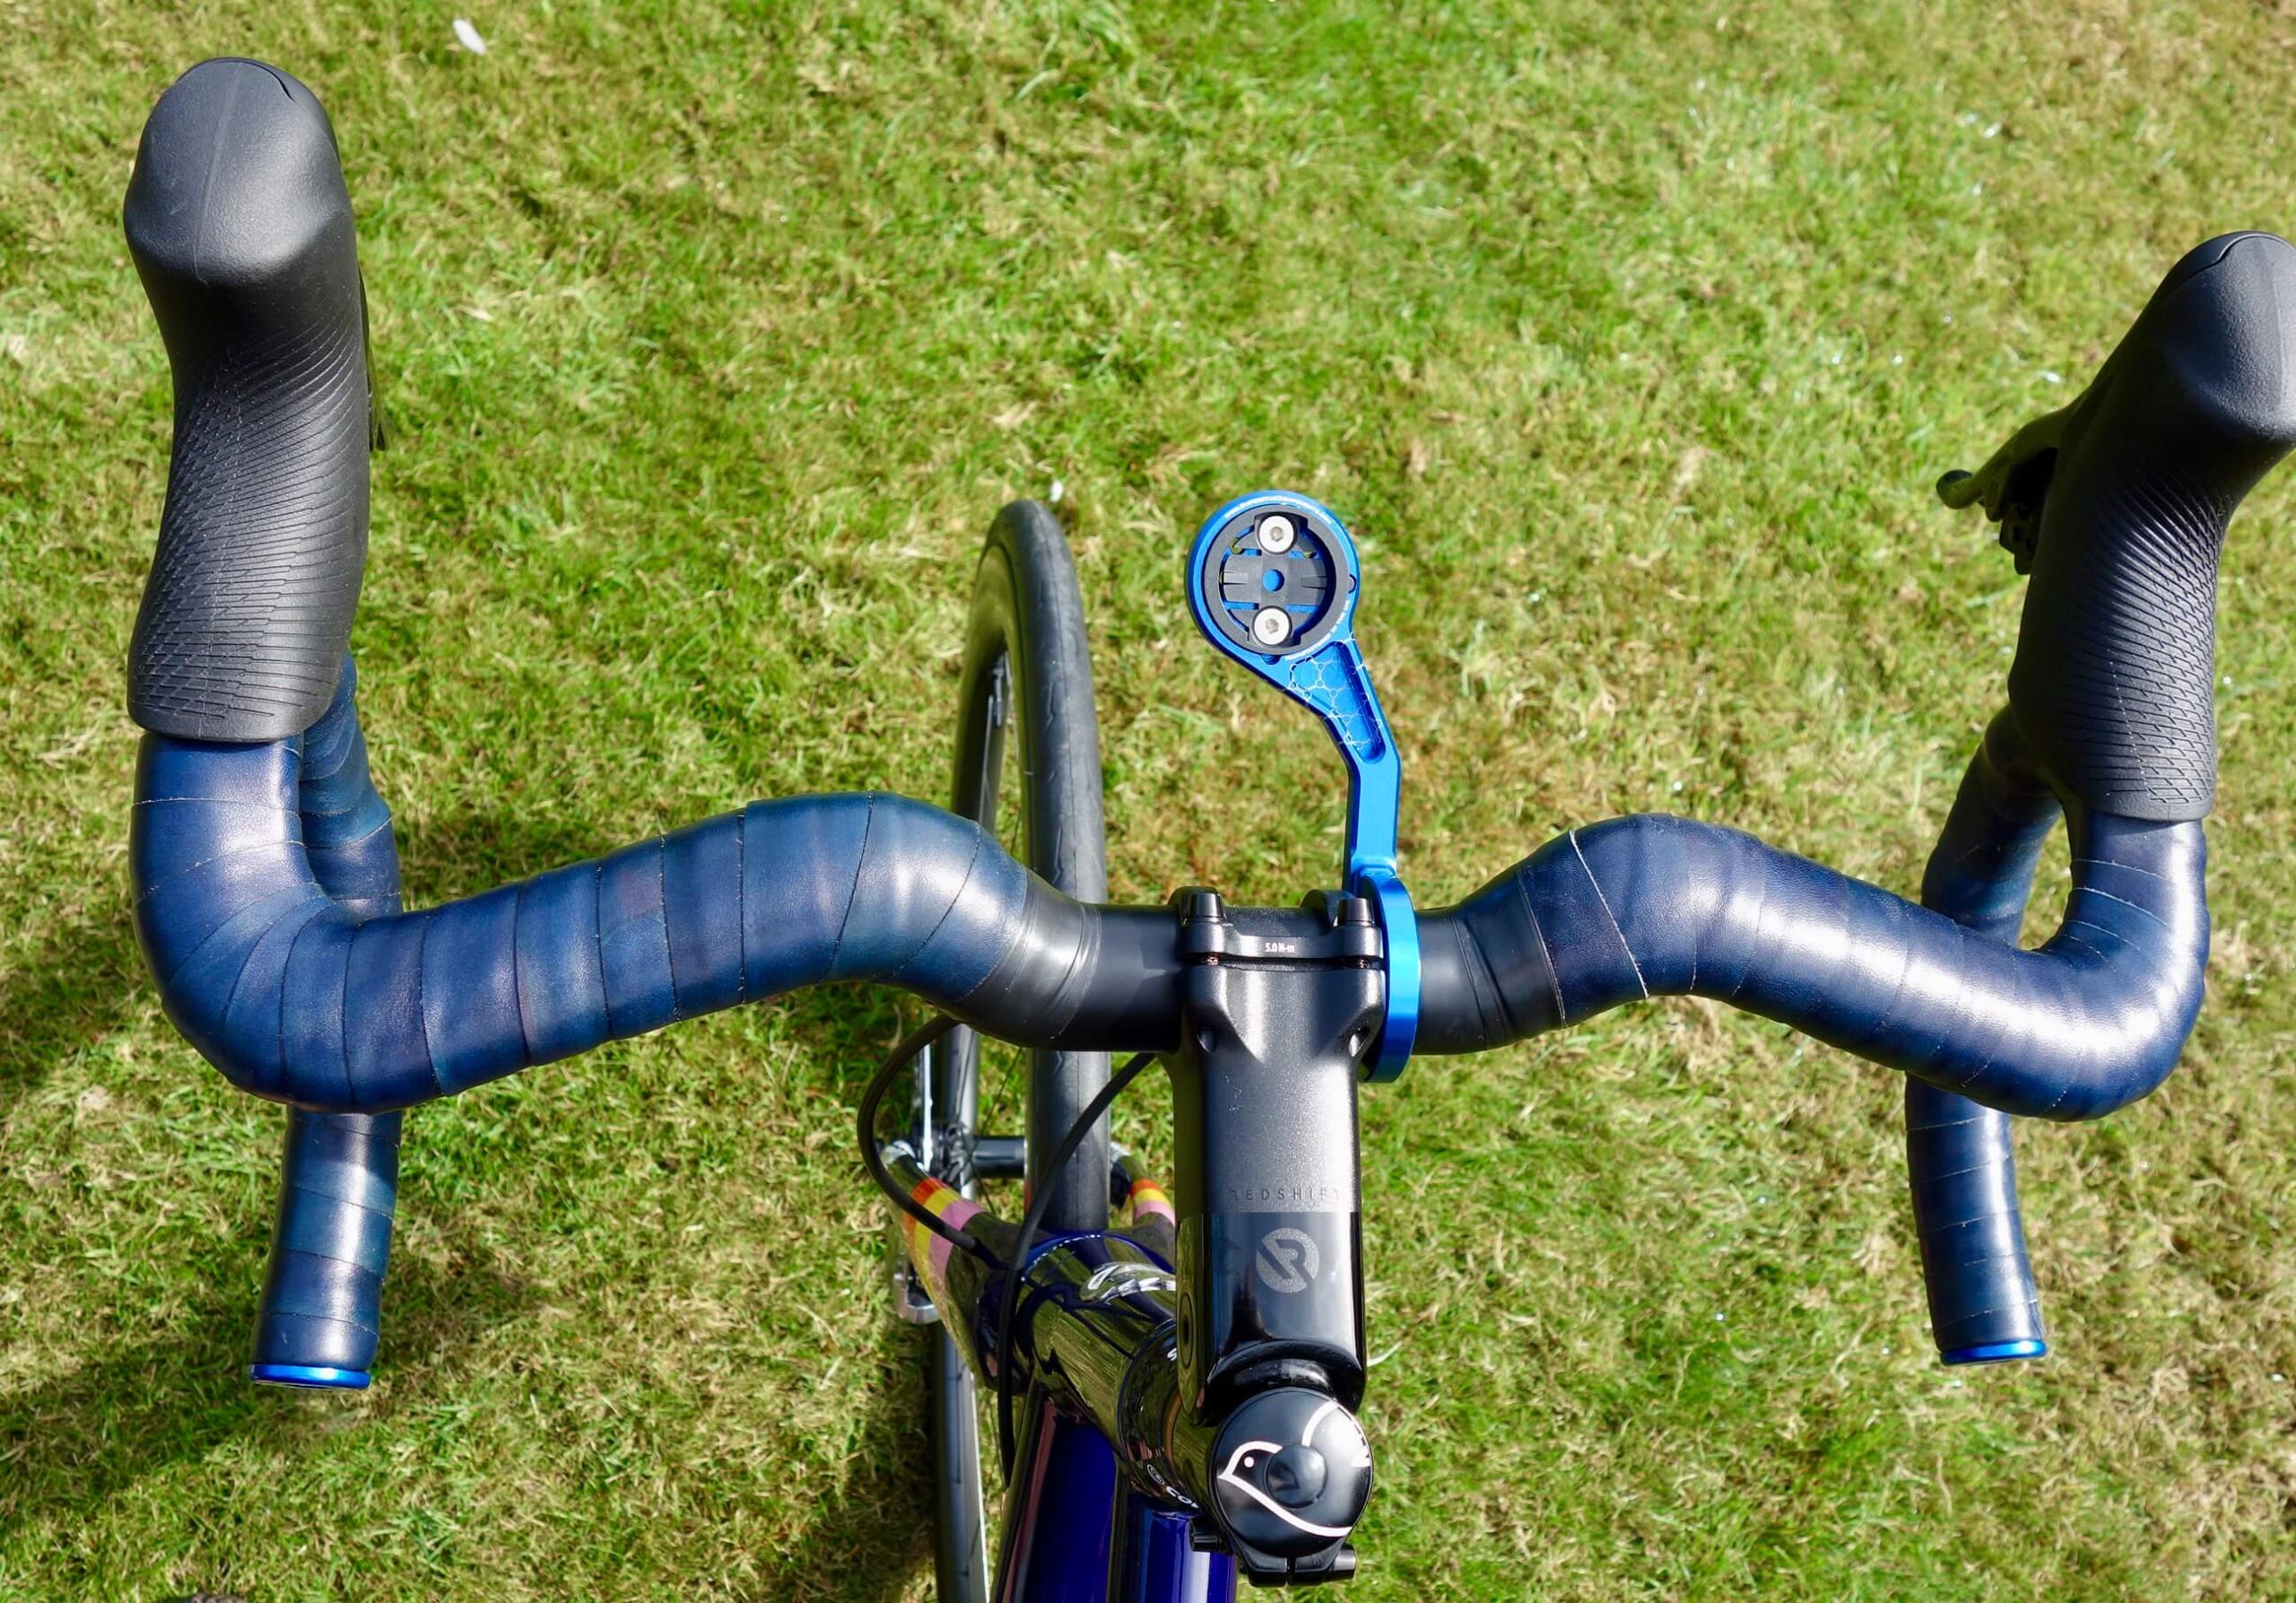
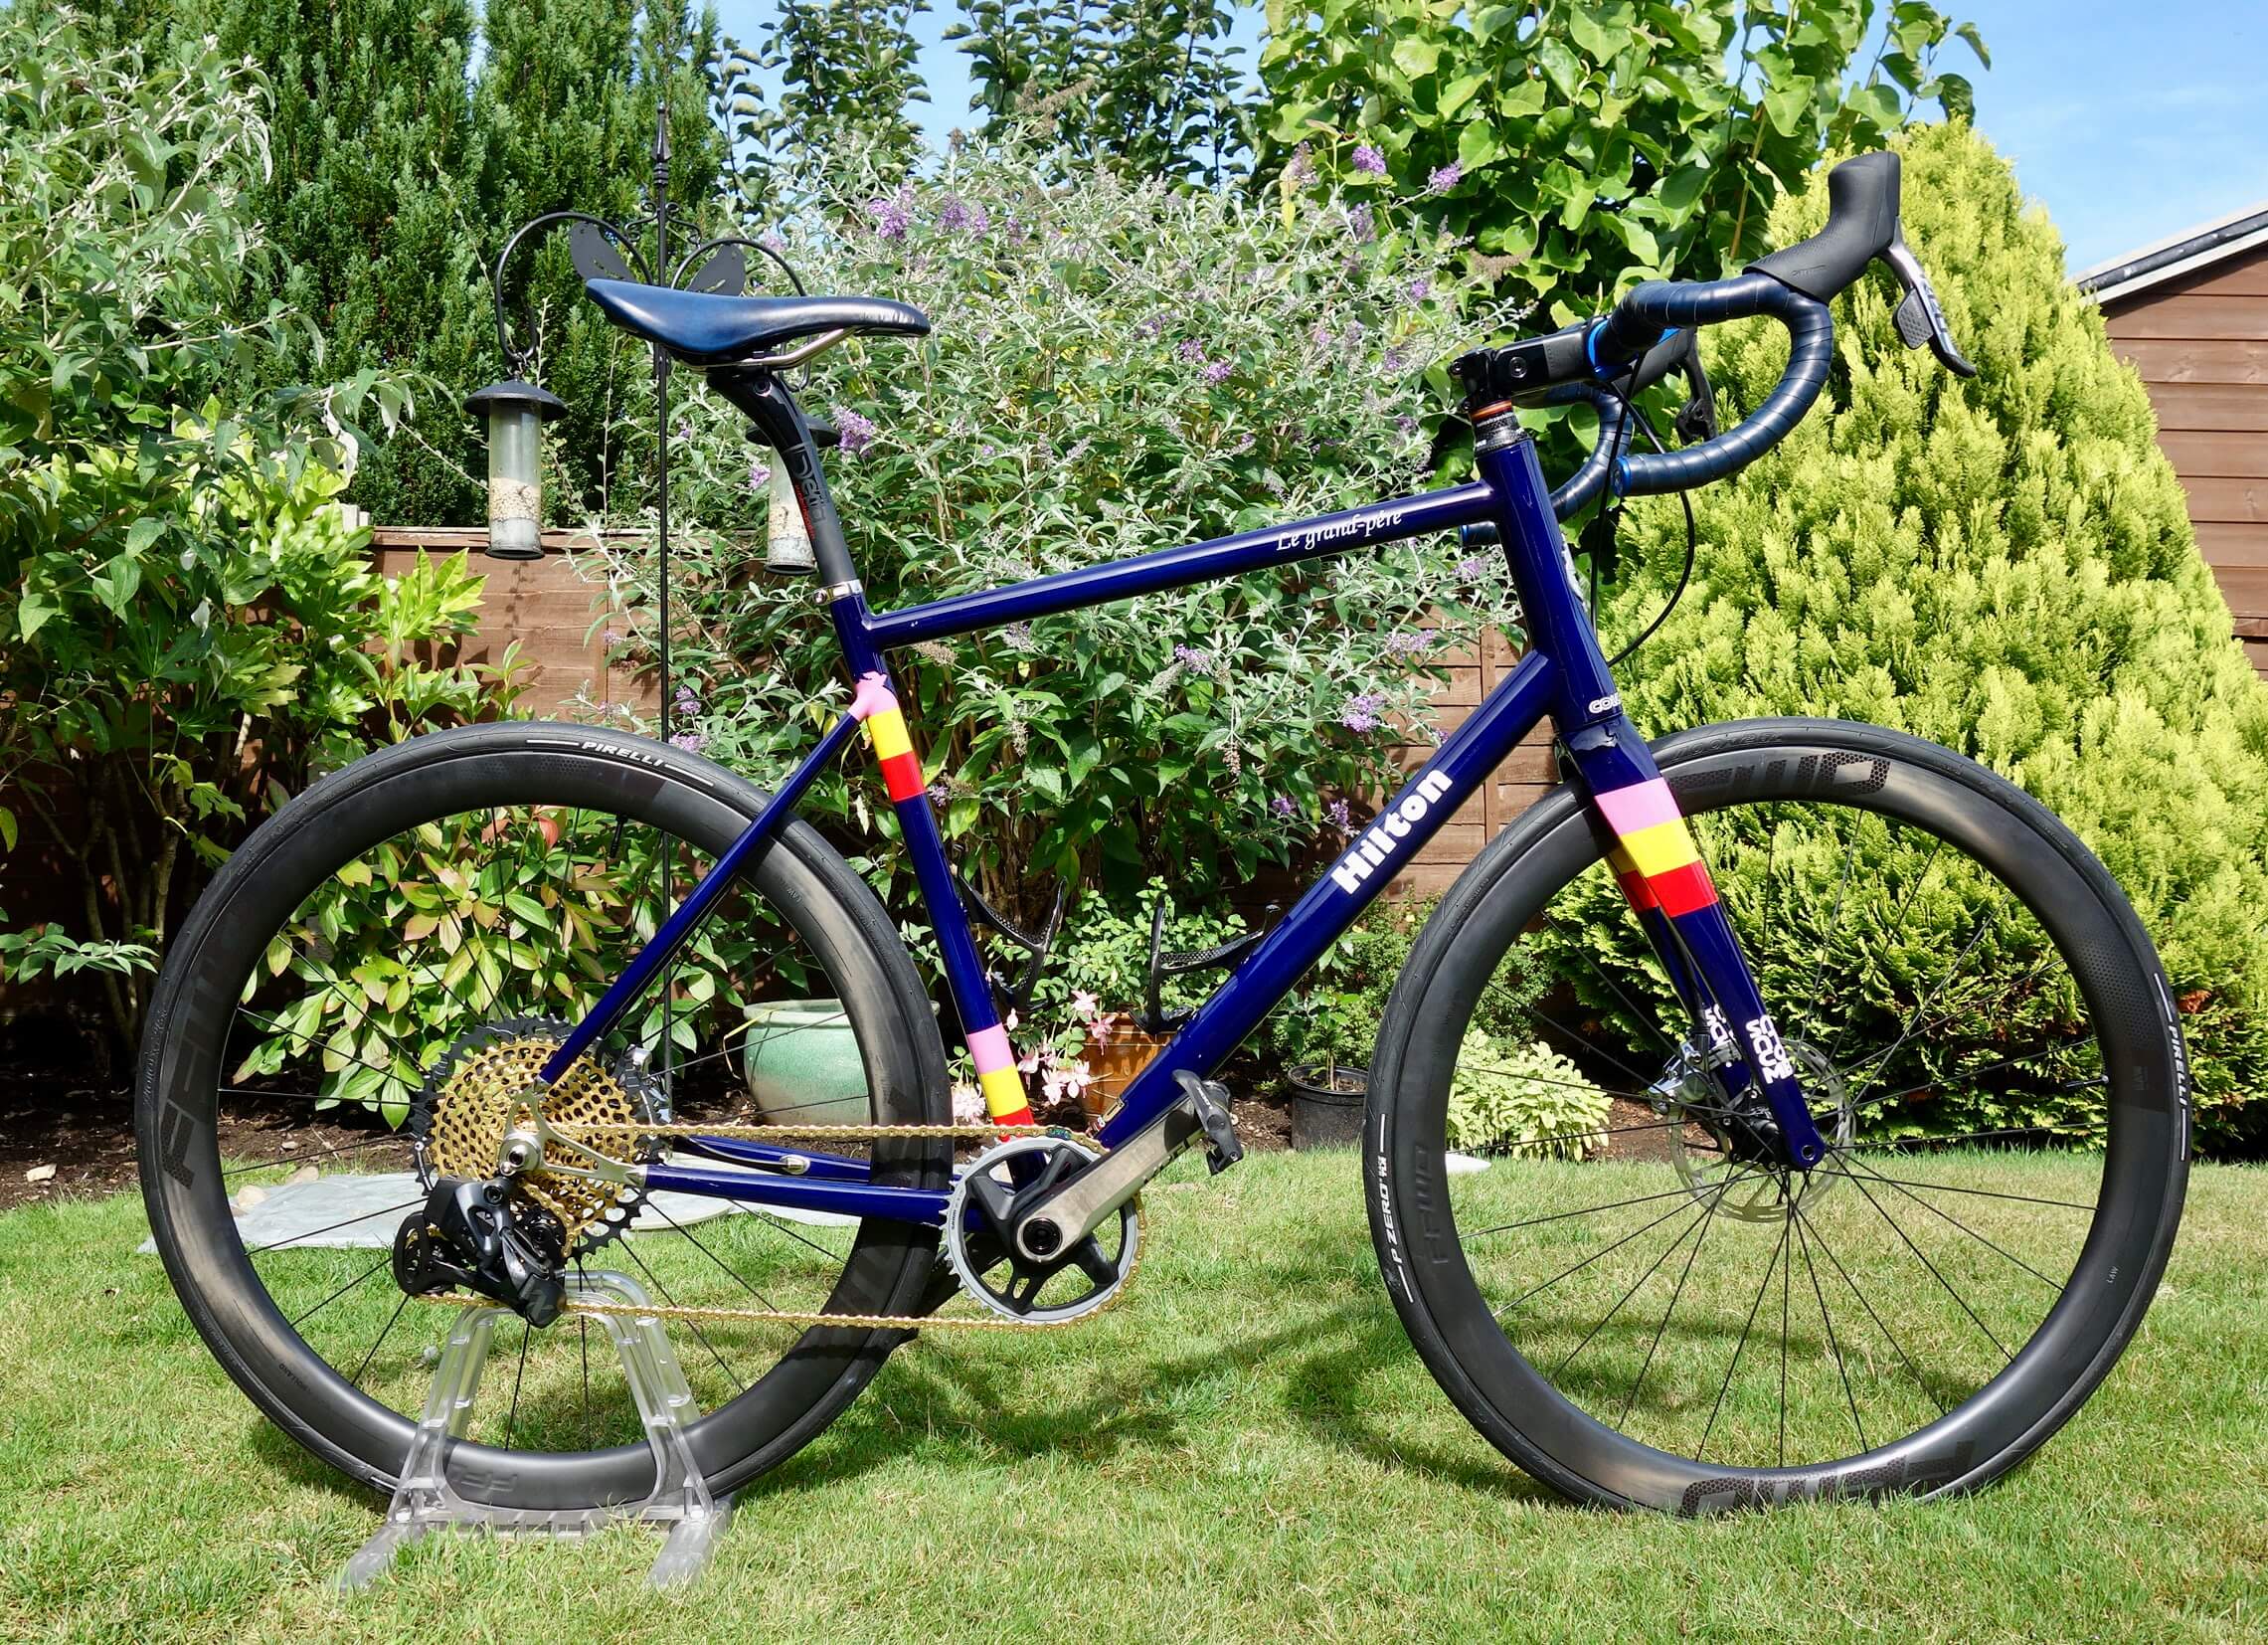
SNH 15/9/22

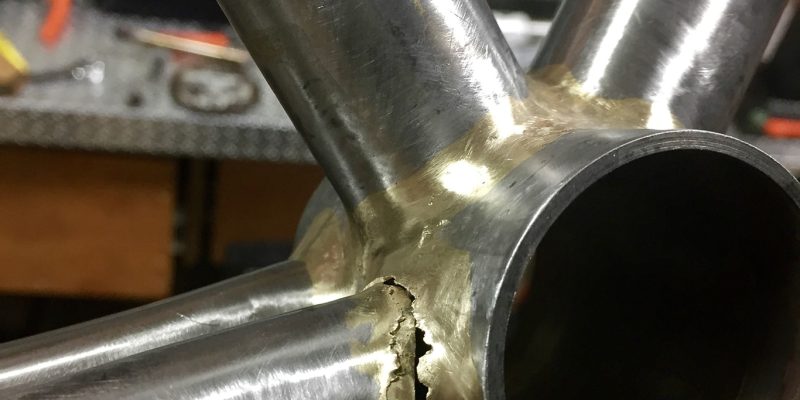

2 thoughts on “A Grandad Road Bike”
Just discovered this site, fantastic resource and great builds!
In case you didnt know, Columbus do an SLX fork for 30mm tyres with mudguard eyes, its a slightly oversize road fork and very nice, have one on my Enigma Excel, purchased from Ciclocorsa site, (1 1/8 to 1 1/4”)
Thank you for your comments Simon.I wasn’t aware of your suggestion. Ciclicorsa seem to have a larger range of options than the current Columbus catalogue at Ceeway. The head tube on the Cento tubeset and matching headset is for a 1.5″ tapered steerer. My thought was, as the rear end of my frame has much wider clearance I could convert it to a gravel type bike by switching the forks, though I doubt I will.