
For my last three frame projects I chose a tapered head tube for a tapered fork steerer 1 1/8 – 1 1/4, mainly because available carbon forks appear to be all this size or bigger. I have an Ice Toolz Head tube reaming and facing set, which was the cheapest on the market and has the 1 1/8 size. The 1 1/4 (44mm) diameter, however, was not even listed on their website. I guess I could possibly source a complete tool from another manufacturer but, as with other tools, this will be very expensive. Given the success of making my own T47 taps I thought I would give making my own a go.
FACING CUTTER
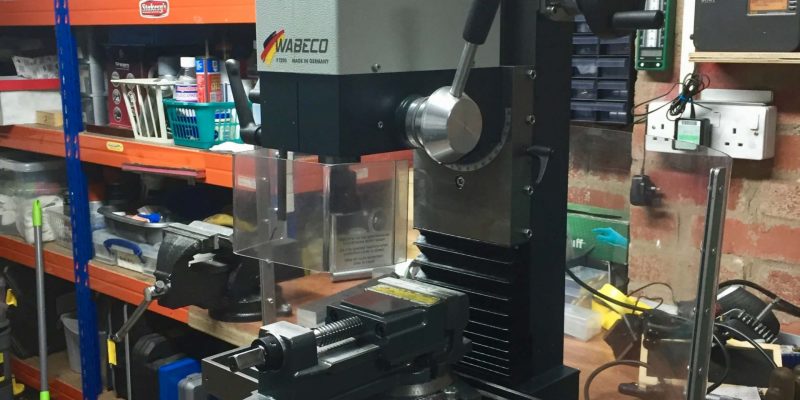
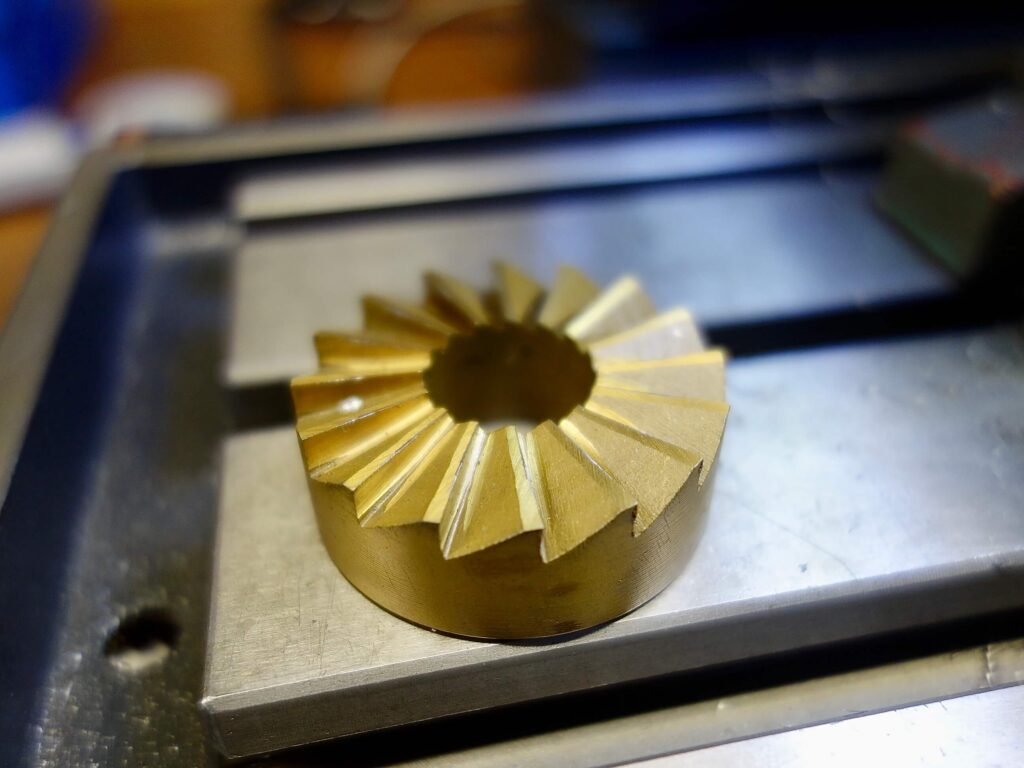
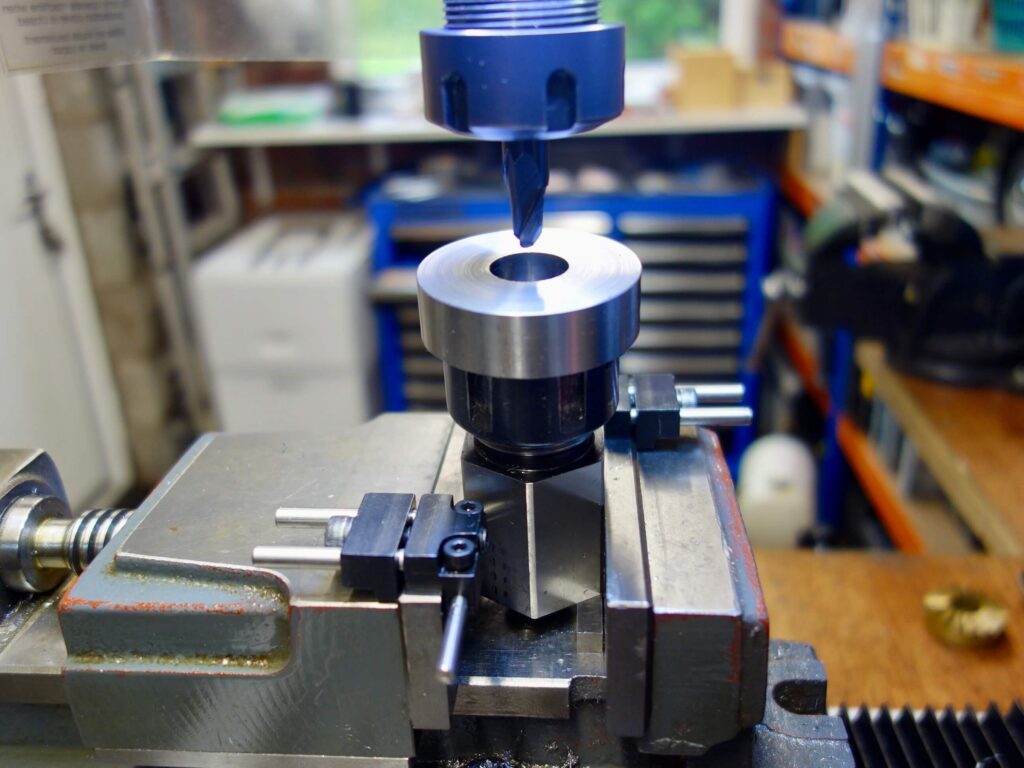
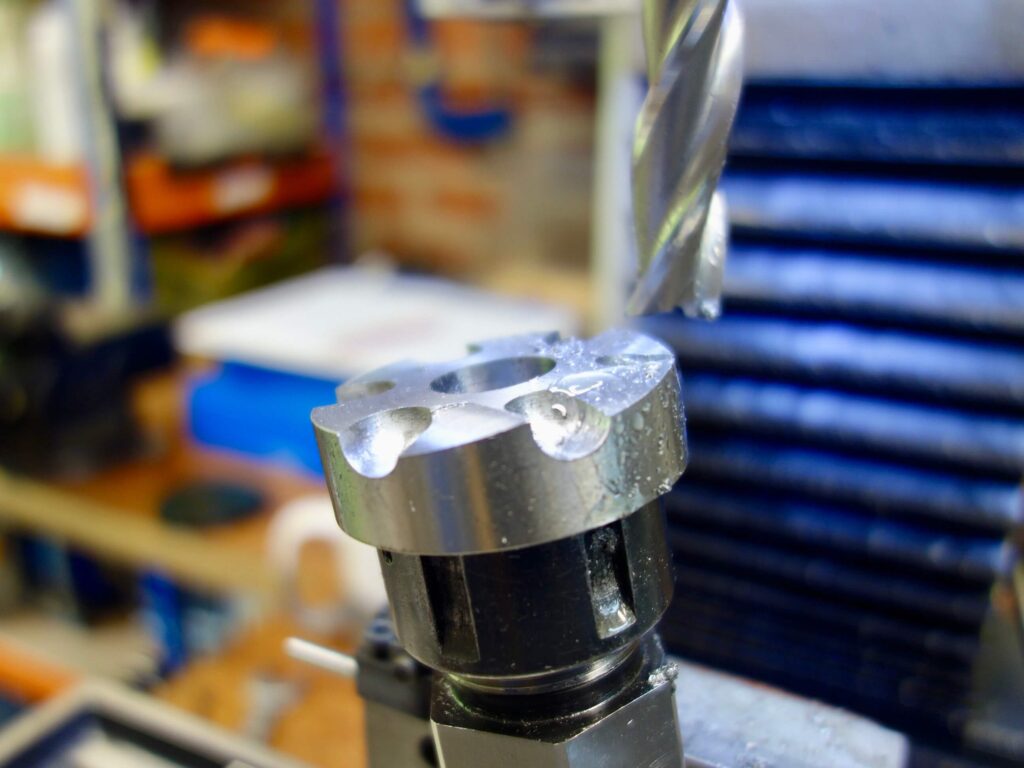
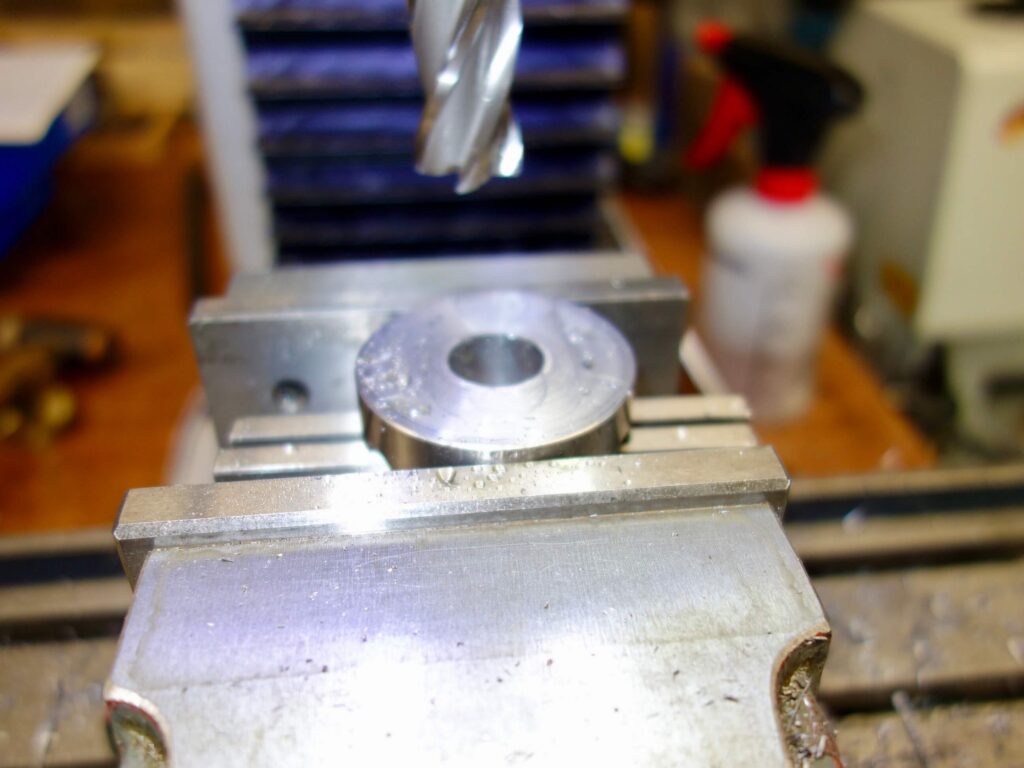
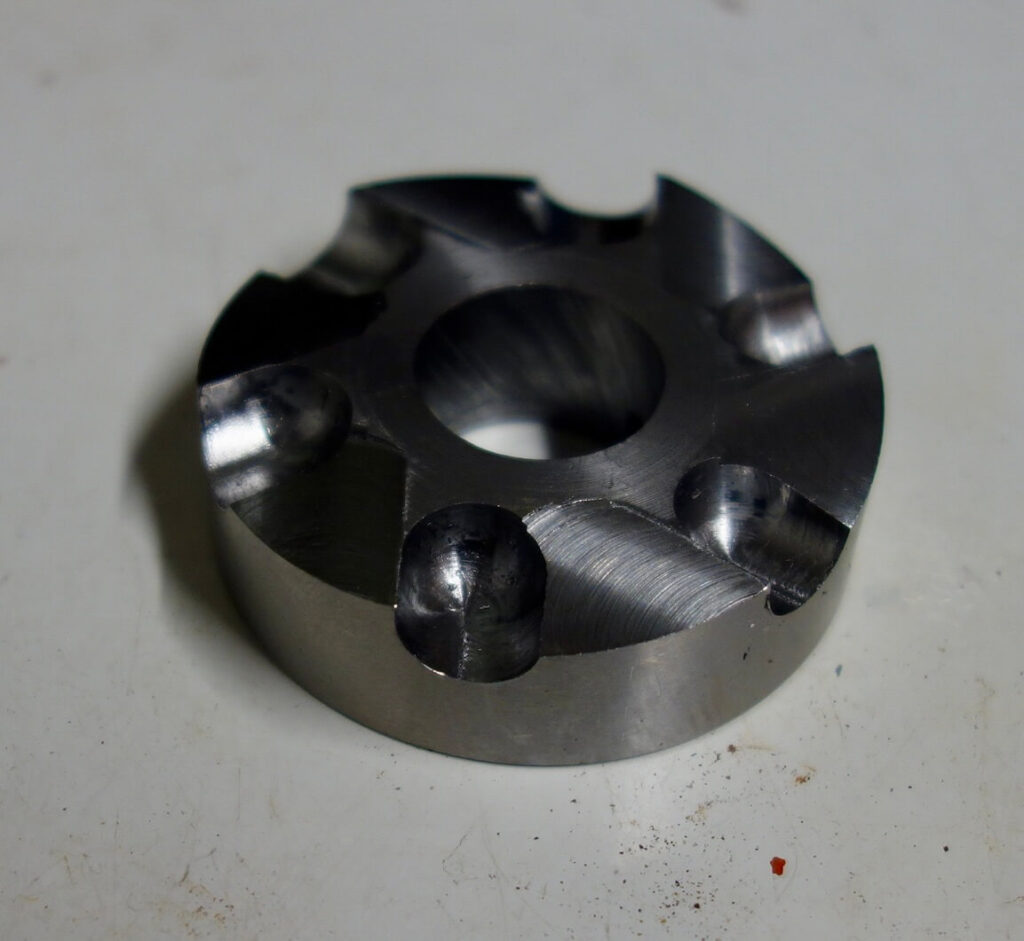
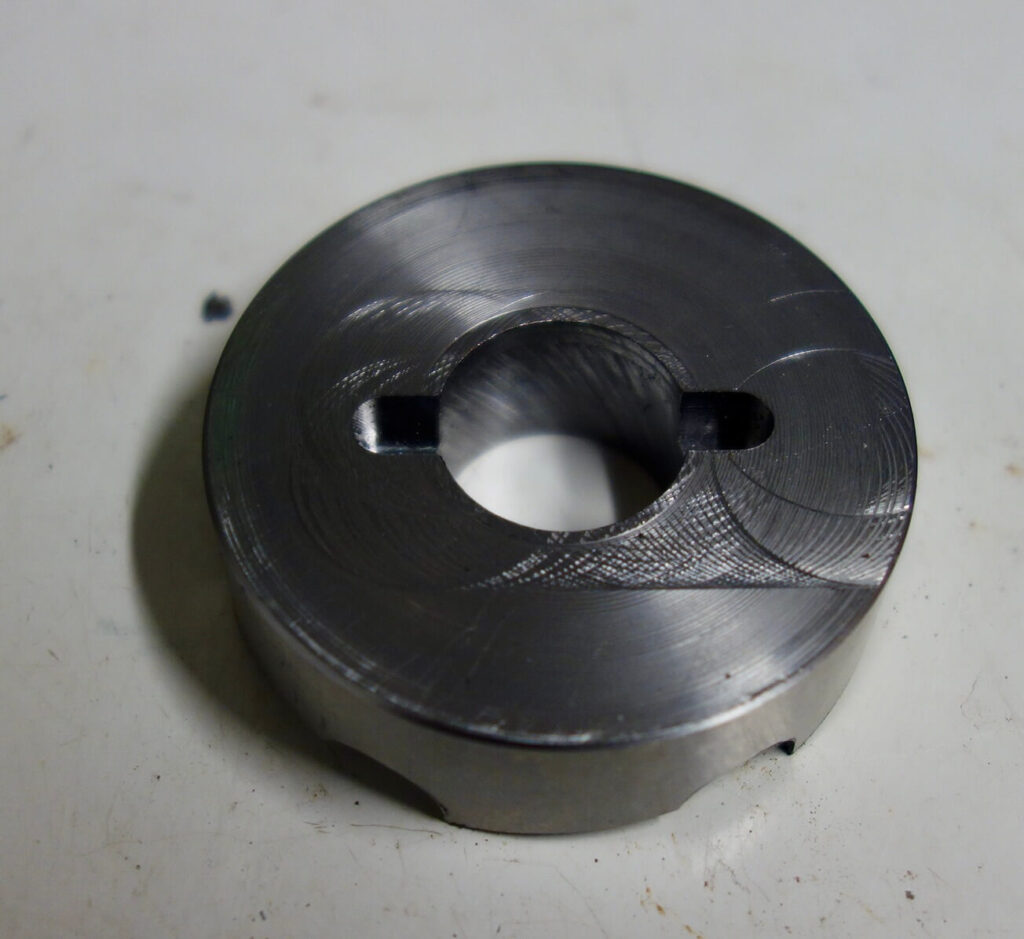
It was not possible to replicate the design of the original with the available tools. I initially cut a blank from a 2 inch (50.8mm) piece of silver steel with a narrower (20mm) shaft to set it in a collet block. The collet block only has 6 sides, so that dictates 6 cutting faces. The cutter bore is fractionally over 18mm, so a 16 mm hole was bored in the centre initially. The block was then set in the milling machine vice against clamp on stops so the position could be maintained whilst rotating the block. The block was also set at an angle of 5 degrees to give a 5 degree undercut, the cue for this being conventional lathe tooling angles. I used a 10mm round nosed slot mill to cut the slots to 6mm depth and 11mm from the edge, making sure the undercut was angled correctly for right handed cutting. The reason for using a ball nosed mill is it progressively widens the slot as you mill deeper, cutting a new edge with each pass. I have found this gives a better edge and neater finish than using a square mill which repeatedly runs along the same edge with each pass.
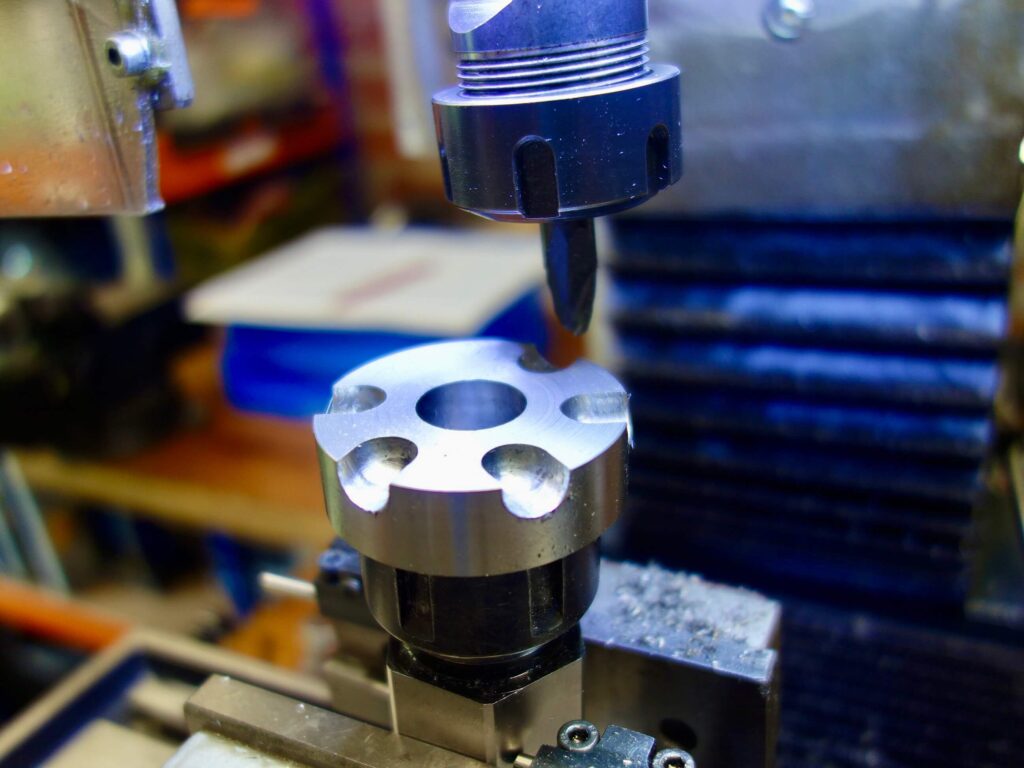
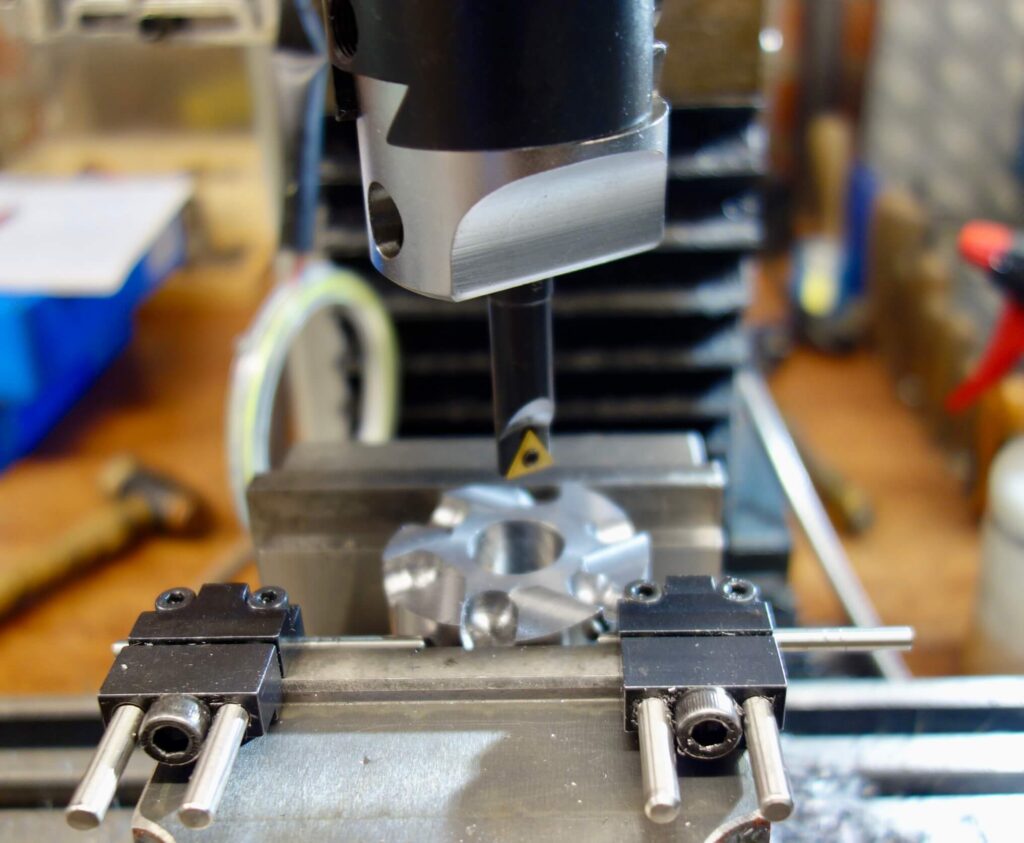
Next I used a conventional end mill to cut a top rake on the surface at an angle of 12 degrees. Then the holding shaft was cut off on the lathe and the back face of the cutter skimmed flat on the mill. The final stage involved drilling out the centre bore to 18mm, (I used a slot mill), then because the cutter bore was still too narrow I had to bore a fraction off with a boring head so it would fit the tool. Also two locating slots had to be milled in the back face to fit the cutter to the tool.
HEAD TUBE REAMER
Making a head tube reamer was somewhat more tedious. Again it was not possible to emulate the original design.
Similar to before a piece of silver steel was turned down in the lathe to 44mm diameter and max 15 mm deep with a holding shaft turned down to 20mm, about 25 mm long. Centre bored to 18mm and the face edge was also chamfered to about 30 degrees.
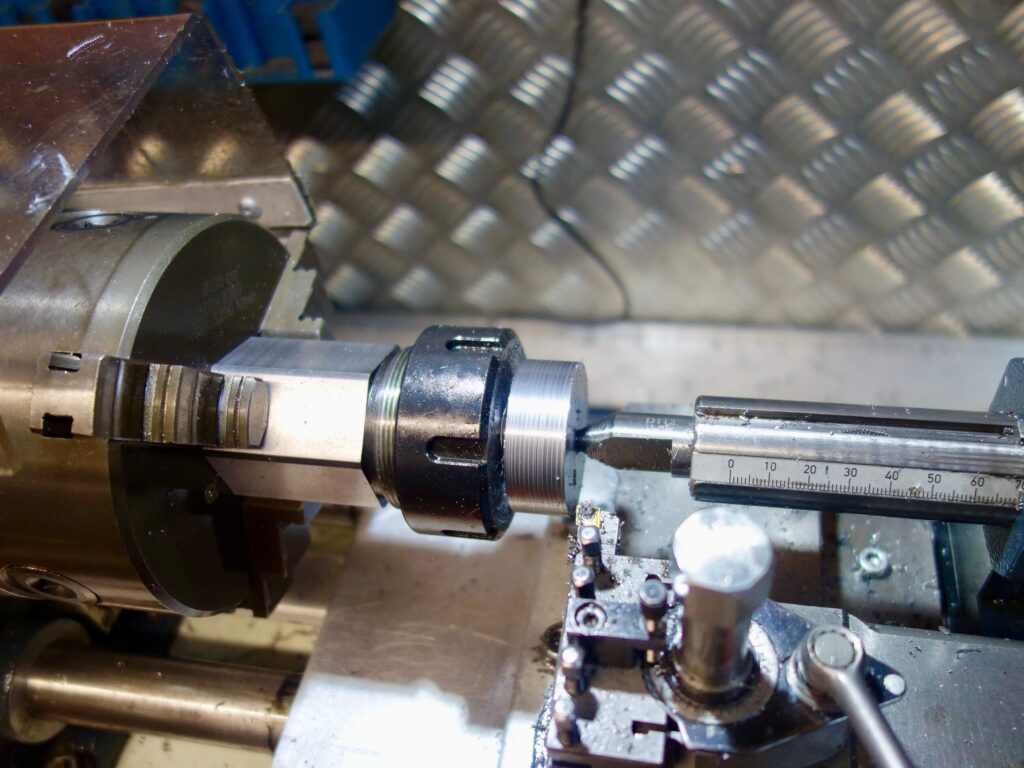
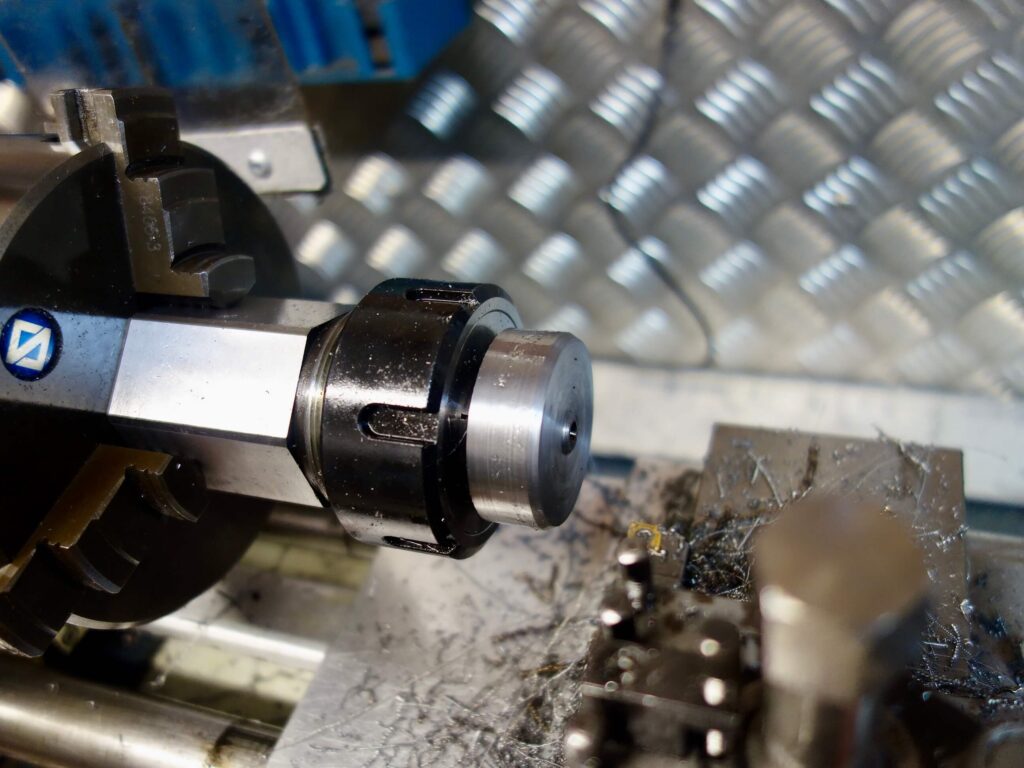
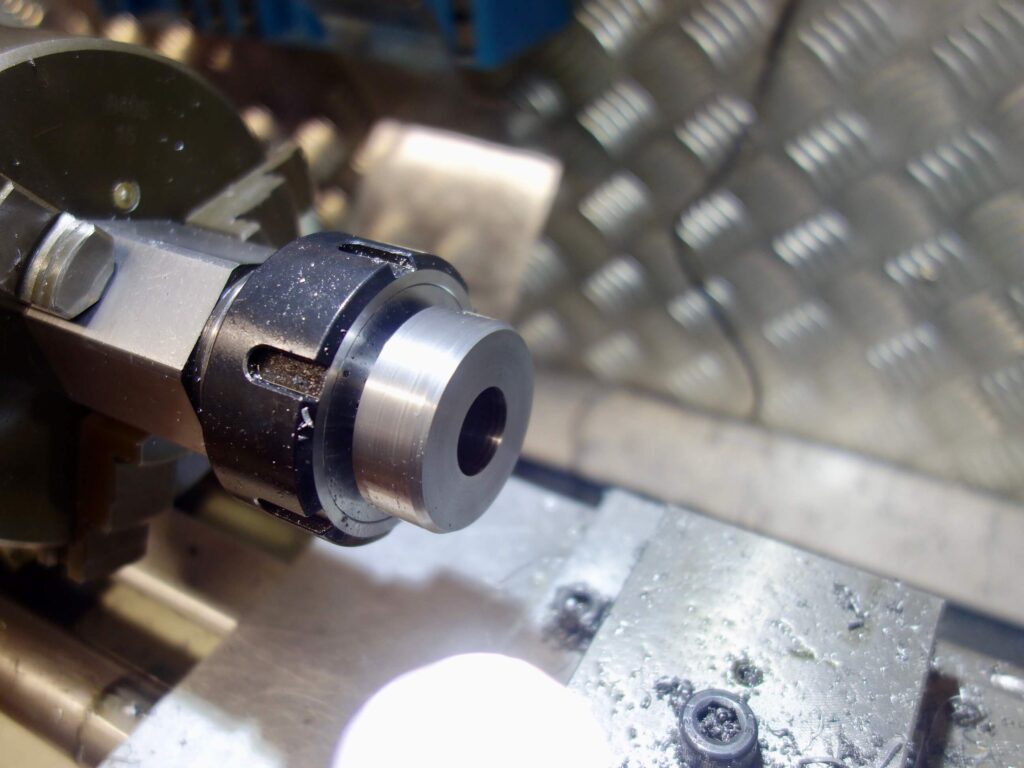
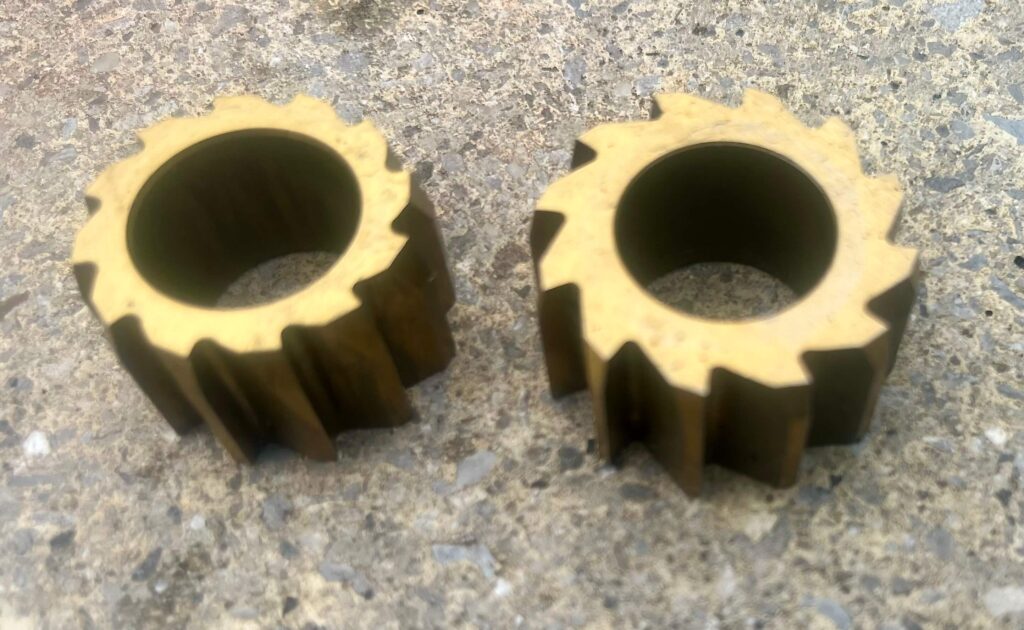
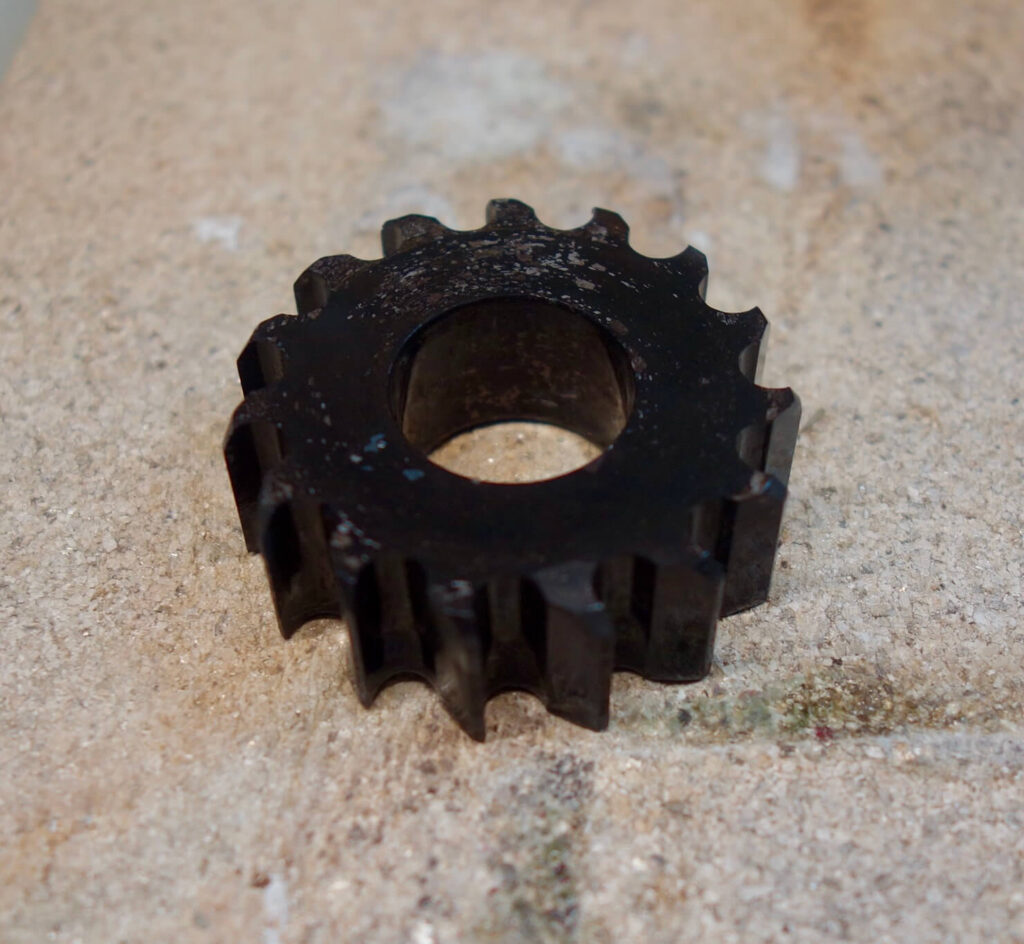
This is a description of the SECOND cutter I in fact made. The first one was successful in reaming 3 head tubes BUT it was extremely hard work! I had originally settled on 12 slots (12 teeth). I achieved the undercut by centring the milling cutter and then moving the milling table 5 mm before cutting each slot by rotating the cutter 30 degrees each time whilst it was set in a rotary table. This was followed by shaving a top rake with an end mill by hand and eye up to the cutting edge. After completing the cutter the first time I used it was so tough I used a grinder to cut a bigger top rake to give, hopefully, less friction. This improved the situation but called for an improved version with sharper undercut and more top rake and more teeth.
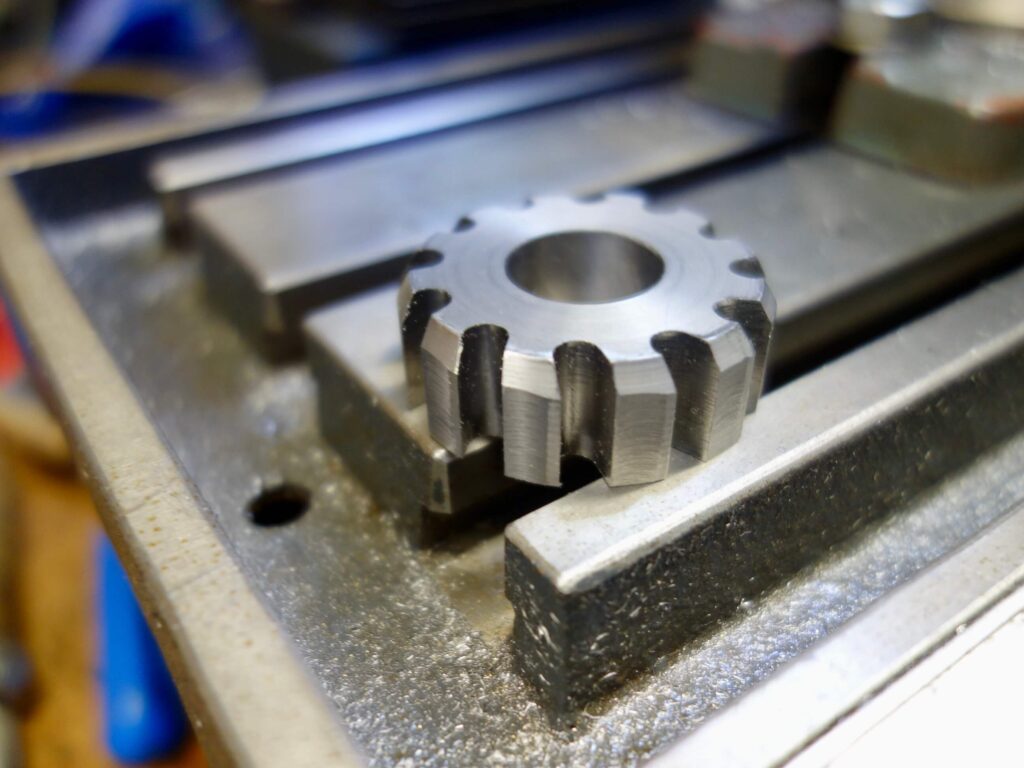
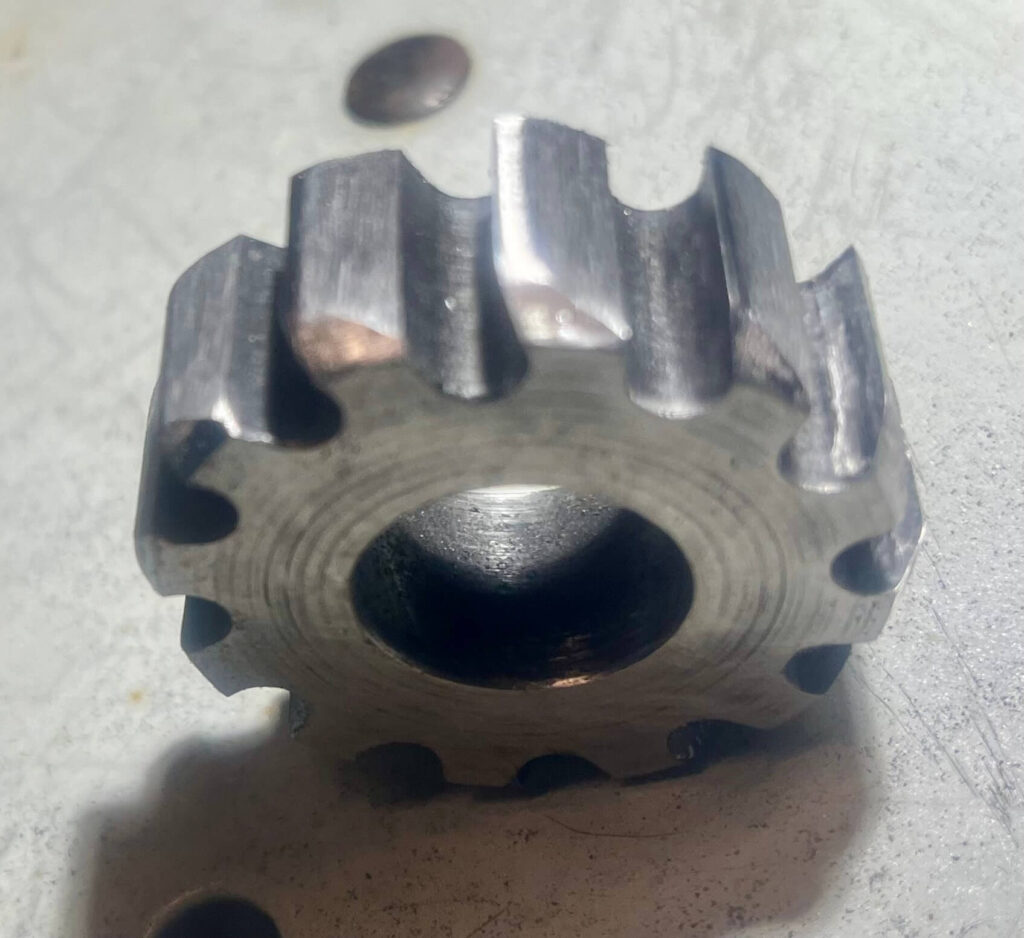
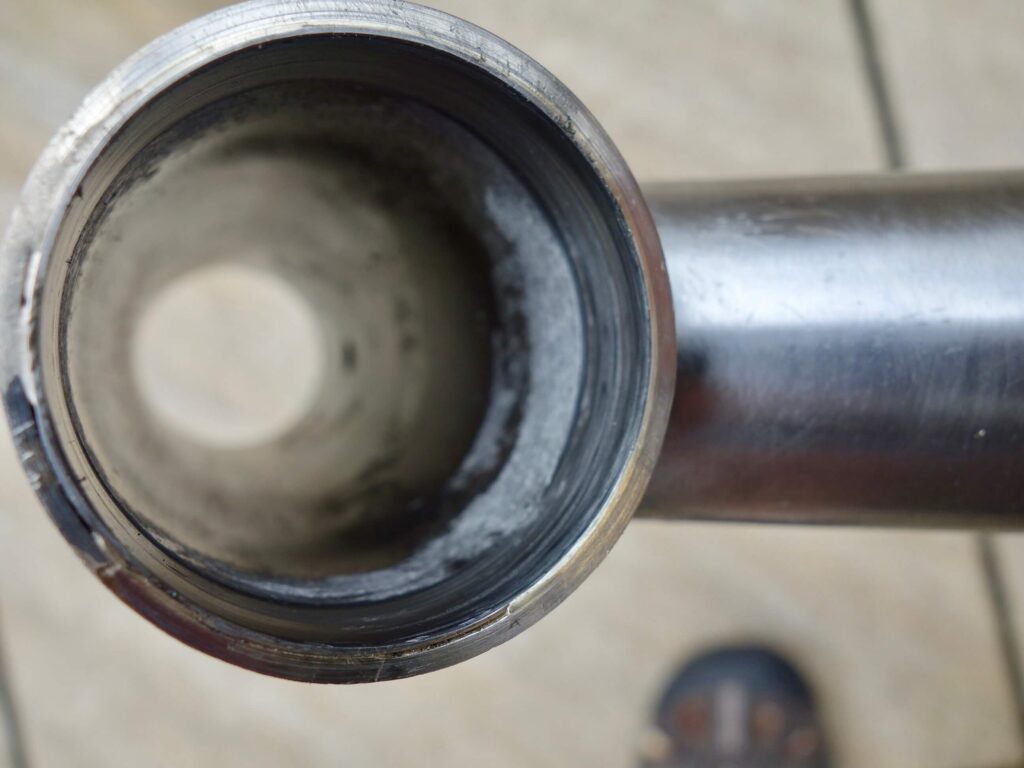
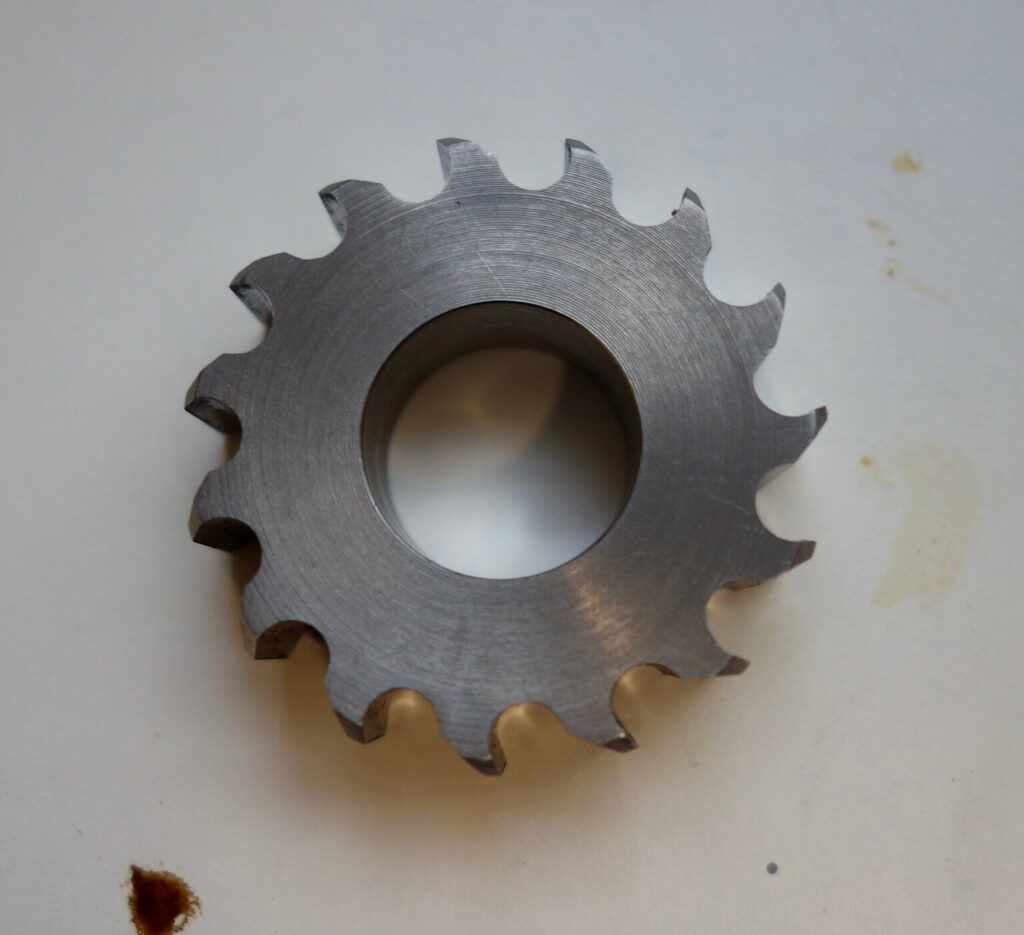
The completed original cutters are shown below with the reamed result. The facing cutter works perfectly and did not require any modification.
Mark 2 Reamer (continued)
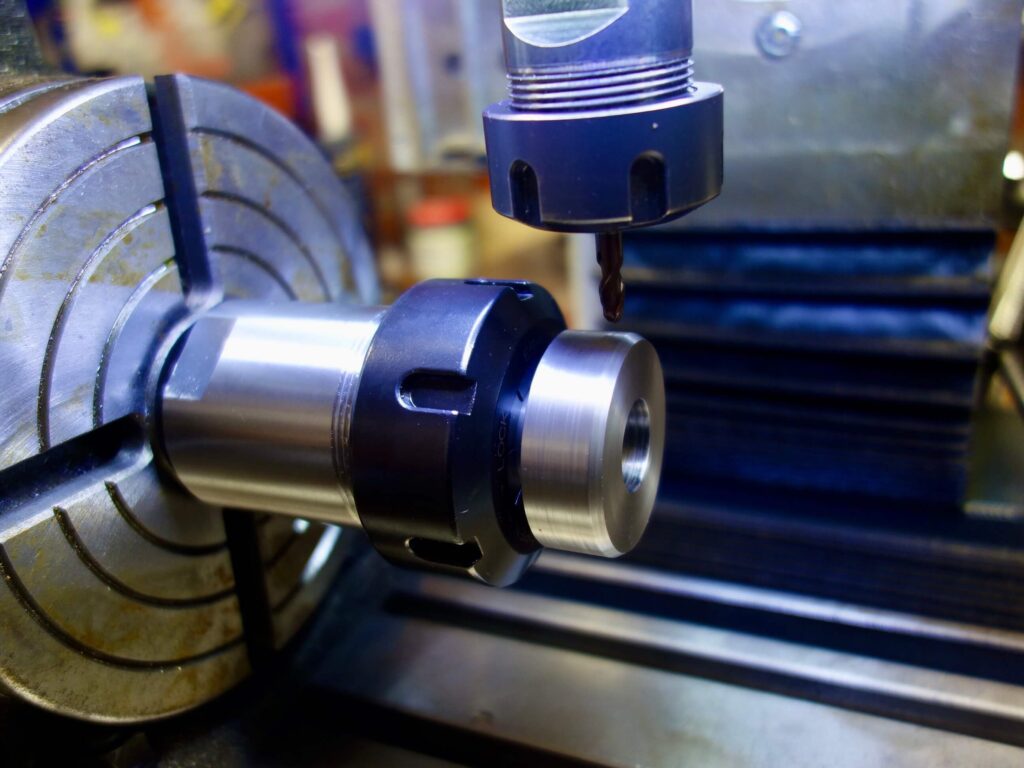
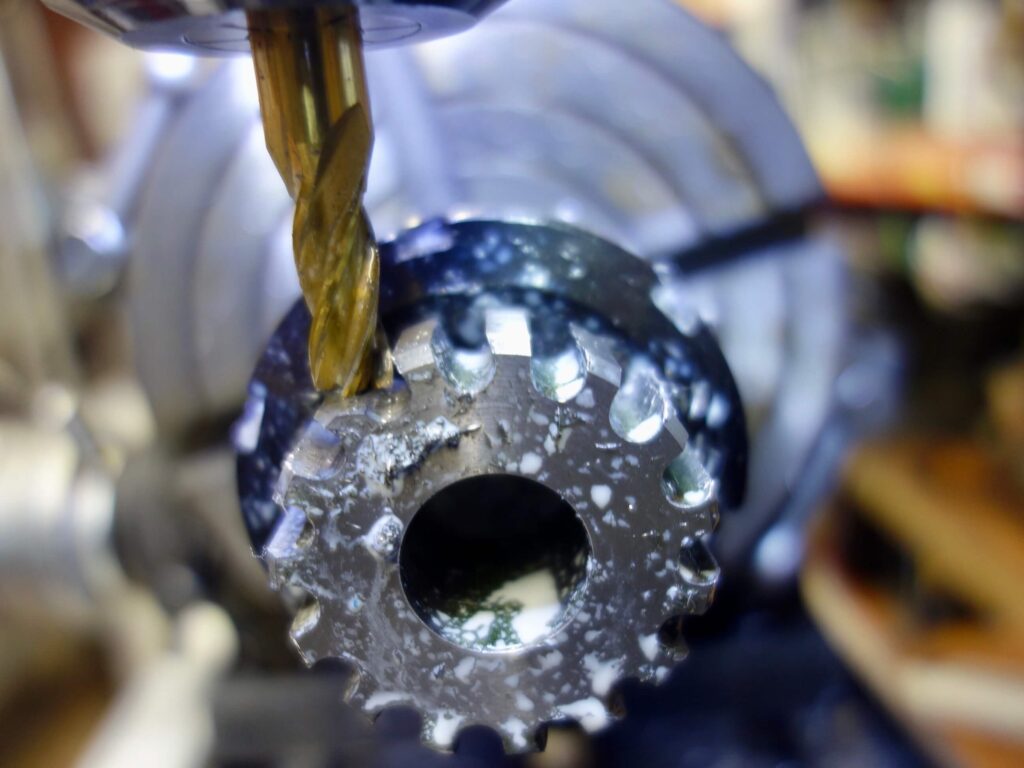
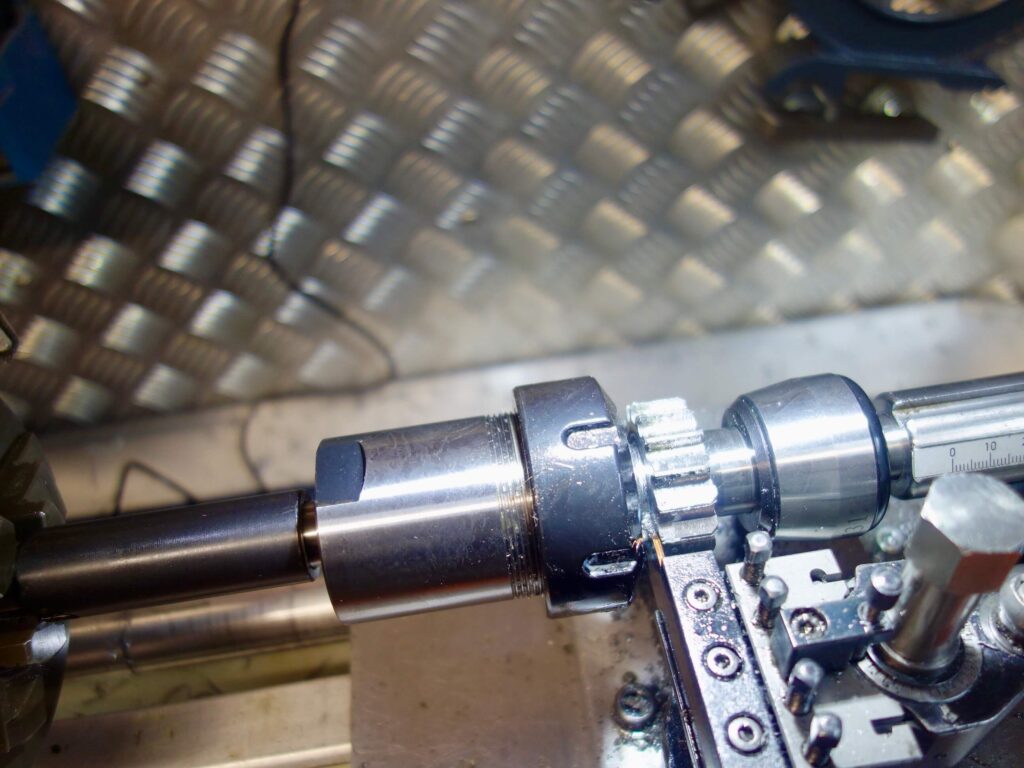
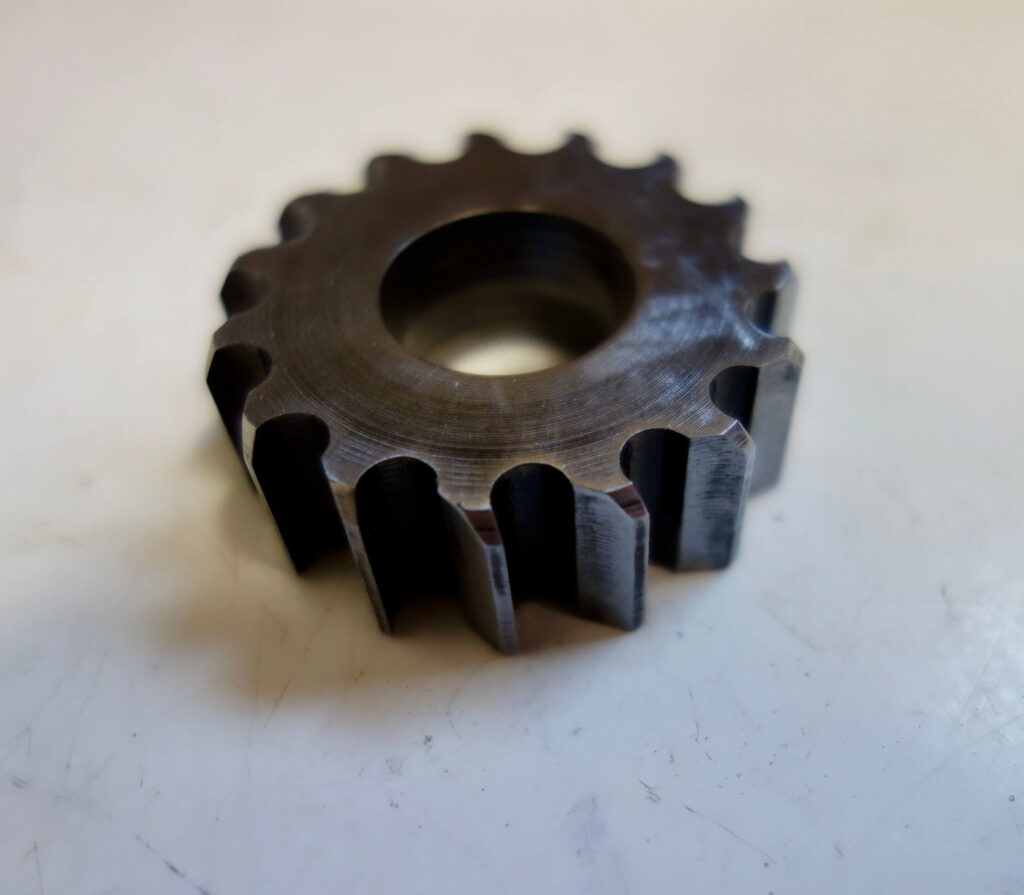
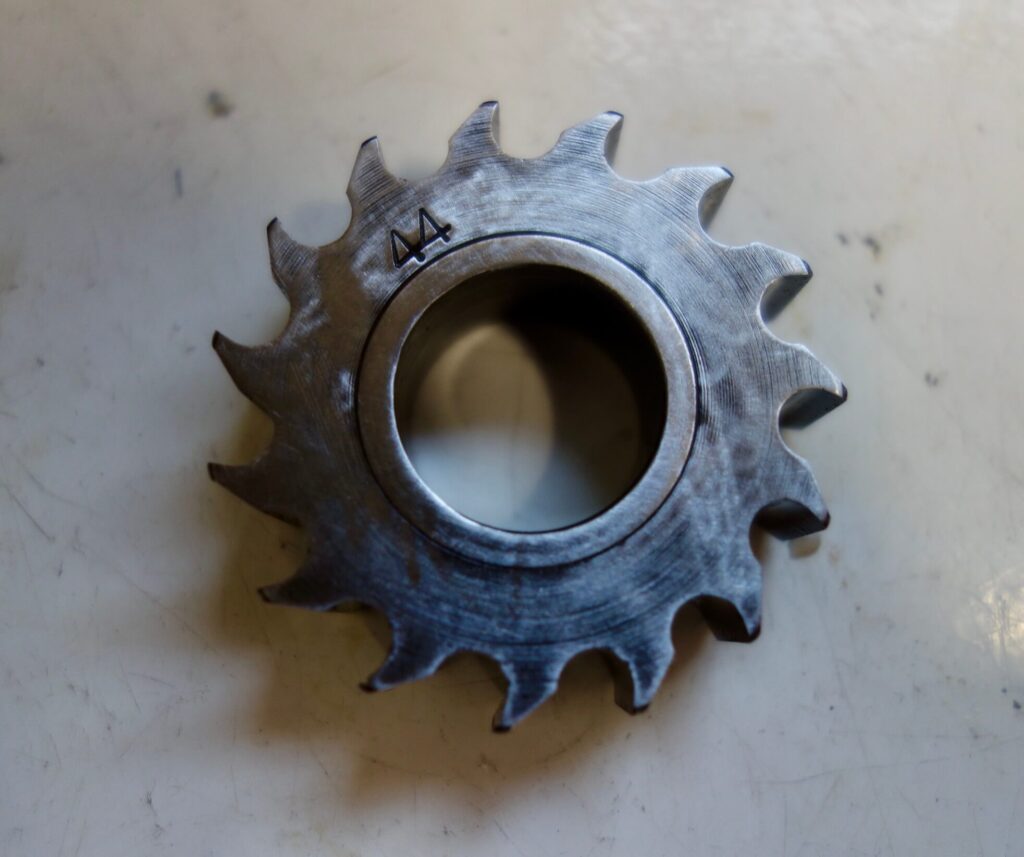
Having turned a new blank in the lathe it was transferred to a morse taper collet chuck; which can be mounted in the centre of a rotary table, turned on its side on the milling table. On this occasion I went for 15 slots, (15 teeth), cut to a depth of at least 4 mm (You can go deeper, but It just takes longer and probably will not make any difference), which would be 24 degrees apart. Rotary tables obviously have a degree scale which is accurate enough for this purpose. I offset the milling table 6 mm to give an undercut and used a 5 mm round nosed sharp carbide slot milling cutter. Make sure you offset the cutter in the correct direction to give a Right Hand cutting action. Cuts at approx .25 mm depth (or maybe a bit more) are slow and tedious but give a sharp result. Using a round nosed cutter also means a new edge is cut each time rather then re-cutting the same edge with a standard milling cutter.
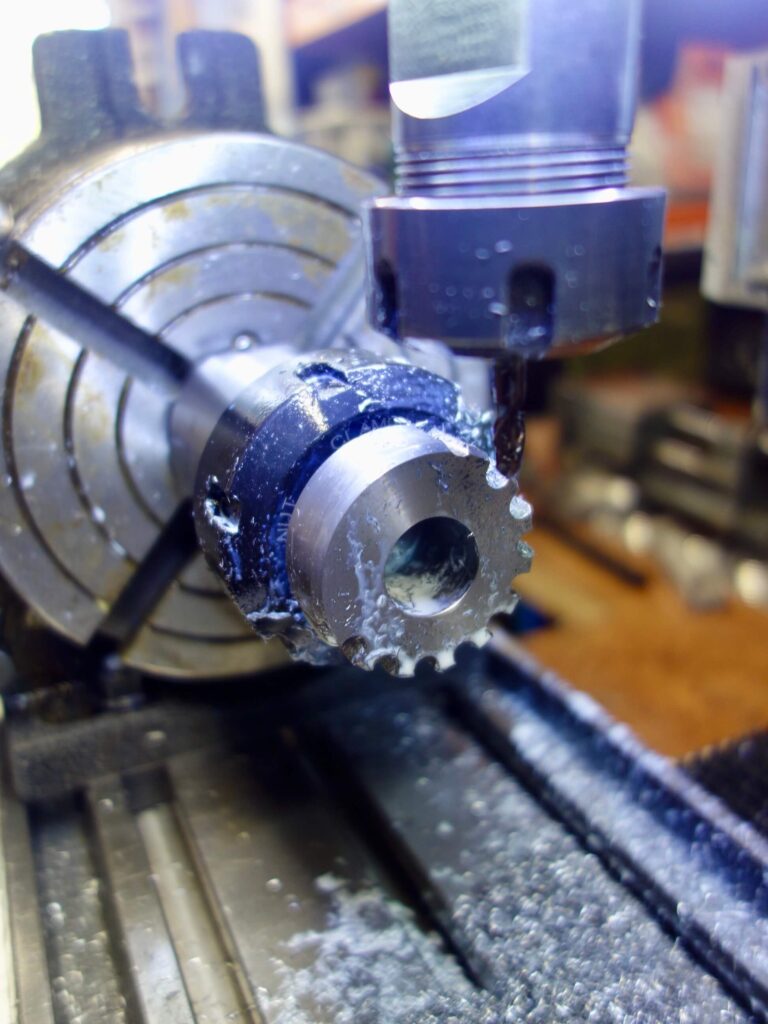
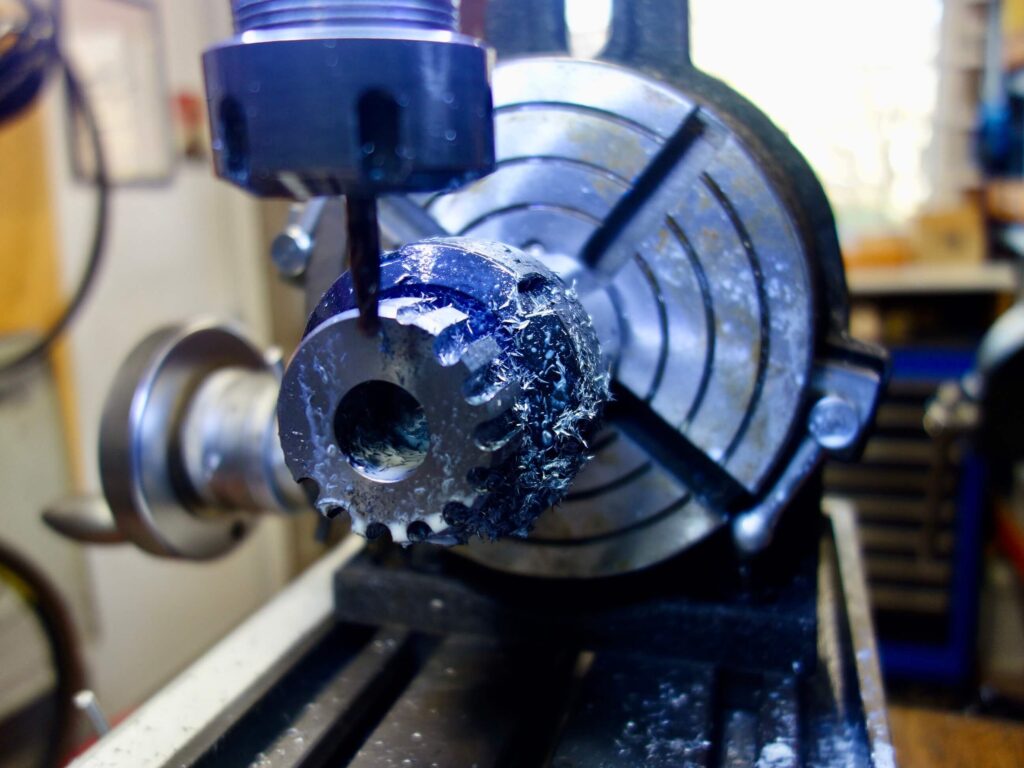
The final stage is to cut a top rake by substituting the round nosed cutter with an end mill and shaving down by hand and eye.


HEAT TREATMENT
The process I used for heat treating the cutters to make them hard enough to function was the same as described for making the T47 thread cutters: https://noviceframebuilder.co.uk/personal-articles/t47-and-associated-matters/
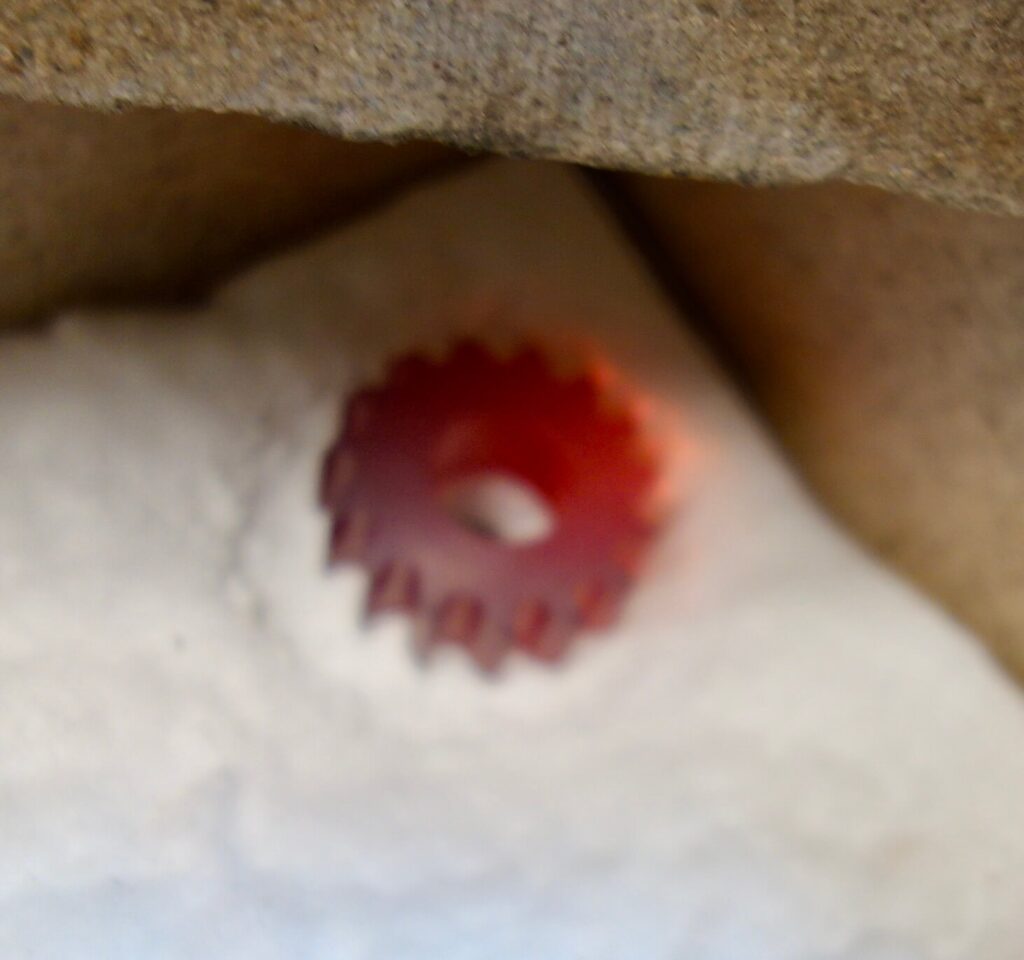
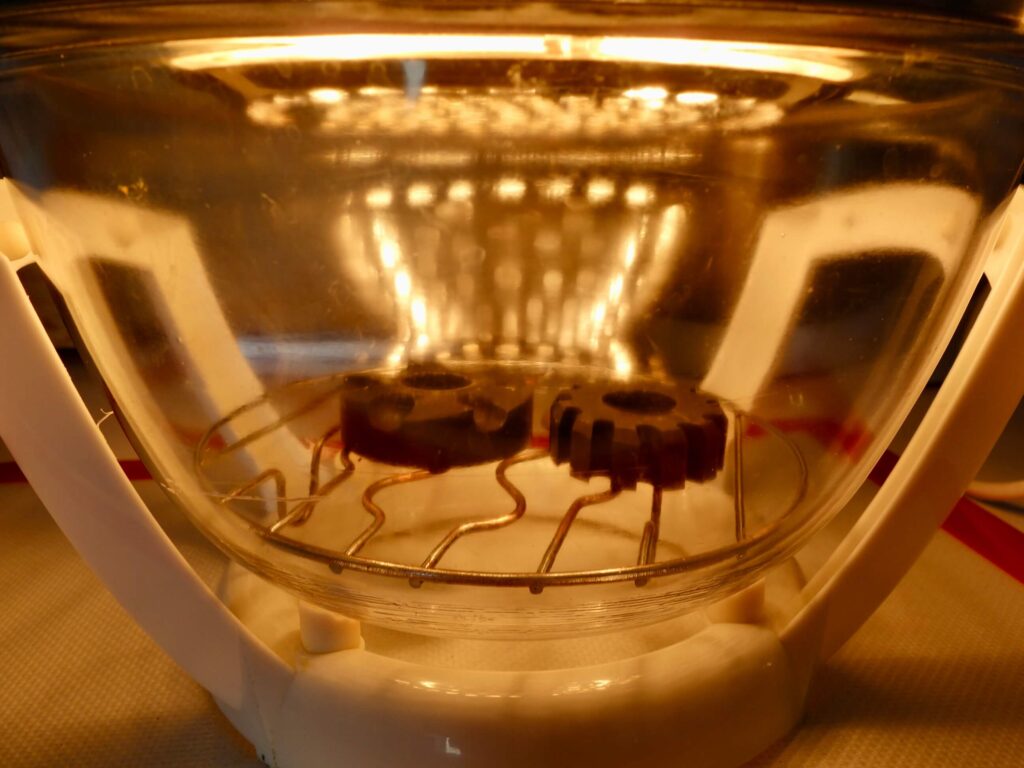
It involves heating them up to a red heat for up to a few minutes until they are non-magnetic, then quenching them in room temperature water, followed by heating them in an oven at around 200 ℃ for about an hour. This last stage is necessary to reduce the hardness and associated brittleness.



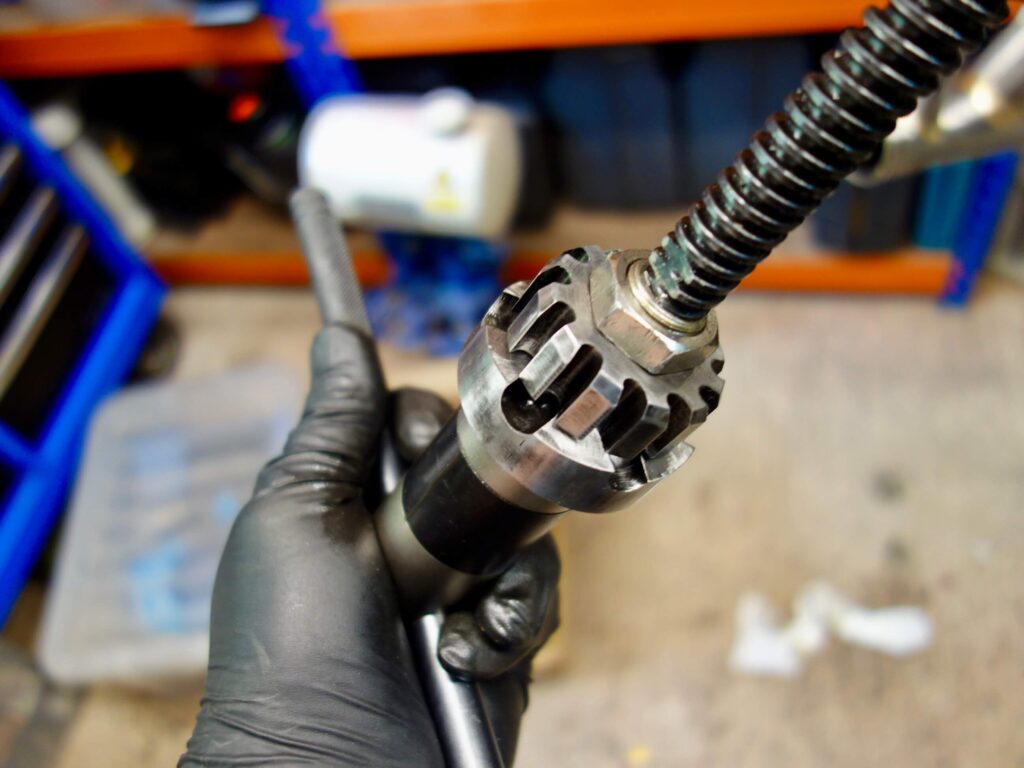
Complete tool ready for use
SNH 26/05/25