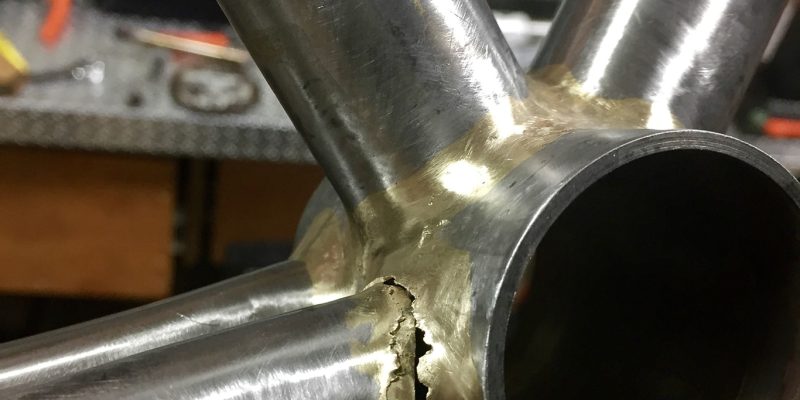

In fact this is to all intents and purposes another gravel bike, following the same general specification. It will, however be used with probably only 35 mm tyres and mostly on road so an ‘All Roads’ bike seems a more apt description.
Some words on S bend chain and seat stays and clearances
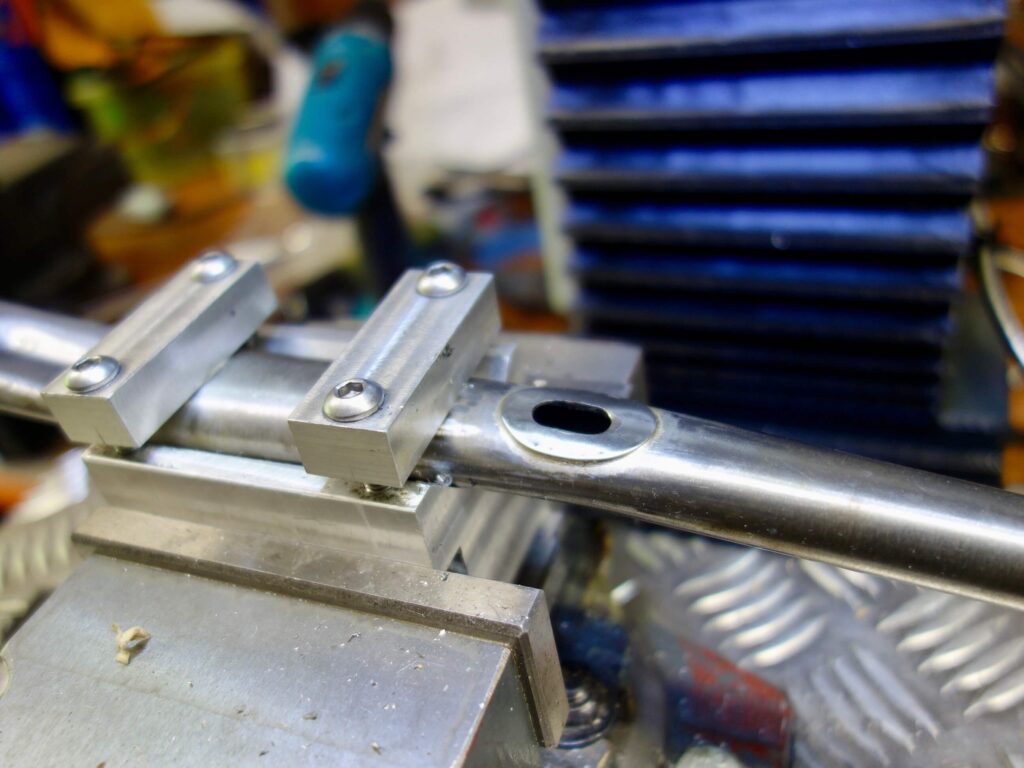
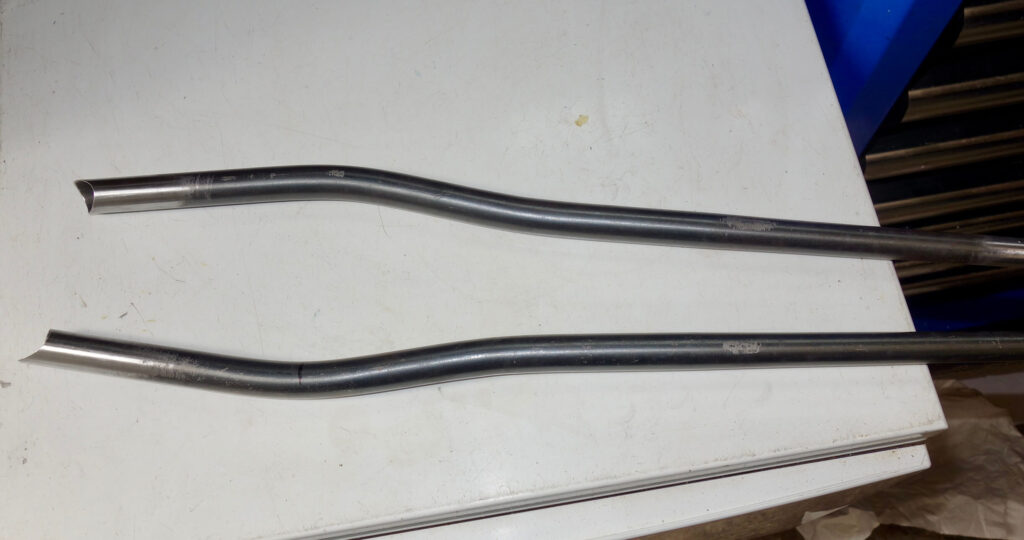
Wider tyres need more widely spaced chain stays and there are obviously several ways of achieving this, whilst still giving sufficient chain ring and crank arm clearances. Mountain bikes have often used custom sections between the bottom bracket and chain stay proper, though also use smaller rings than road bikes to help out. Dropping the chain stay lower down the bottom bracket or elevating the chain stay above the bottom bracket also is used. There is still the old fashioned method of denting the outside of the chain stay as used on road bikes to accommodate larger and multiple chainrings. I also tried internally dimpled chain stays on this build, though in the event it was not really necessary.
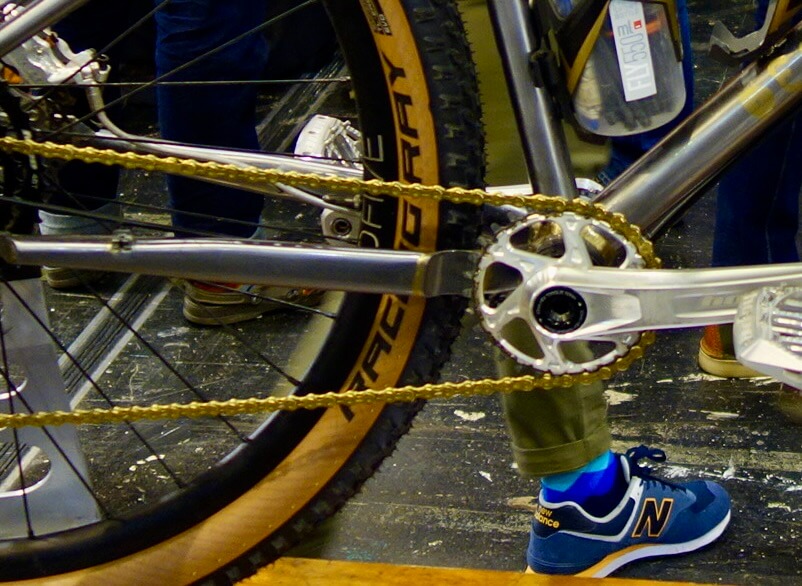
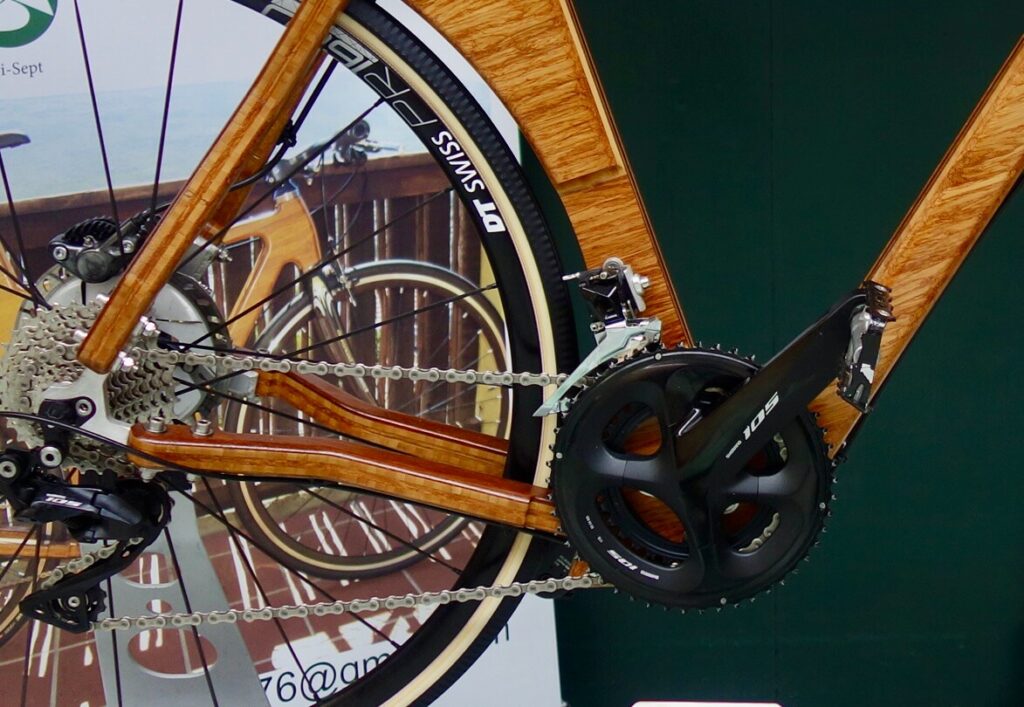
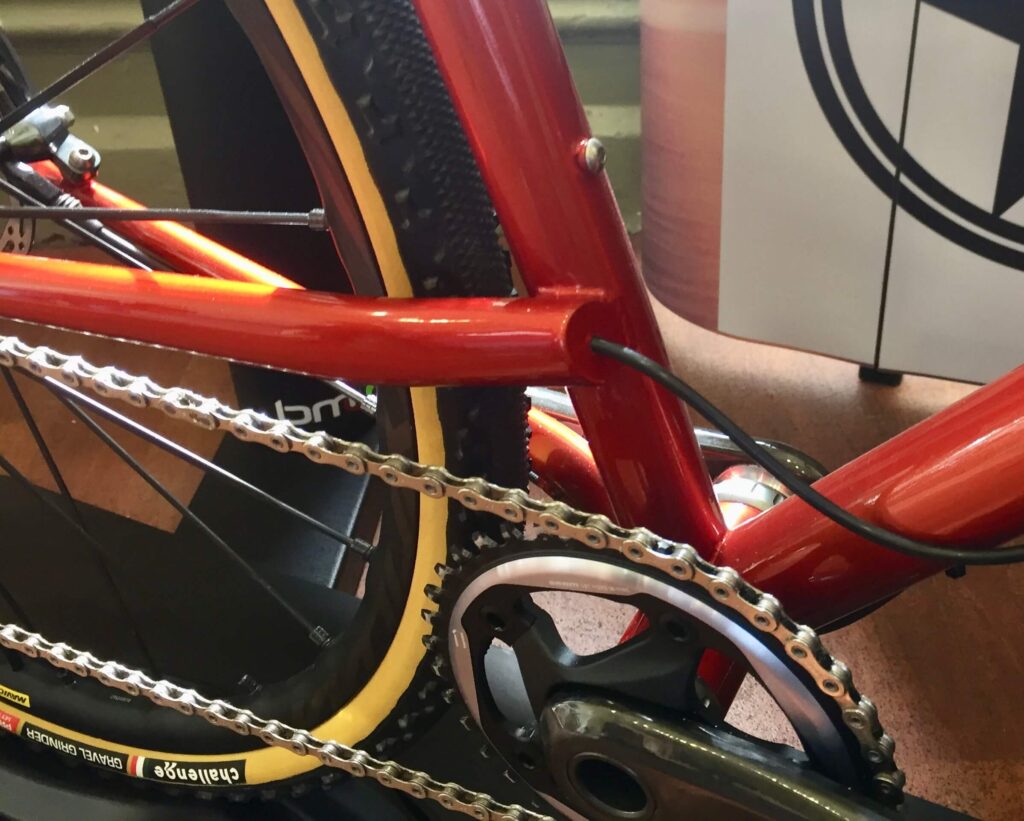
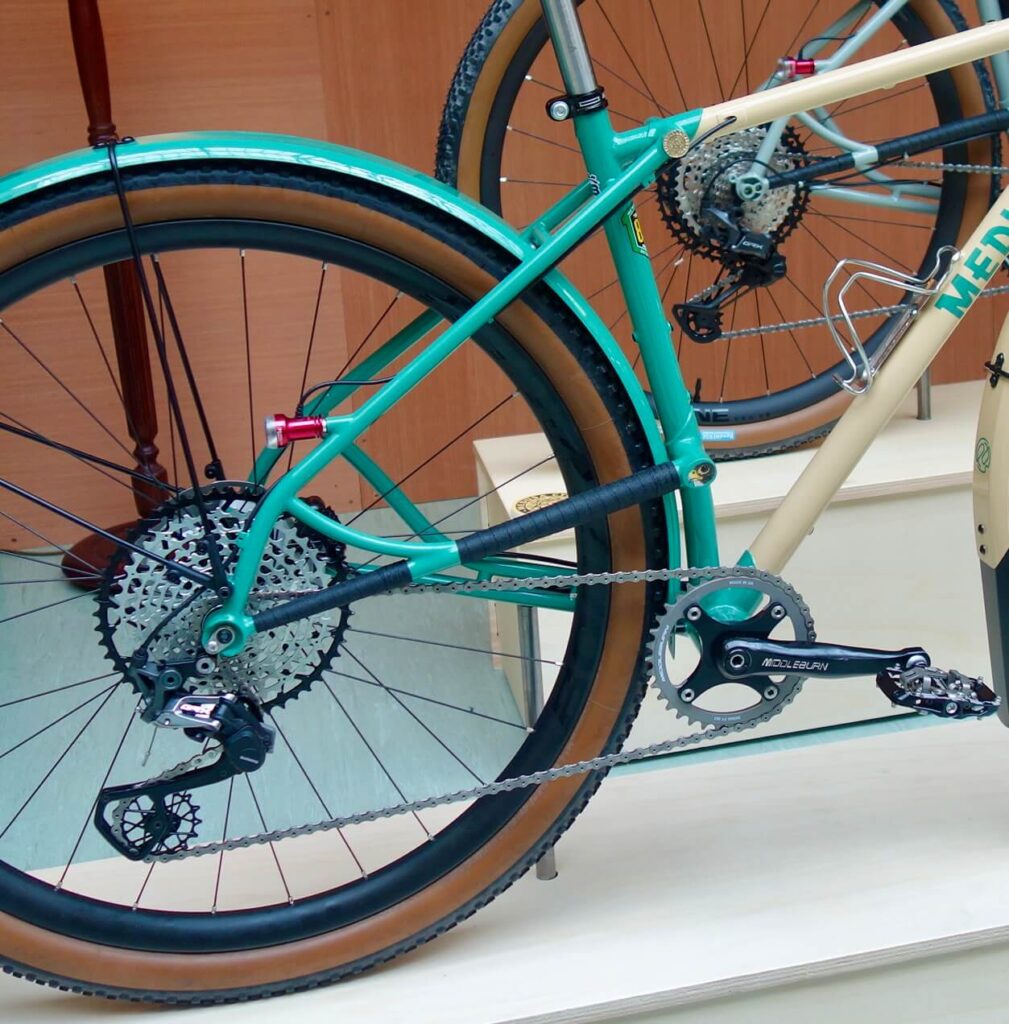

My own problems relate to modelling the clearances before the build to ensure it all works. Mountain bikes use wider bottom brackets than road bikes, which helps a lot to ensure clearance. Gravel bikes still tend to use the standard 68 mm road width so fortunately the groupset manufacturers have responded by making their “Gravel” chain sets / Bottom brackets 5 mm wider, giving the same clearance as a 73 mm mountain bottom bracket.
This brings me to the issue of the chain stays themselves. You are likely to need single bend or more usually now double (or triple) S bend stays. I am still using BikeCad for my computer aided design. Additionally I use one piece flat mount dropouts, which require no fixturing. However due to their length the chain stays require quite a lot of shortening, which then makes the end diameter larger. In the case of Columbus stays their tips are usually 16 mm diameter BEFORE cutting, so they are likely to be larger than the tips of the dropouts themselves, eliminating any chance of slotting the stays to fit. This means you have to use connectors to join them up. Reynolds stays tend to have smaller tips of 13 mm, but in my experience after shortening them, they are still right at the limit for slotting to the dropouts, and as such I wouldn’t risk it, again making connecting pieces.

The BikeCad program allows you to model all the clearances and angles, but requires you to input various parameters and allows you to use one of two sets of measurement inputs, in particular the bend radii. Columbus publish their drawings with all the information you need in their catalogue, easily found online. Reynolds, however, do not. This meant that for my recent builds using Reynolds stays I have needed up using the hand and eye method rather than relying on my computer model. Seat stays are not really a problem to get right once the chain stays are in place as you can insert a wheel, but getting the chain stays correct is very tedious. Thankfully Reynolds have now obliged with their specifications which I have included below with permission. Like Columbus drawings, there should be sufficient information to model the stays accurately in BikeCad.
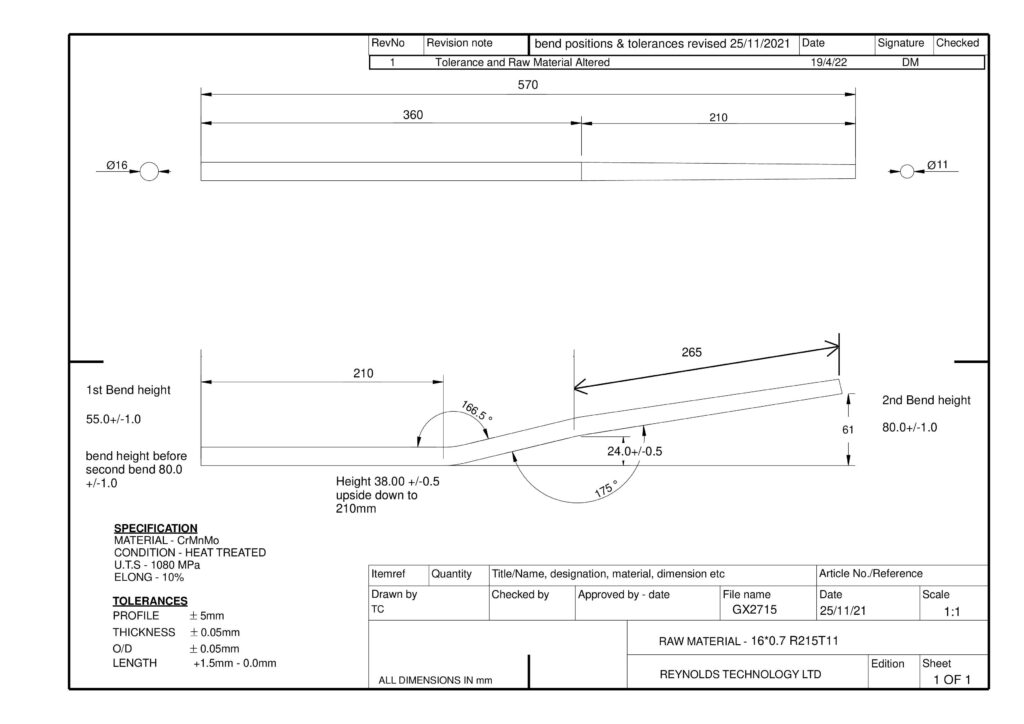

The 853 and 631 chain stays are the same specification, but the seat stays are only available in 725. The internally dimpled chain stays are also the same.
The Build
The tube set is Reynolds 853 main tubes, Columbus 11/8 to 11/4 tapered head tube for Columbus carbon gravel forks. 35 mm down tube, 28.6 seat tube and 30×20 oval top tube. The bottom bracket is home made T47 stainless steel. 725 double bend seat stays and 631 dimpled double bend chain stays. I wanted to try the dimpled stays and only had these in 631, in fact they weighed 3g lighter than the equivalent 853 stays! Rear dropouts are Paragon Machineworks stainless flat mount with an SRAM UDH (universal derailleur hanger). These dropouts, unlike the Bear Frame Supplies ones, are of differing lengths. I am really not sure why. Reynolds themselves do similar dropouts but theirs are slightly angled inwards at the chain stay junction, which should make centring up easier. The maximum tyre clearance of the forks is 40 mm without mudguards. I plan to use 35 mm tyres.

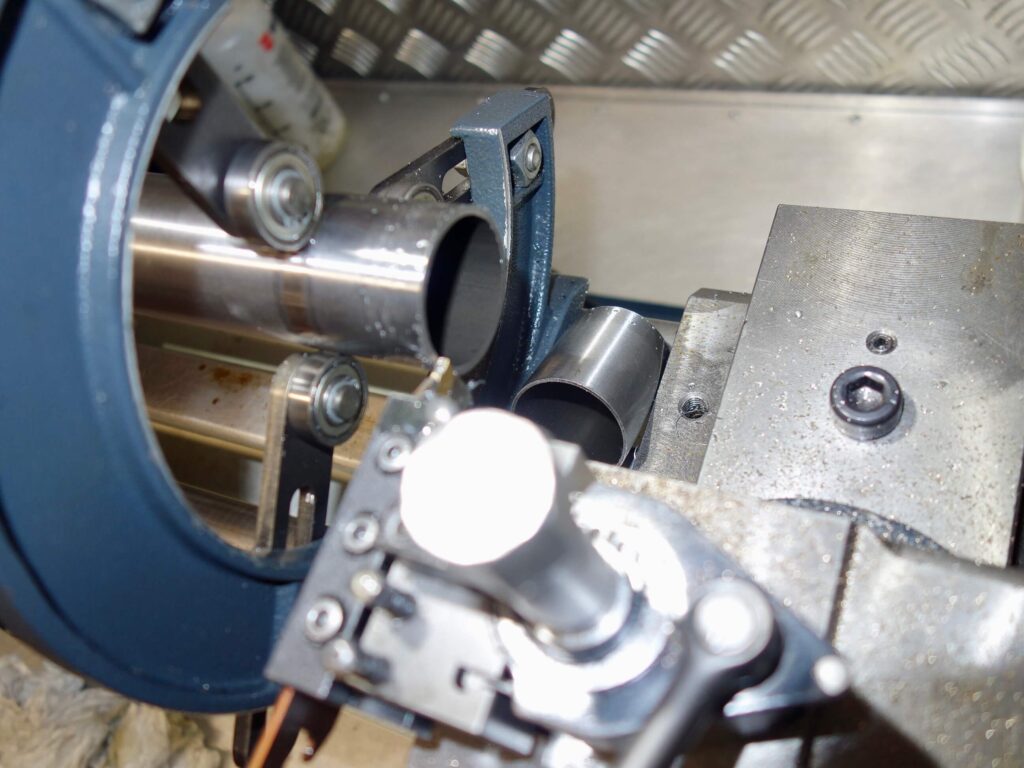

I started by cutting down the head tube from the top on the lathe for accuracy. As the outside diameter of this head tube is slightly greater than 36 mm I shaved down the top a little to fit standard 36 mm head tube rings.
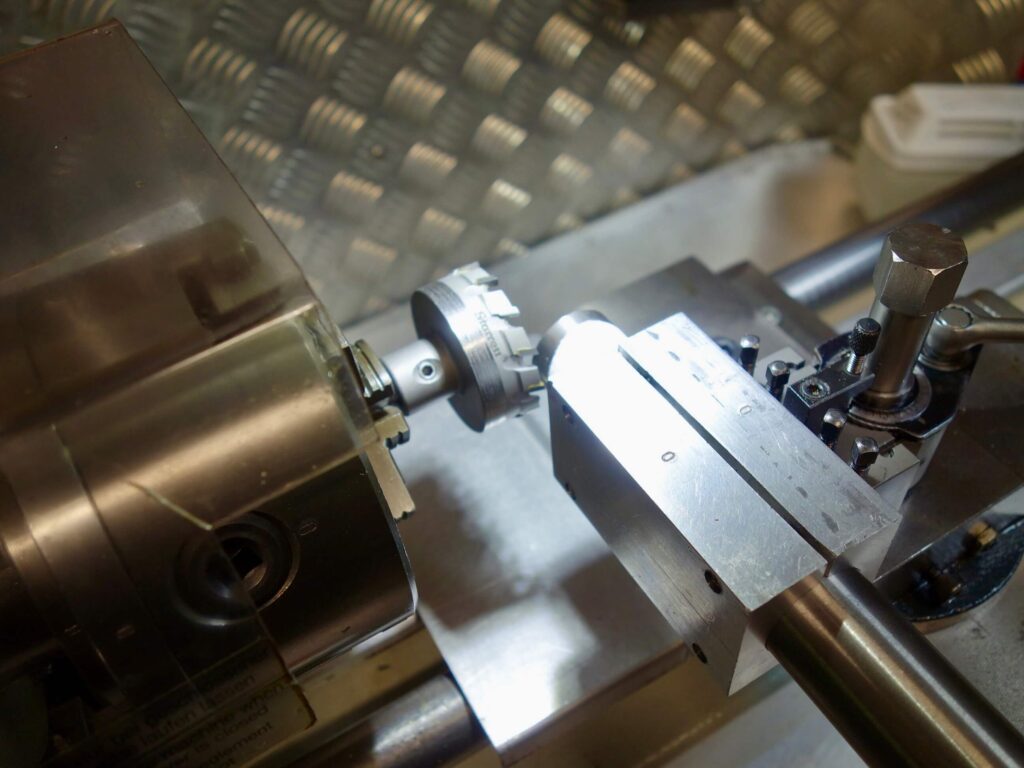
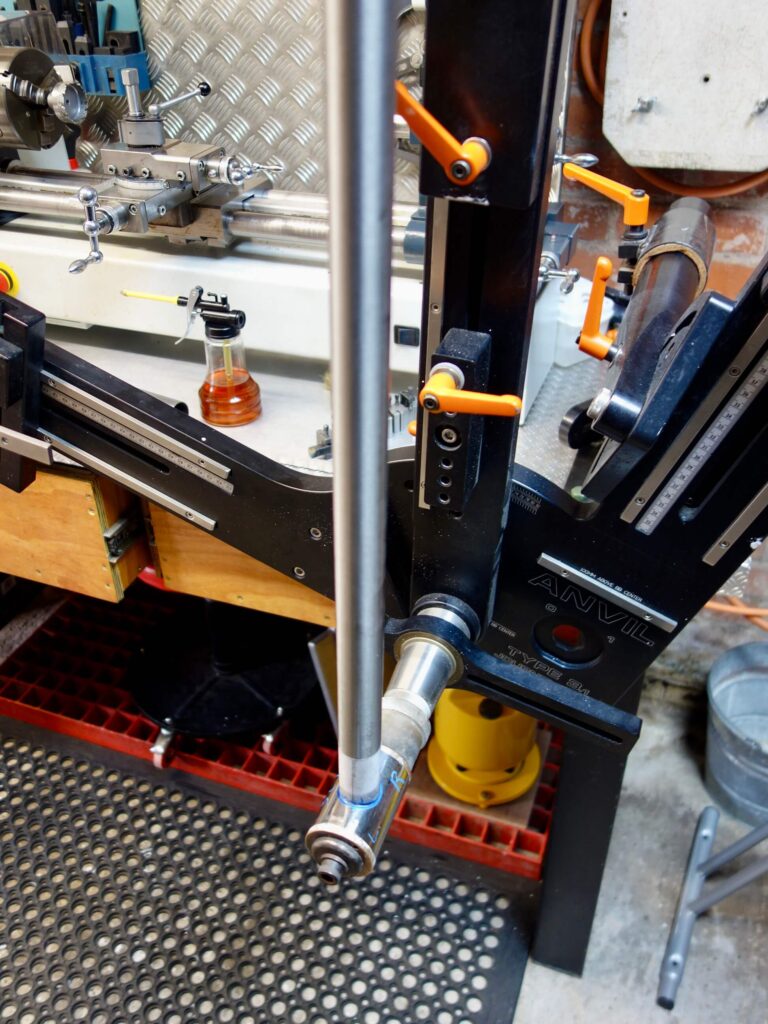
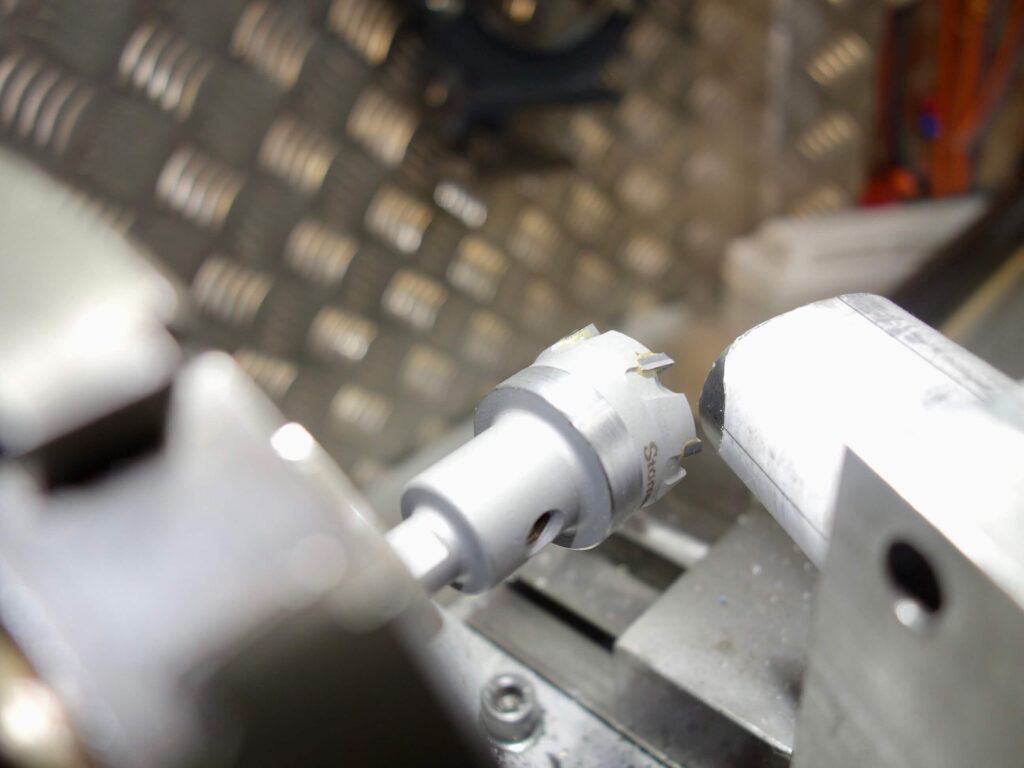
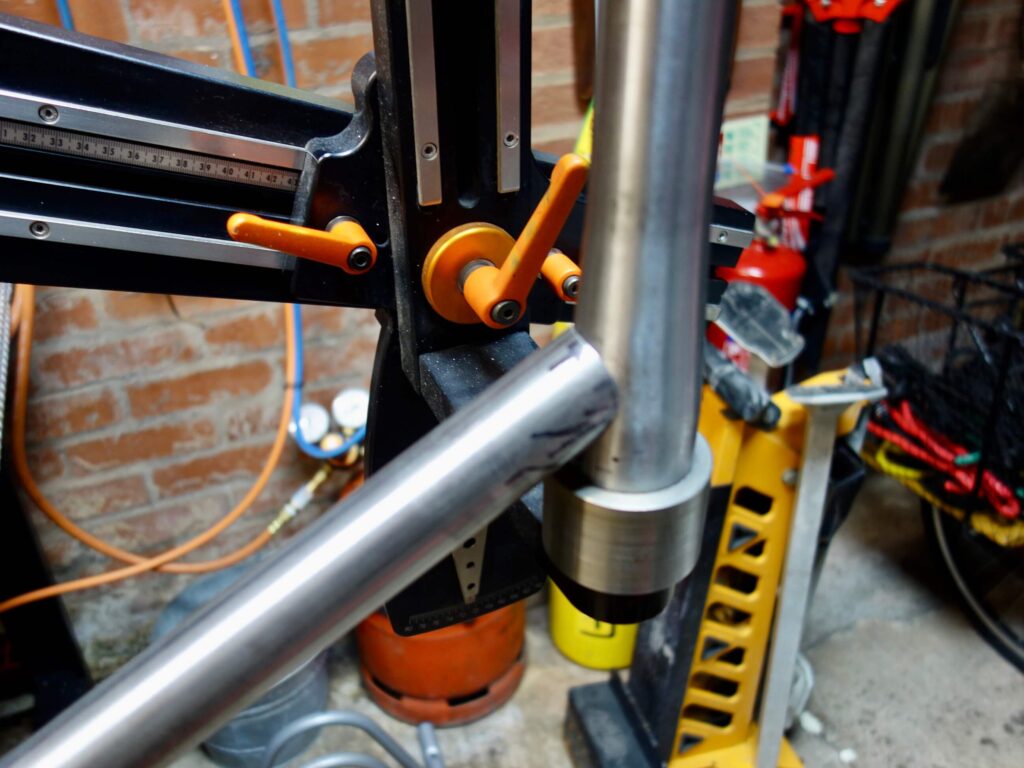
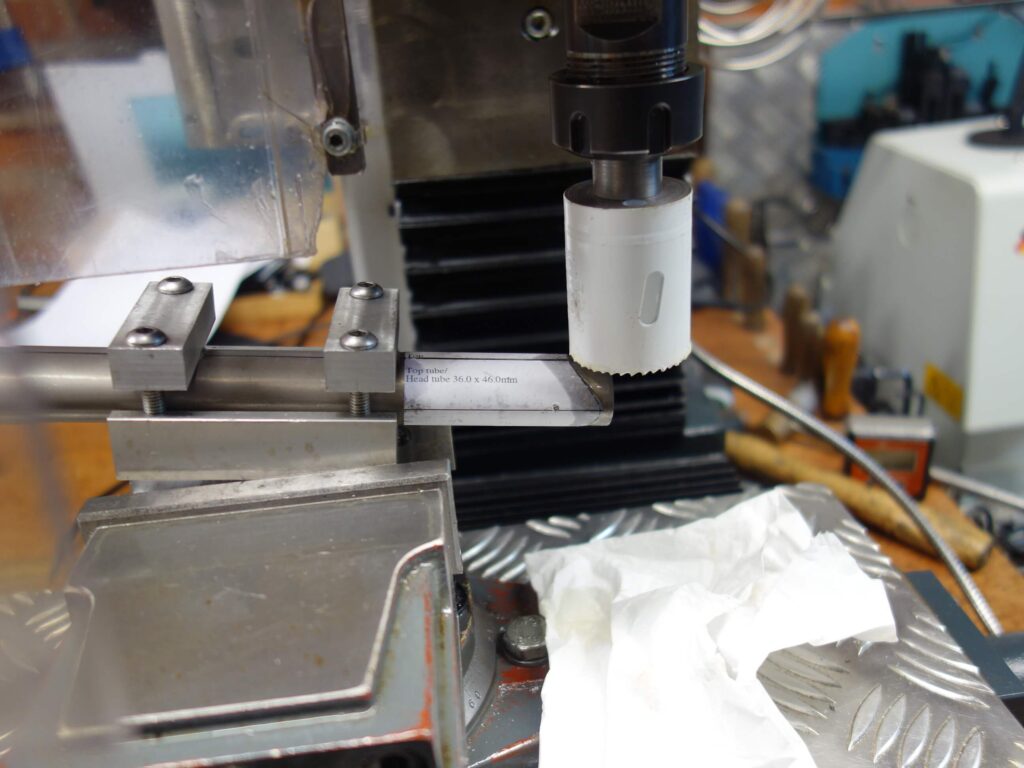

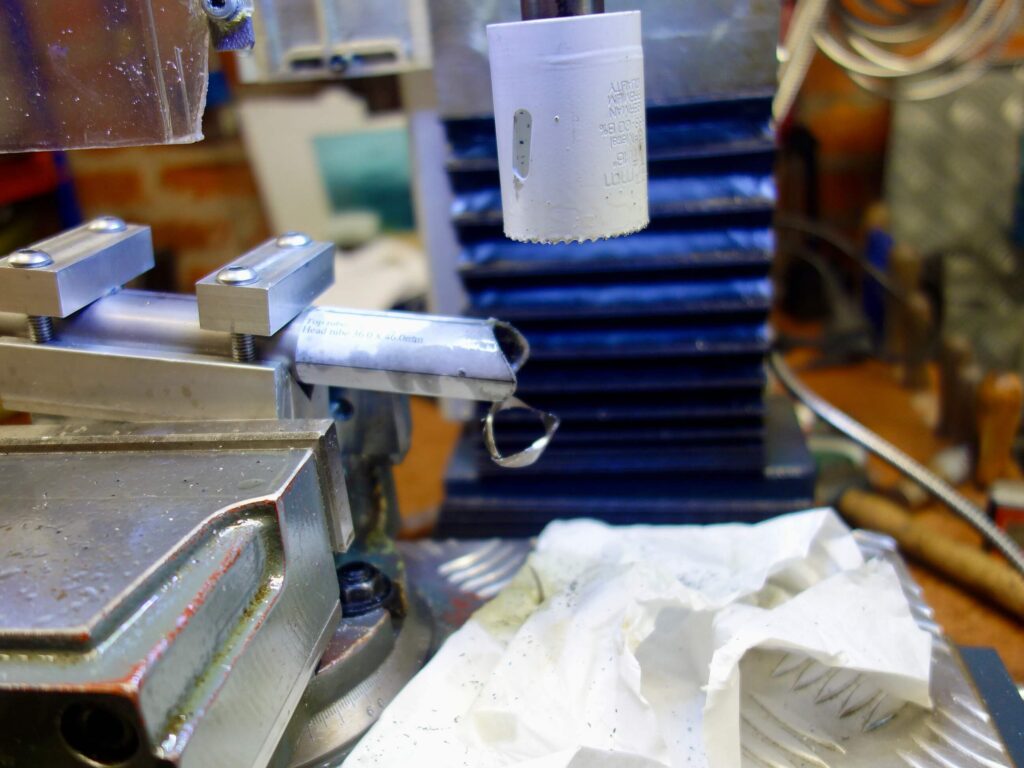
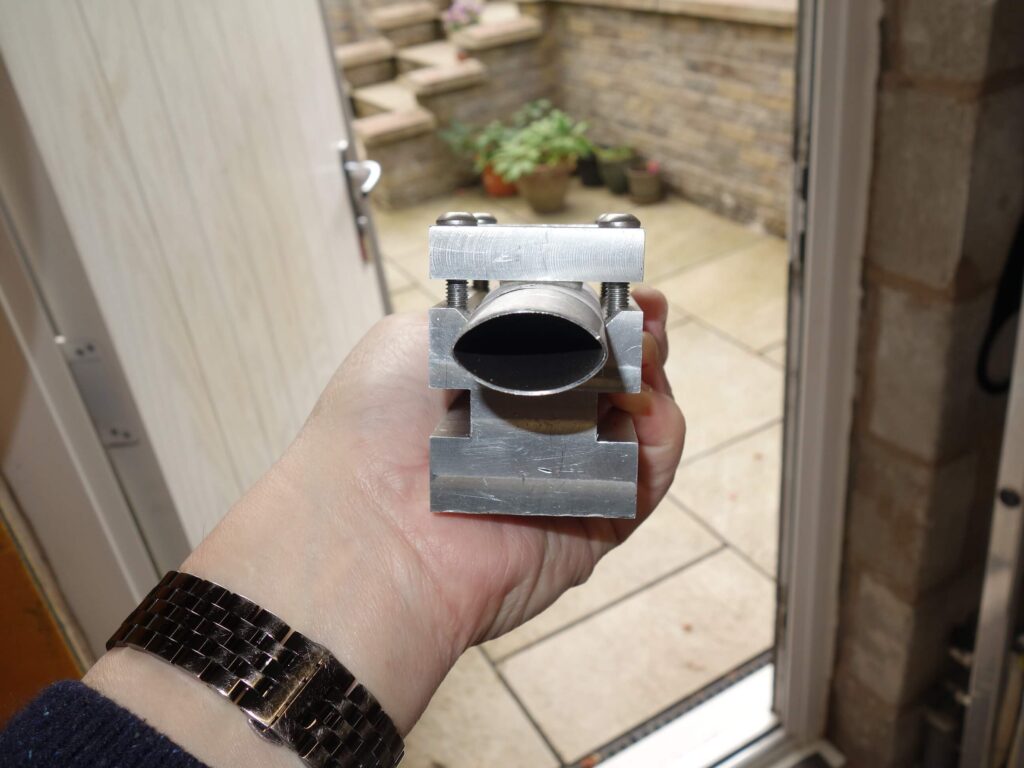
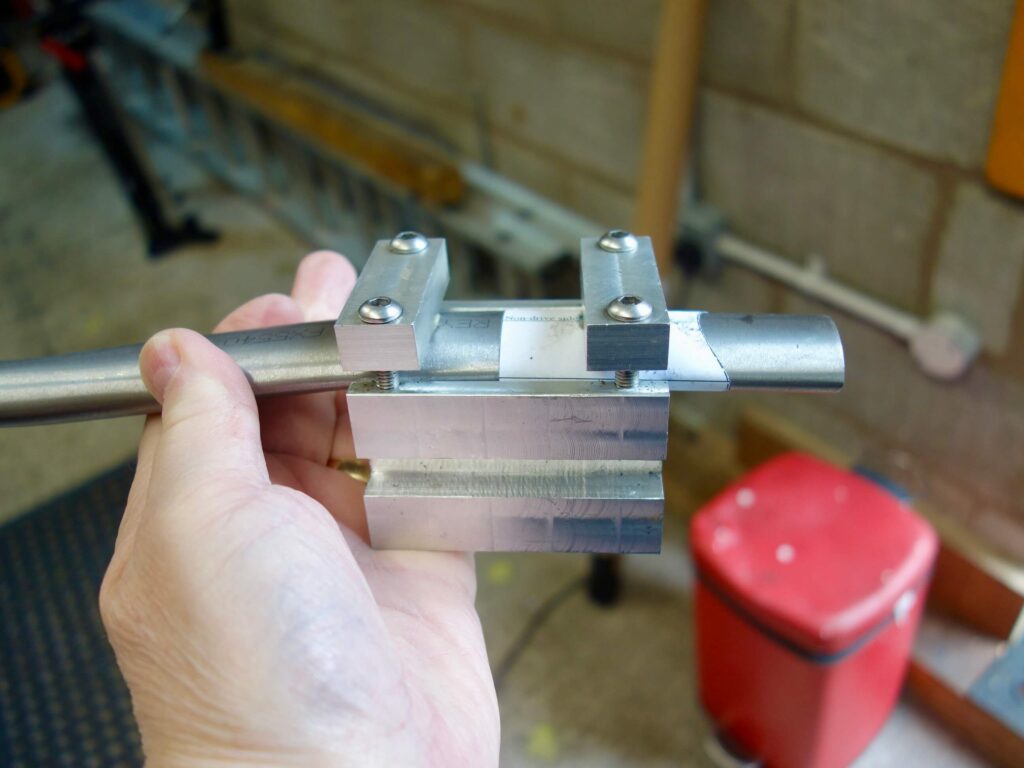
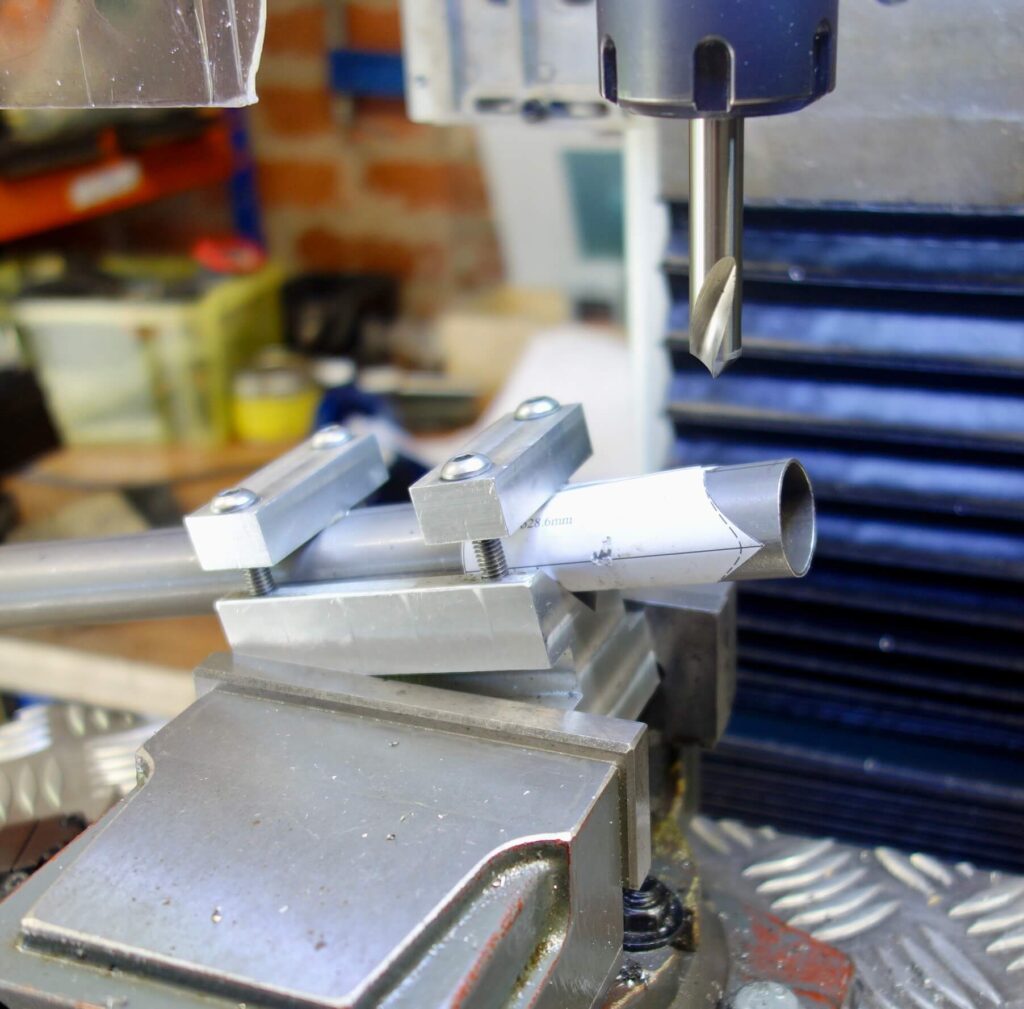
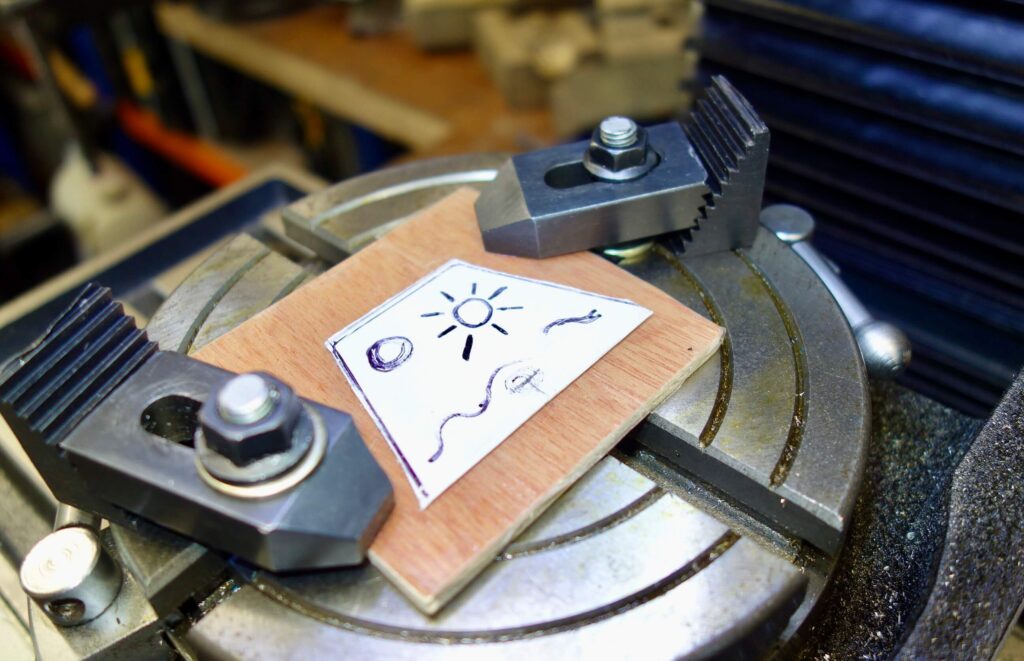
Next the seat tube, down tube and down tube seat tube notch were mitred on the lathe. One end of the top tube was mitred in the milling machine. To be honest in my hands the milling machine is more accurate but mitring an oval tube still requires eyeing up to set it flat in any machine. I still use paper mitre templates which help with aligning the mitres to the centreline, which should be drawn an all tubes first. I do not mitre the other end of the top tube any more until I am ready to braze it in place.



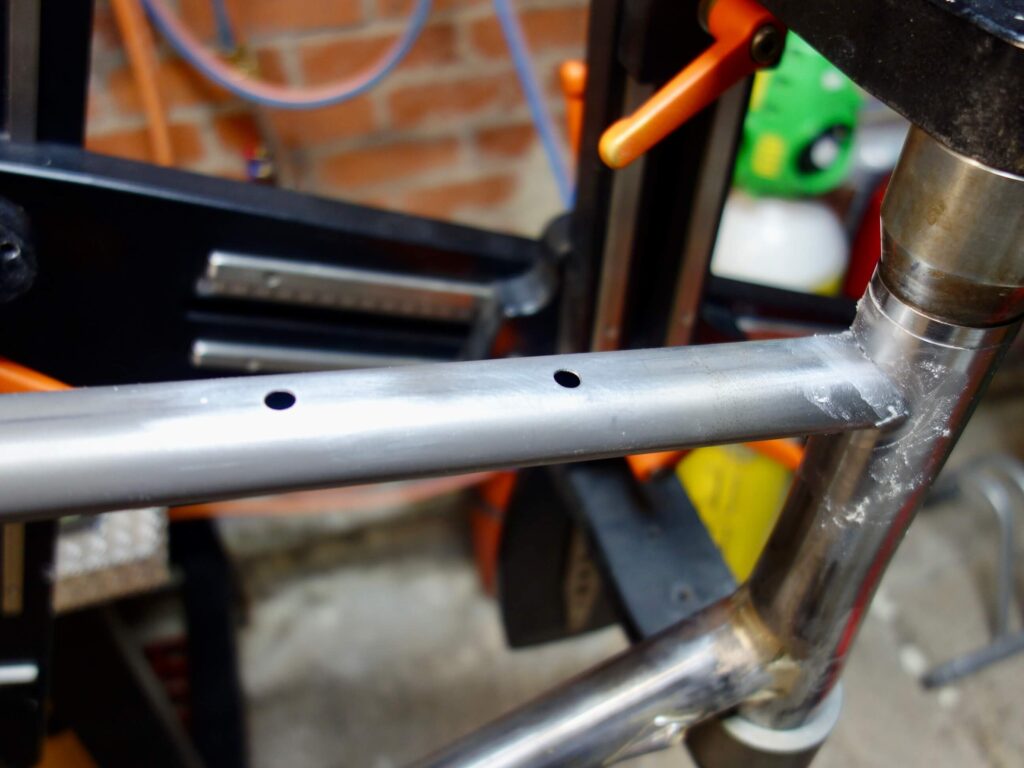
Holes drilled for bottle bosses and internal hydraulic tube. Only one internal tube as I plan to use a wireless groupset. Dimpled chain stays cut and prepared for mitering in the milling machine.
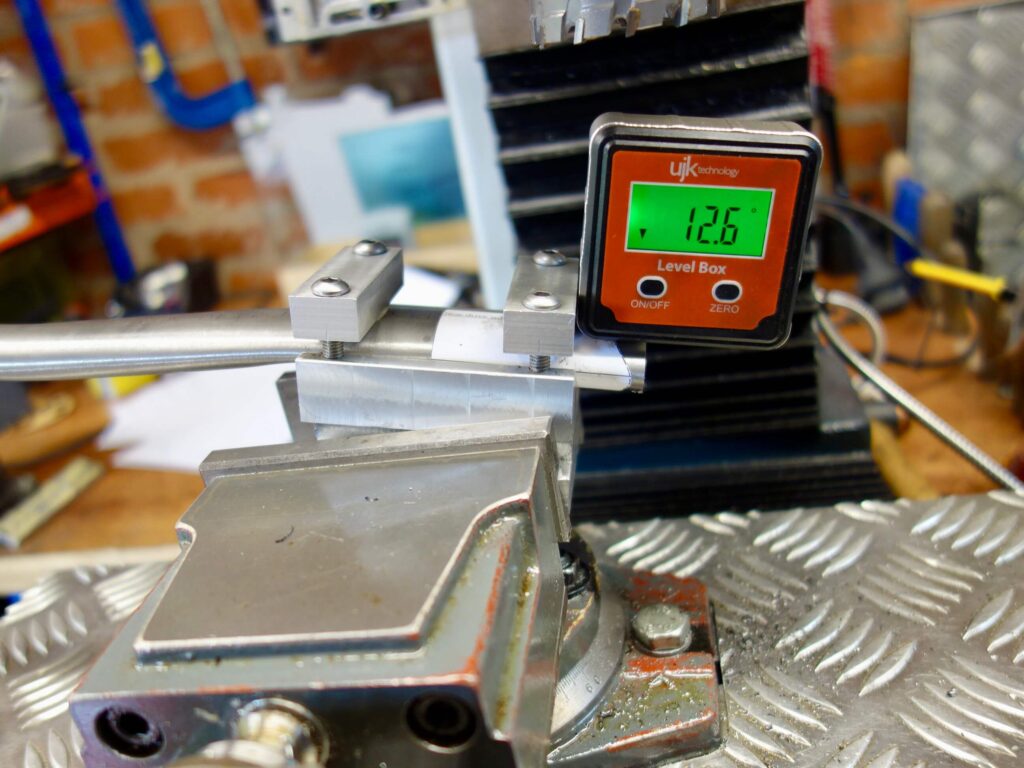

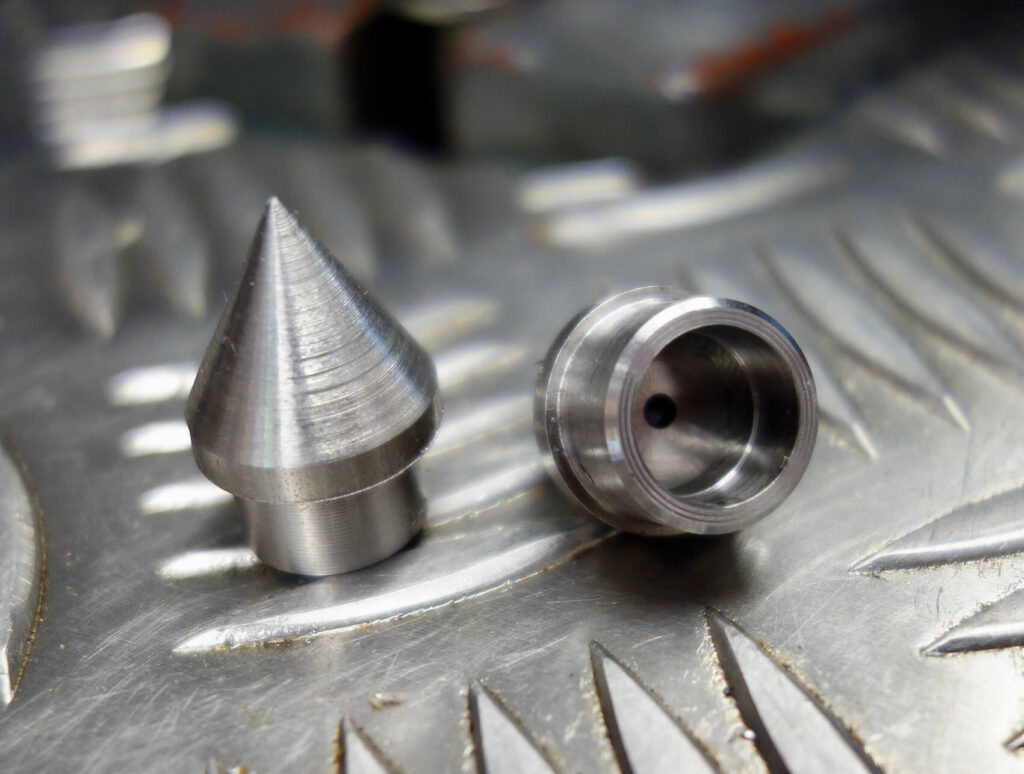
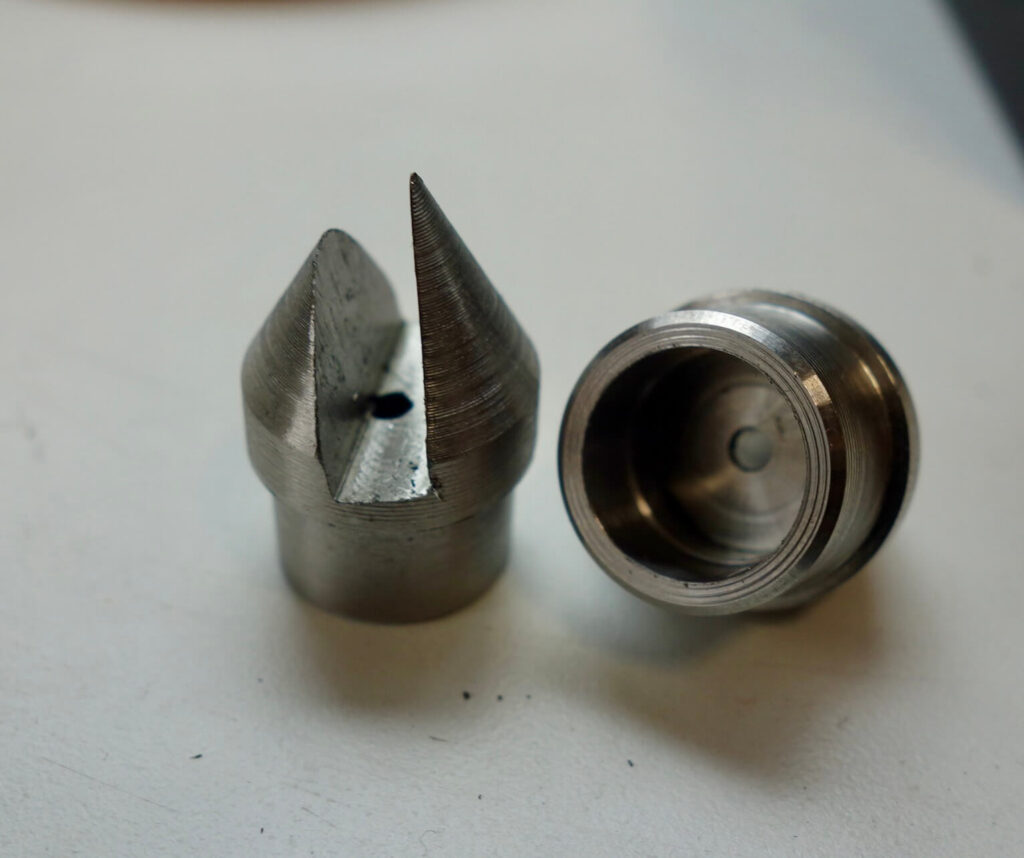
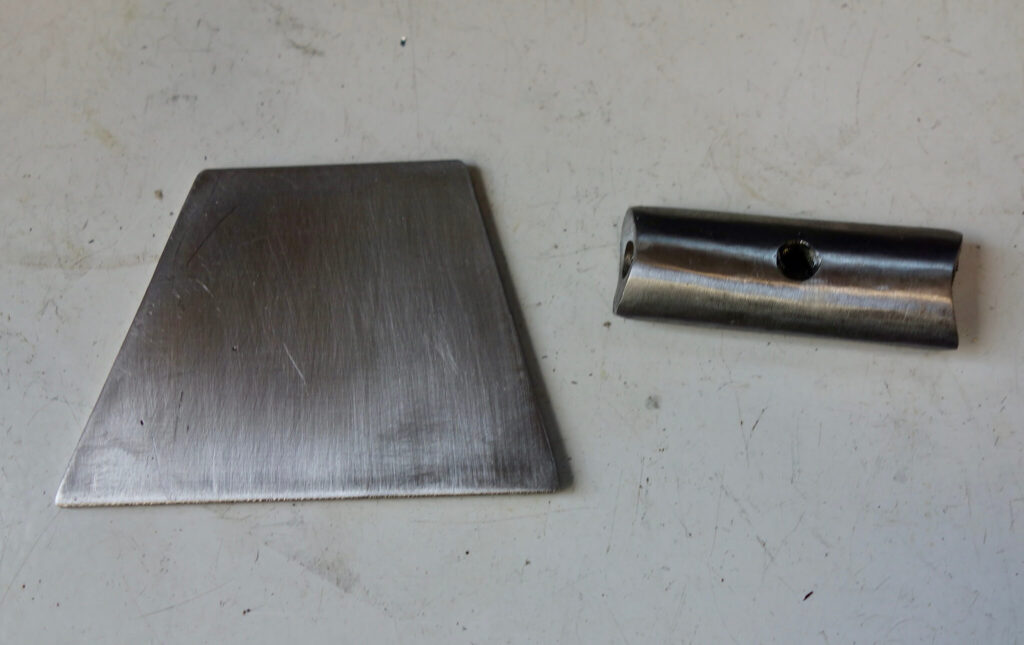
Chain stays mitred, then on to making the dropout connectors from 304 stainless rod, requiring the use of the lathe and milling machine.
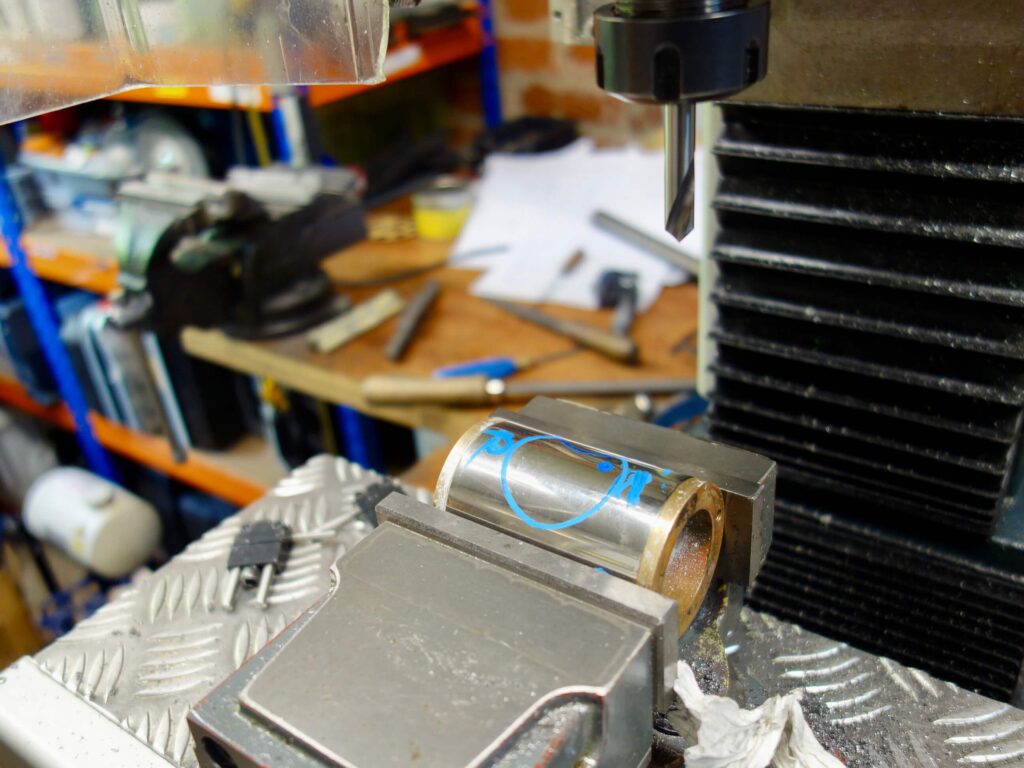
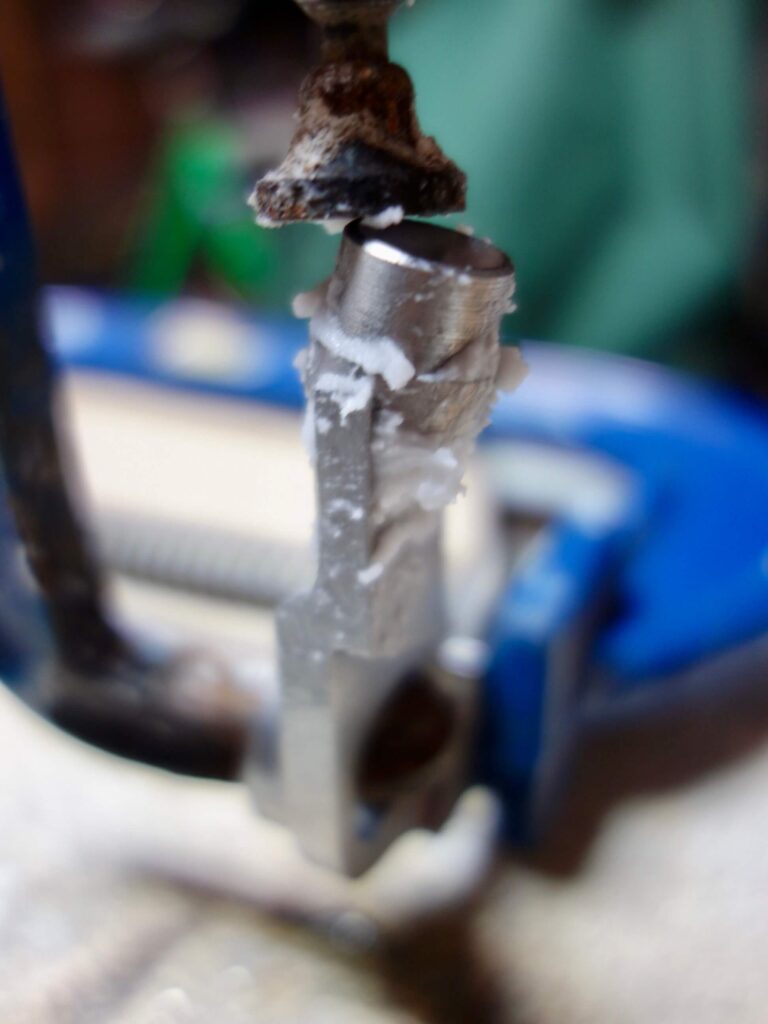
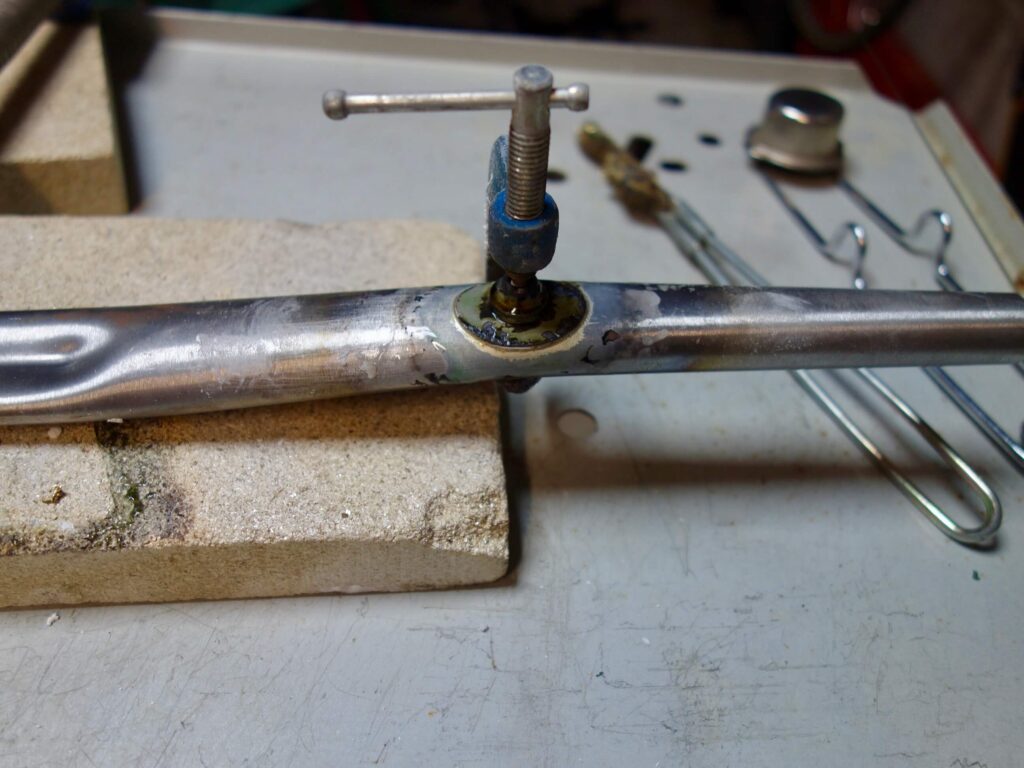
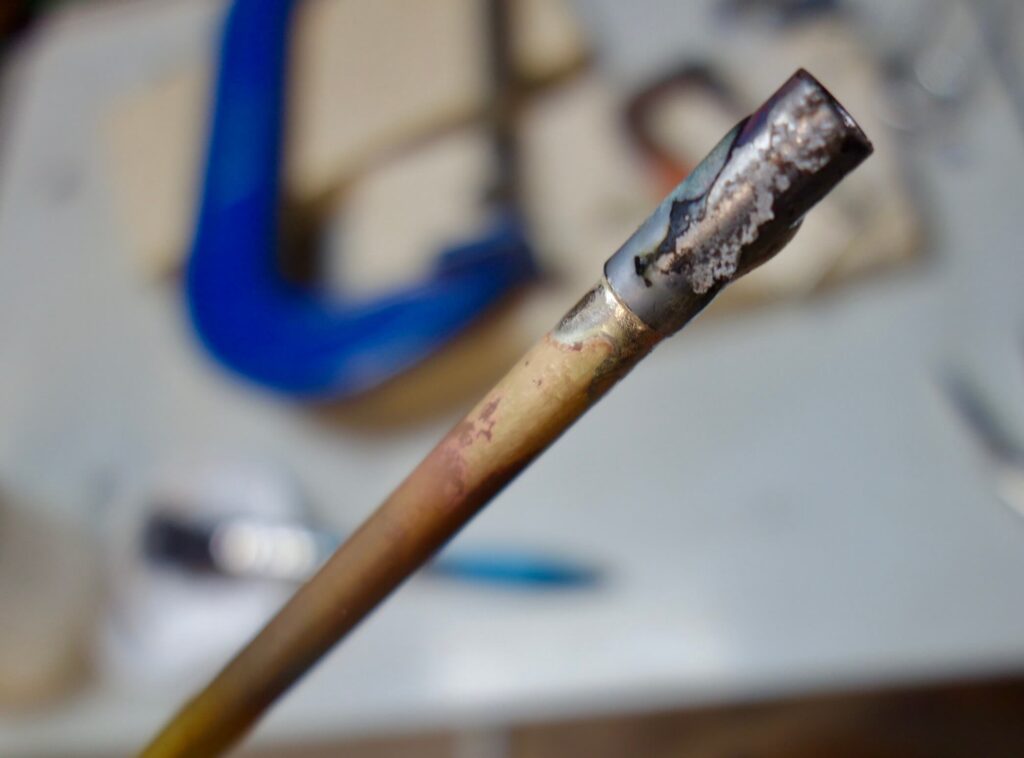
Seat tube tacked to bottom bracket, then head tube to the down tube. The hydraulic rear brake brass tube already brazed in and cap visible at top of down tube. The bottom bracket end is slid through a pre drilled hole and then the bottom bracket and seat tube fully brazed (silver solder as the BB is stainless).

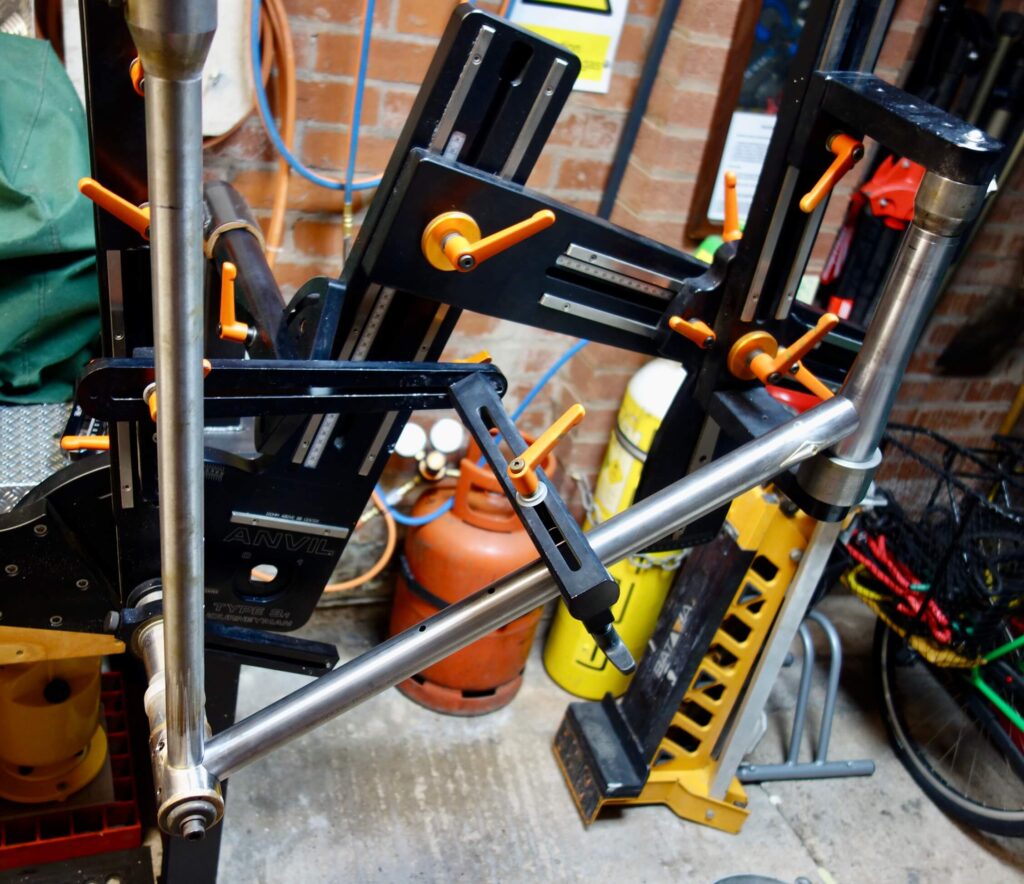
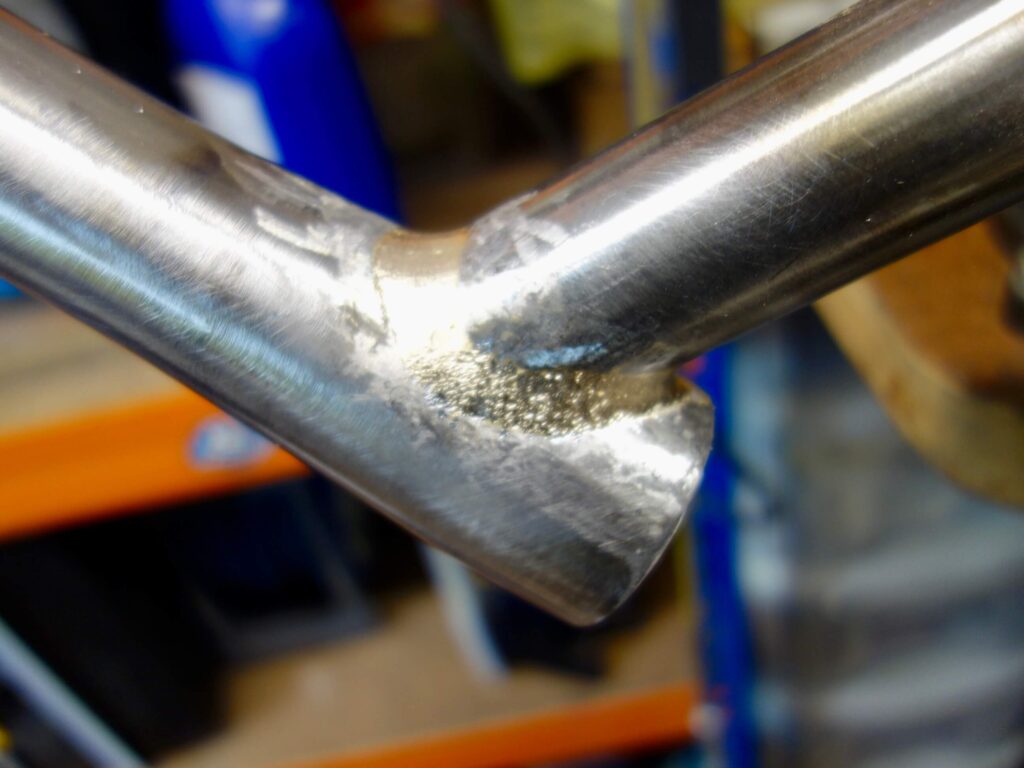

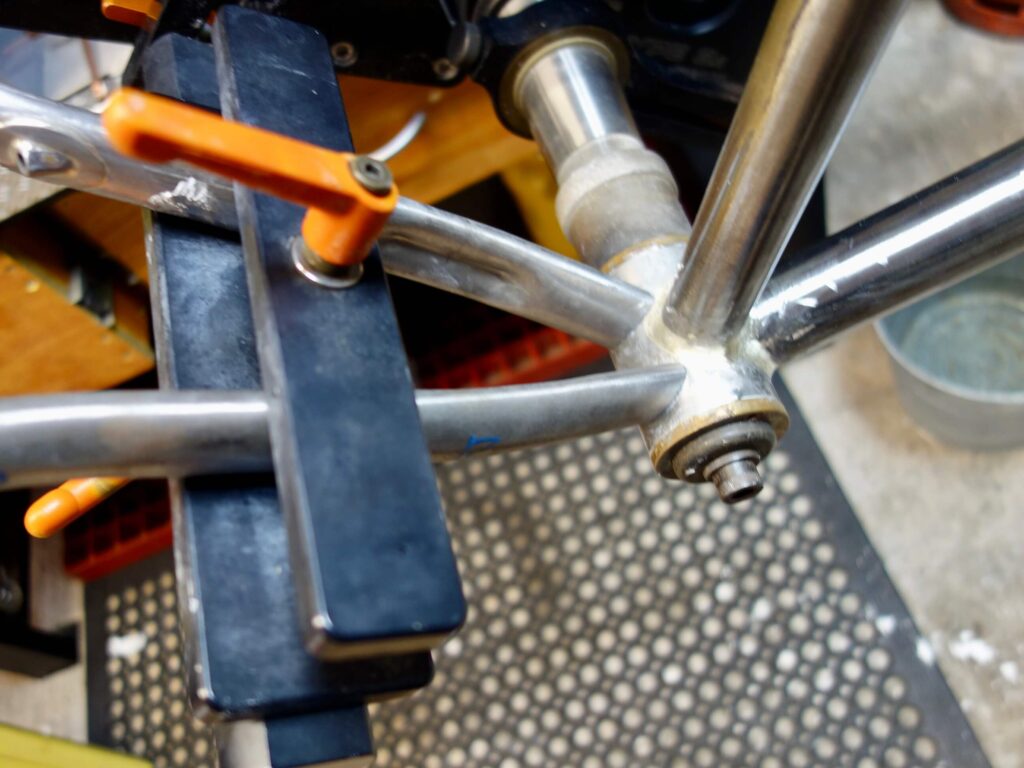

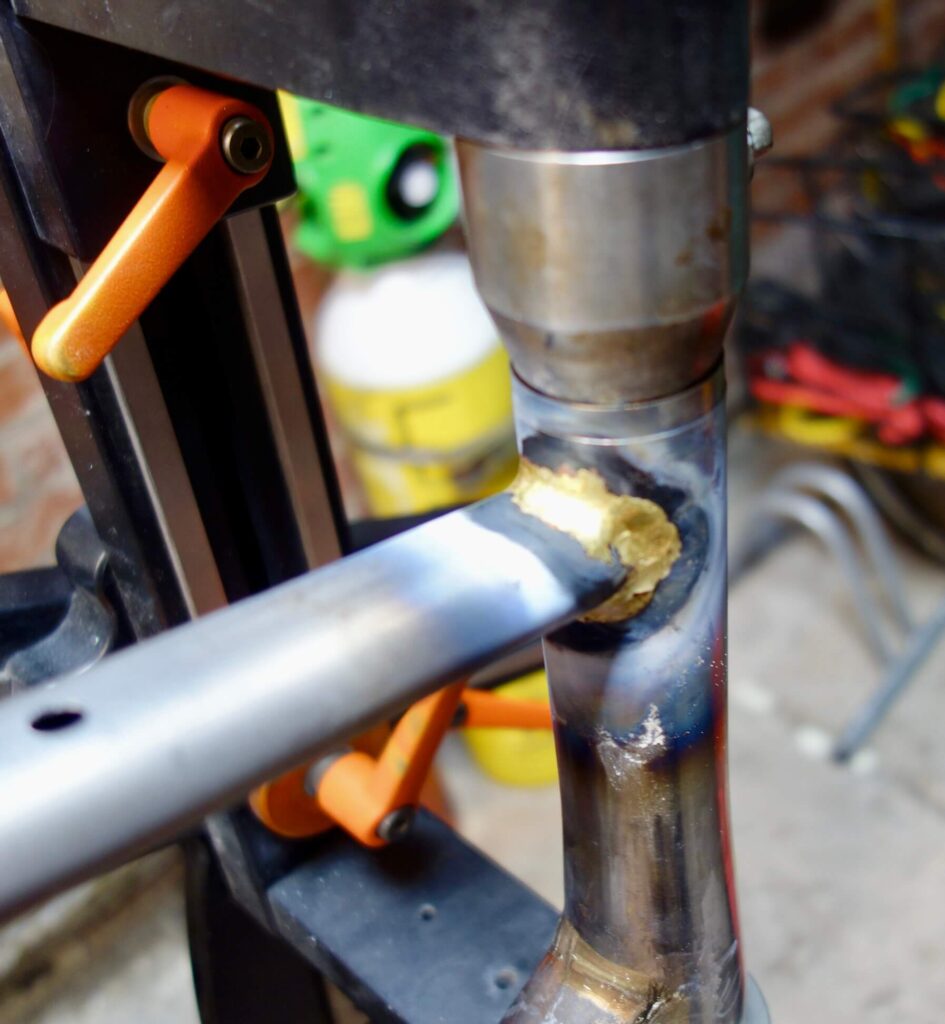
The rear dropouts with pre-brazed connectors now inserted into the chain stays for the final time and brazed with silver solder melting from the inside. Note the differing lengths of the Paragon dropouts which meant a lot of messing about with different mitre angles to get the chain stays equidistant from the wheel.
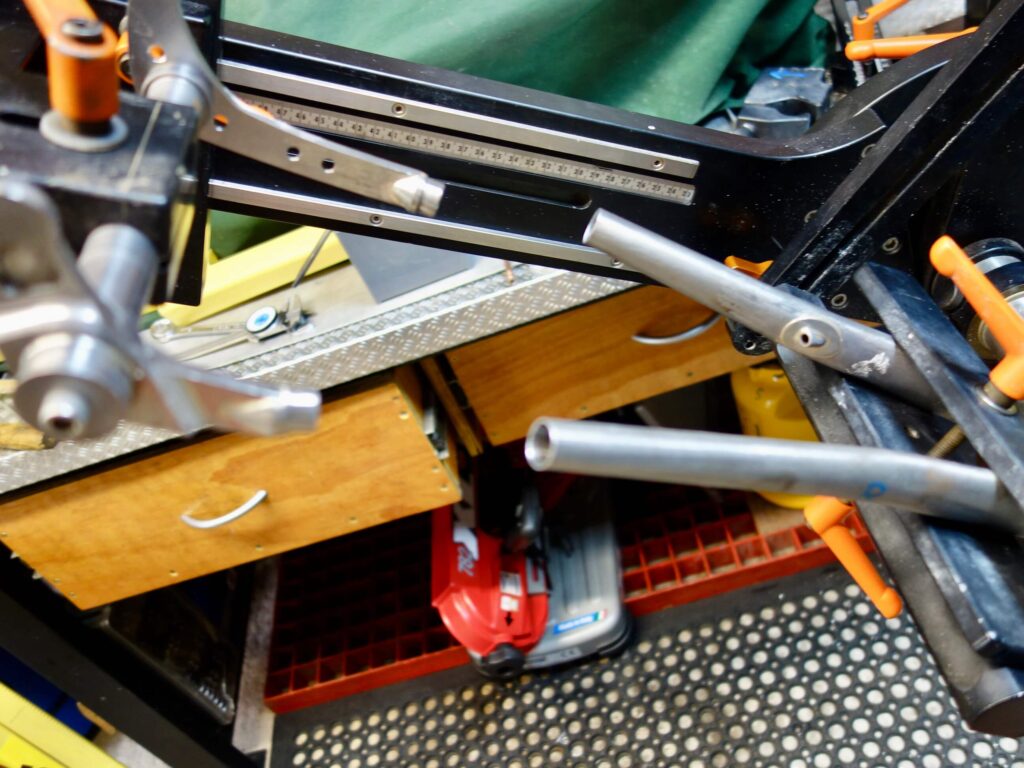

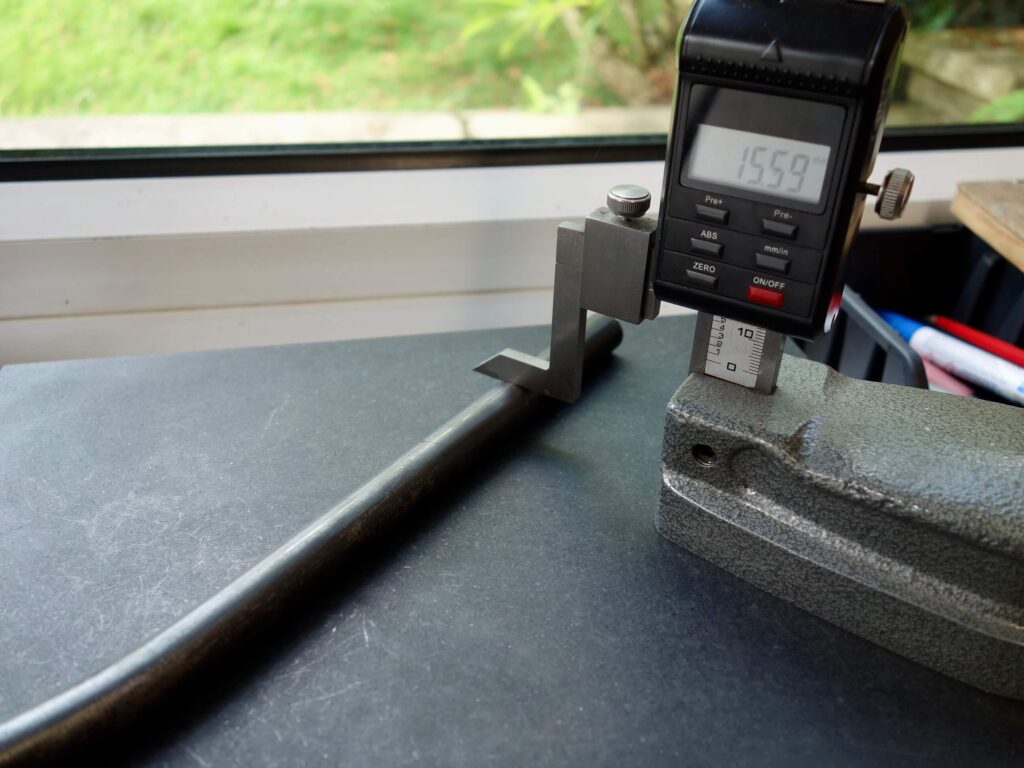
The top tube centre line was scratched on with a height gauge. A similar method was used for marking the chain and seat stays. The front mitre had been cut with the other main tubes. The rear mitre was cut after brazing up the front triangle in case of a change in length after brazing. The rear end of the tube also had to be squashed a little in the vice to reduce the diameter to that of the seat tube.

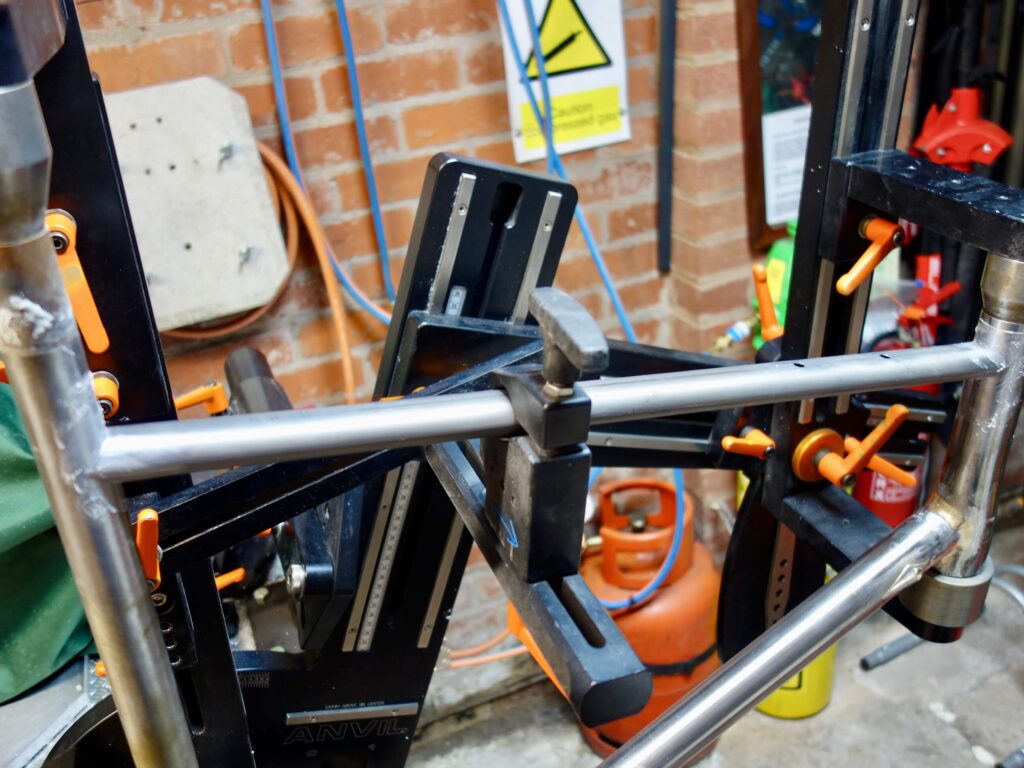
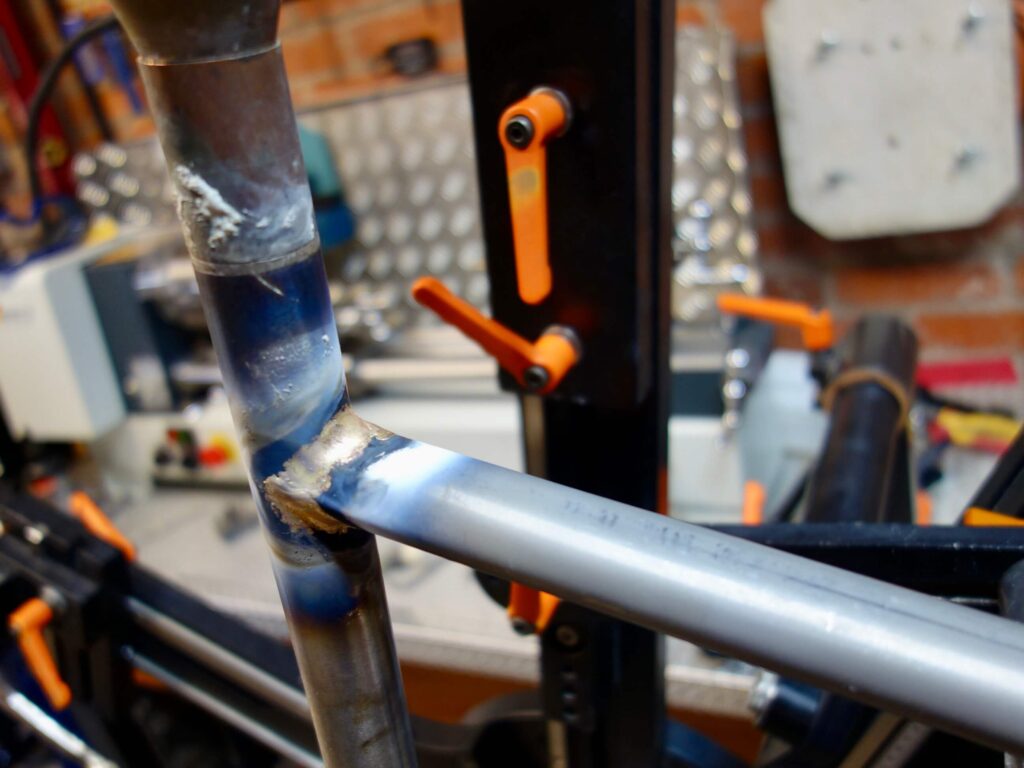
Next the seat stays were mitred and fitted, checking against an inserted wheel. Connectors for the lower end were made and the stays brazed in, top first.

Last bits were the stay bridges, bottle bosses and head tube rings, brazing on some rear mudguard eyes, before facing and reaming the head tube and seat tube and chasing the bottom bracket. All the joints were smoothed using carbide burrs, files, emery strip of a miniature band saw.
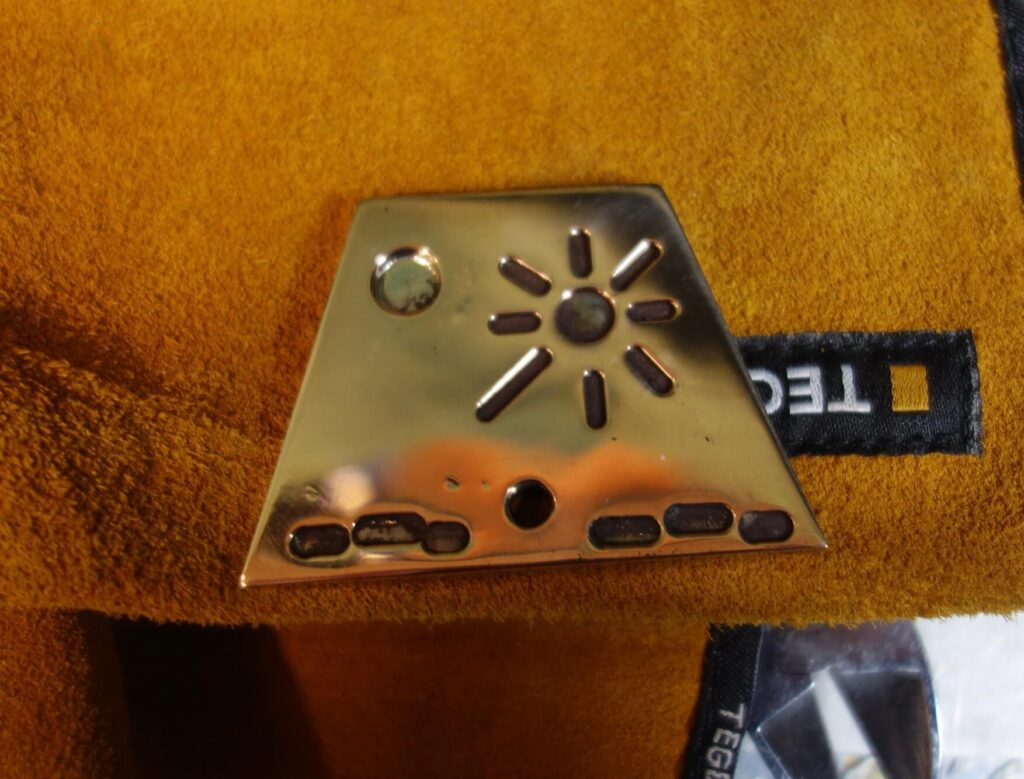
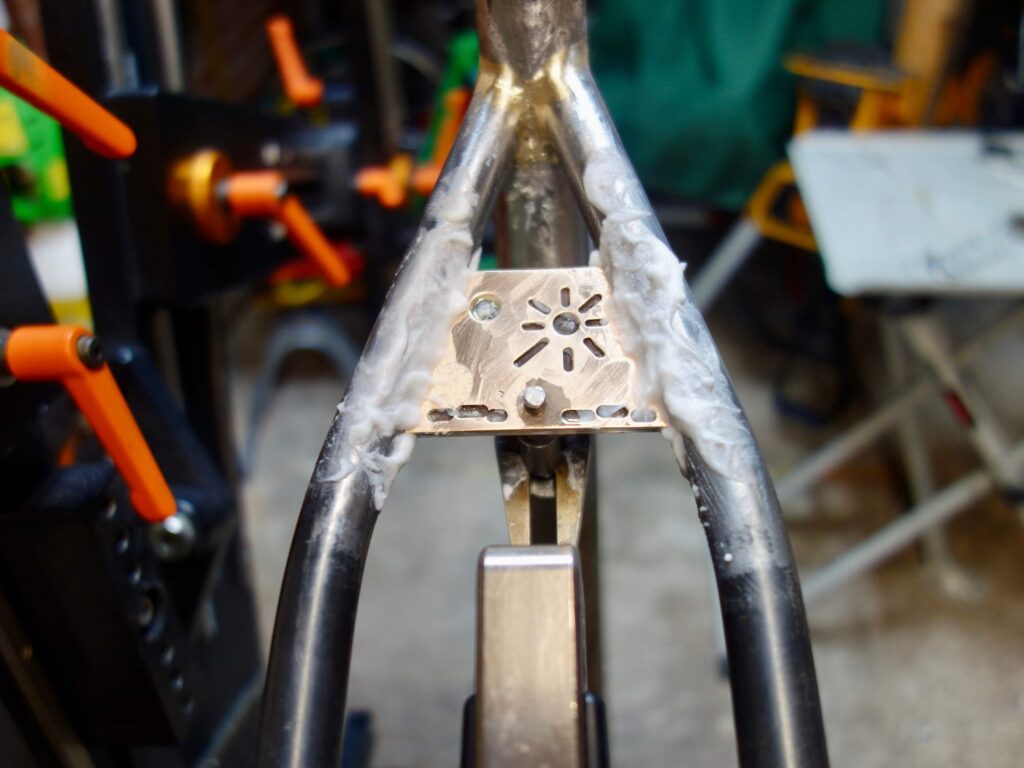

Just needs a good clean up before painting!
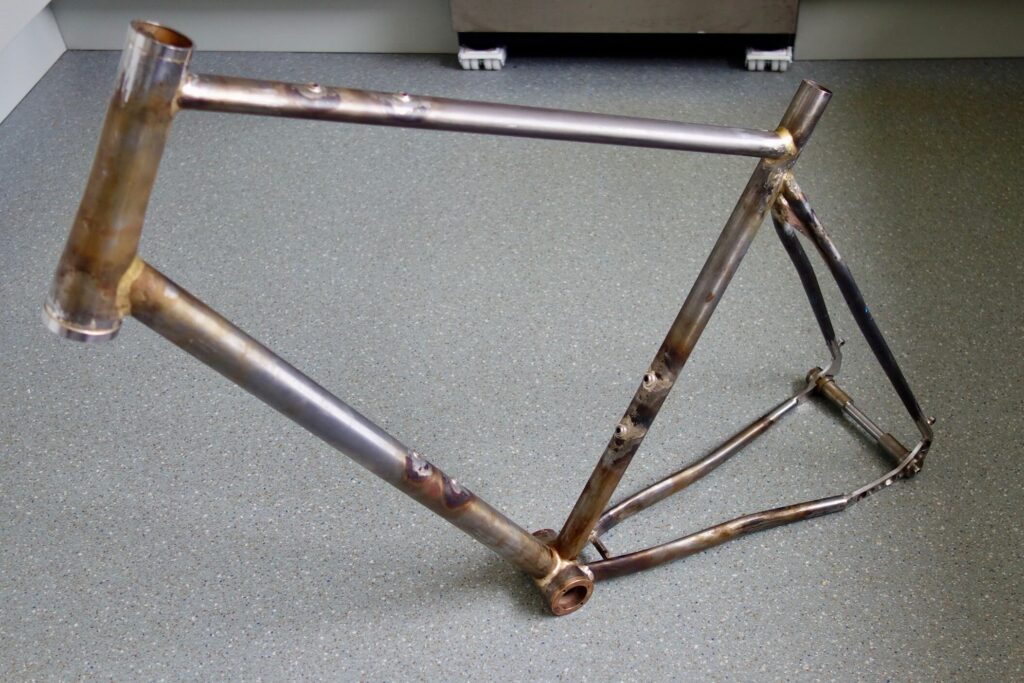
Painted now, just needs building up fully.

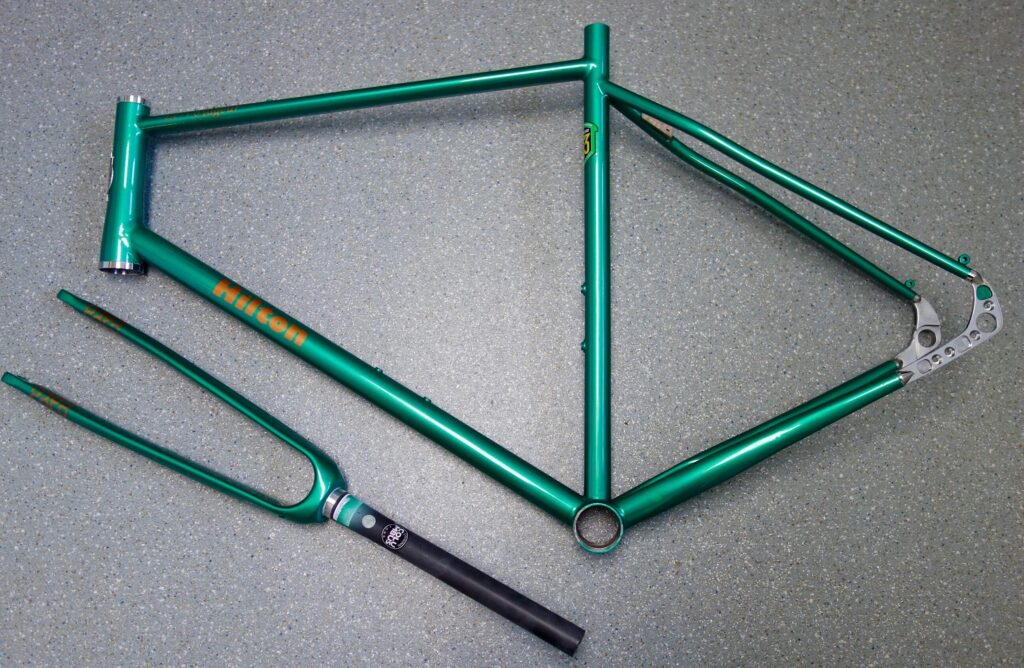
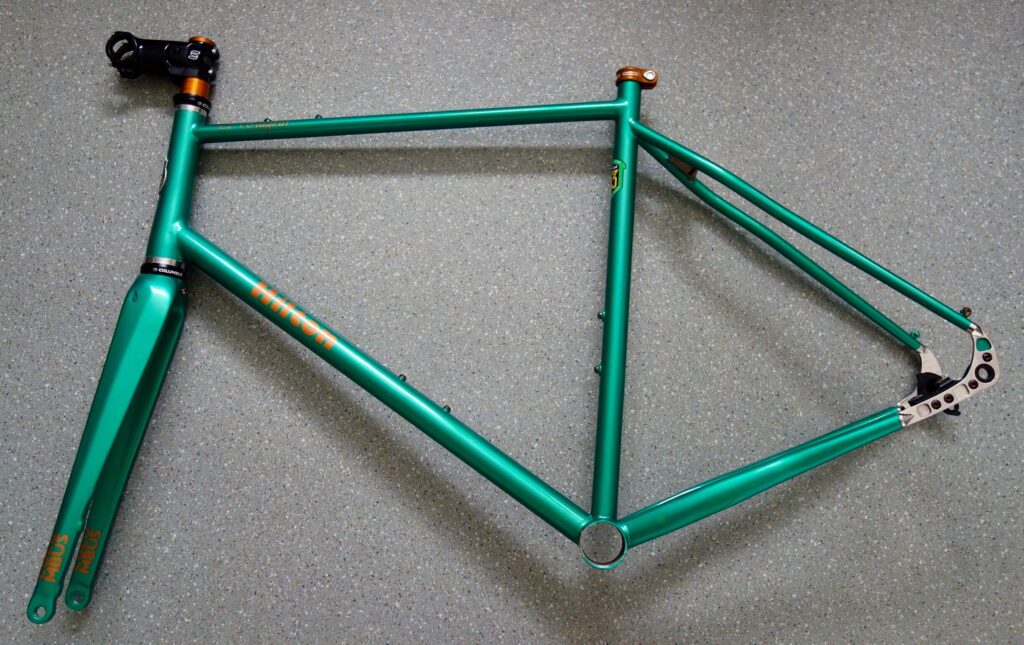
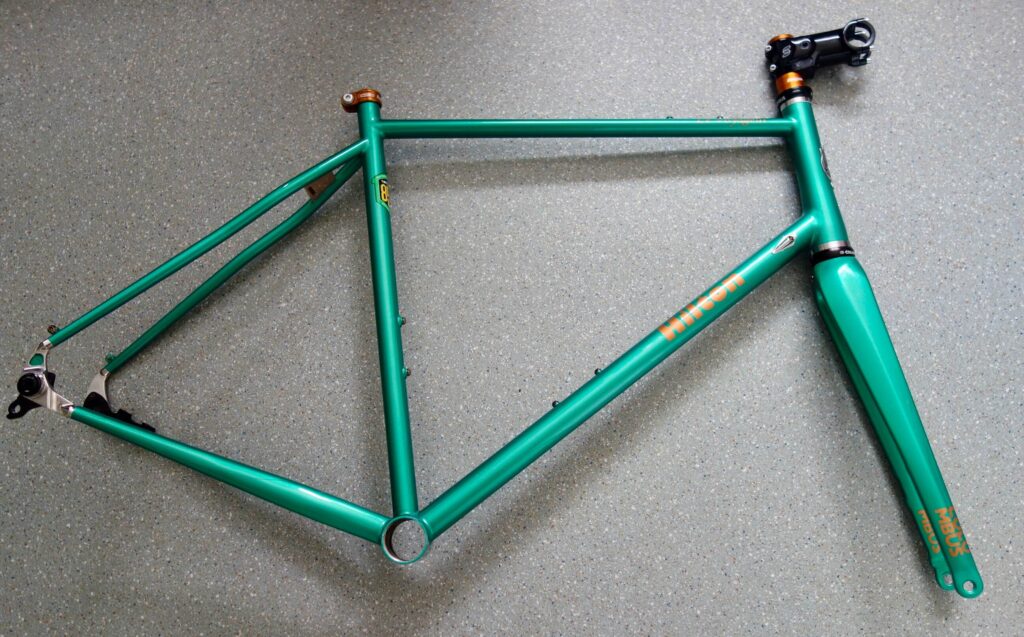
The Final Build

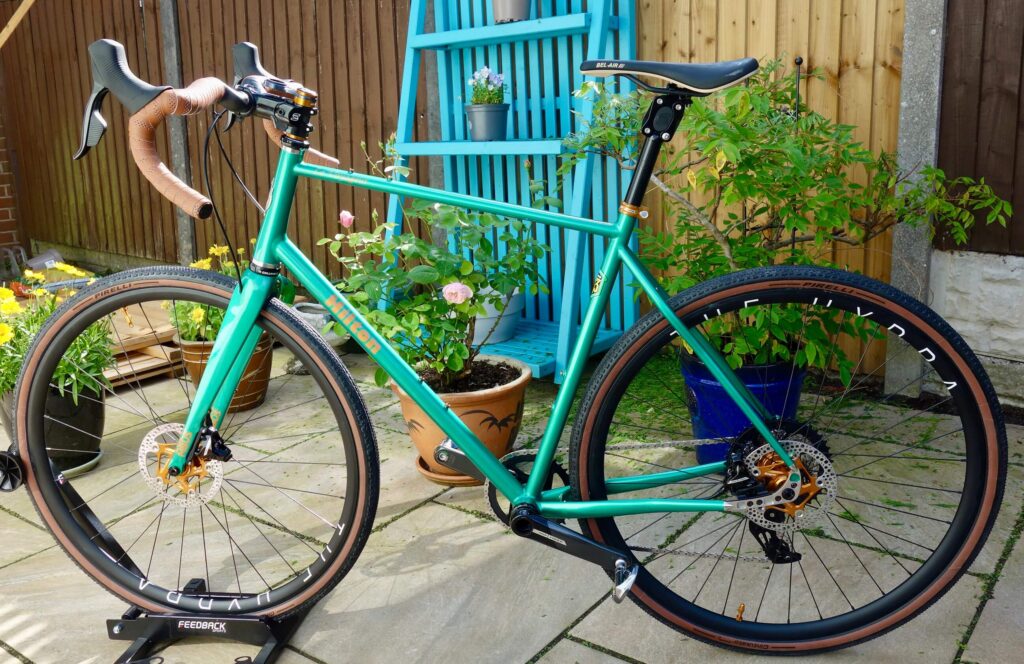
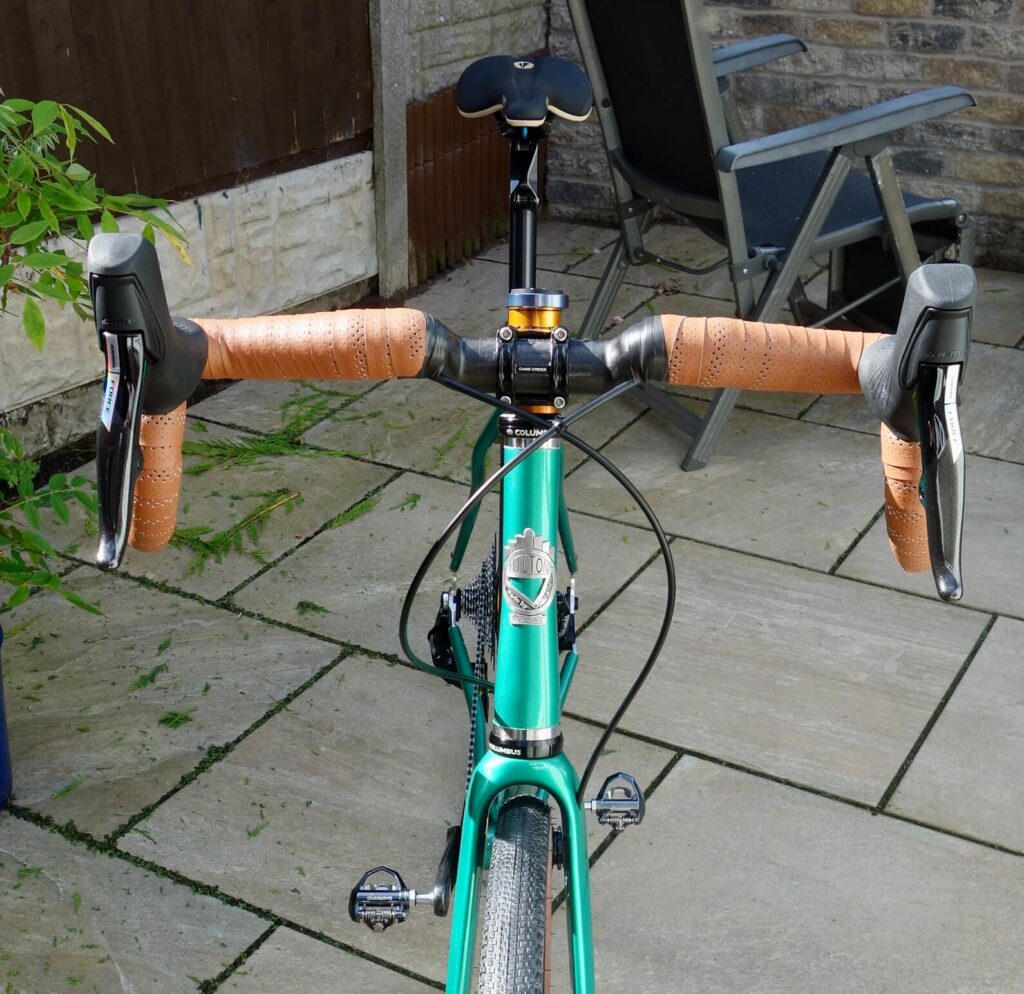
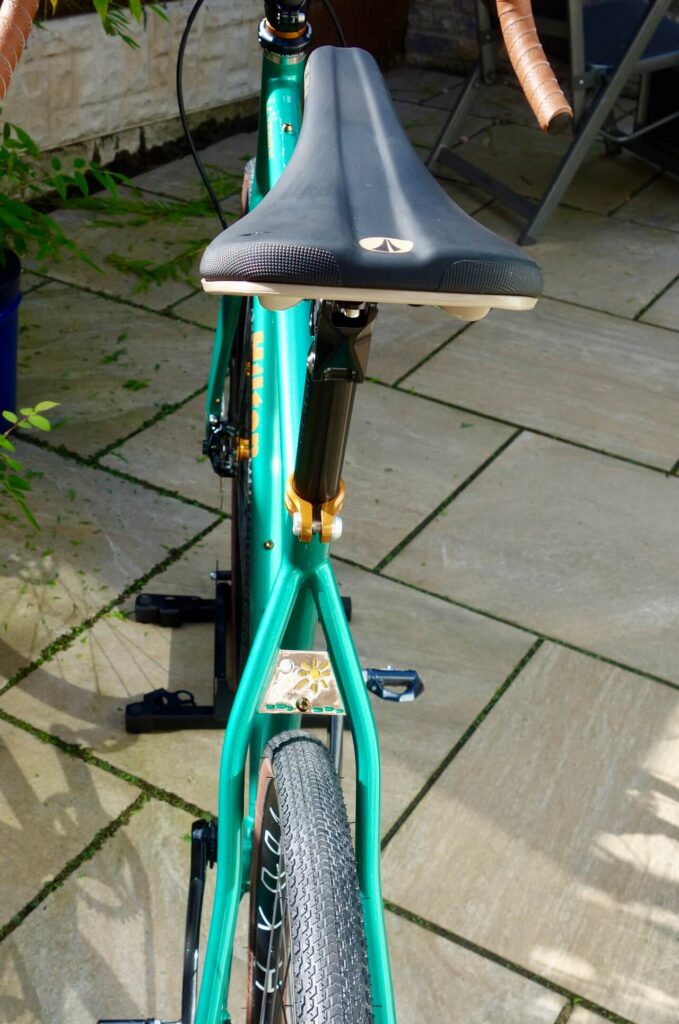

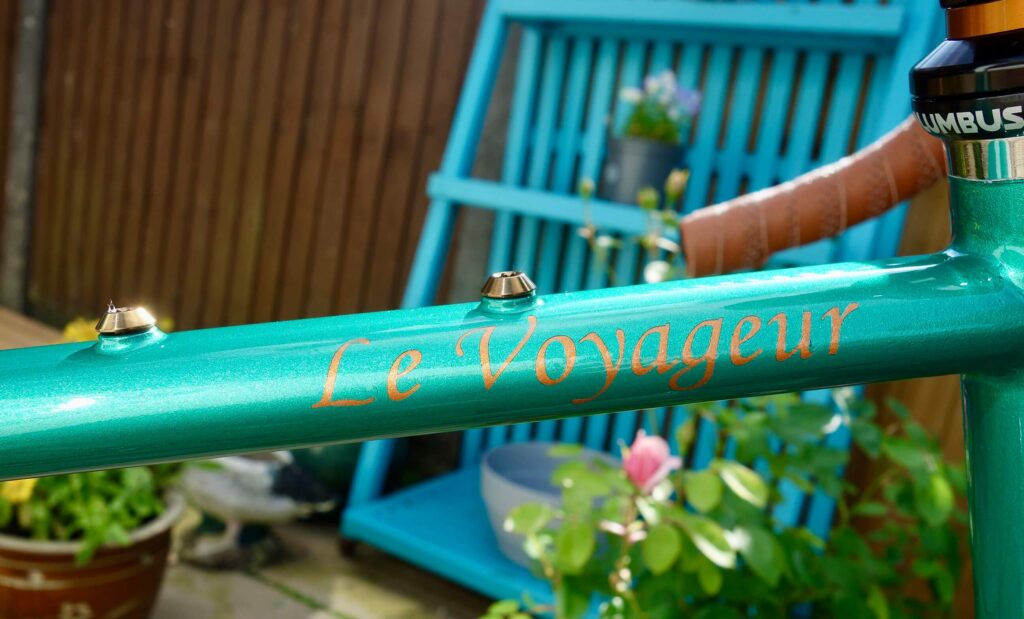
SNH 16/8/24