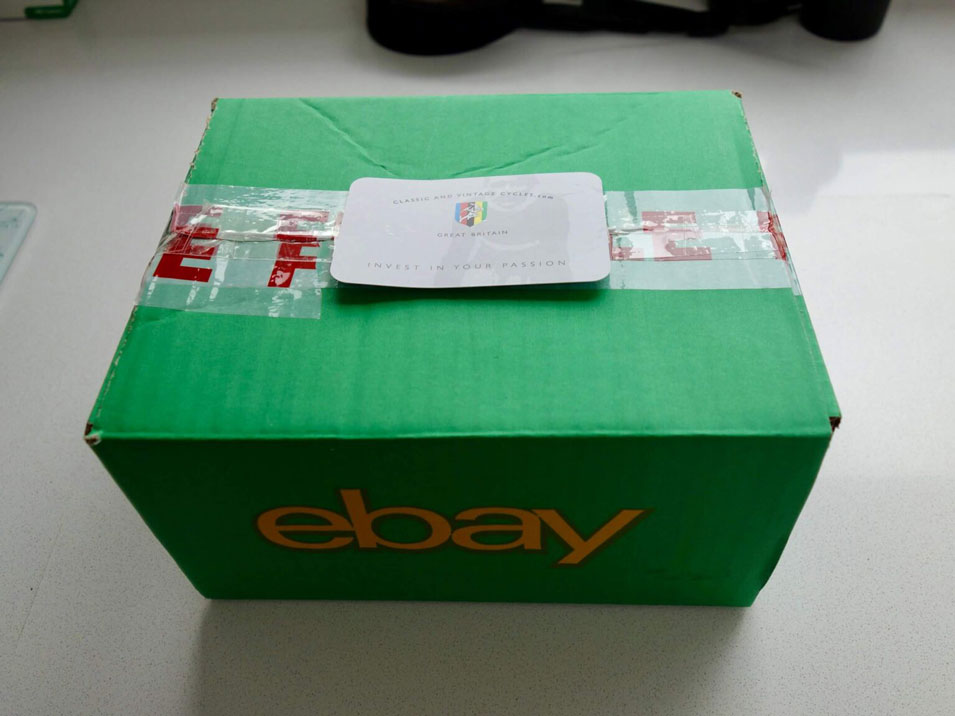
I decided it would be a good idea to build a lugged frame in the vintage style using some vintage lugs and dropouts I had acquired. I thought I would use the ‘most vintage’ tubing I could get, which was Reynolds 531 main tubes, 525 Seat and Chain Stays, and 725 Head Tube. Fork blades were Reynolds R with a 1 inch threaded steerer. I planned to assemble in the traditional manner i.e. a big flame and brass filler, though in the end I did resort to using some silver to make life easier. The first problem was that I had no idea what the angles of the lugs or bottom bracket were, so I spent a lot of time eyeing them up and inserting tubing in the ports using a protractor to measure them. I think I was close, but even now I am not certain I measured them correctly! The collection included some pressed lugs, some cast lugs, a cast bottom bracket and campagnolo horizontal dropouts, plus a couple of bullet type dropout connecters.
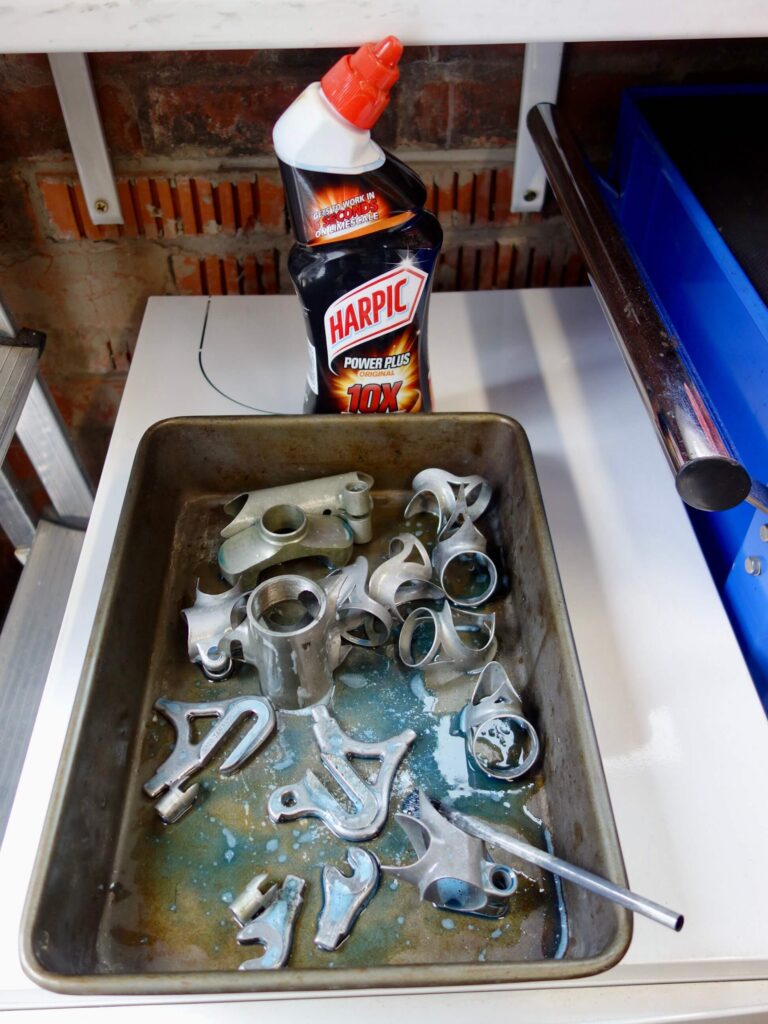
initially I cleaned off the superficial rust with toilet bowl cleaner (contains hydrochloric acid) and discovered re-rusting can take place every quickly afterwards if you leave them in a cold place.
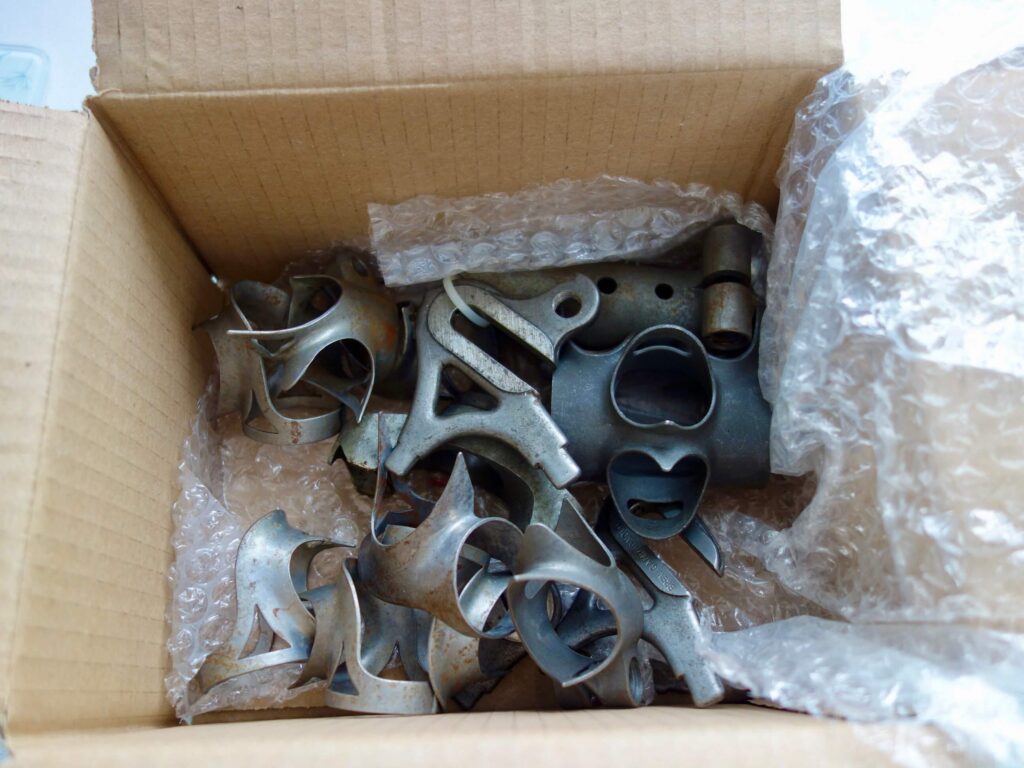
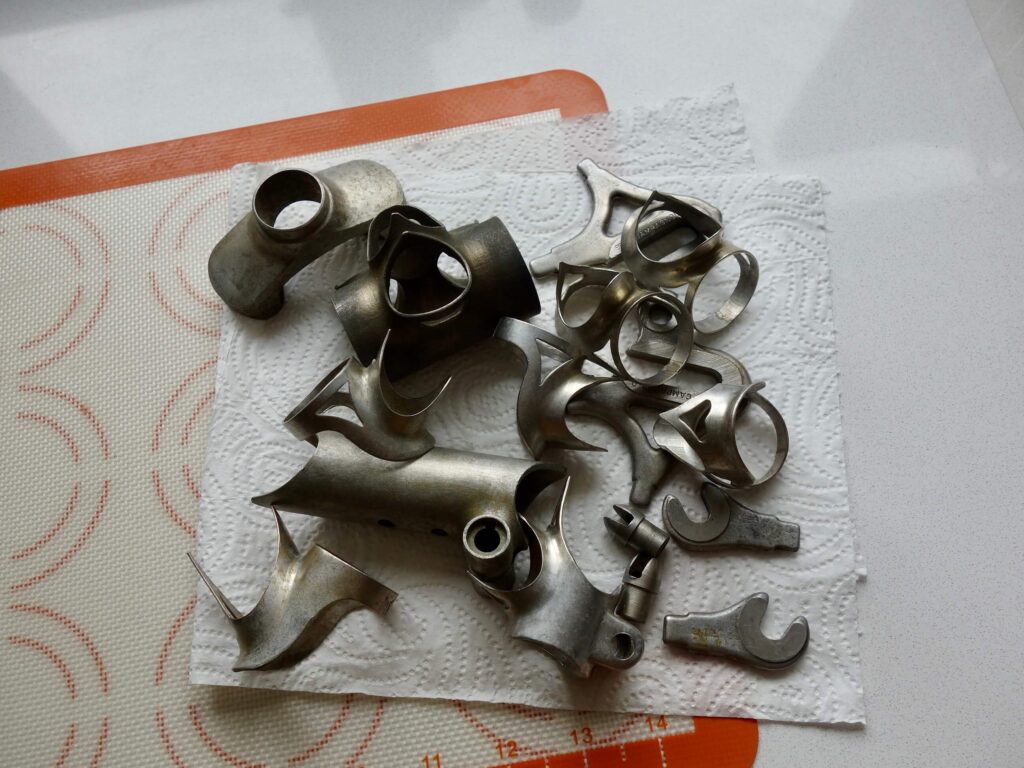
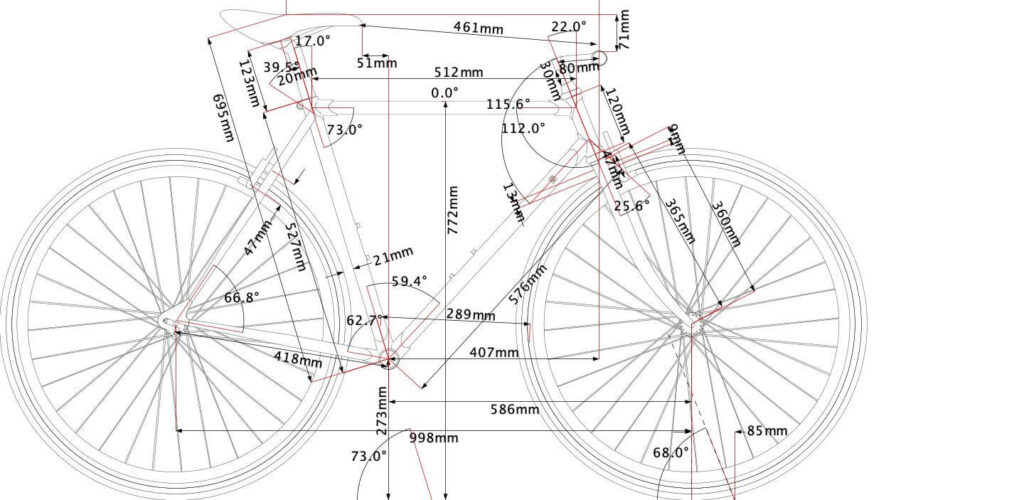
I managed to produce two designs, the recipient of the frame choosing one. The design was quite limited due to the lugs available, and had the largest trail I have ever ended up with, given the 68 deg head lug angle. The project reminded me of the TV program Ready Steady Cook, where someone brings in a chicken breast, a pomegranate and bag of nuts and the ‘celebrity’ chef cooks up a dish for the audience to try. In the end I used the pressed head lugs, a cast seat lug with the Campagnolo dropouts. The bottom bracket had the wrong angles so I had to substitute a similar one.
Forks
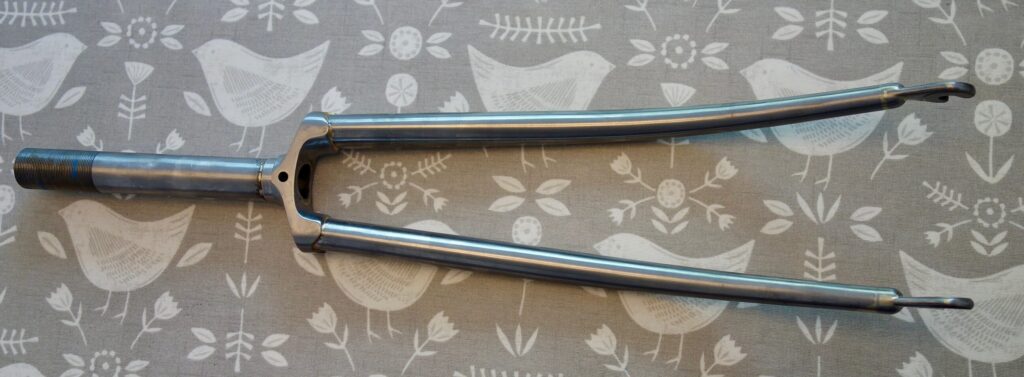
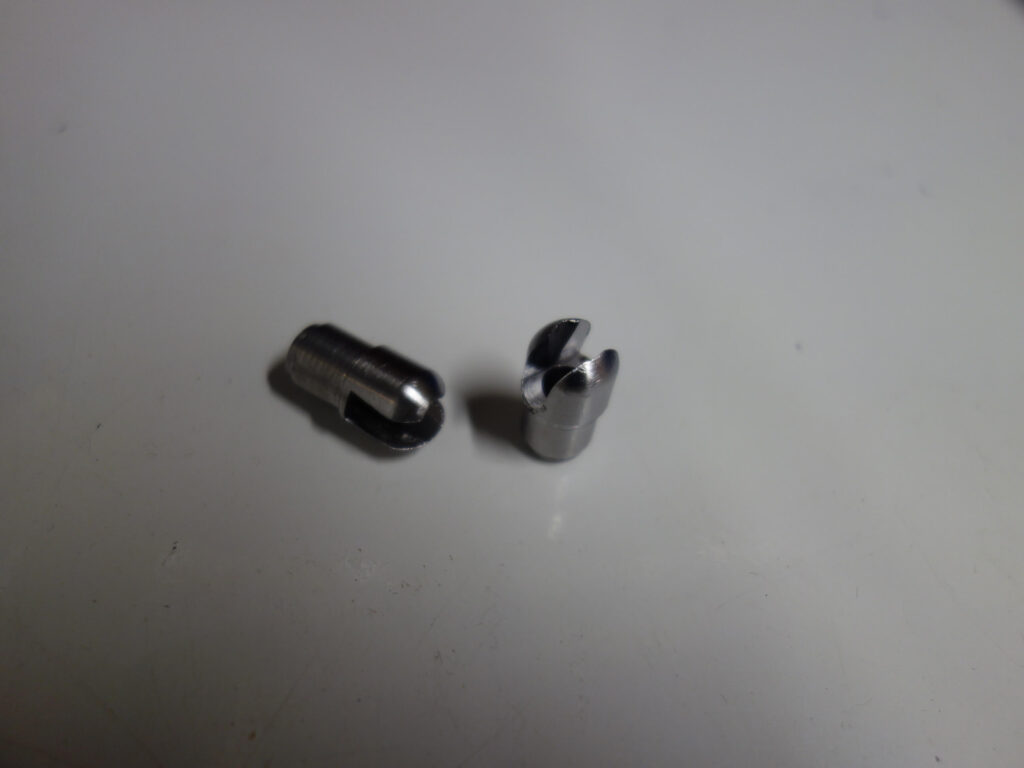
The fork crown was almost certainly intended for track use so needed a brake hole. I needed 6 frame bullets and only had two, so made a pair for the forks and subsequently the seat stays, not as elegant as the original Campagnolo ones.
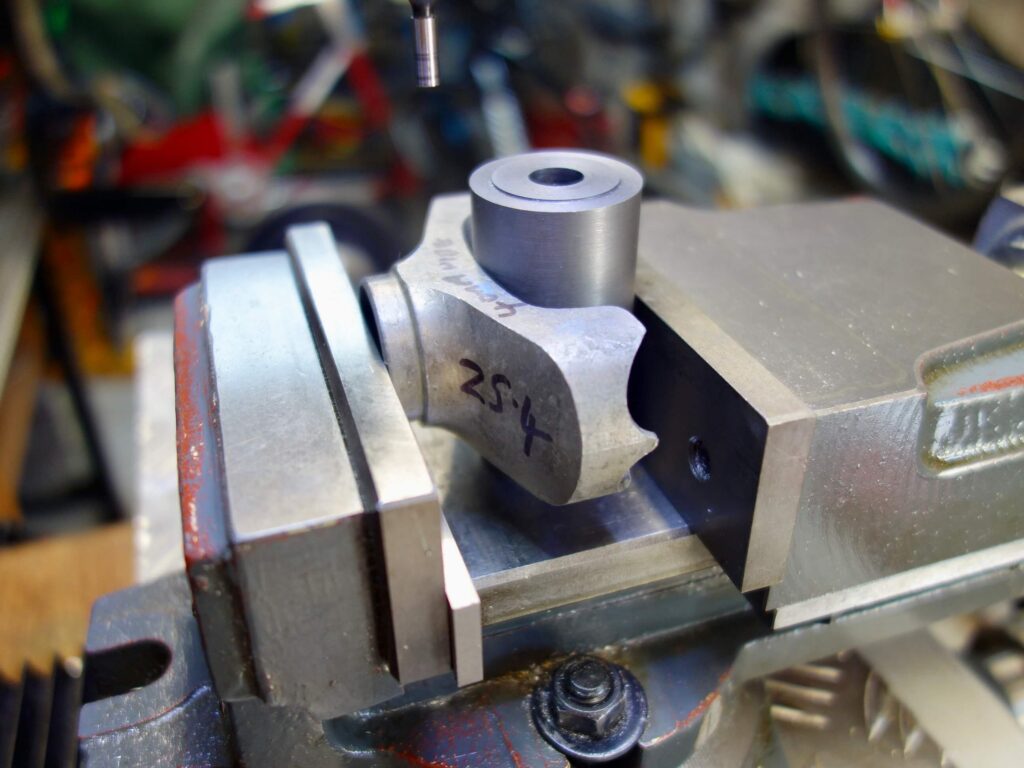
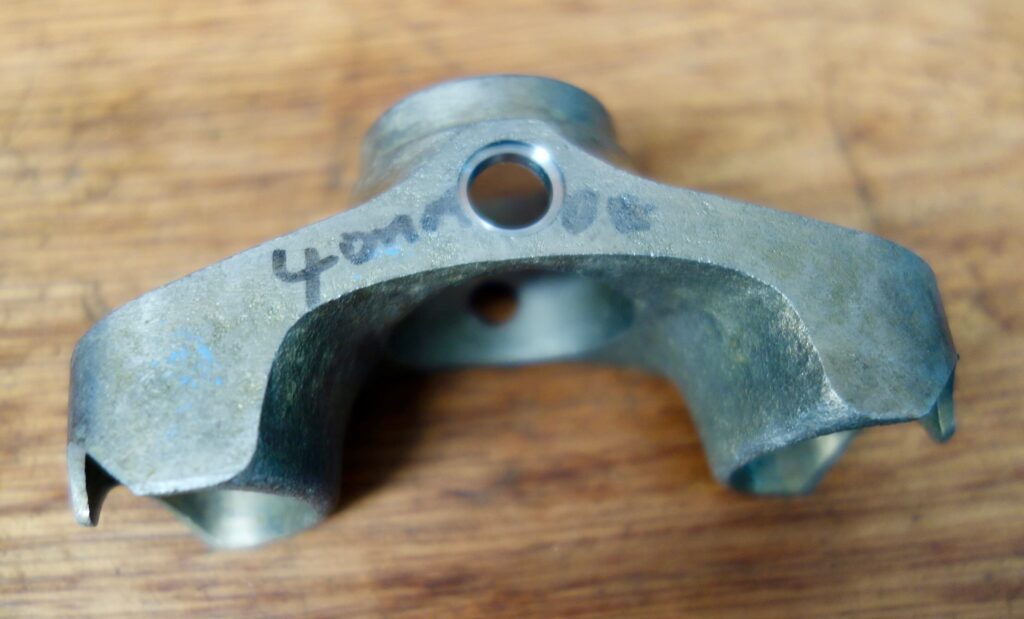
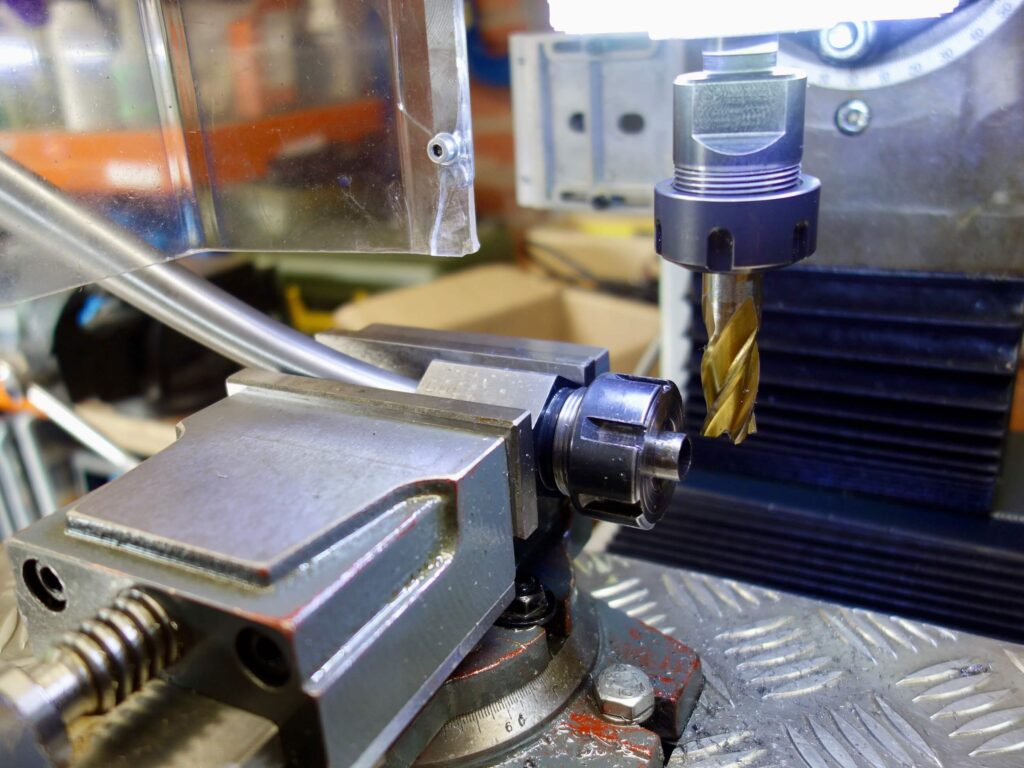
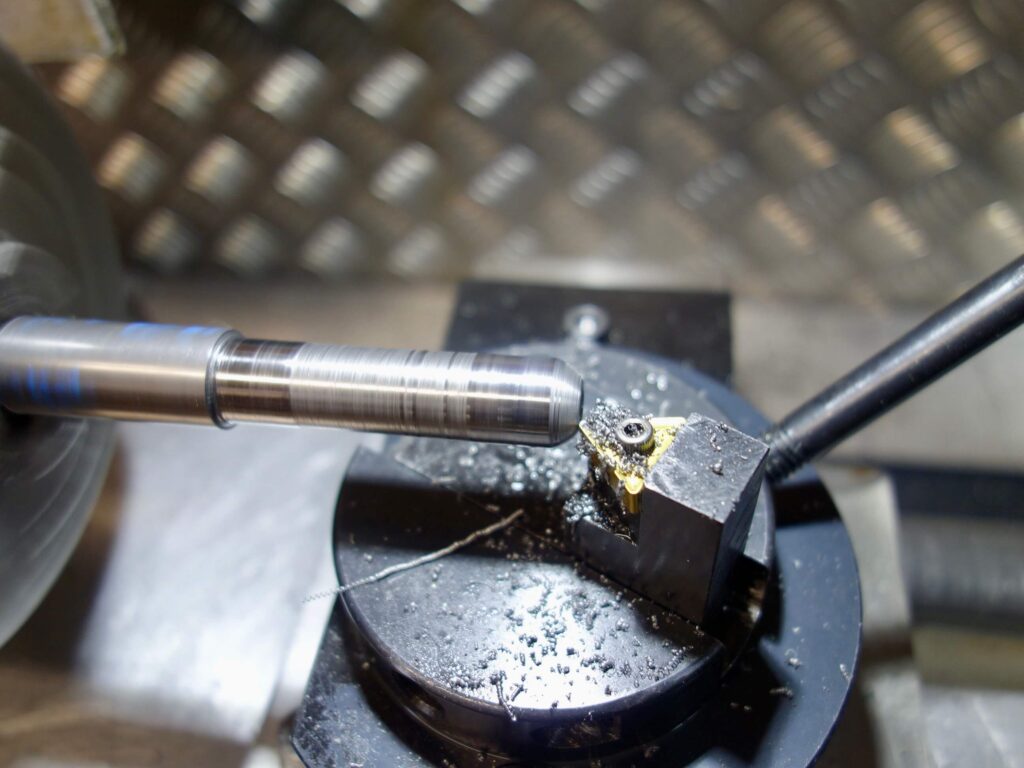
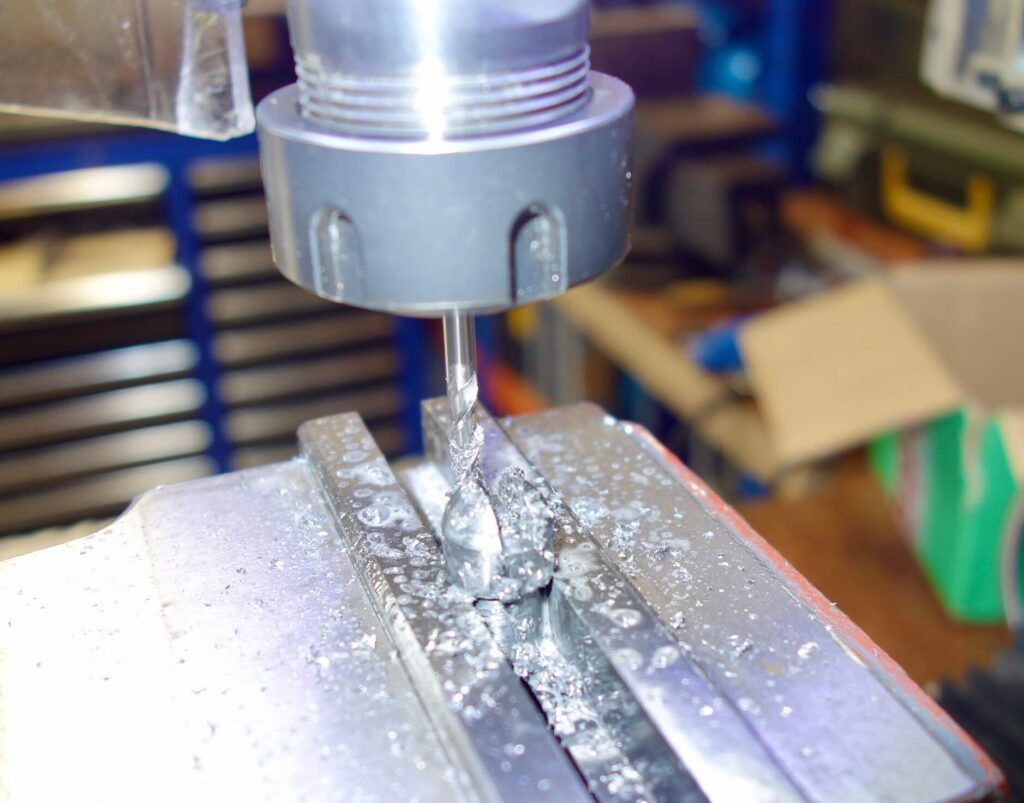
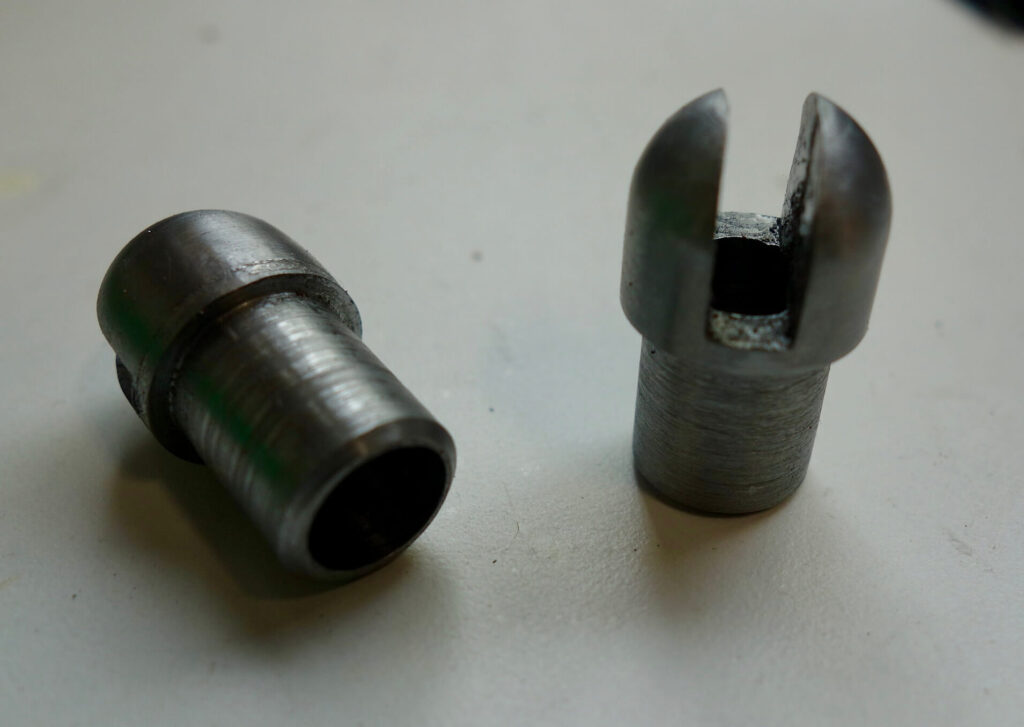
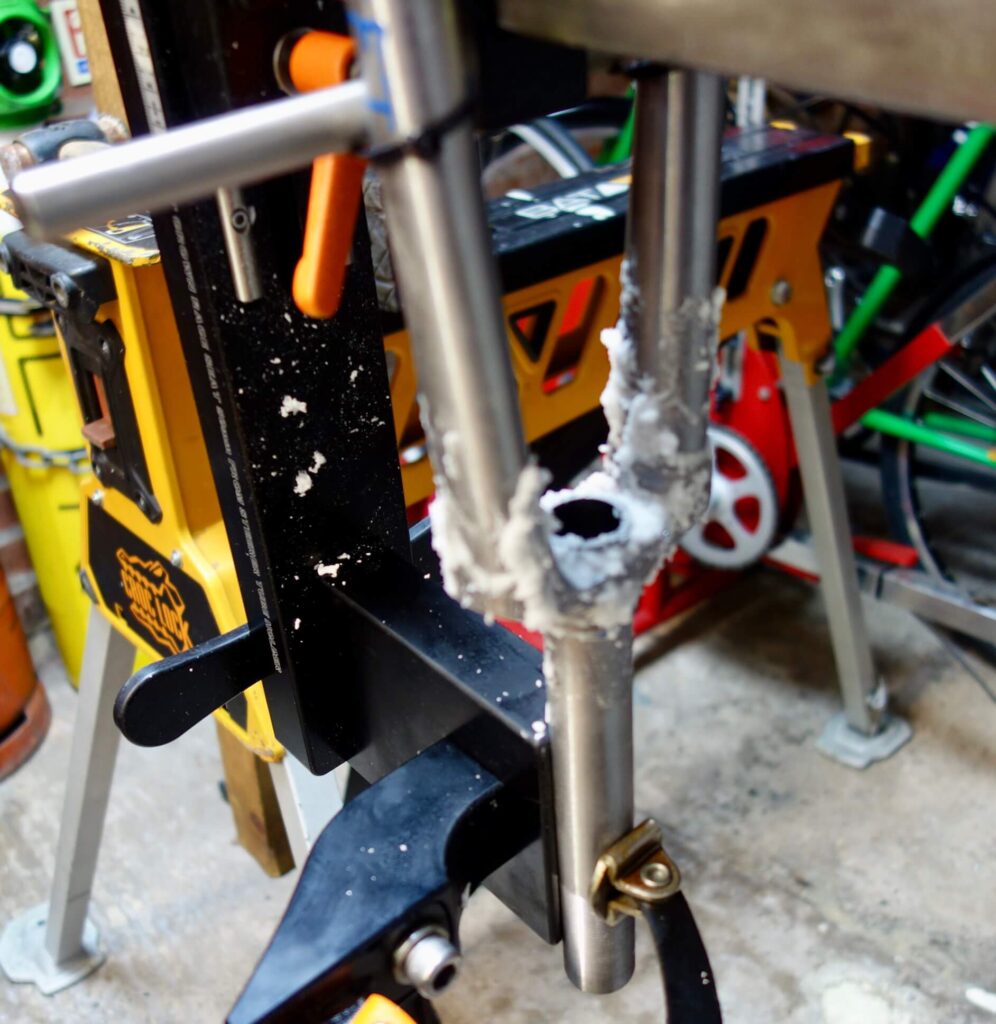
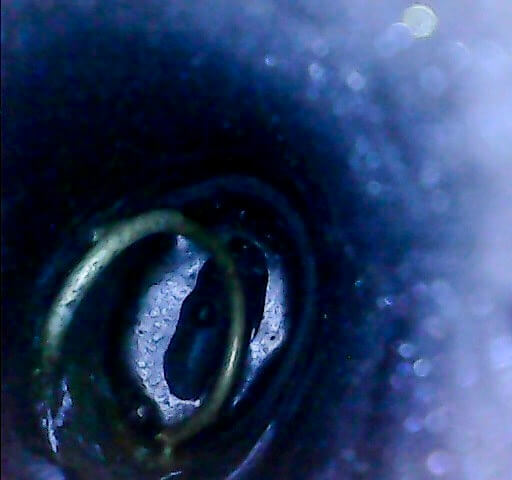
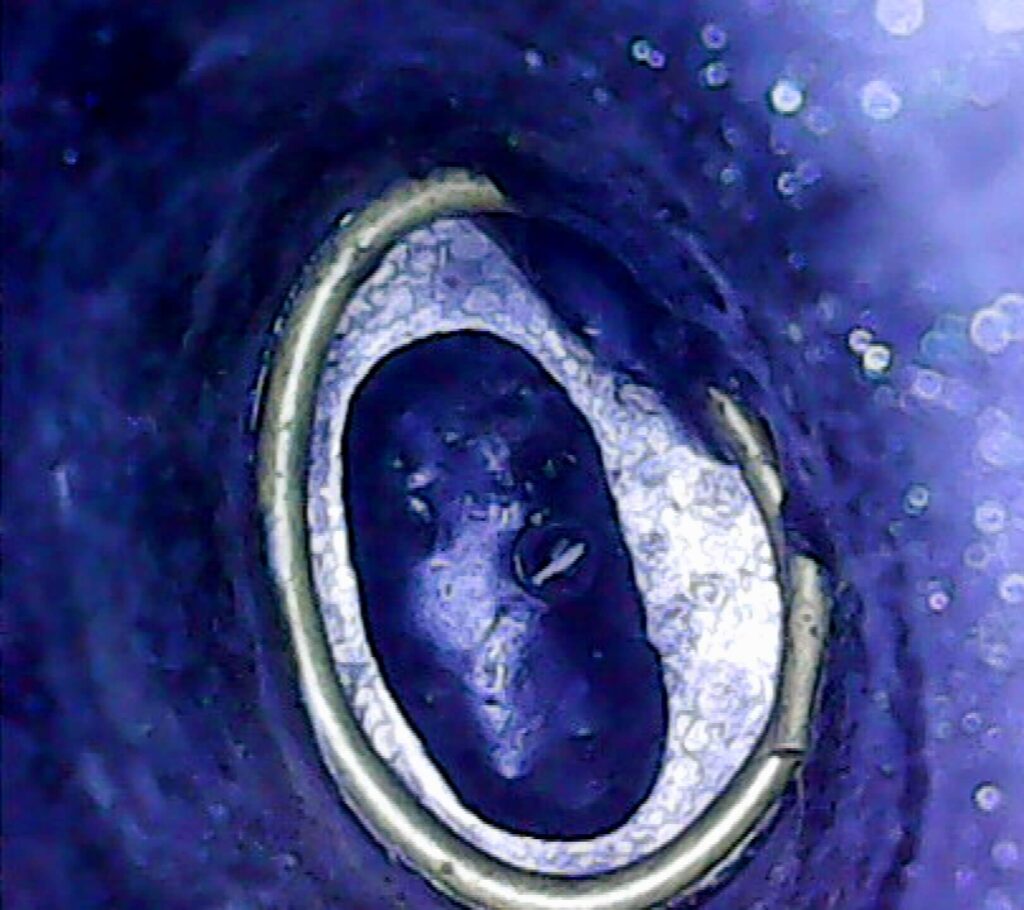
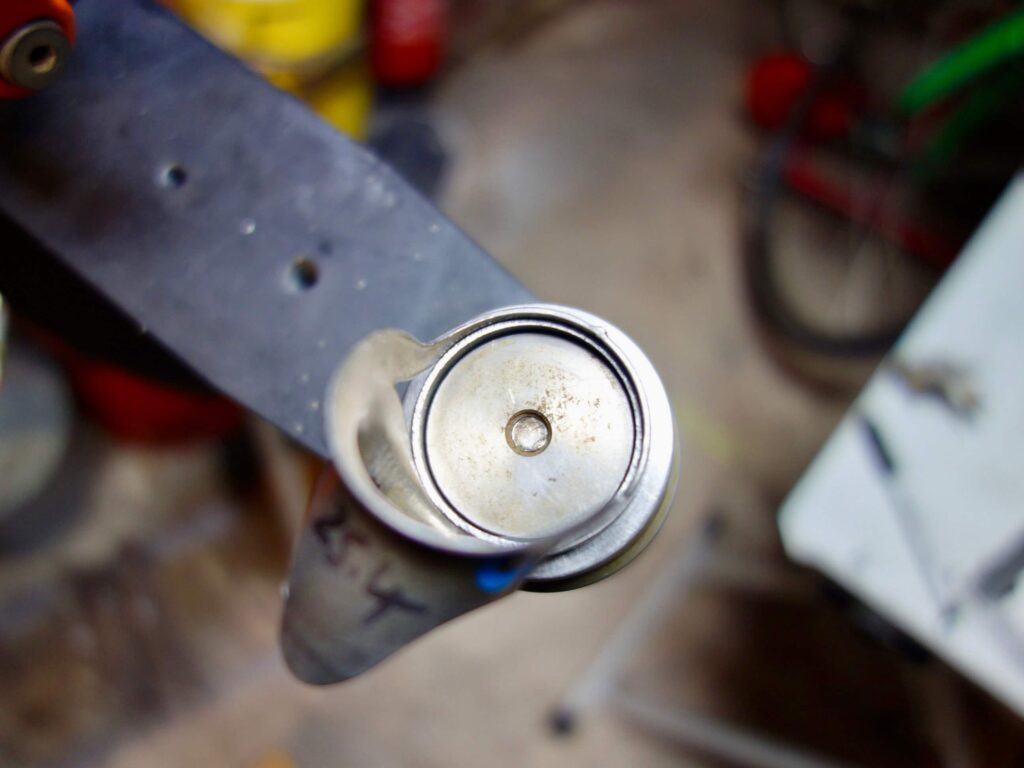
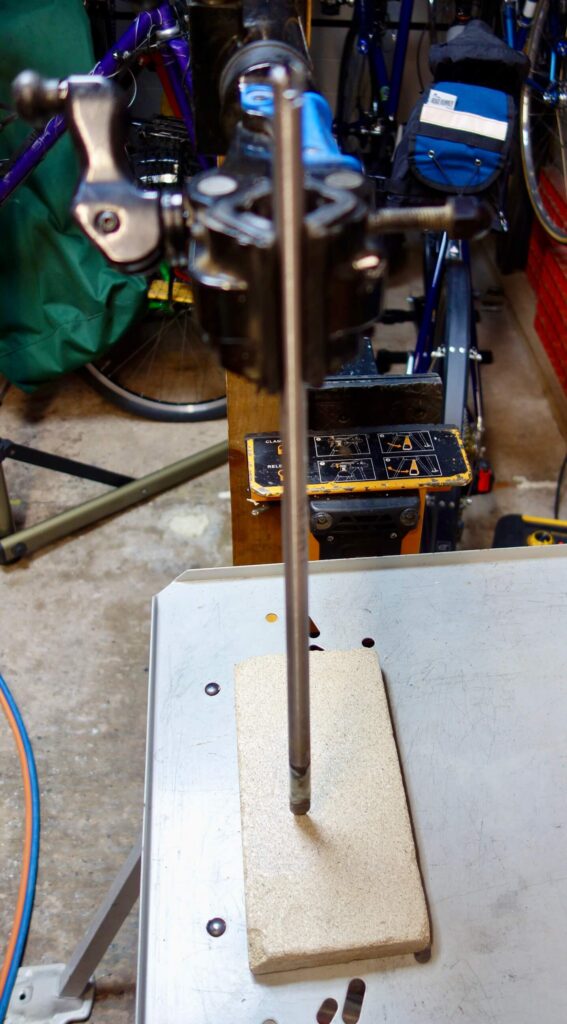
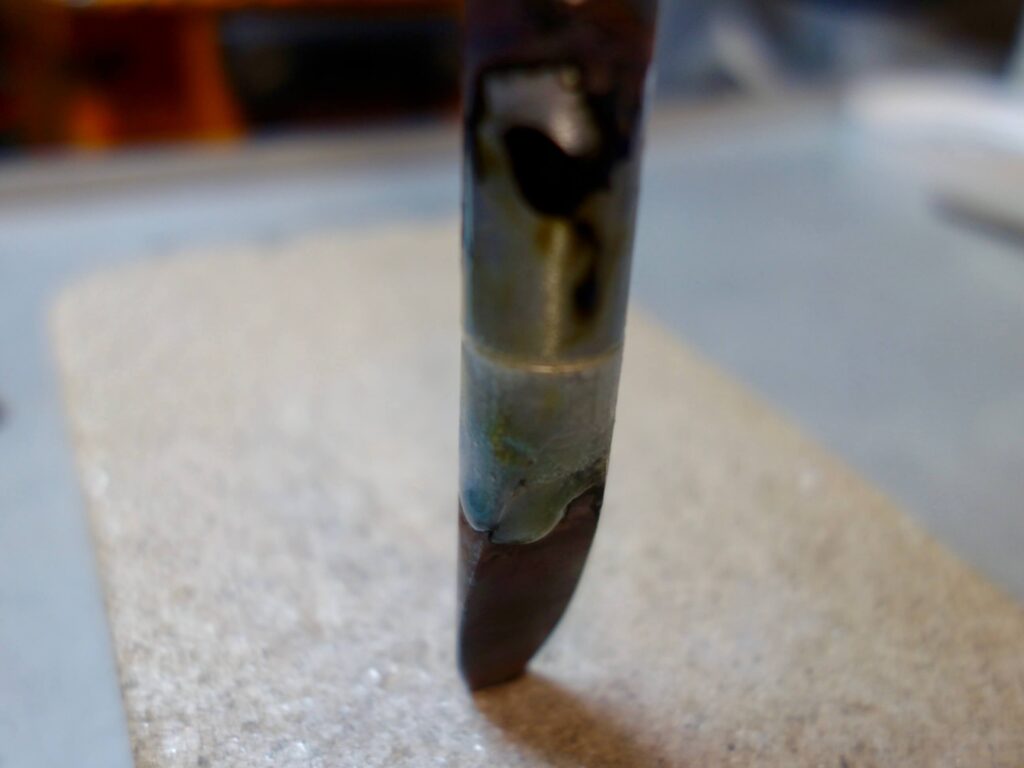
Before brazing the forks I drilled vent holes in the crown to be filled later. I decided to re-try a brass coil inside the forks to braze the crown. As in the past this was not very successful and I had to twist out the unmelted section of the rod afterwards. I really have given up on this method now and just add the filler from the outside or ideally use silver, which not only melts at a lower temperature but is available as thinner wires.

The Frame
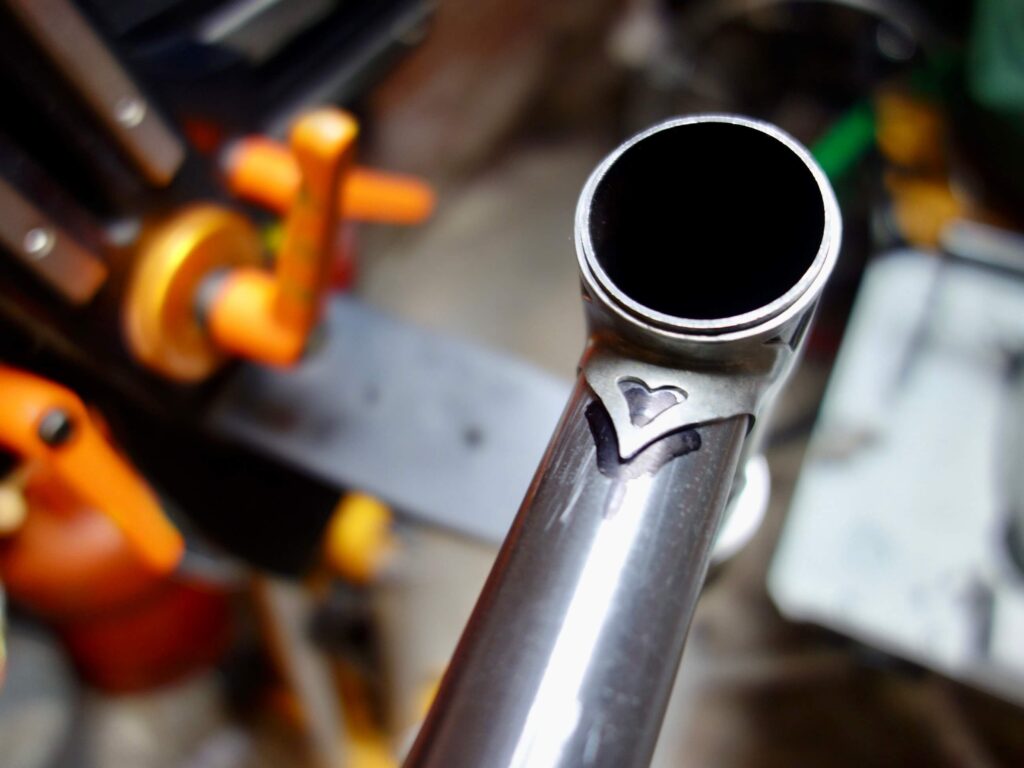
I usually use cast lugs, though have used pressed lugs in the past. These were rounded at the inside mating surface which gives a larger than usual gap. I felt that this meant accurate mitres were particularly important,
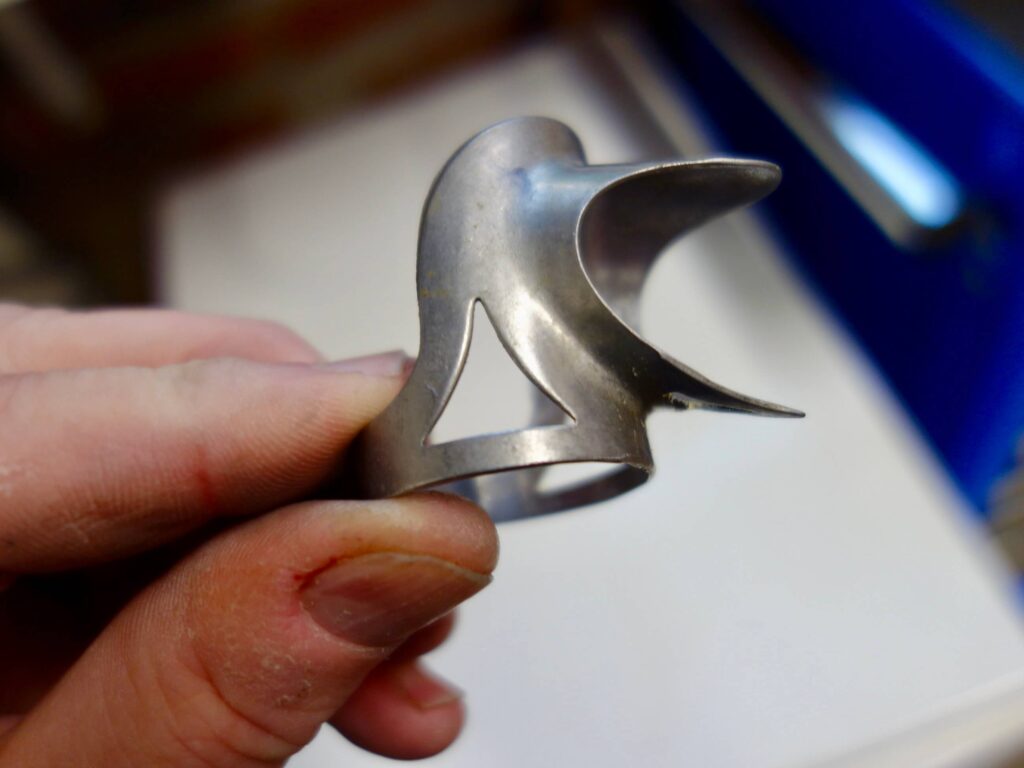
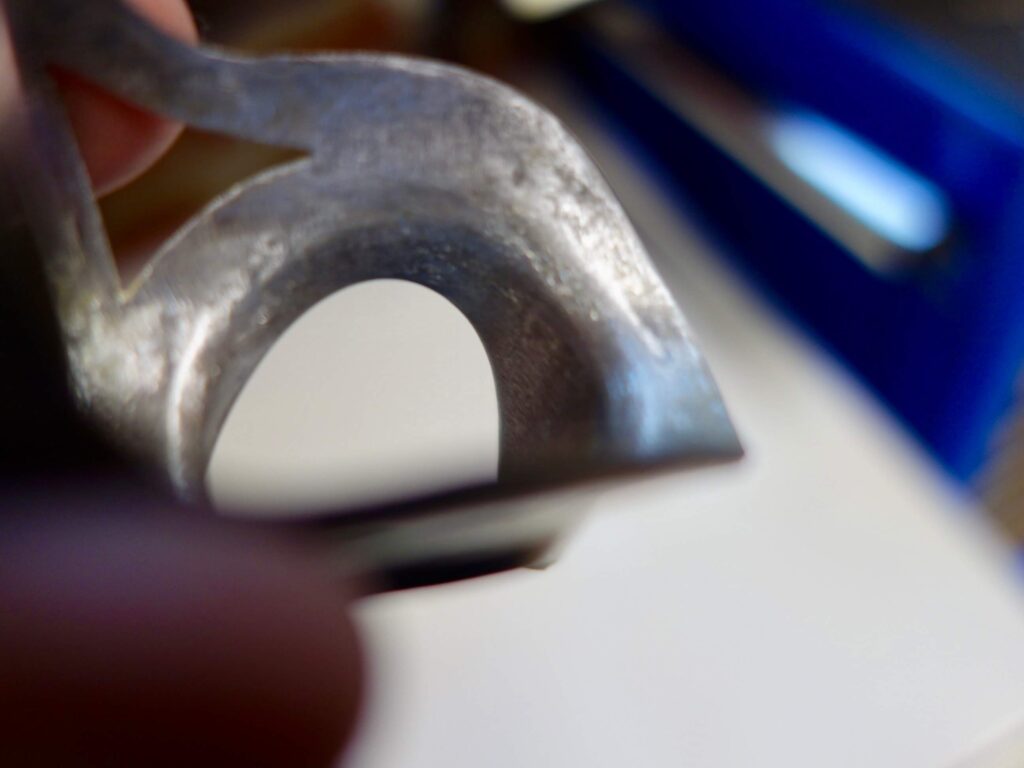
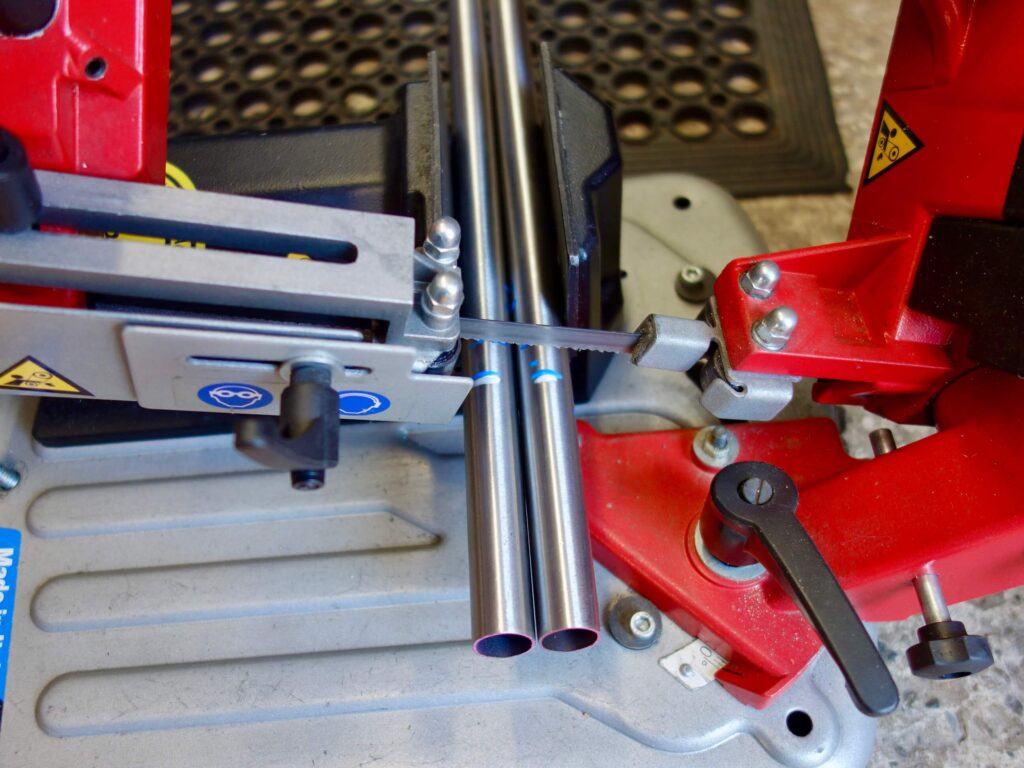
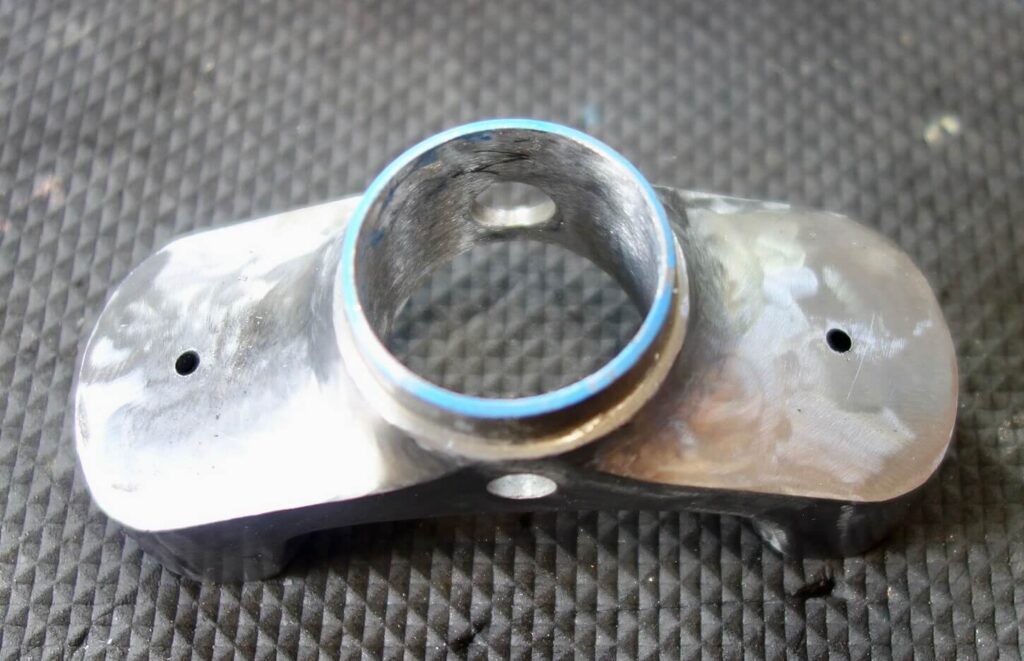
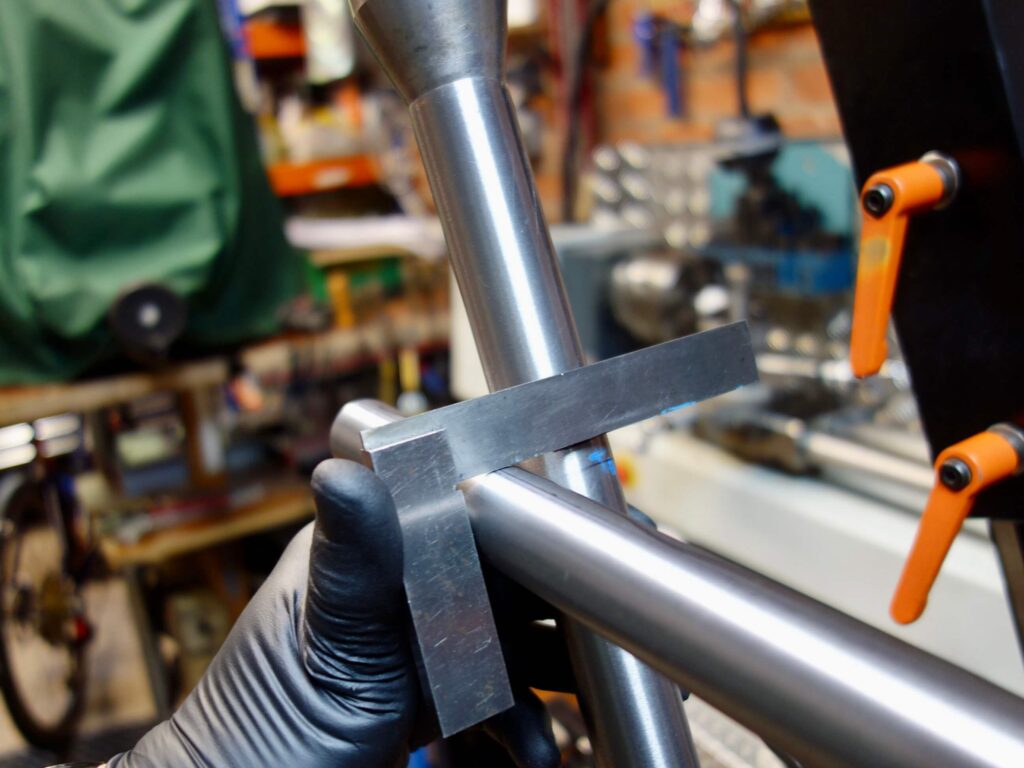
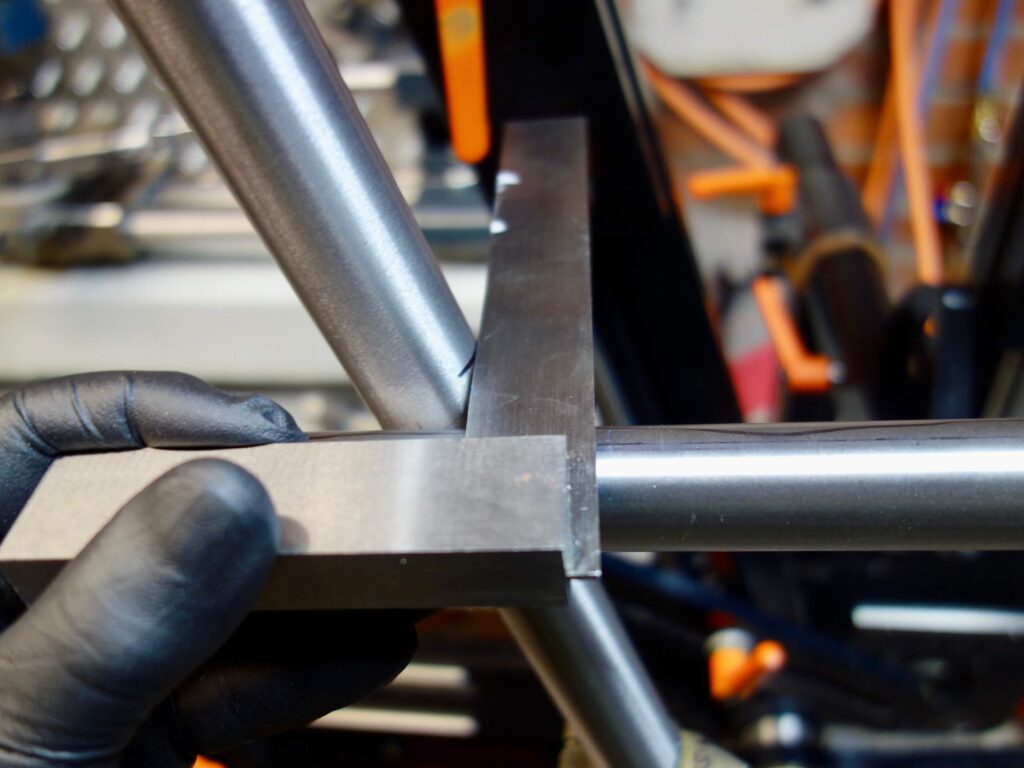
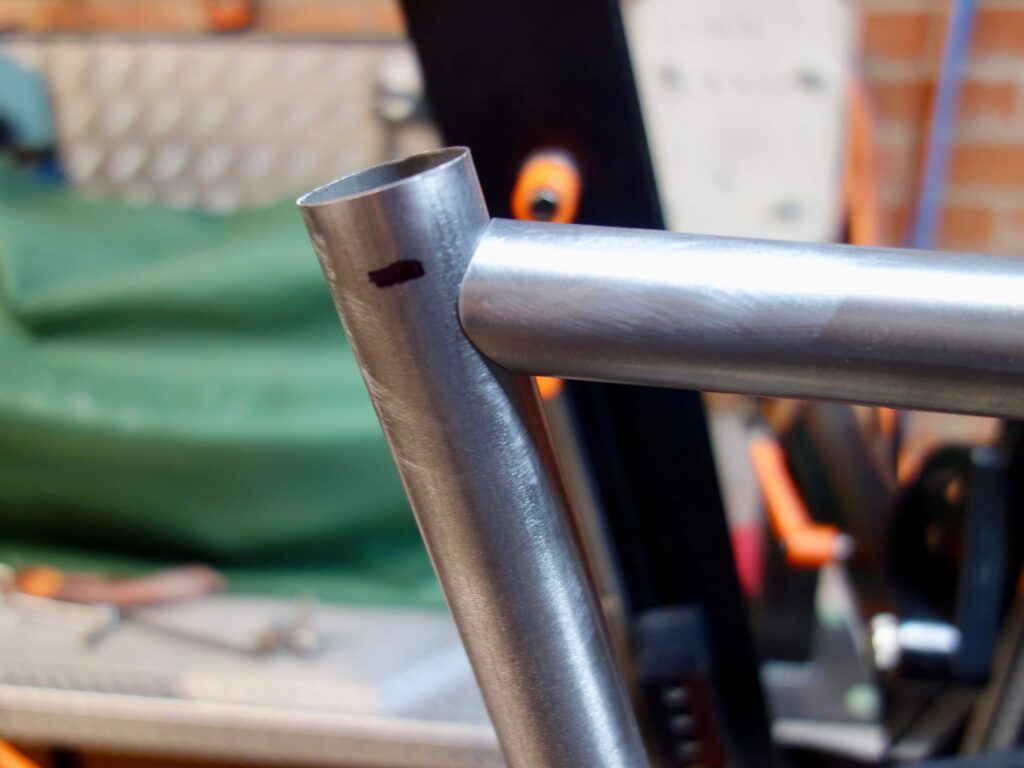
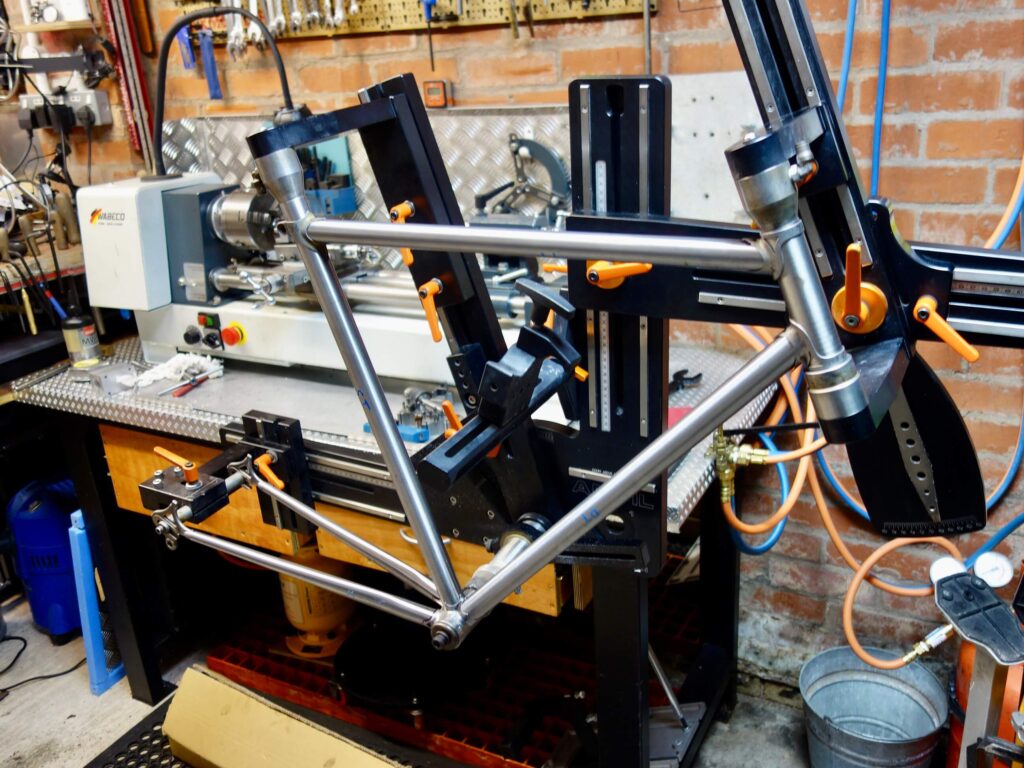
I now usually mitre the tubes to the design dimensions, but as the lugs were at guesstimate angles I felt the need to ensure the final mitres were correct. A small ring of head tube was cut to fix the lower head lug in position so the cut level of the down tube could be marked and the fit of the tubes in the lugs checked.
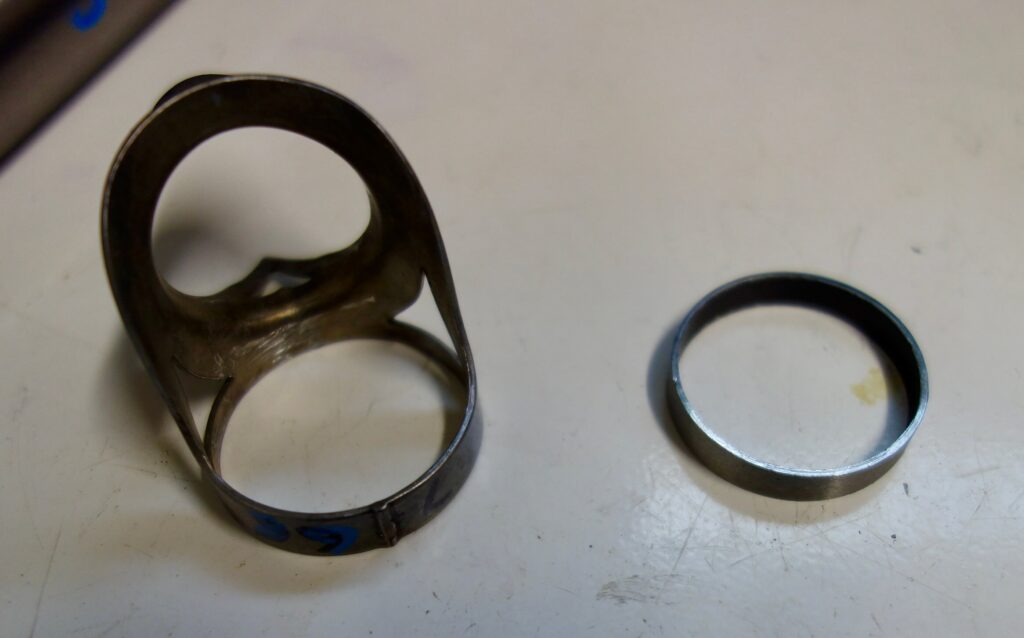
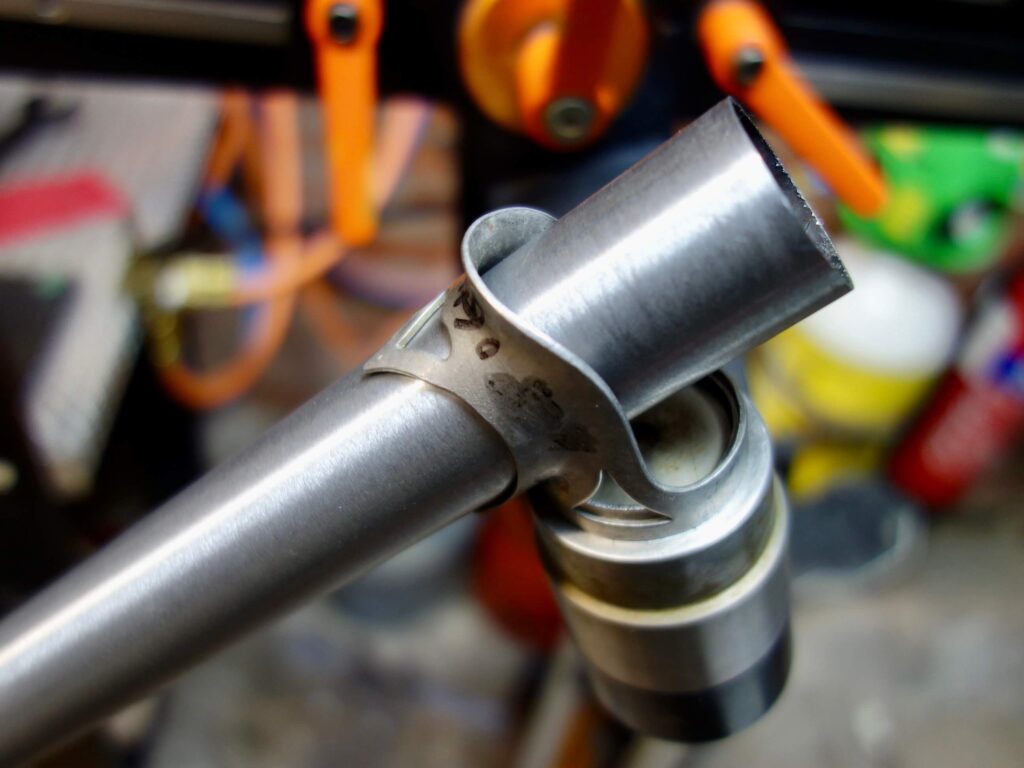
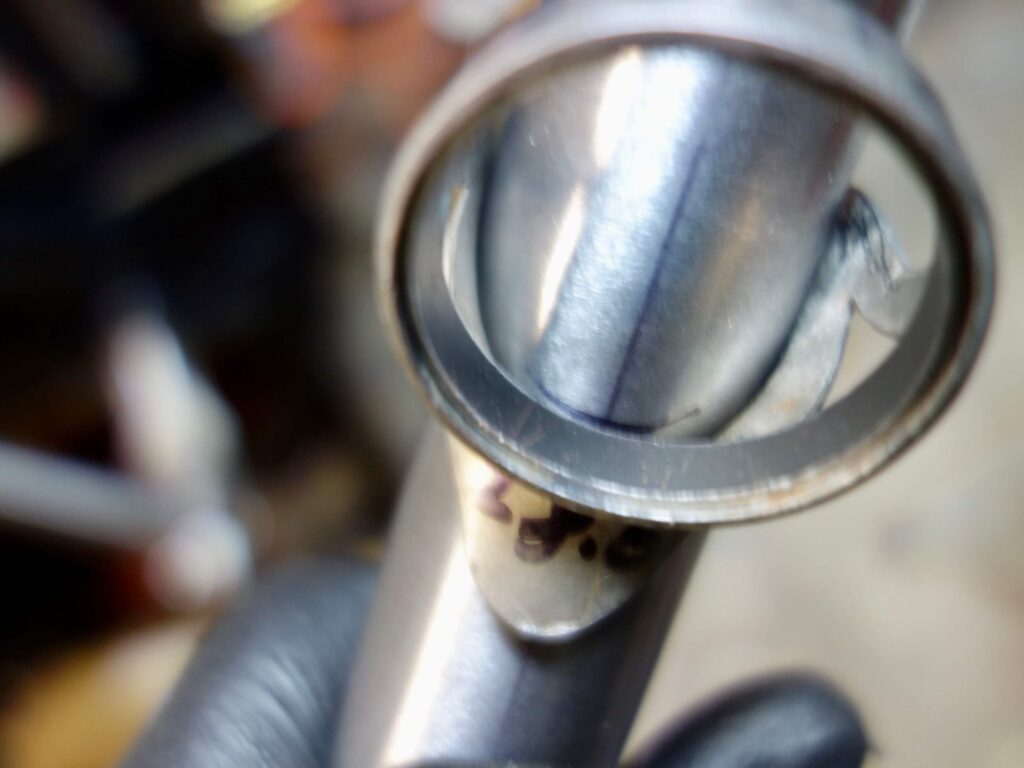
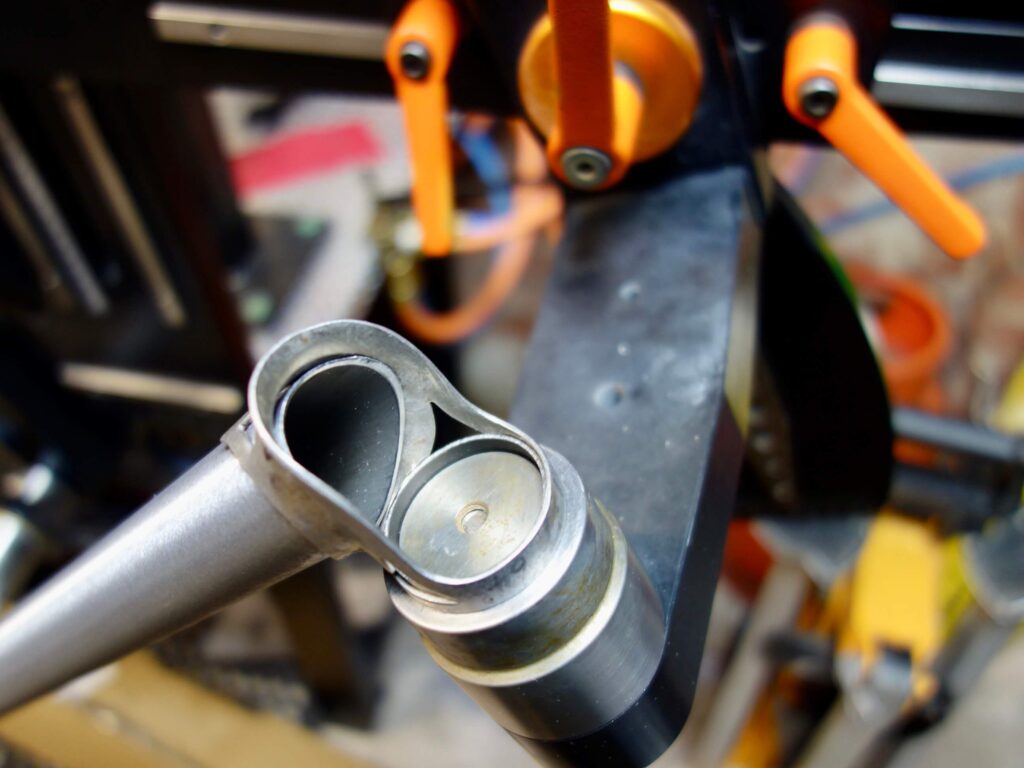
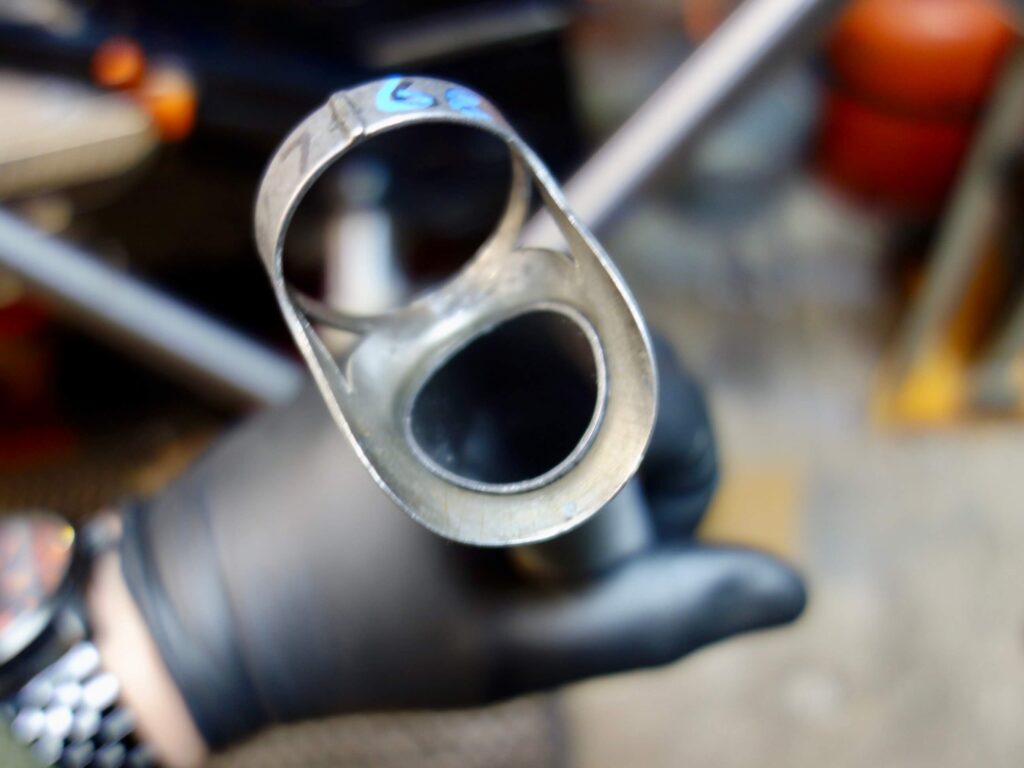
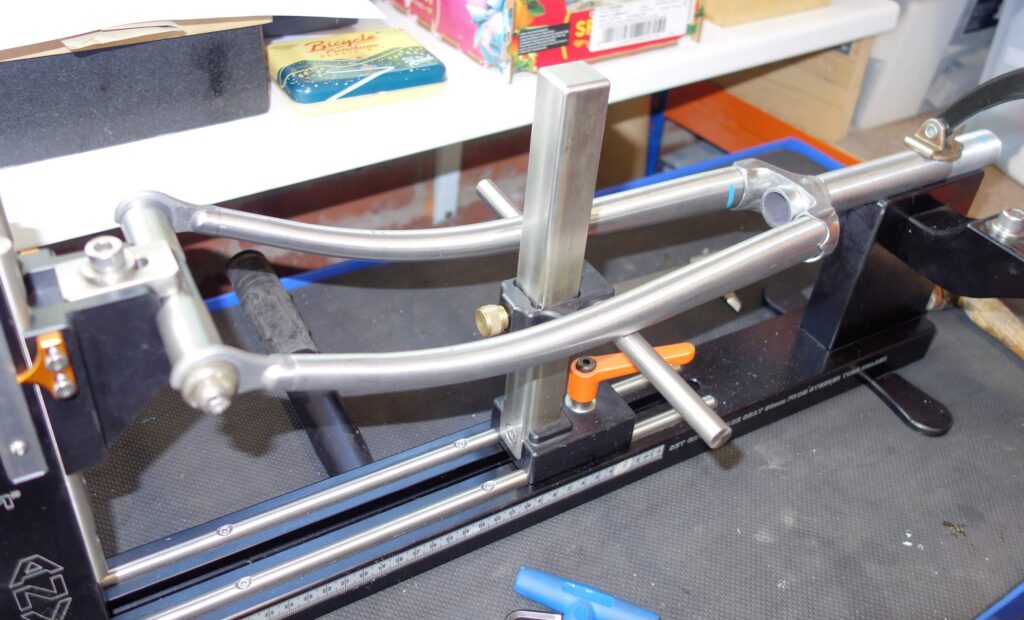
The head tube was then inserted and the Down tube inserted through the bottom bracket an also cut down a bit oversize as it can be trimmed after assembly.
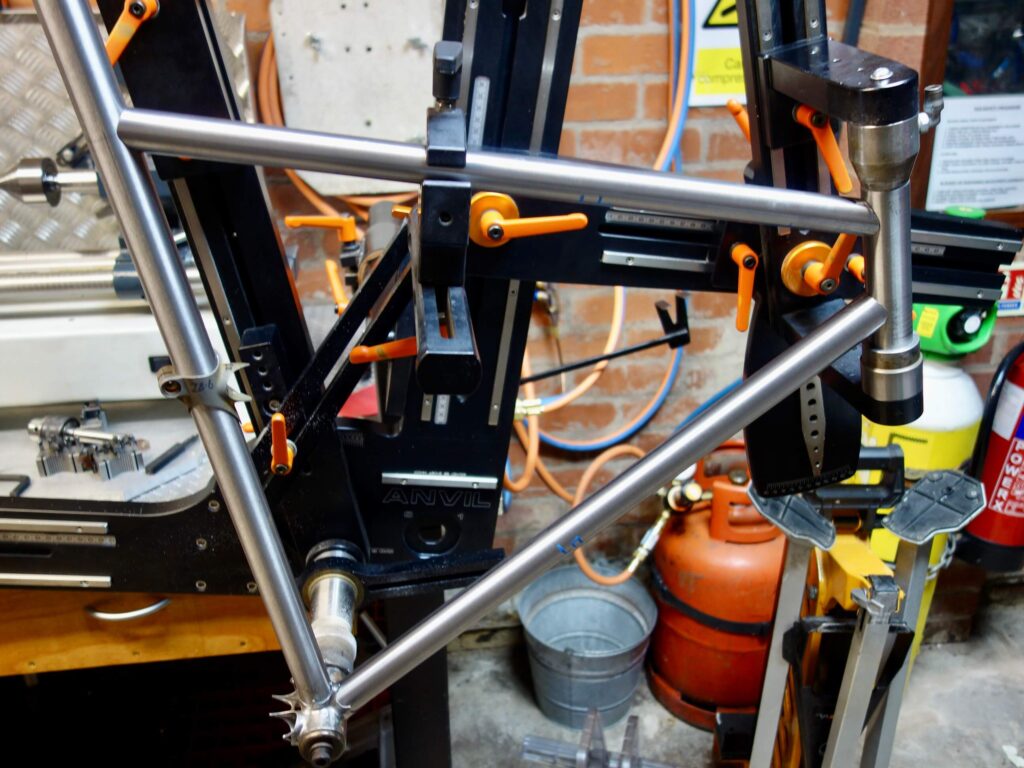
Although photographs below show the Top tube also assembled I DO NOT recommend cutting the top tube in advance with lug frames, rather do it after the seat and down tubes have been brazed. Yes my first one ended up too short as a reminder!
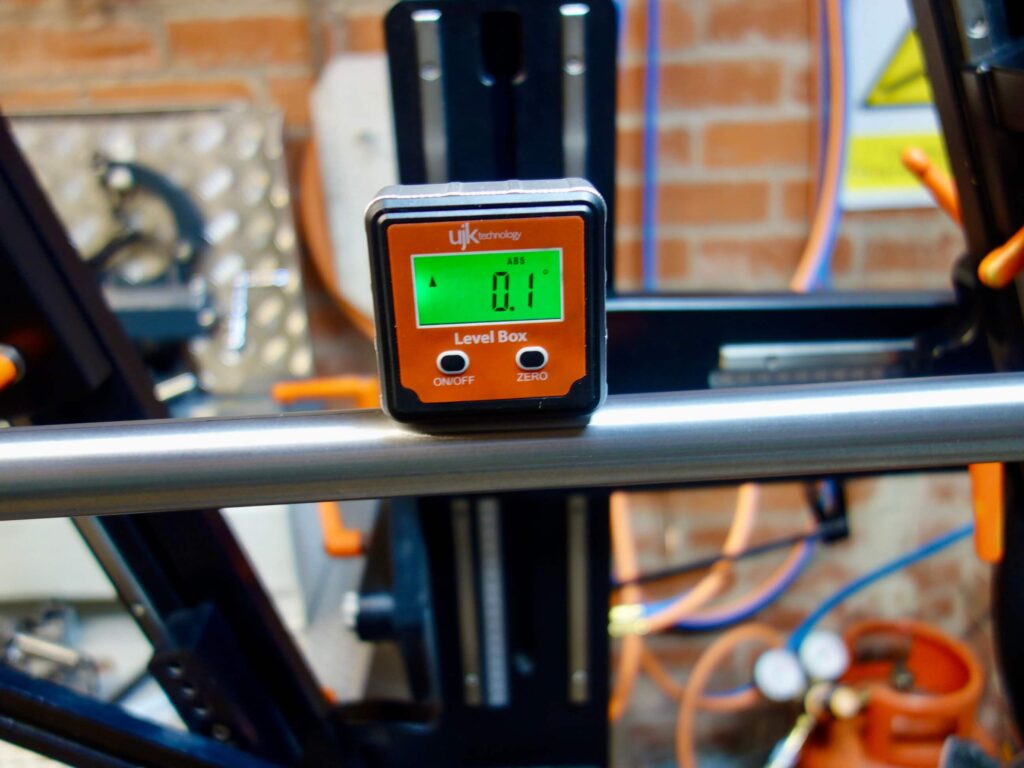
The top tube is mitred at the front first, then when this is a good fit, with the lug in place, I rotate the tube against the seat tube and mark the positions for the rear mitre, checking the top tube is at the correct angle i.e. 0 deg. this should be consistent with the measurements on the original plan, but if you are doing this after brazing in the lower frame tubes the top tube length may have changes slightly, hence the reason to avoid cutting the top tube beforehand.
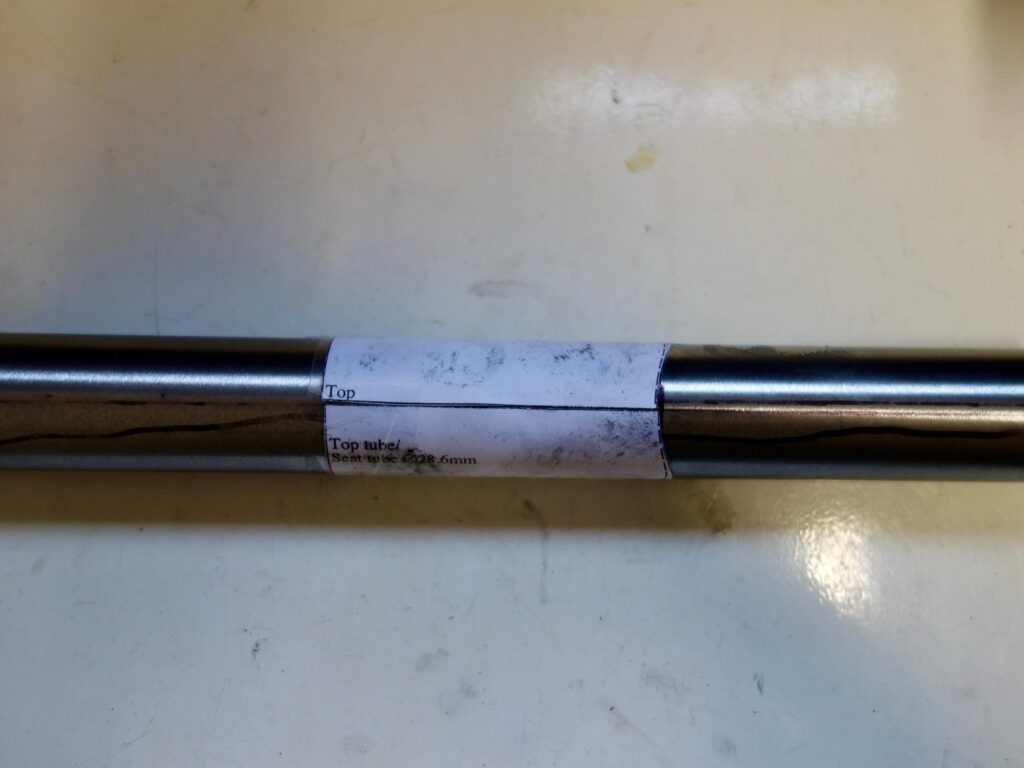
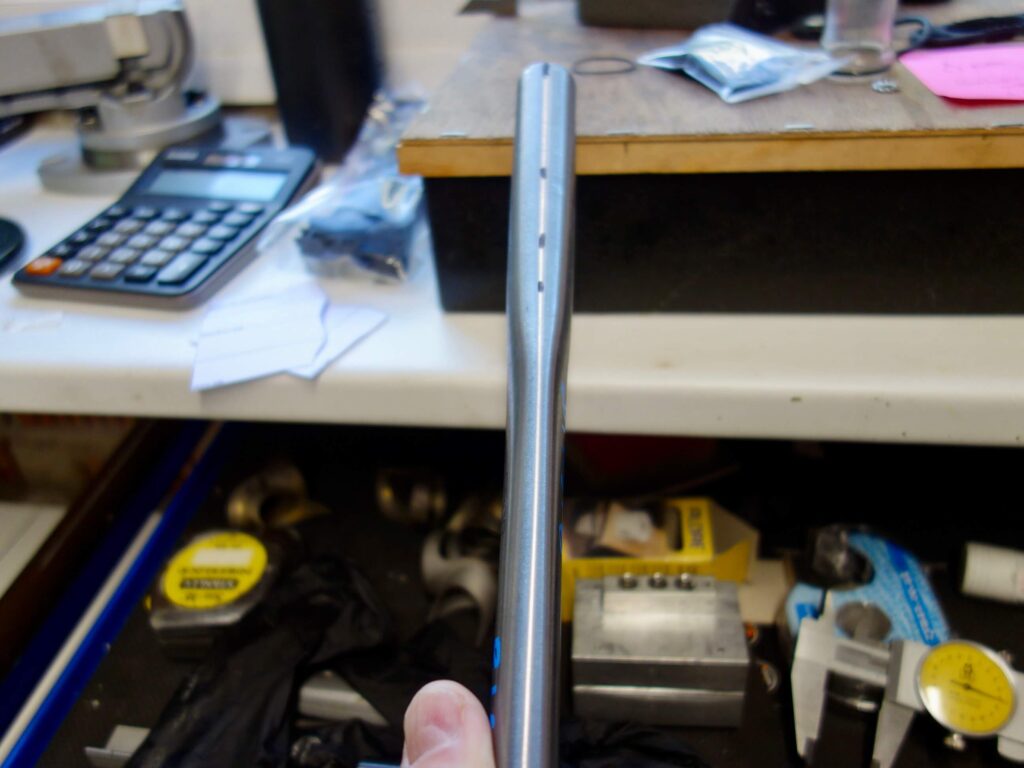
Of course all tubes, down, seat, top and chain stays require a central line drawing before any cutting takes place as front and rear alignment of mitres is vital, especially as once you have added the lugs they are not visible.


Final Assembly
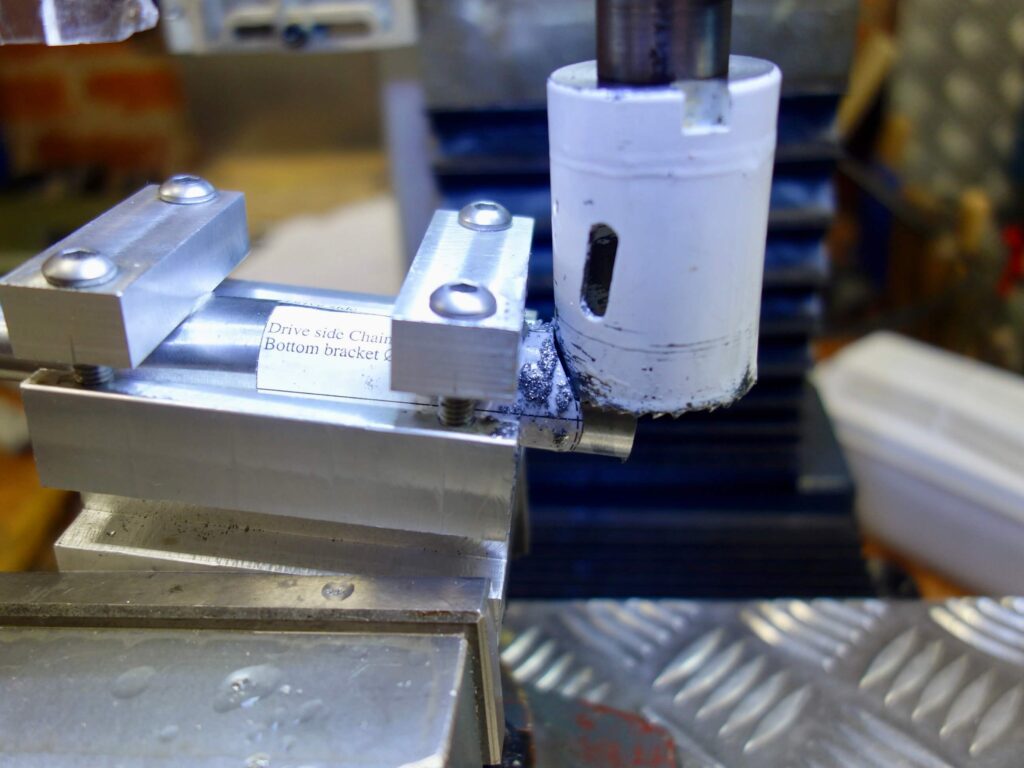
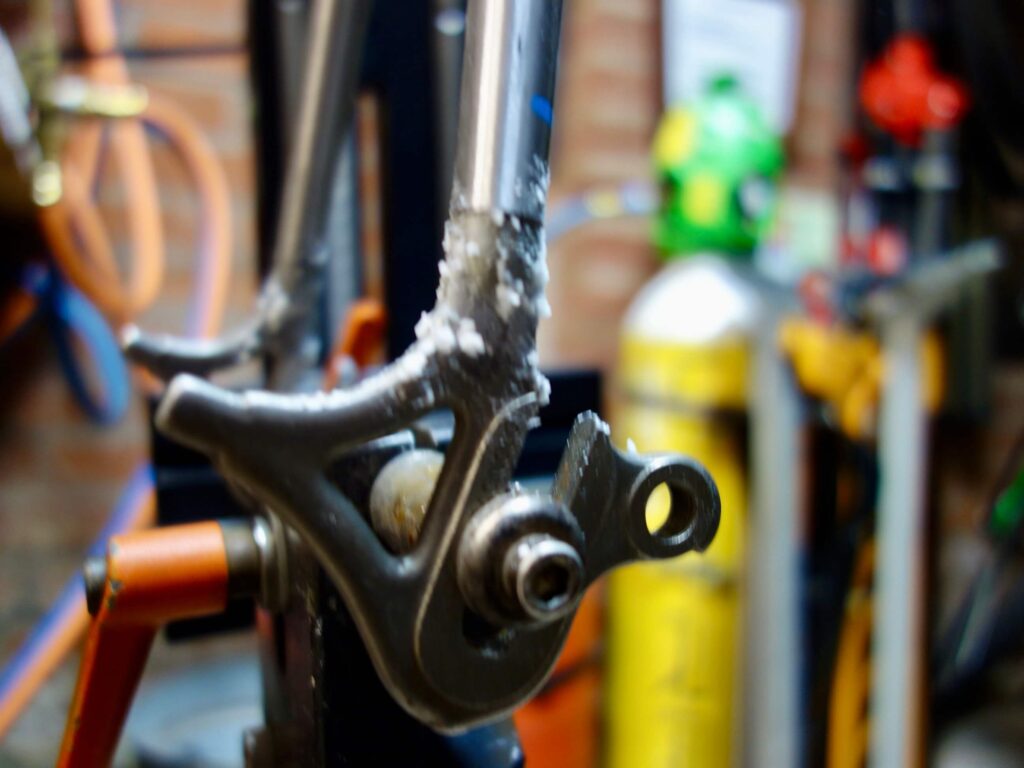
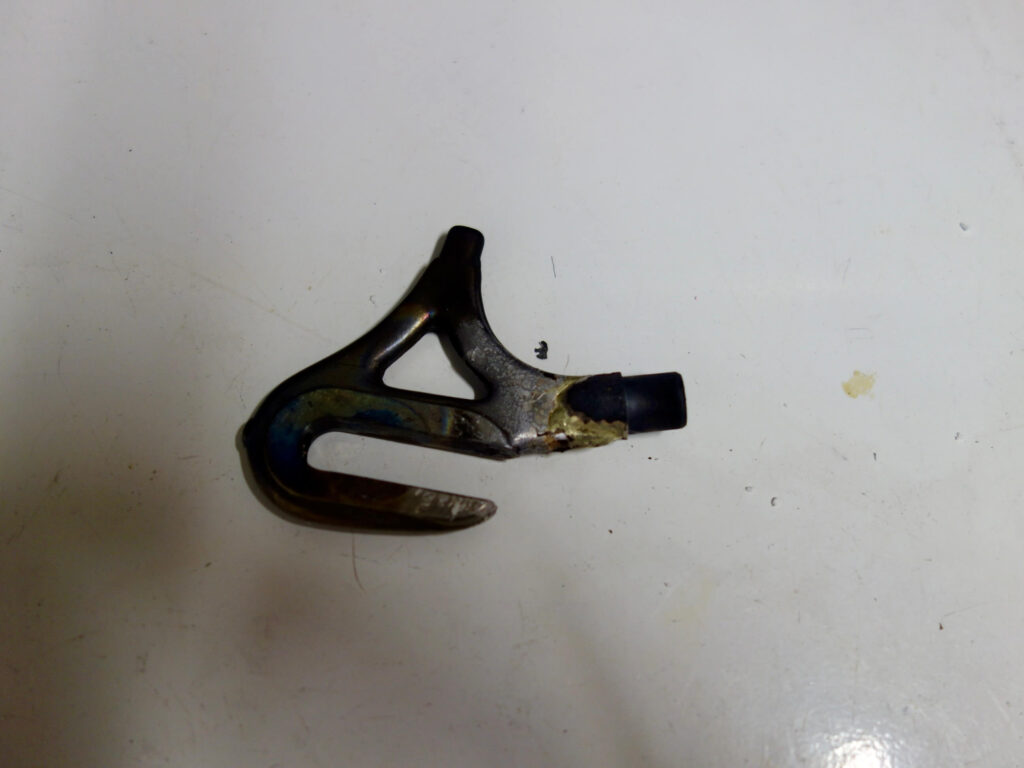
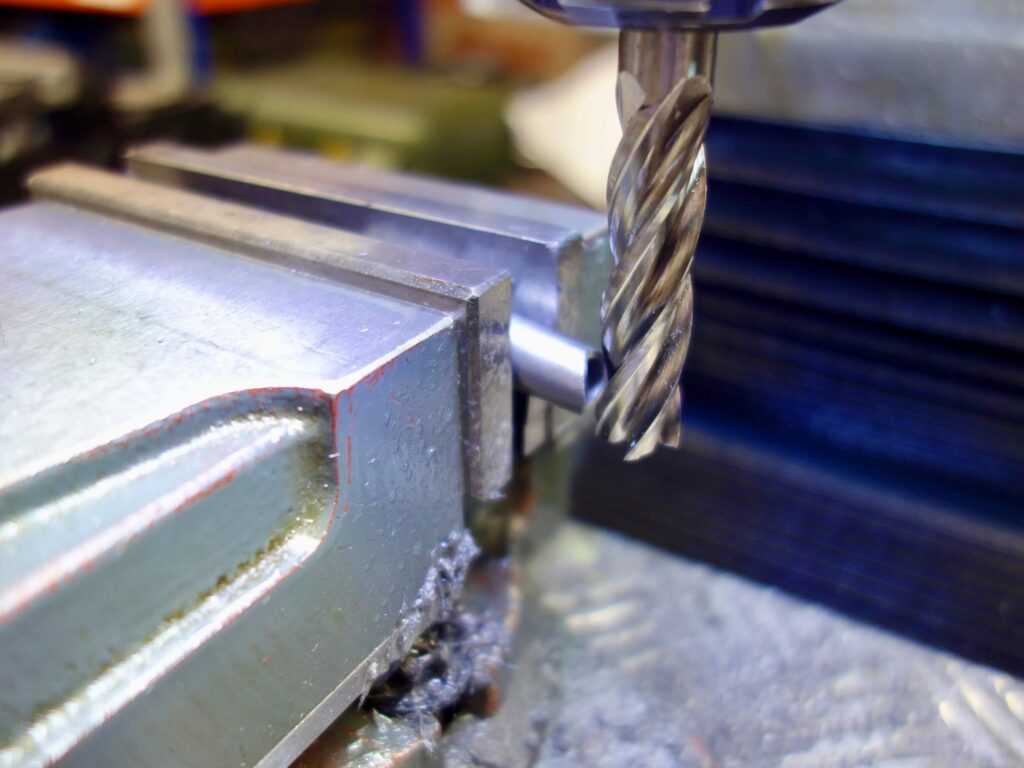
Centre line, largely by eye, the chain stays, then mitre. I machine mitered the frame tubes on a lathe but used a milling machine for the stays. You do not strictly have to mitre the bottom bracket ends as you can grind them down after assembly from the inside, but this is tedious and risks damaging the bottom bracket threads. Chain stays are cut to length then assembled so the rear dropout bullet can be brazed to the rear dropout, with brass. On this occasion I then cleaned up the rear dropout assembly and subsequently brazed in the chain stay tip with silver. It could of course all be done in one go.
Main Assembly
As usual I start the main assembly by brazing in the seat tube to the bottom bracket which fixes everything for the subsequent sequence.
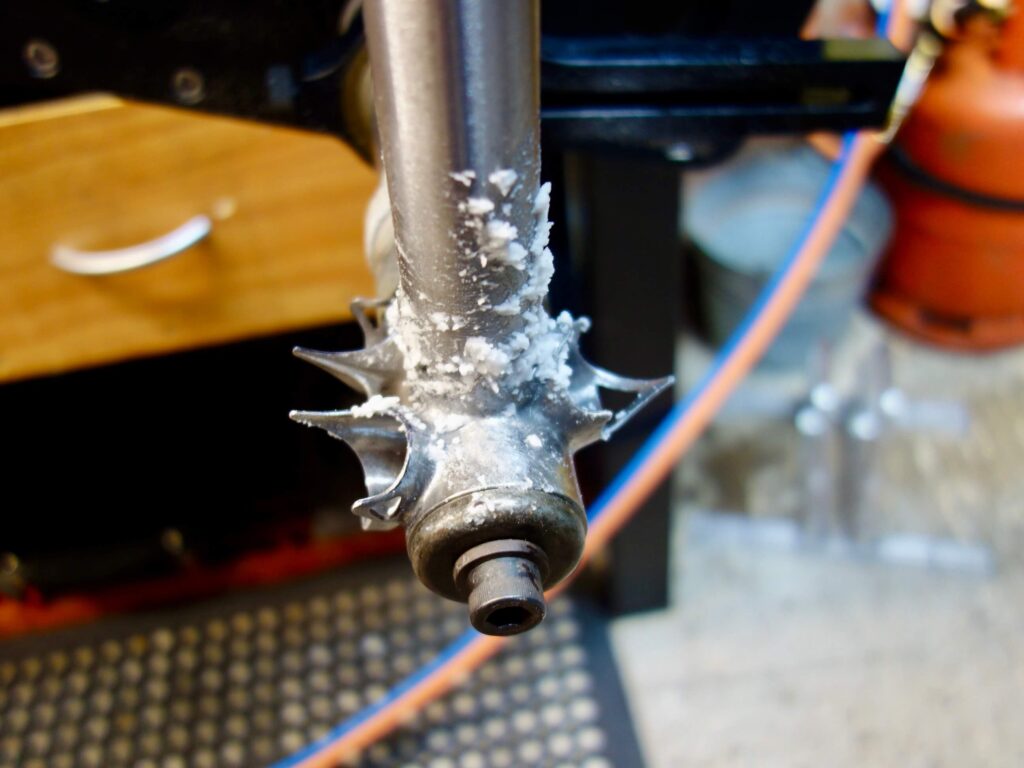
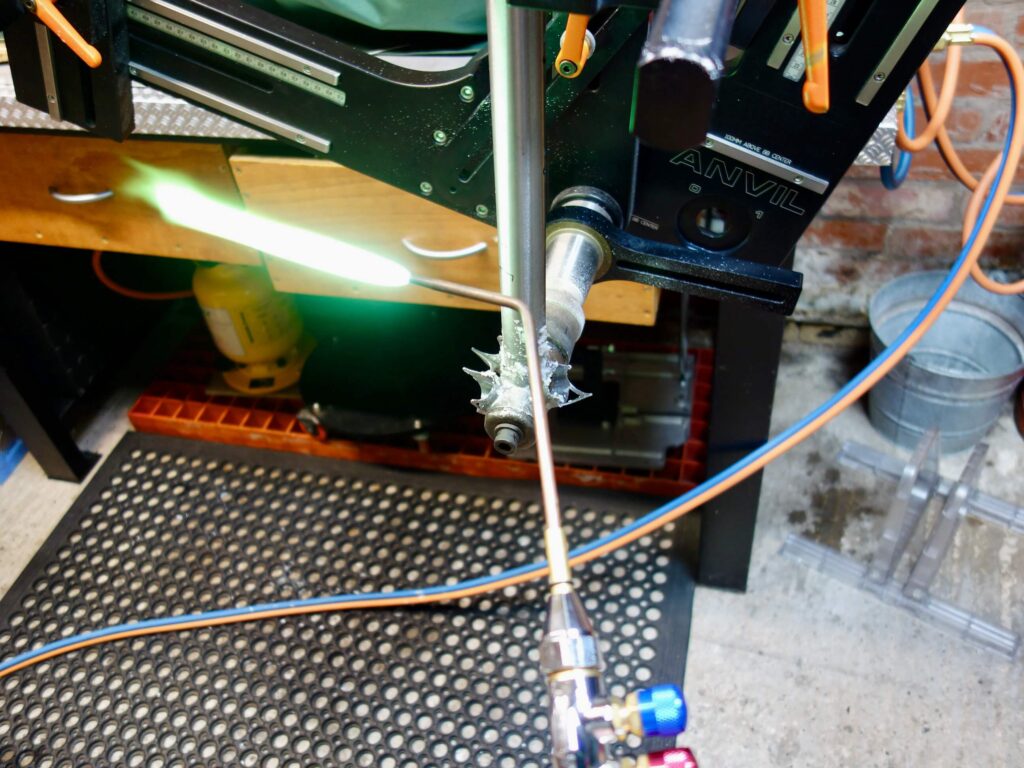
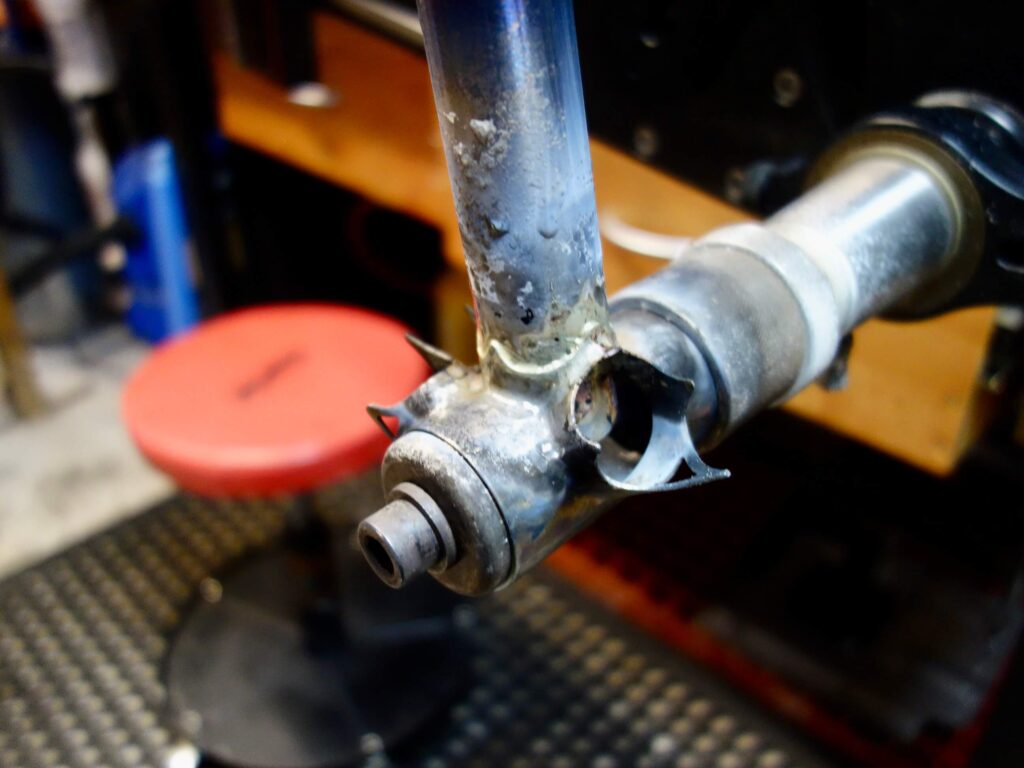
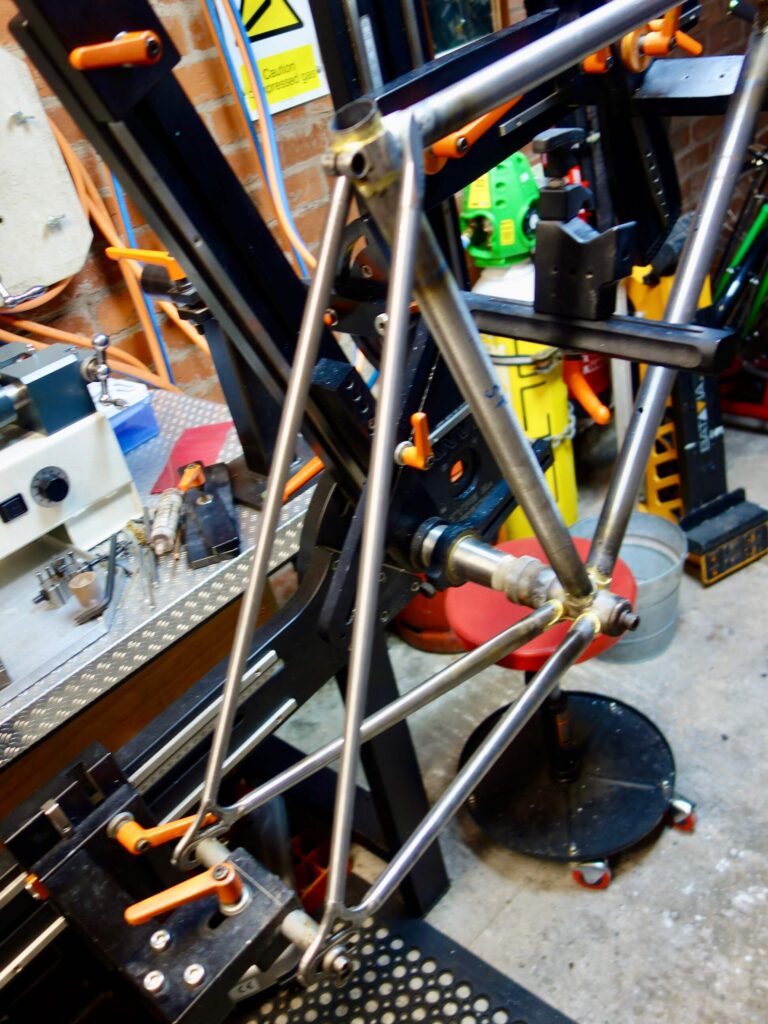
Rest of the main triangle brazed in starting with the lower head tube lug, then the down tube / bottom bracket, then the chain stays and finally the top tube. The pressed head lugs were still not a brilliant fit, but pleasingly were easily tapped into shape during brazing with a blunt ended bit of steel bar.
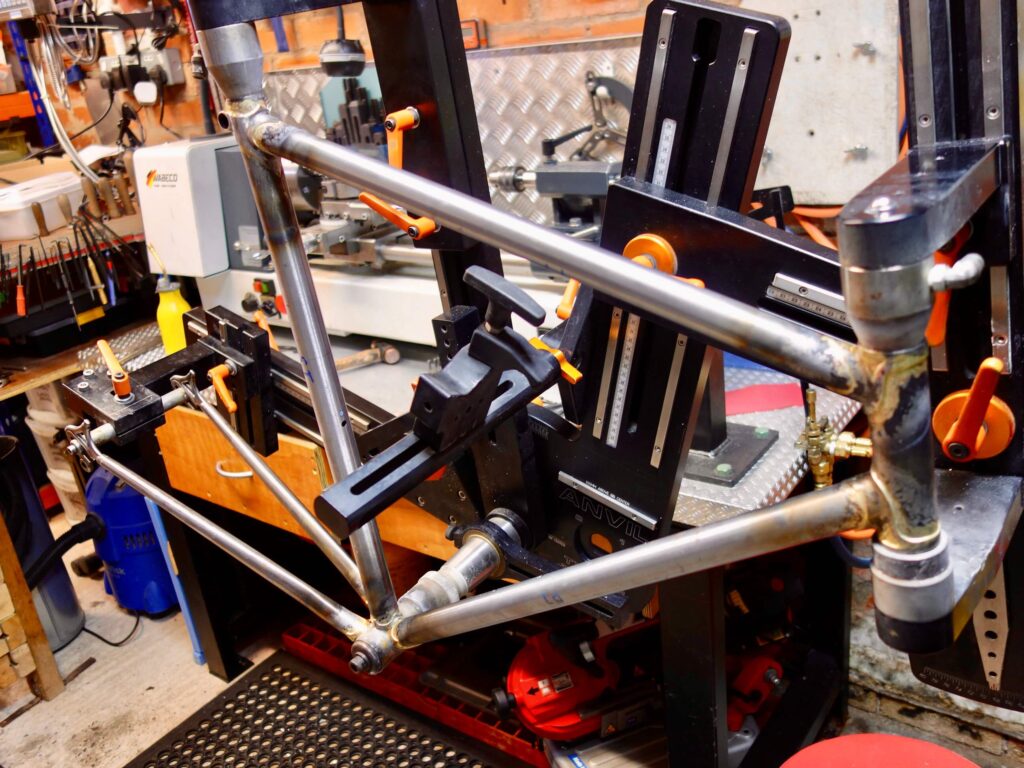

Completing the rear triangle
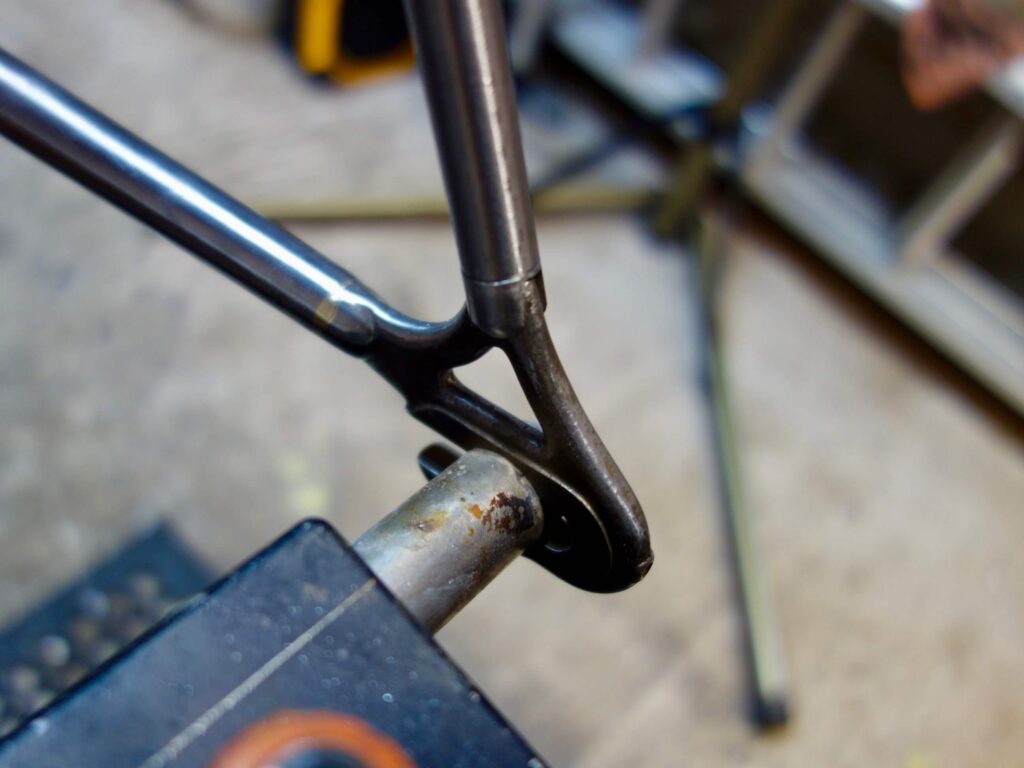
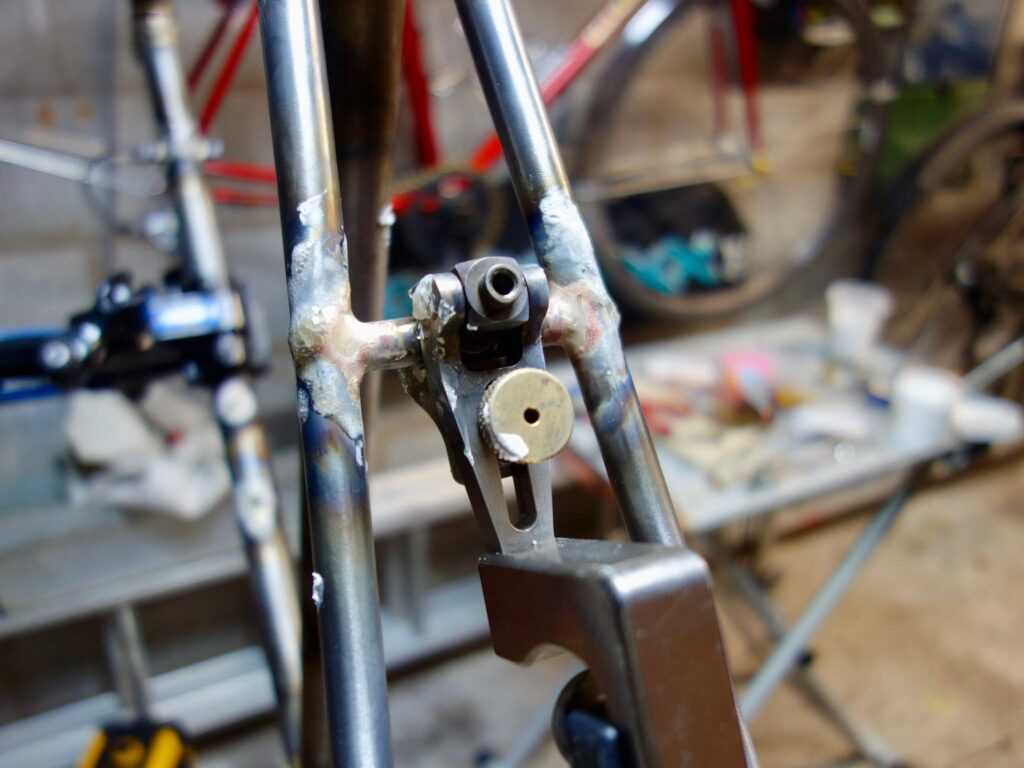
After making two further bullet connectors for the seat stays, and hand shaping the top eyes, the top eyes were brazed into the seat stays with silver solder. The lower seat stay was brazed to the dropout in one piece, again with silver solder. Finally the top eyes could be brazed to the seat lug, again with silver.
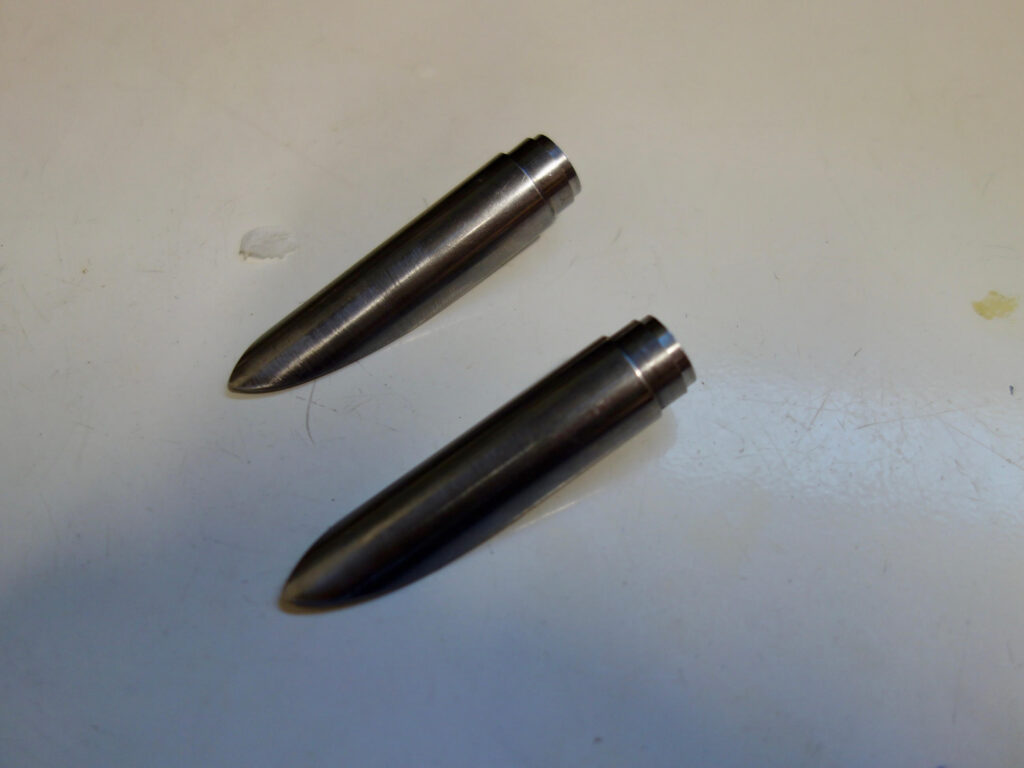
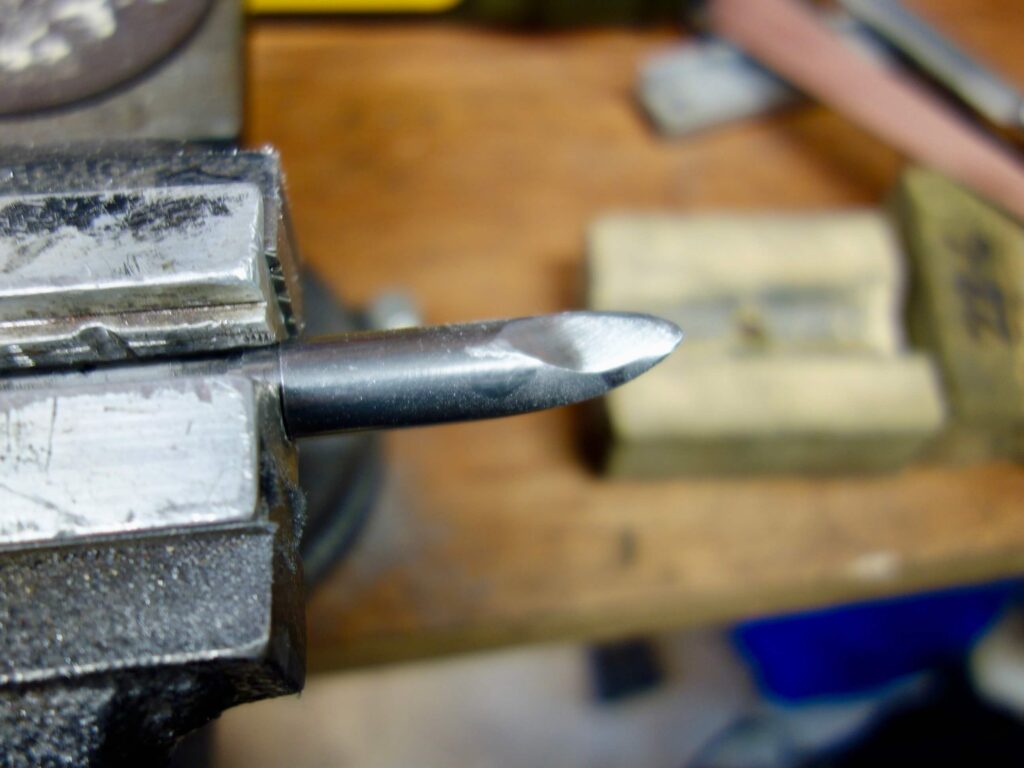
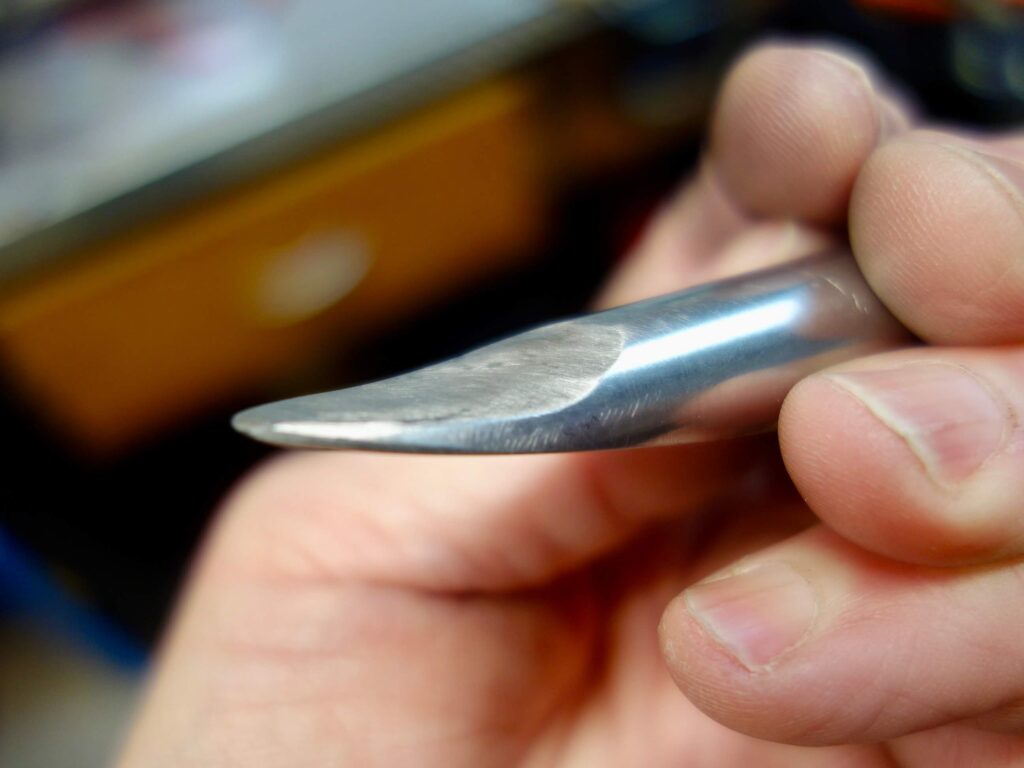
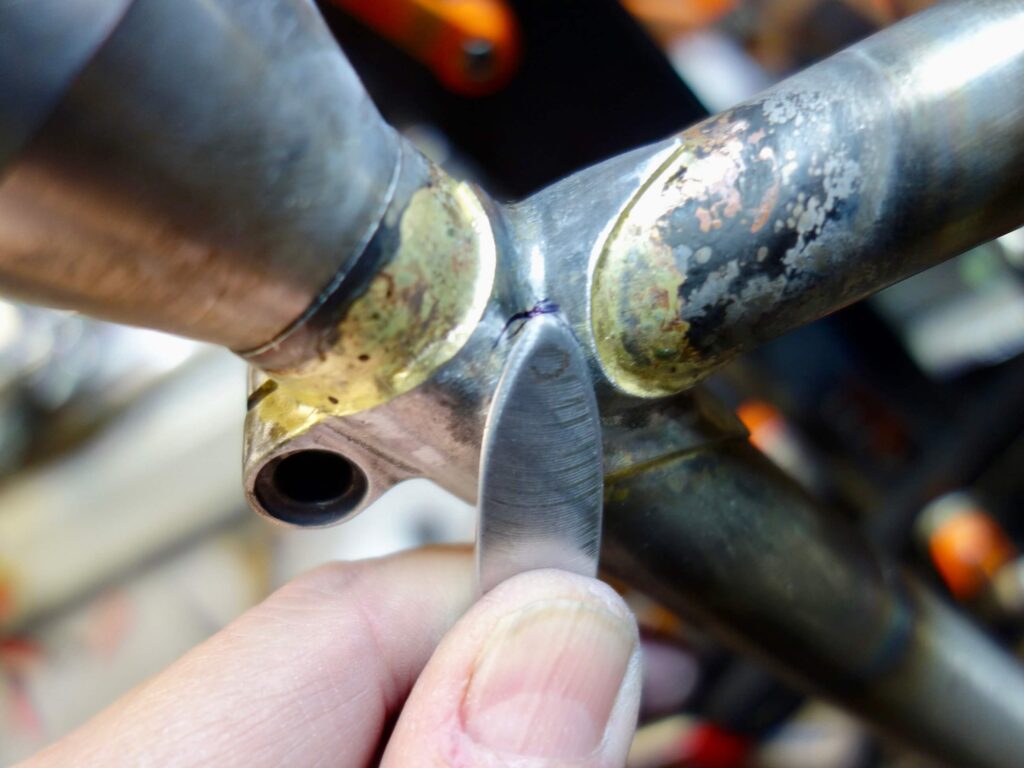
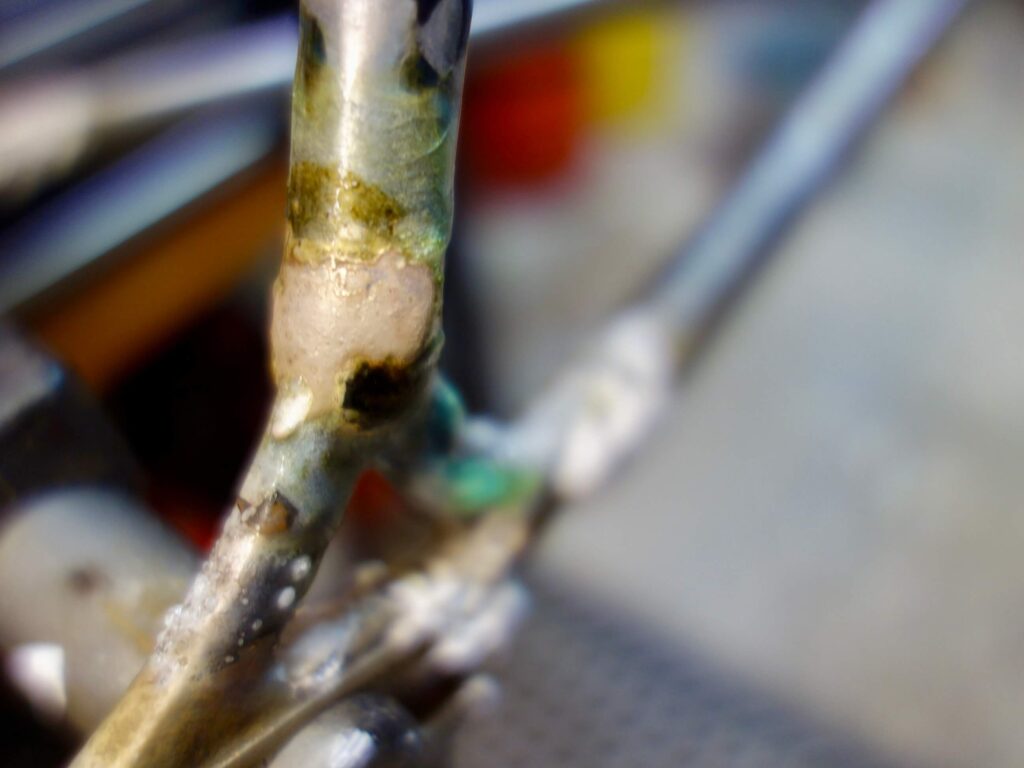
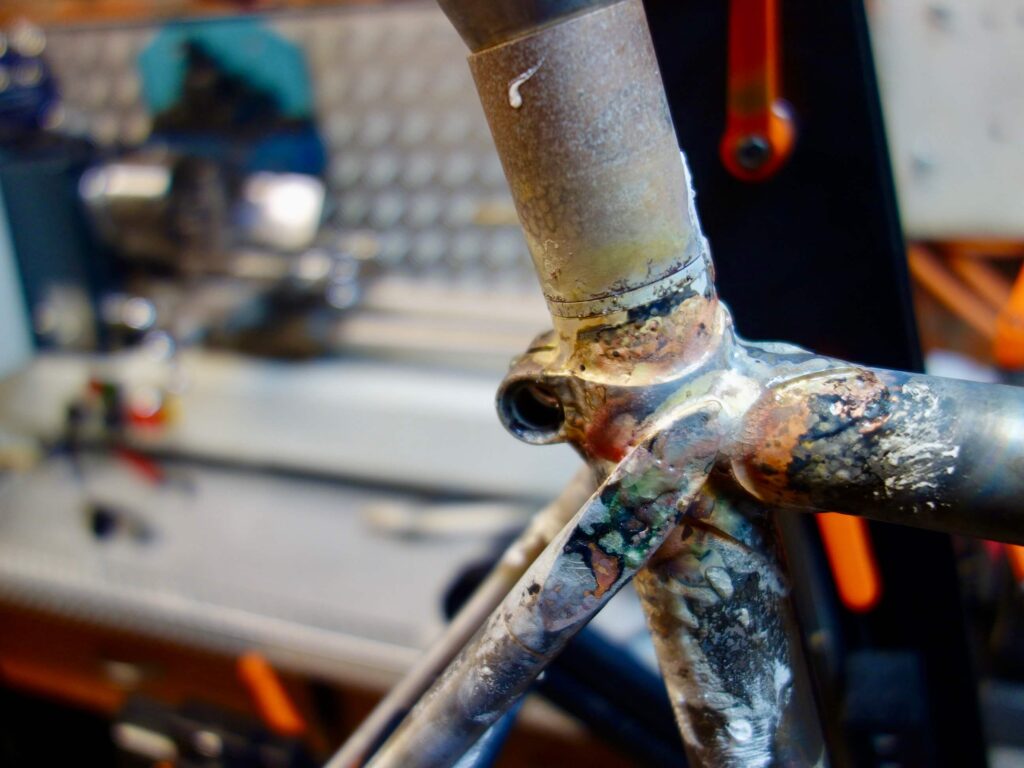
Lastly the brake bridge was mitred in the milling machine (much easier) and brazed into position using the brake bridge fixture. I did not fit a chain stay bridge on this occasion. The bottom bracket has an integrated chain stay reinforcement which serves the purpose and I actually made the Chain stays a bit too short to accommodate one. (there probably should be an adage, design twice, assemble once!).
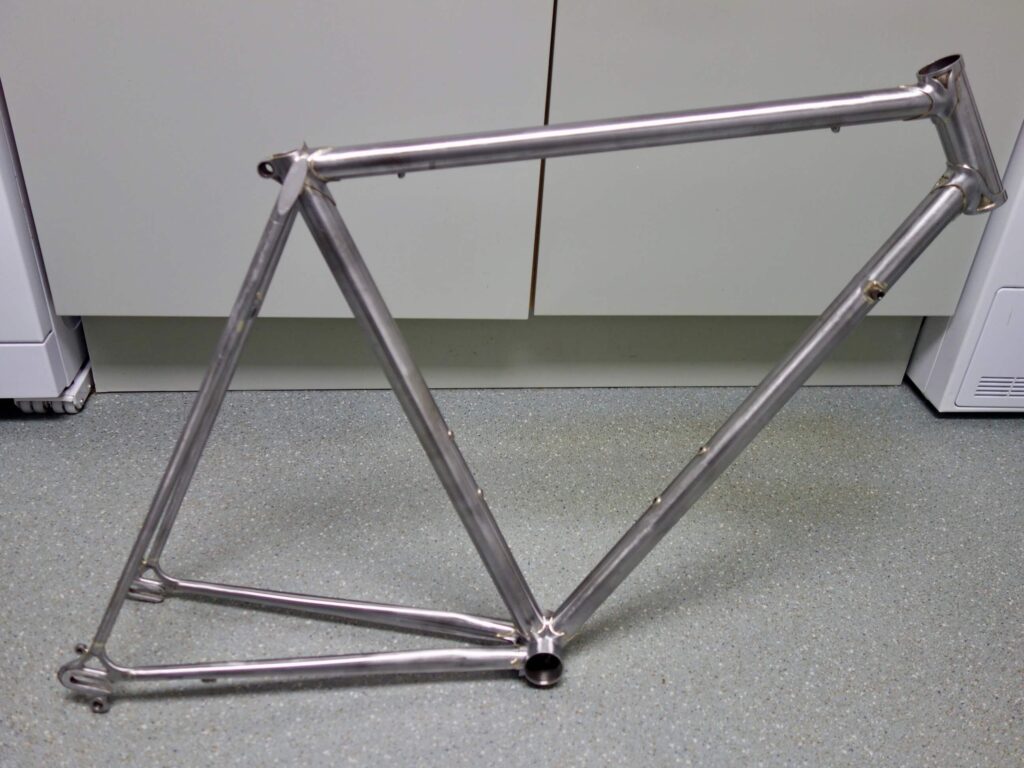
The actual final step was to braze on the down tube shifter, brake and gear cable bosses before the final clean up, using vintage style parts.
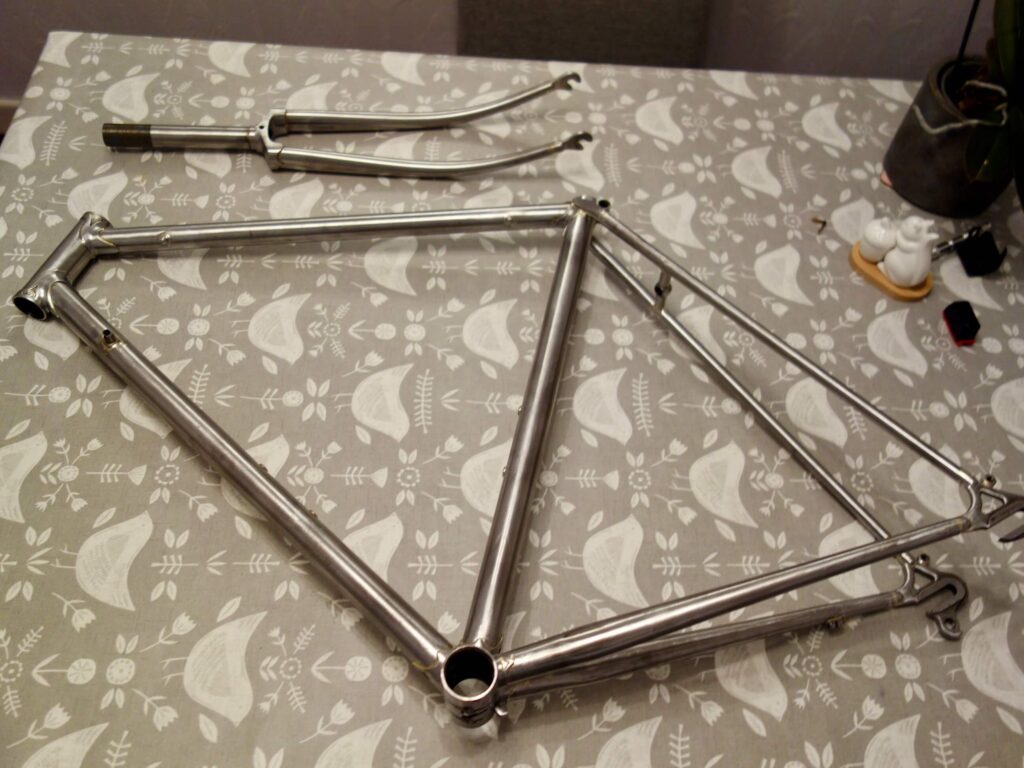
Completed Frame
Subsequent build pictures will appear.
SNH 14/2/2023