
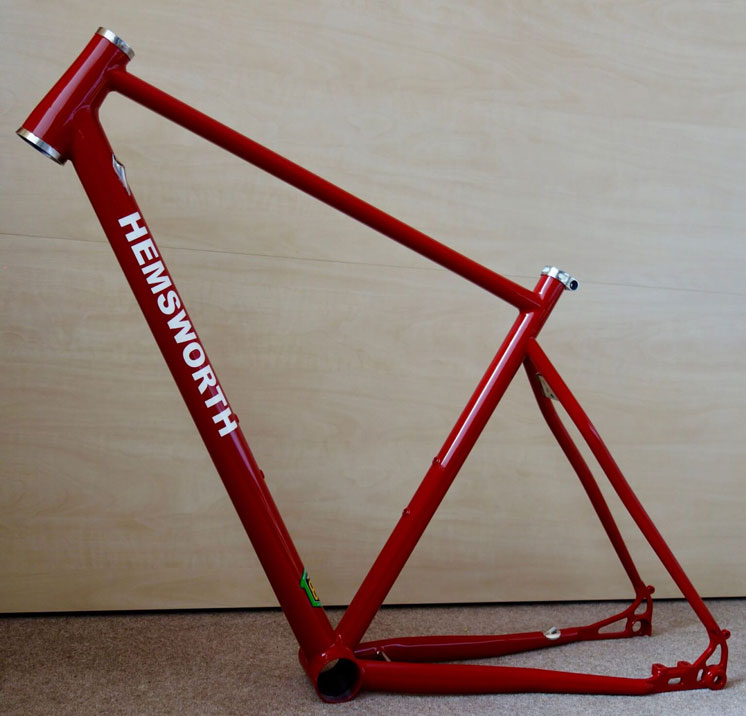
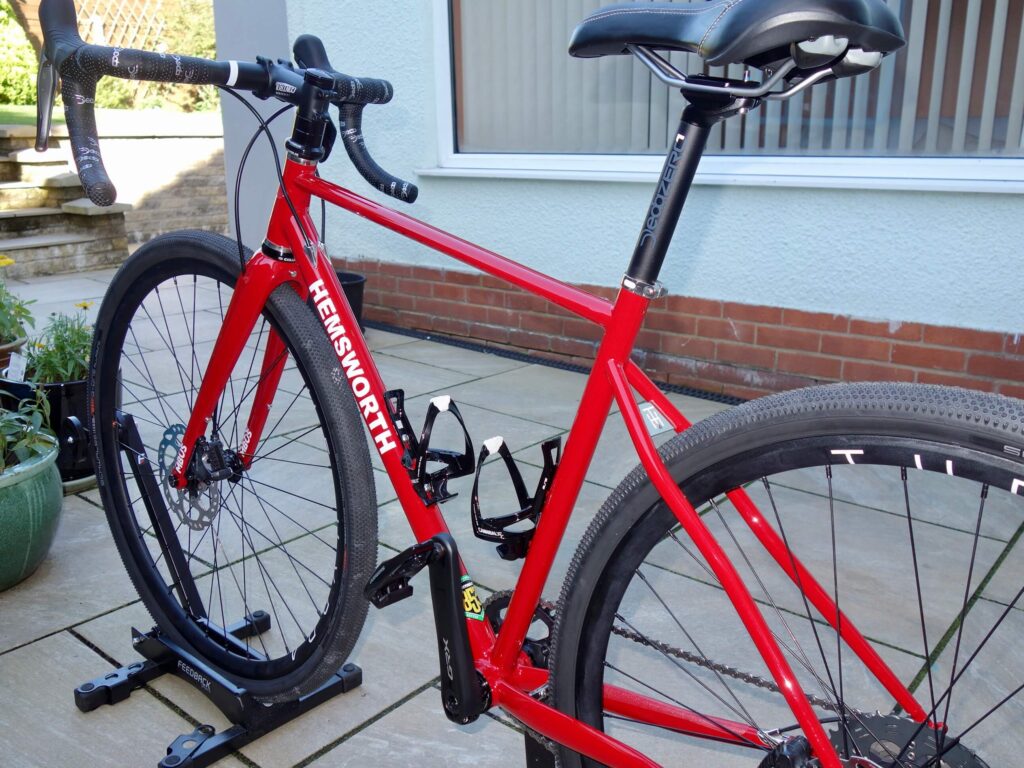
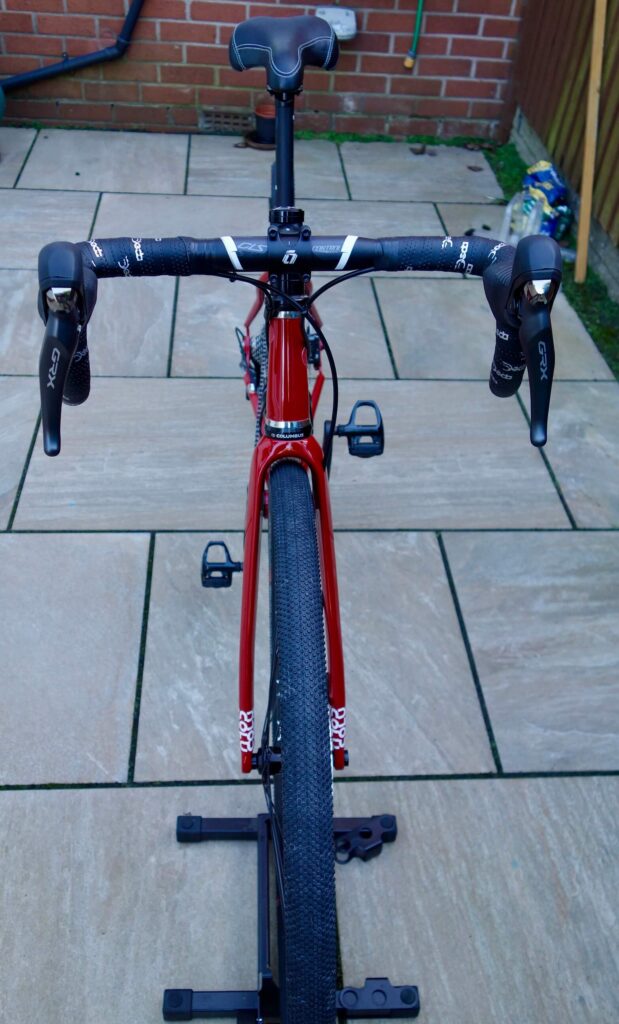
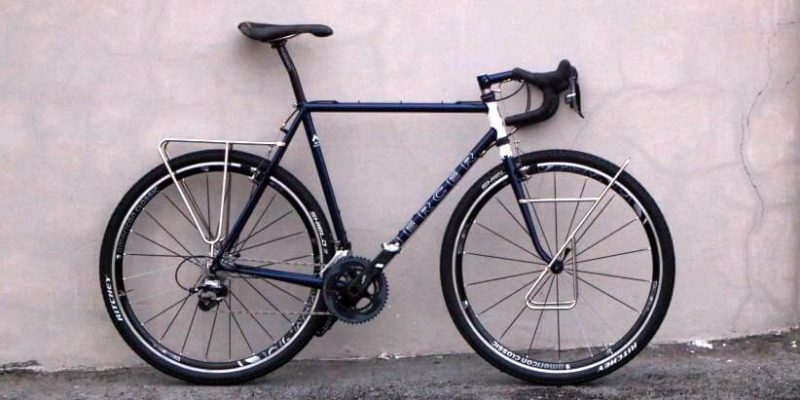
Gravel bikes now seem to be a big thing. I was very sceptical at first, labelling them as Cyclocross bikes with mudguards; or a very effective marketing ploy by mainstream manufacturers to sell more bikes. In the event the design seems to have settled down to road bike styling with lower gears and big tyres. Single chainrings seem to be most popular and group sets are now designed specifically for the purpose. Flared bars (remember randonneur bars) and disc brakes also seem to be essential. I was asked to build one, and given a budget (never had one of those before!)
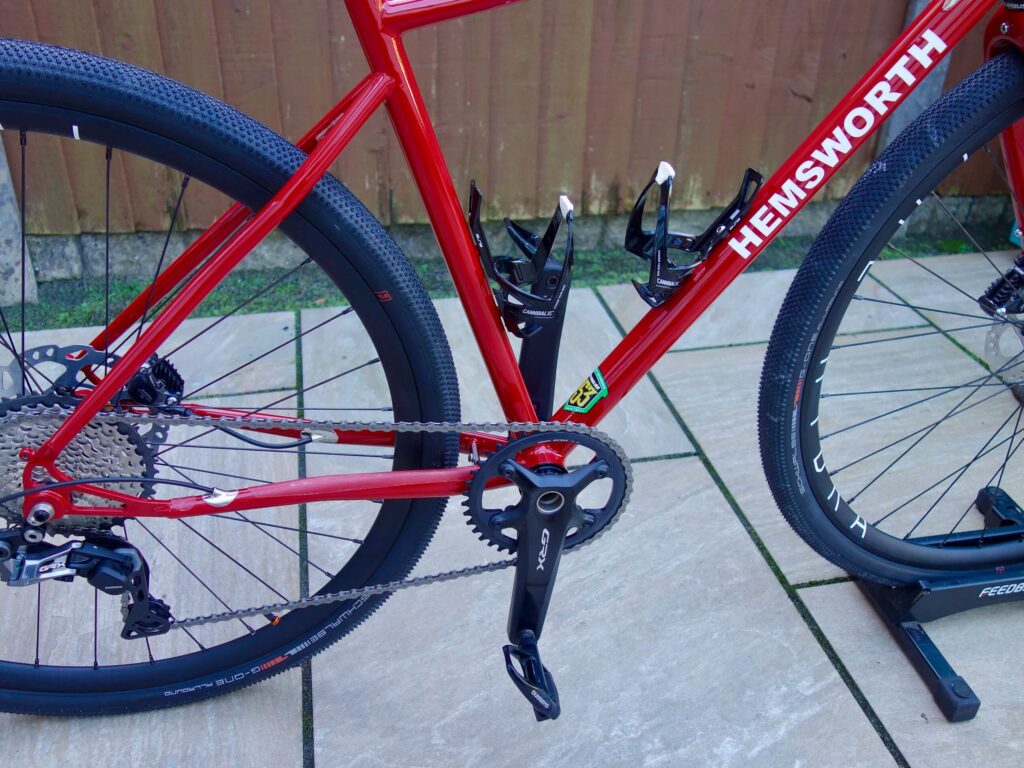
My main concerns about this particular design was it was a relatively small frame, so toe overlap and geometry constraints again came into play. Tyre clearance and consequent worry about crank arm / chain stay clearance proved to be groundless as I discovered gravel specific groupsets have 5mm longer axles, giving the equivalent of using a 73mm bottom bracket. (Previously I had wondered why gravel bikes still had 68mm bottom brackets).
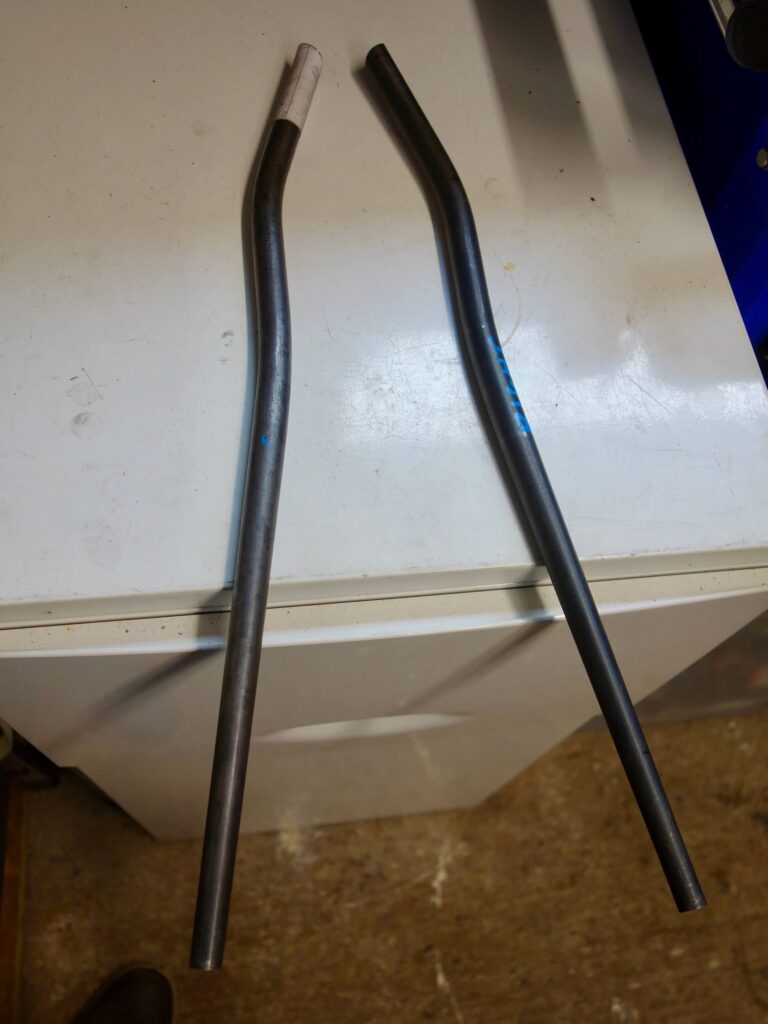
I eventually decided to go for double bend chain and seat stays which give the best clearance. Also to use the Bear Frame Supplies through axle flat mount rear dropouts which do not require a fixture as I still have not got around to getting one. Columbus Futura Gravel carbon forks were to be used which only allow 35mm tyres with full mudguards but 40mm without. A strap on mudguard could be used so I decided on 40mm + mudguard clearance for the rear triangle.
Carbon gravel forks all seem to have tapered steerers so I had to go for a tapered head tube, 1 1/8 top and 1 1/4 bottom.
Tubing is Reynolds 853 with a 38mm down tube, 28.6 seat tube and oval top tube, for no special reason other than it looks good. The head tube was Columbus as they make a matching external (semi integrated headset) and Reynolds do not offer tapered head tubes at present. Bottom bracket is a home made mild steel T47.
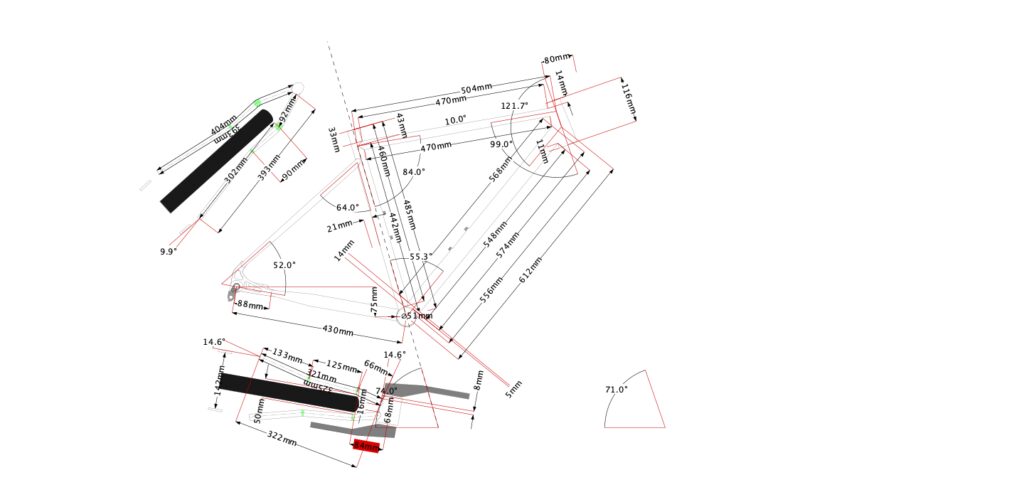
BikeCad sometimes becomes a little overwhelming on the A4 sheet I usually pin up when building, however, there are no shortage of parameters. When using stays with multiple bends the tube manufacturer does not usually supply accurate data, so it was necessary to measure out the stay angles and lengths between bends to put into the program. After that the clearance data seems very reliable. Despite that I still inserted the chainset to make sure before I actually brazed the stays in!
The Build
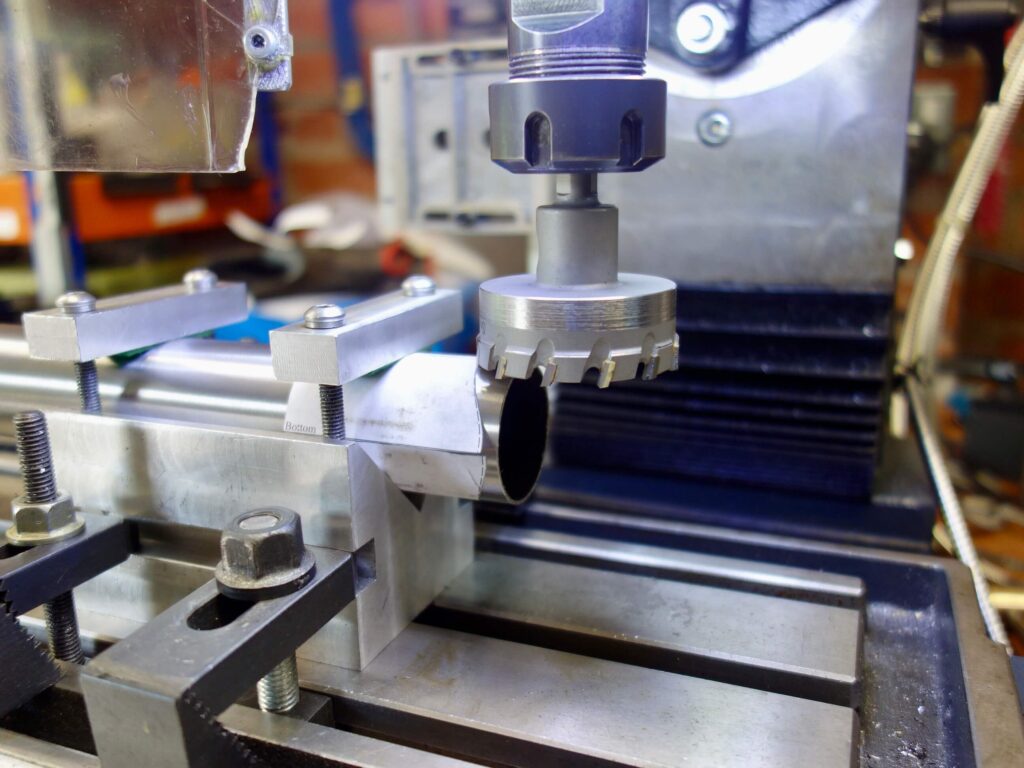
Main tubes were mitred on the milling machine. I only did one end of the top tube as it will be fully mitred after the rest of the front triangle is finished. The top tube is oval so needed to be centred accurately.
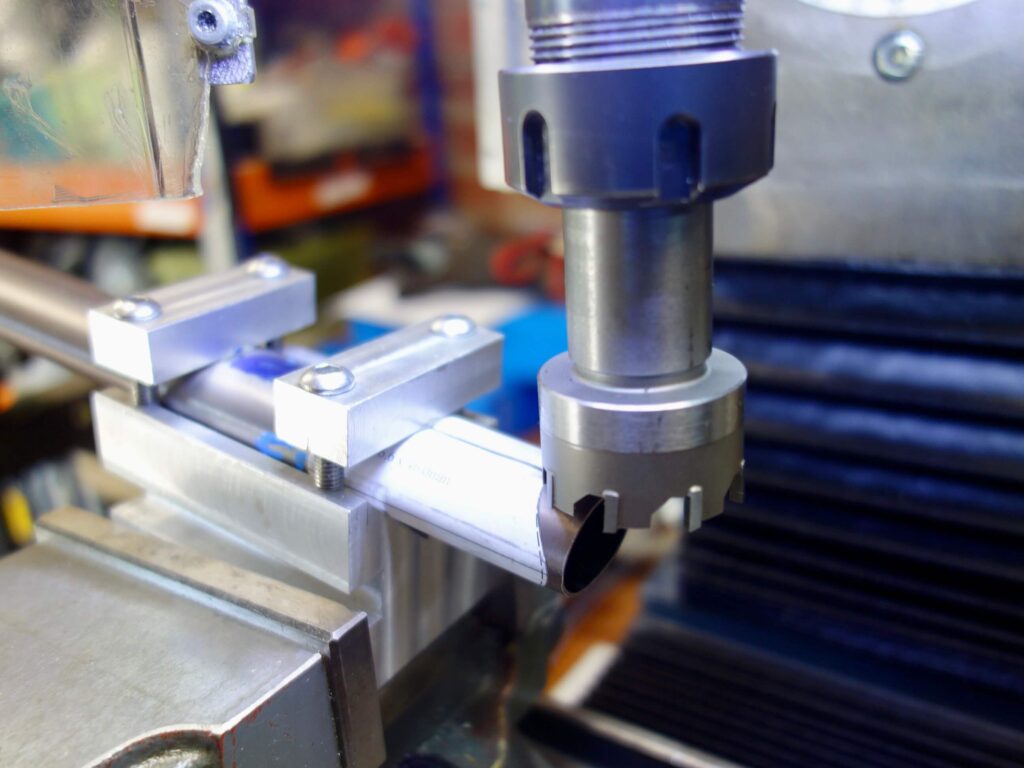
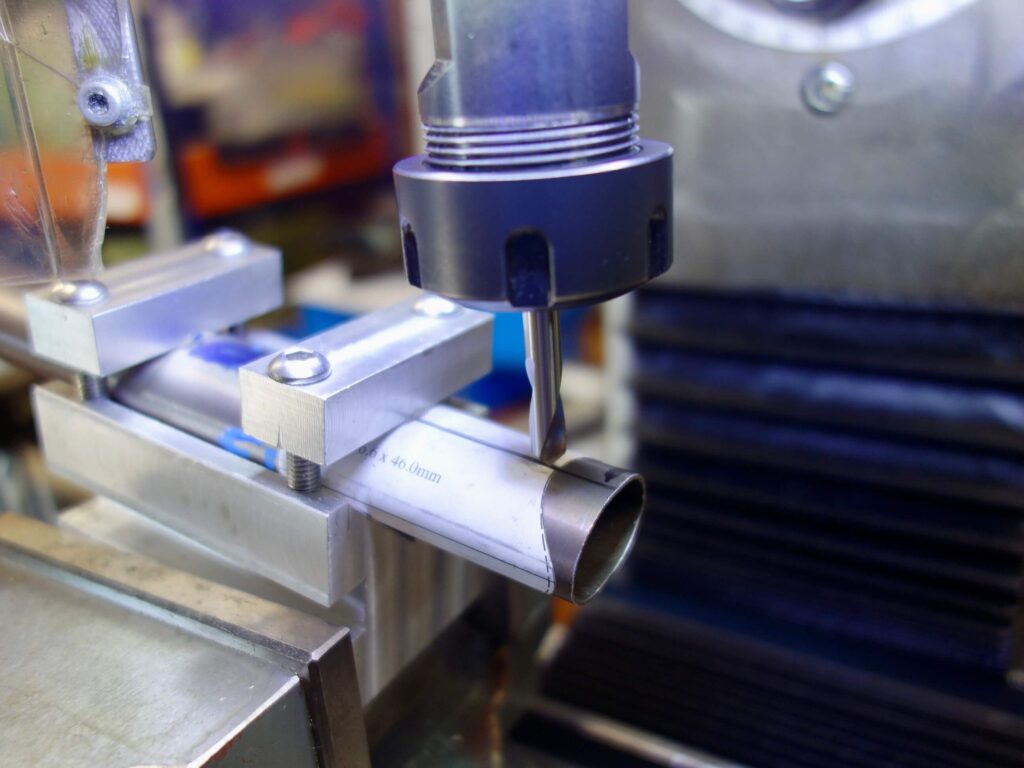
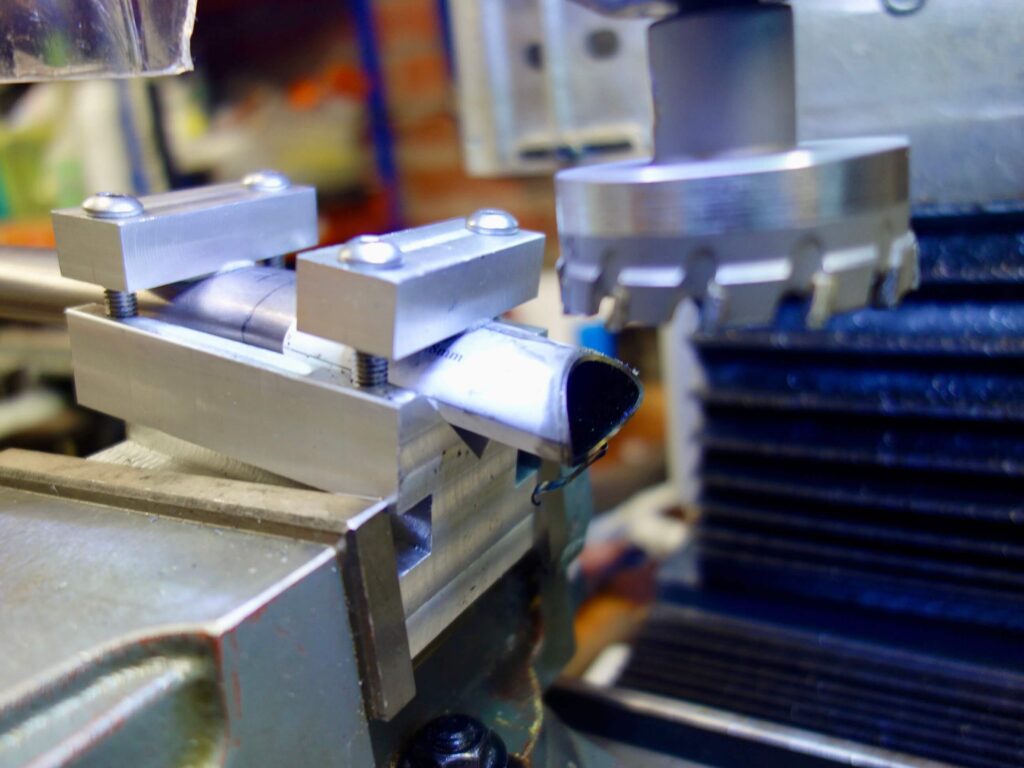
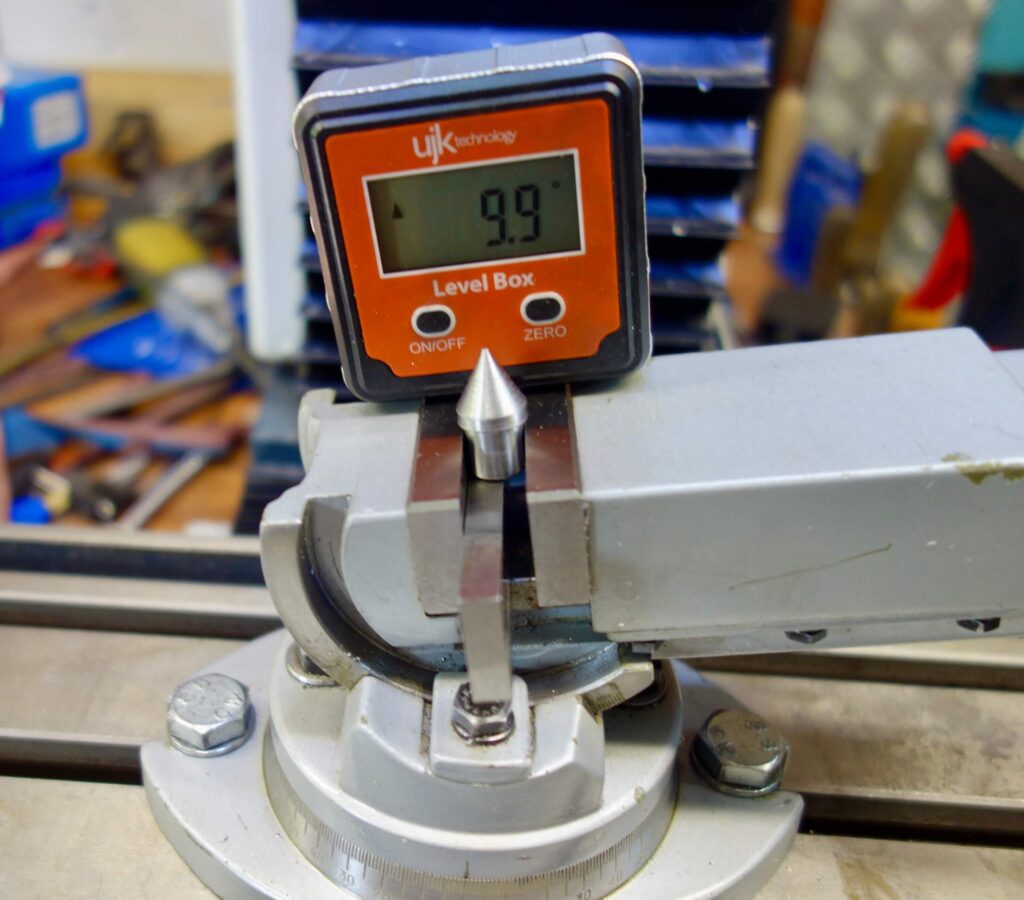
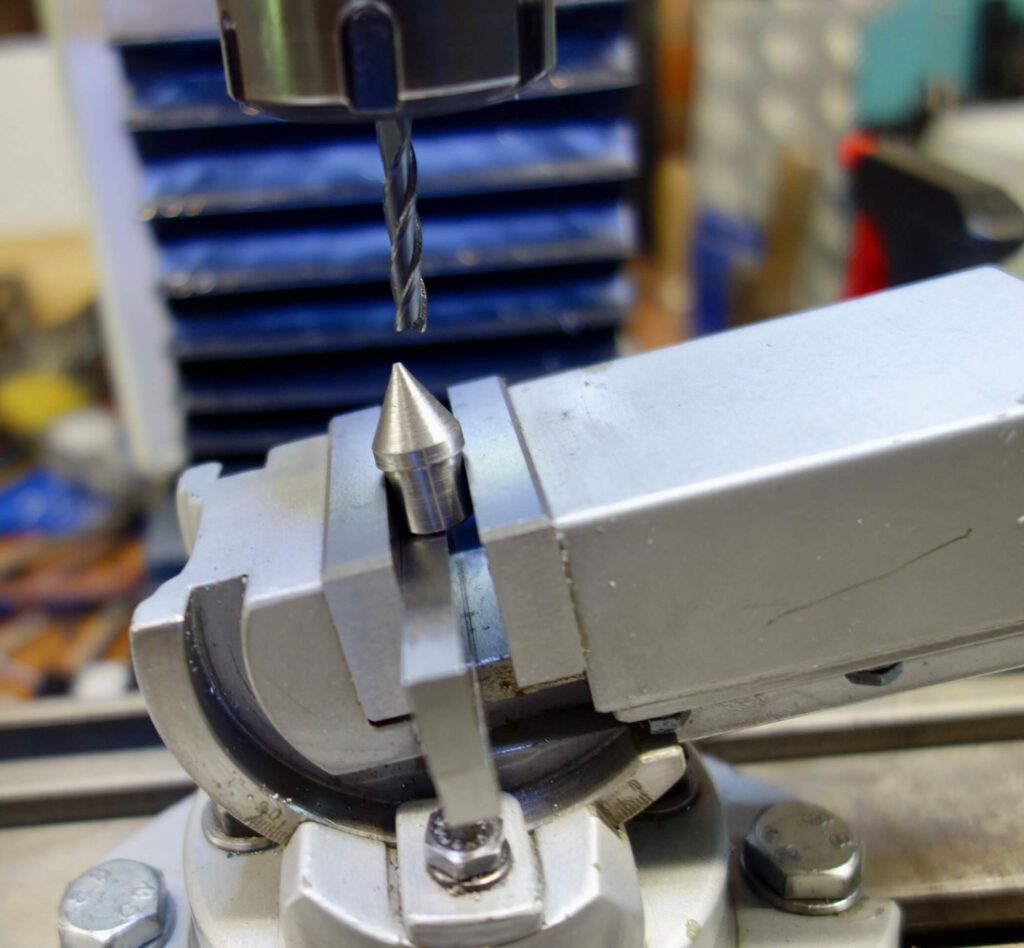
After assembling the front triangle in the jig the I made some connectors to join the chain stays and rear dropouts. (As before I prefer this to slotting the chain stays).
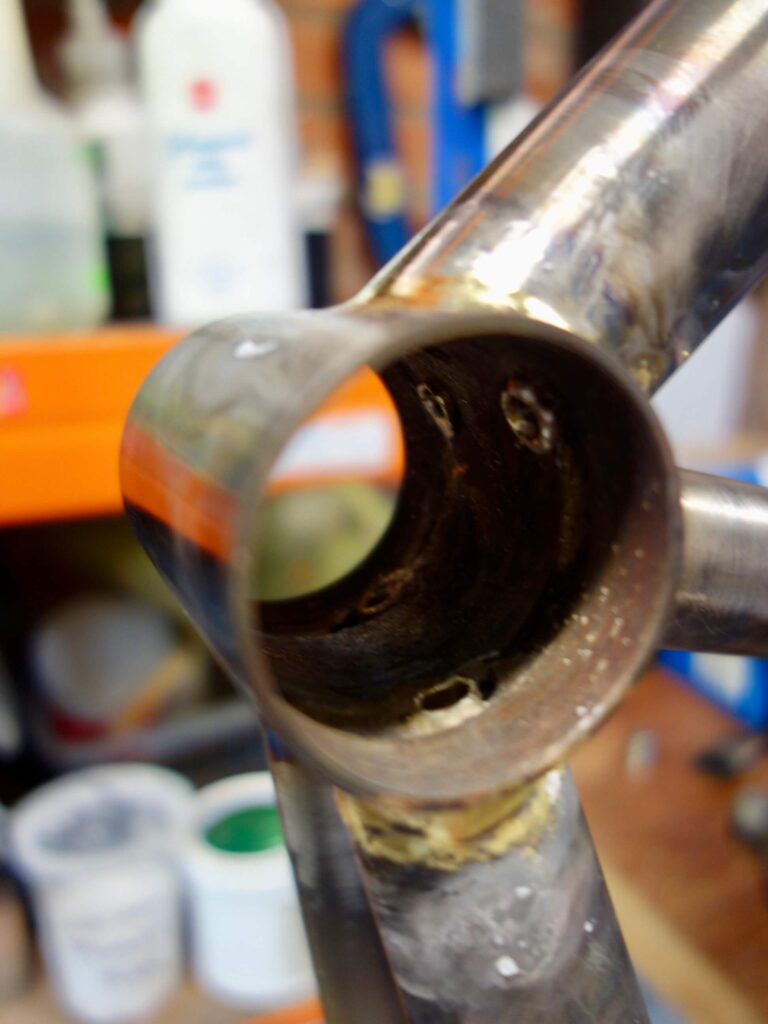
The bottom bracket can then be marked and the holes for internal cabling and necessary vent holes drilled. Also bottle boss holes and down tube internal cable ports were drilled / prepared before the tubes were finally assembled.

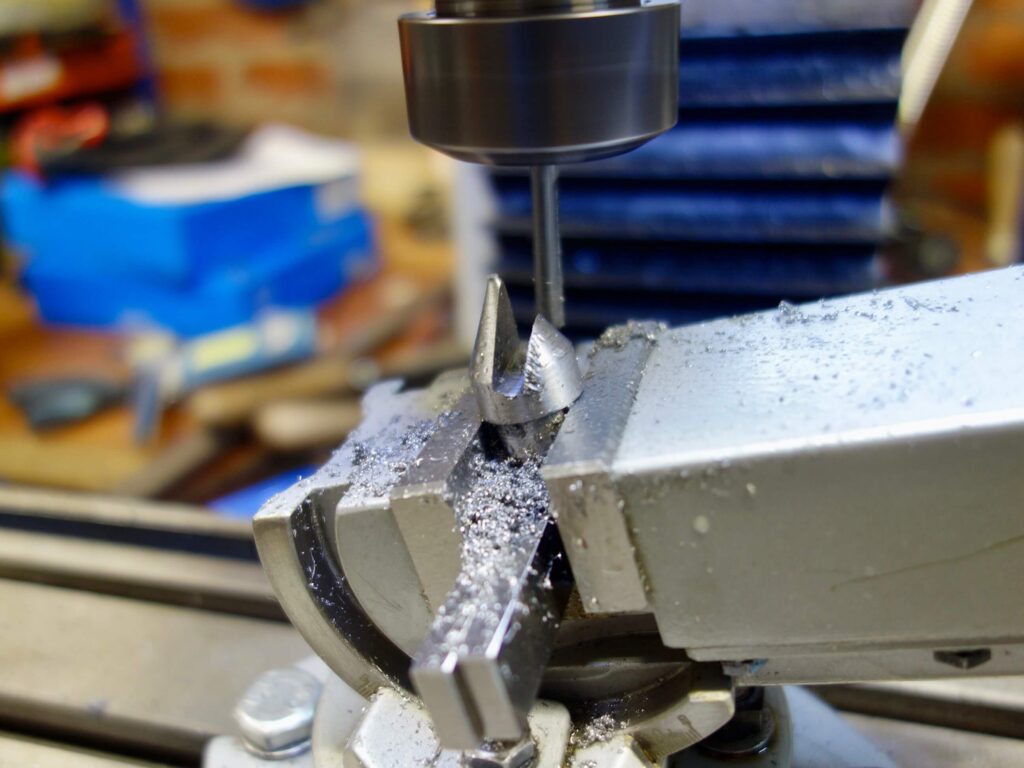
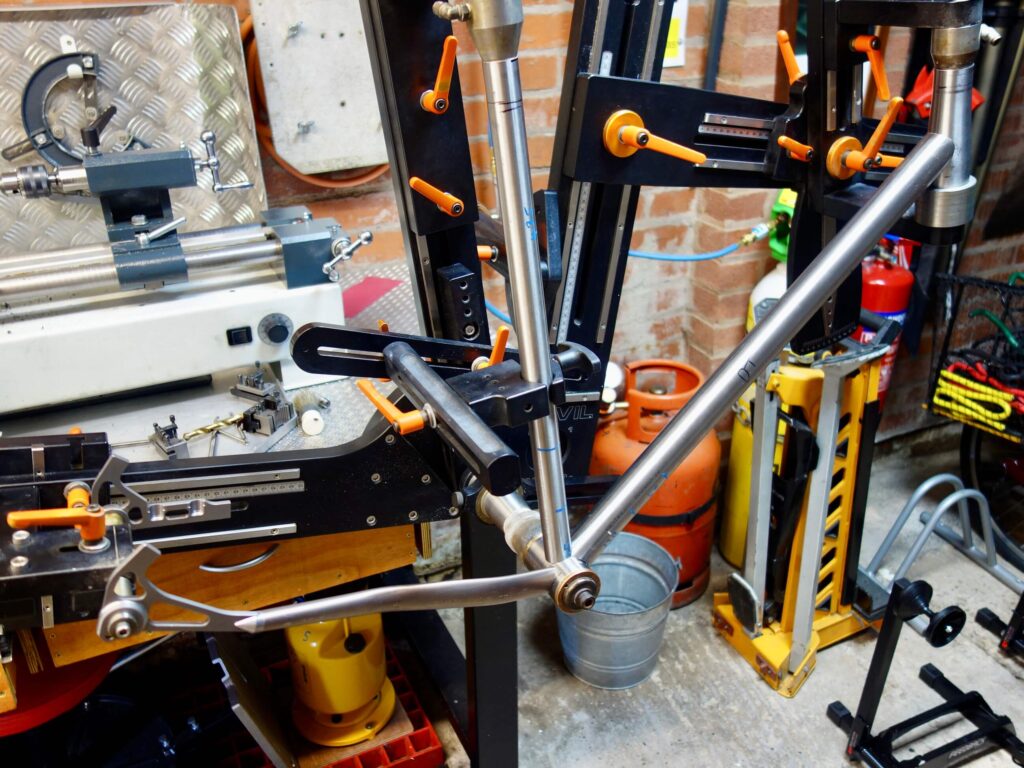
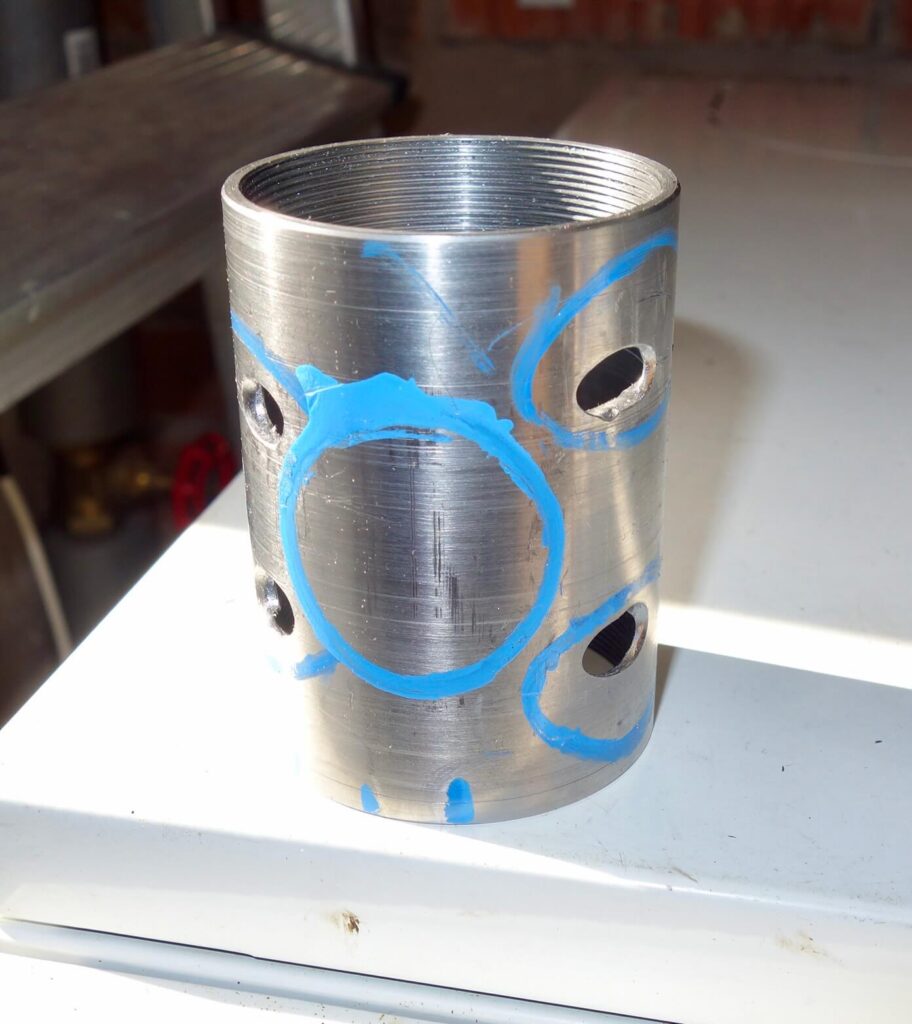
The connectors were brazed onto the dropouts with brass (No photo), then re-inforcements (0.5mm stainless sheet) brazed on the chain stays and holes milled for the insertion of the internal cable routing, which is brass tubes with stainless caps, which were made on the lathe. The tubes were then brazed into the stays at the rear end and similarly brass tubes were brazed into the top of the down tube, though without stainless caps which are superimposed later.
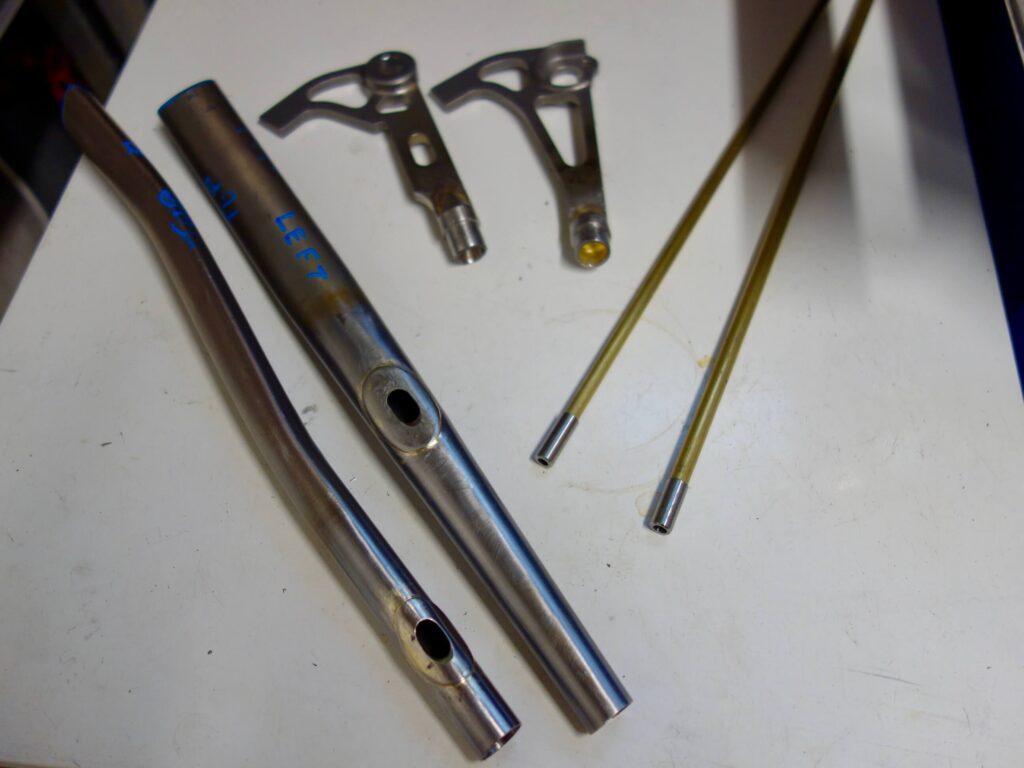


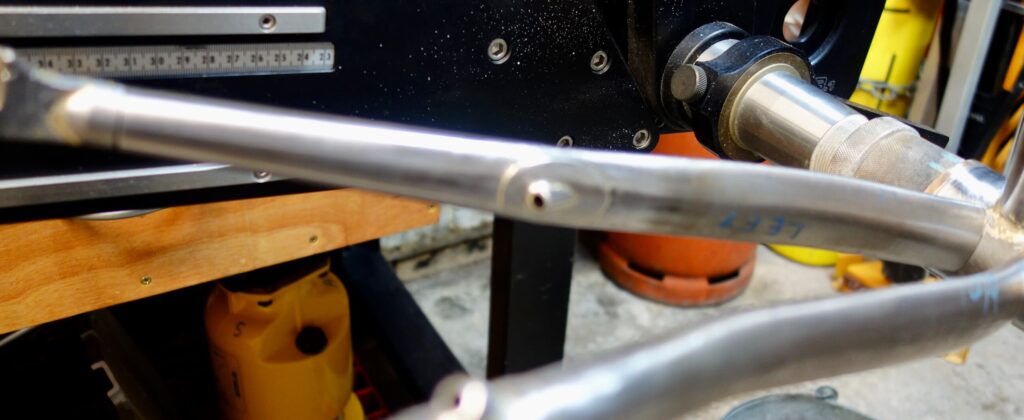
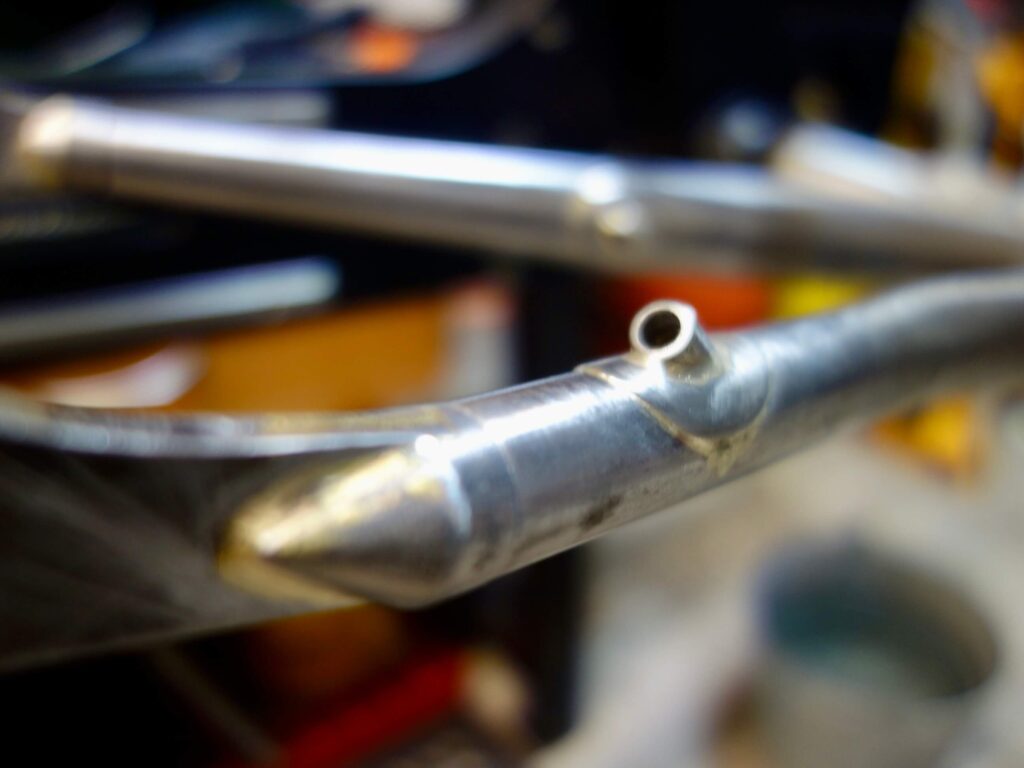
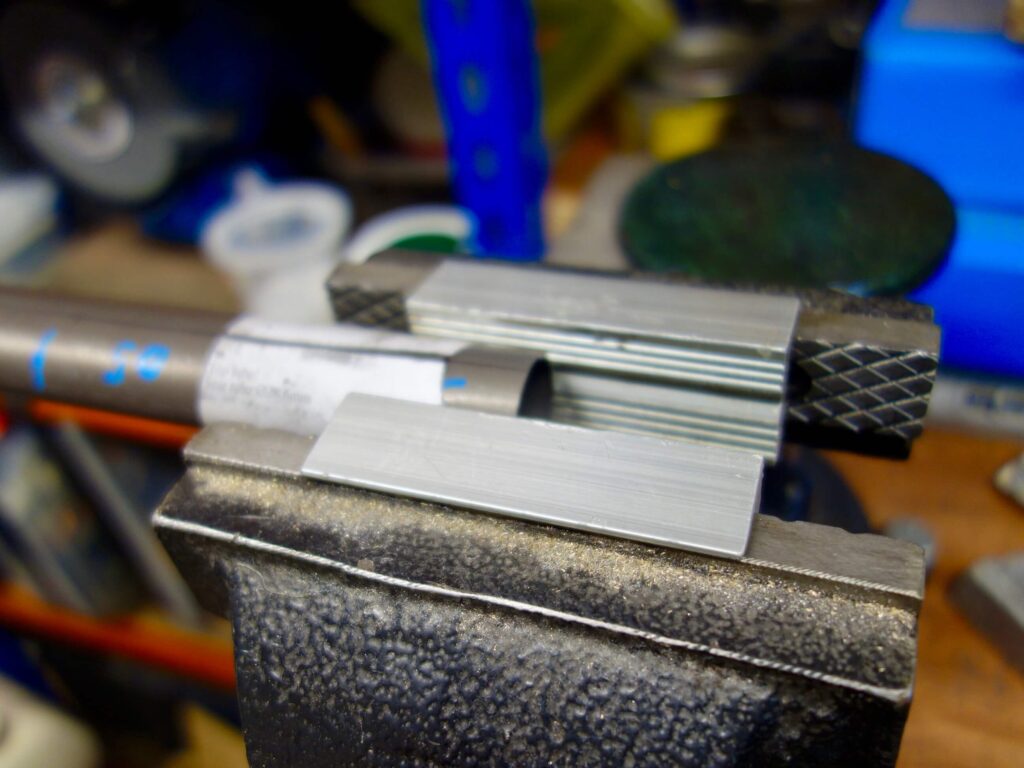
Next the seat tube was brazed to the bottom bracket and smoothed down. Then the down tube and chain stays were tacked after feeding the brass tubes into the bottom bracket. Following this the whole assembly was fully brazed and the bottom bracket ends of the internal tubes fixed with silver solder. Reinforcement caps were also soldered on the upper routing ports. The tube for the brake pipe is 7mm, but the one for the gear cable is 6mm. All these brass tubes are sized so they will slide fit over each other, so as the caps have a 7mm hole a short piece of 7mm tube was slid over the gear tube to fill the gap. The oval top tube was slightly too wide for the seat tube (30mm for a 28.6 seat tube) so this was crushed slightly in the vice before the mitre template was added and the mitre completed in the milling machine. The top tube was then brazed into position.


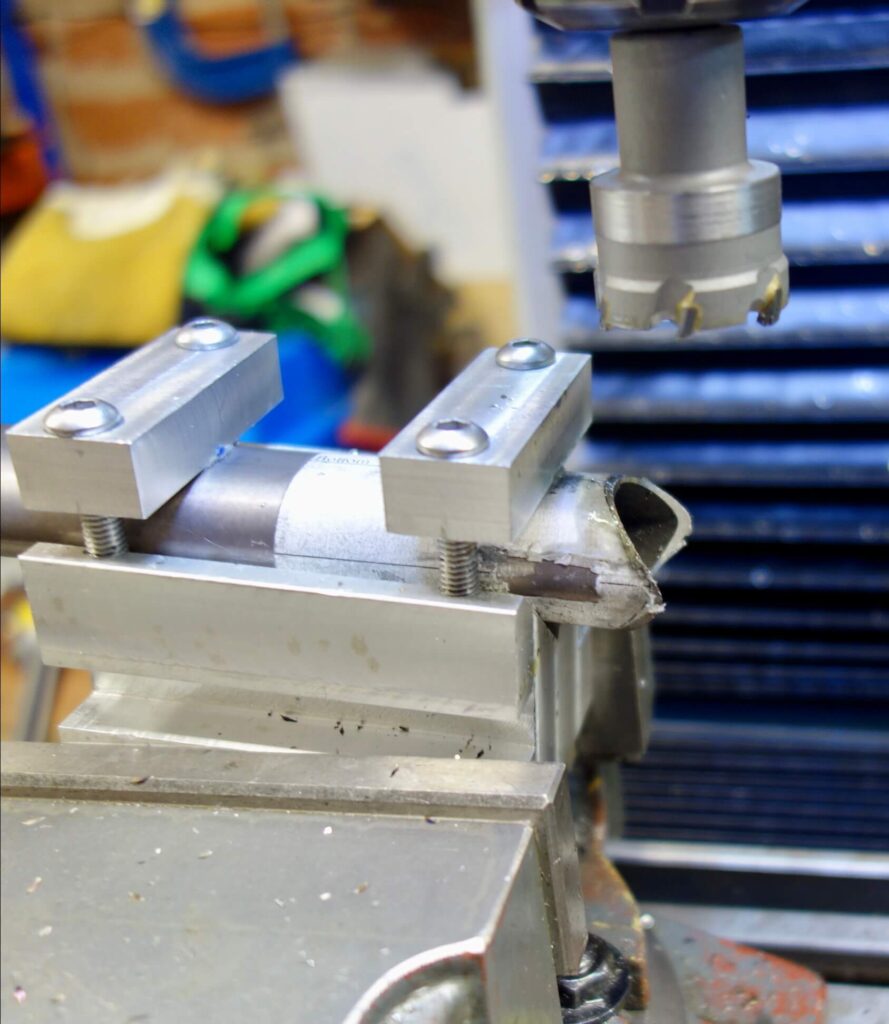

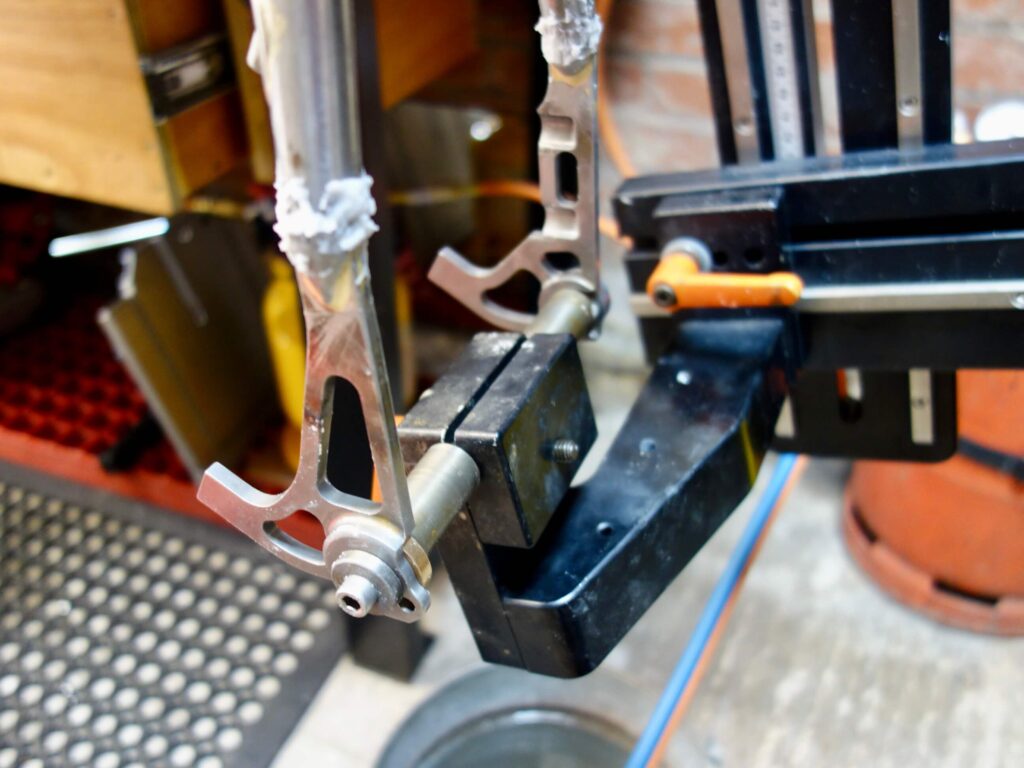
The rear dropouts were then sliver brazed in from inside. I use a combination of silver foil and thin silver wire inside the tips. I have pretty much abandoned using brass when doing plug-ins. Then the the seat stays were cut to length and mitred. After this I made the seat stay connectors and brass brazed these to the dropouts. The connectors, as with the chain stay ones, are made after deciding the length of the stays as the bore of the tube may change and the plugs need to fit accurately.
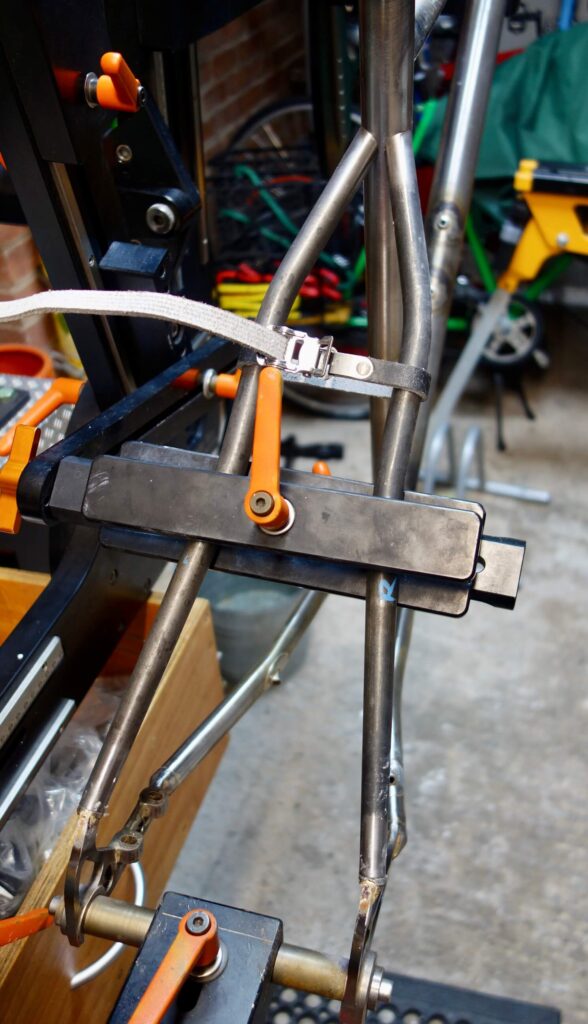
After clamping the seat stays in position both ends are brazed. Bottle bosses also silver brazed in.


Bits and Bobs
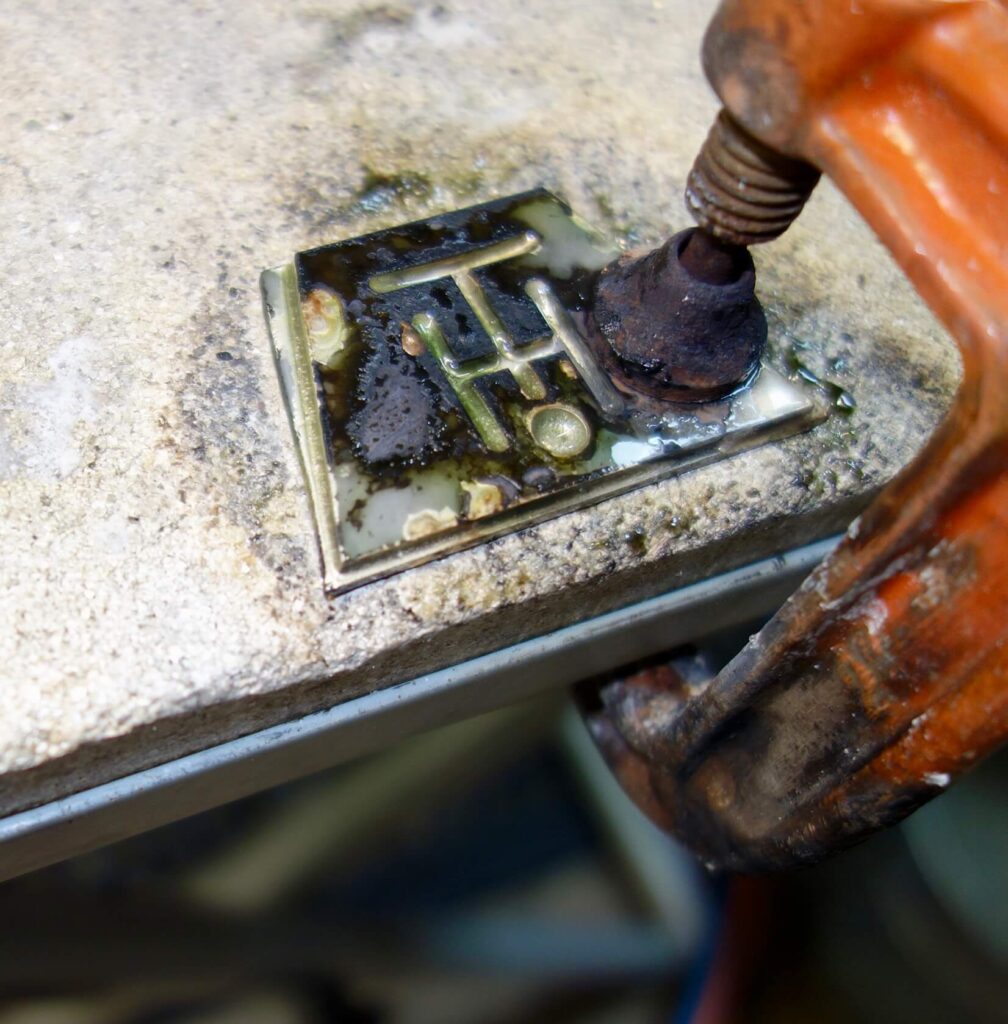
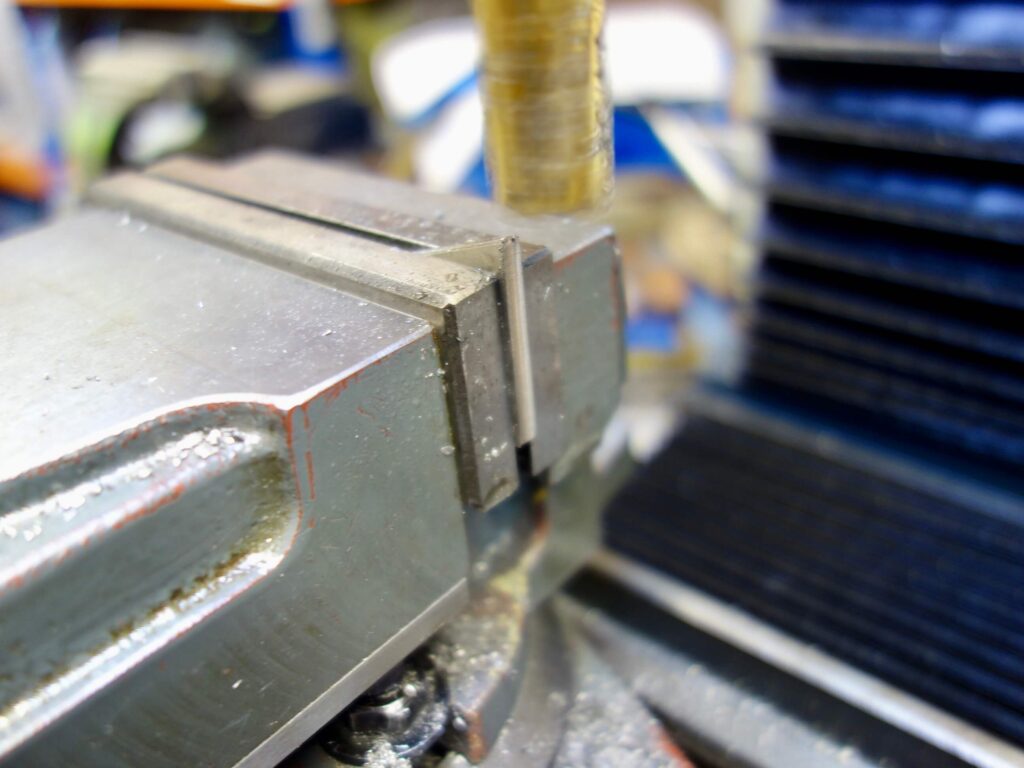
A brake bridge (seat stay bridge) is not essential with disc brakes, so the bridge is more of an embellishment and mudguard hanger. This was made with 2mm stainless plate, with a design cut in using the mill. It was then clamped with a similar piece and siiver soldered into one. To ensure it seats nicely in the centre of the seat stays I edge milled it with a mill of the same diameter as the seat stays.
The chain stay bridge, also for purposes of securing a mudguard, was made from a piece of stainless bar and hand filed to ovalise it (for no particular reason).
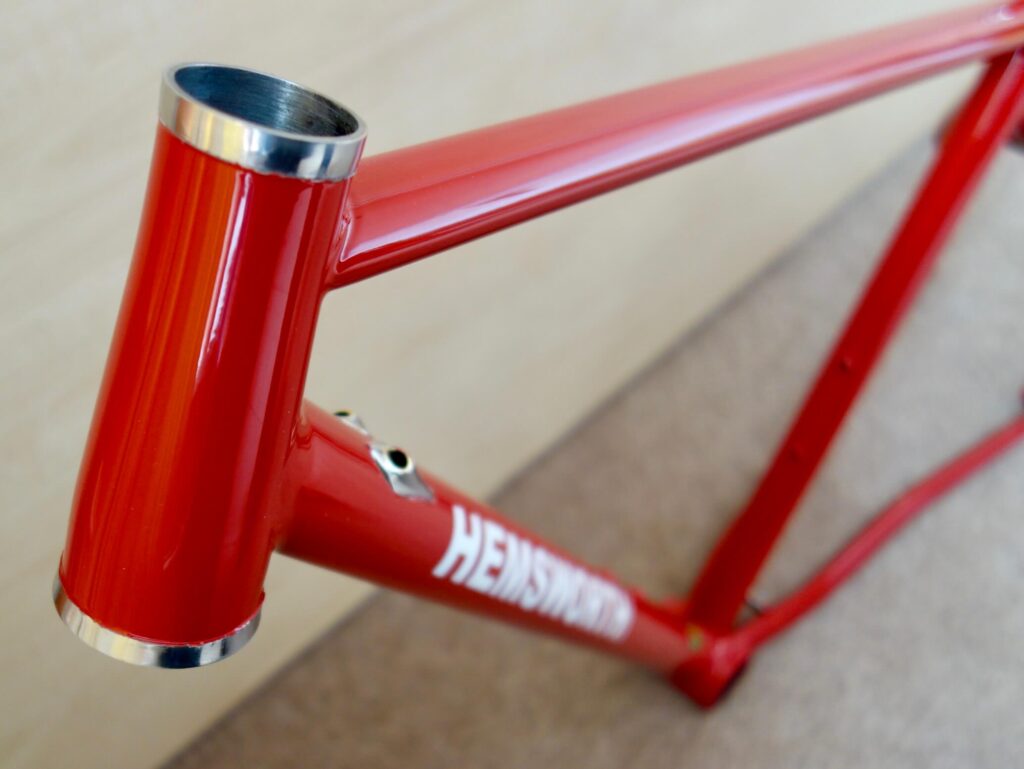
As an afterthought I decided to strengthen the head tube with head tube rings. Nobody makes these to fit these head tubes so I had to make my own with what I had to hand. For the top one a stainless bar, which had to be bored out, and the lower larger one, a large diameter stainless tube, which needed slight boring out. All these stainless items were silver brazed into place. The final brazing was the rear mudguard eyes.



Problems
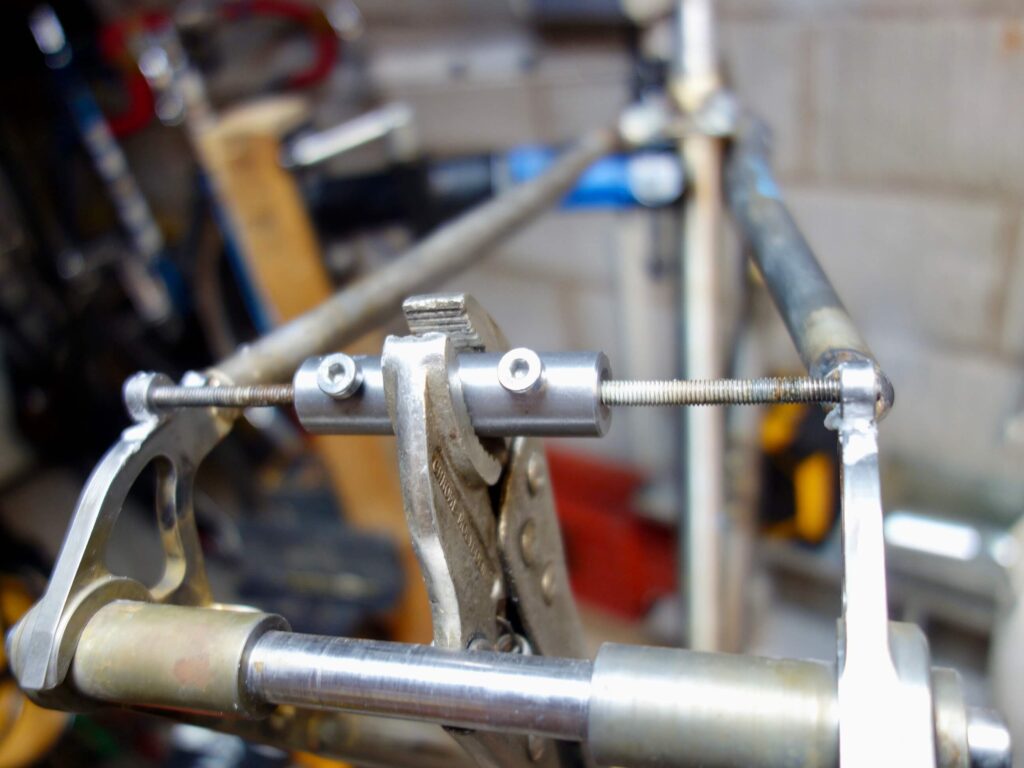
There is always one! In this case it was the contraction of the rear dropout spacing. Whilst this is highly predictable I had stuck with using an exact sized 142mm axle. I think because the dropouts are long, the chain stays relatively short, and the oval S bend stays very stiff, I found it impossible to widen the stays to specification after inserting the chain stay bridge. I had widened the spacing OK prior to this after initial brazing contraction. I ended up removing the bridge, which restored the spacing, using washers to lengthen the axle, and re inserting the bridge a bit higher. Even then the spacing has remained fractionally undersized, though this will not be a problem.
I plan to make a longer axle for the jig if I use this design again (probably 147mm). This is probably a good idea anyway.
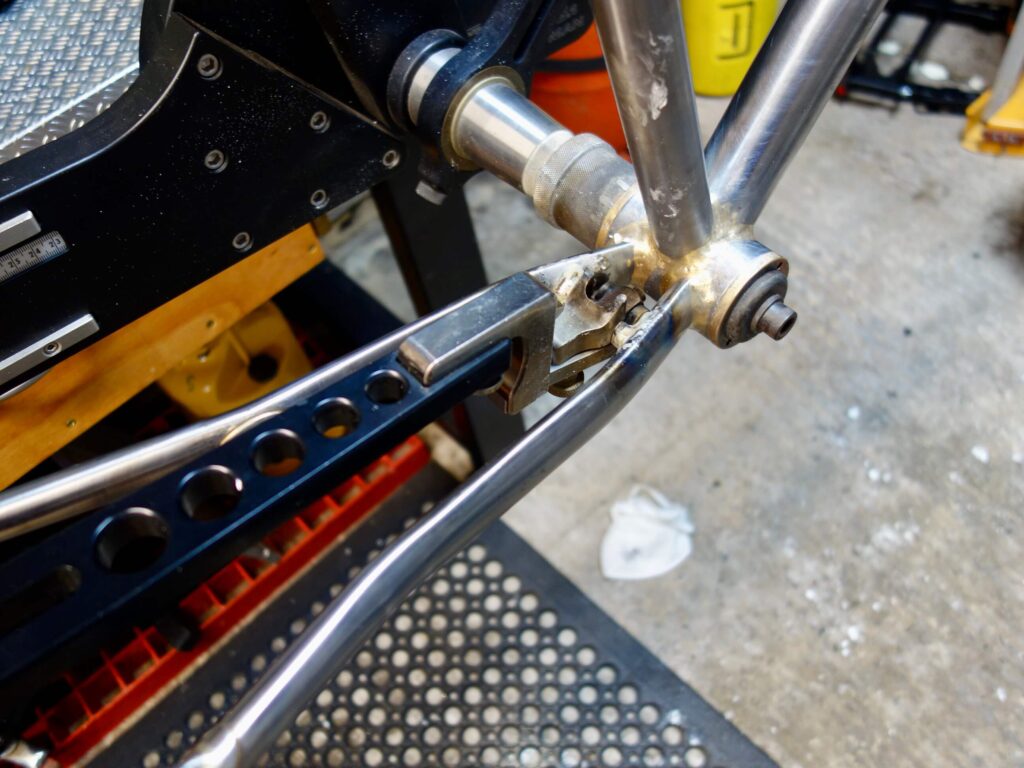
The final phase, as usual, is to chase the bottom bracket and all the other threads. Face and ream the head tube and polish all the bits of stainless steel before taking the frame to be painted. The bottom bracket did not need facing, which is lucky as I do not yet have a T47 facing cutter.



Final Build



2 thoughts on “A Gravel Bike”
Just seen you mentioned in Tim Moores book so looked you up. Glad I did as that was a fascinating read and lovely end product.
Once I’ve sent this I’ll have a gander at some of your other “stuff”
Ta Mark
Thank you Mark,
Glad it may be of some use.