
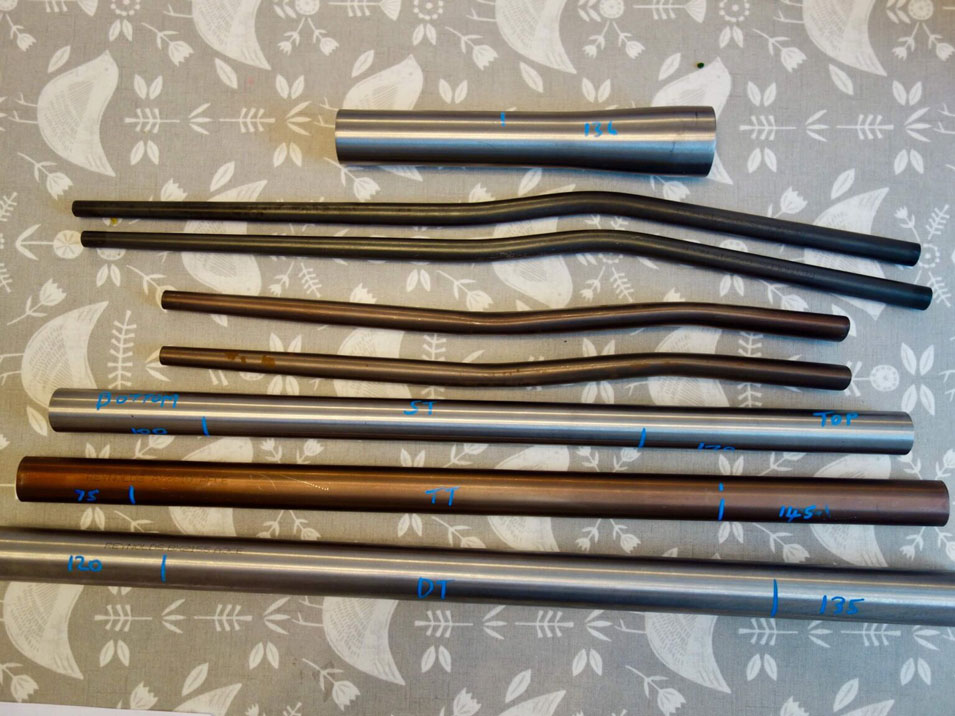
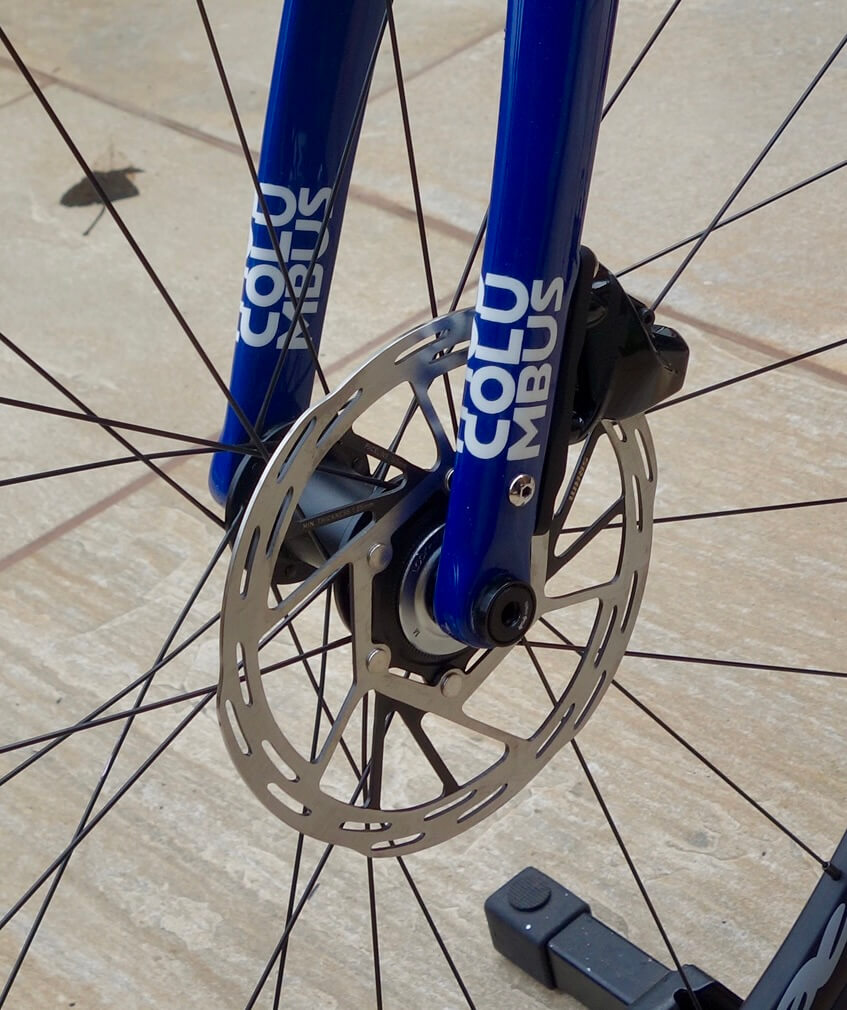
The brief for this bike was a disc brake road bike, to take up to 30 mm tyres, suitable for some scruffy trails as well as the road. Round our way there are a lot of scruffy roads. Tubing is Reynolds 853, except the head tube which is Columbus Spirit tapered for Columbus Futura SLX tapered carbon forks1 1/8 to 1 1/2. These forks will take a 30mm tyre and have mudguard mounts for a skinny mudguard (whatever that is). The rear triangle will be built to with decent mudguard clearance. Reynolds do not do a tapered head tube, nor do they do seat stays in 853, so these are 725. I intend to use double bend chain and seat stays to guarantee the tyre and mudguard clearance. Bottom bracket is Reynolds Cromoly T47 68 mm. The groupset is to be SRAM AXS 1x, so it will only involve a single internal hydraulic tube route. The final design is, in fact, very similar to the gravel style bikes I have previously built.
Flat mount rear dropouts
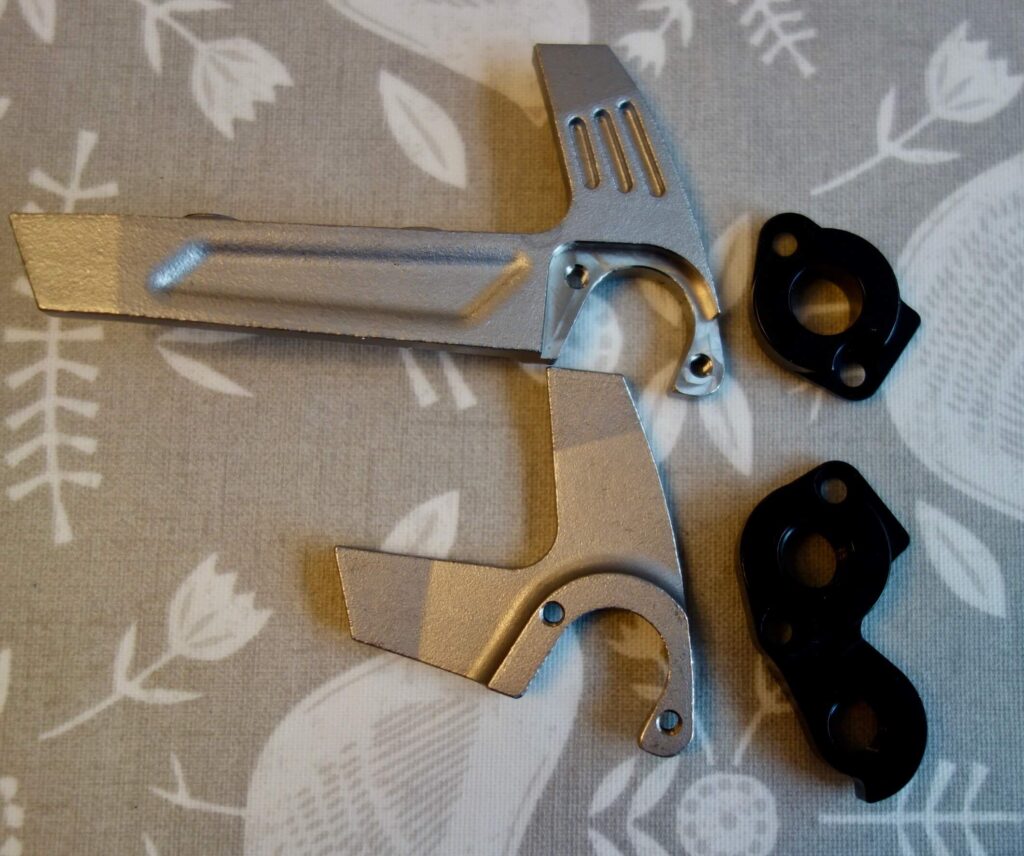
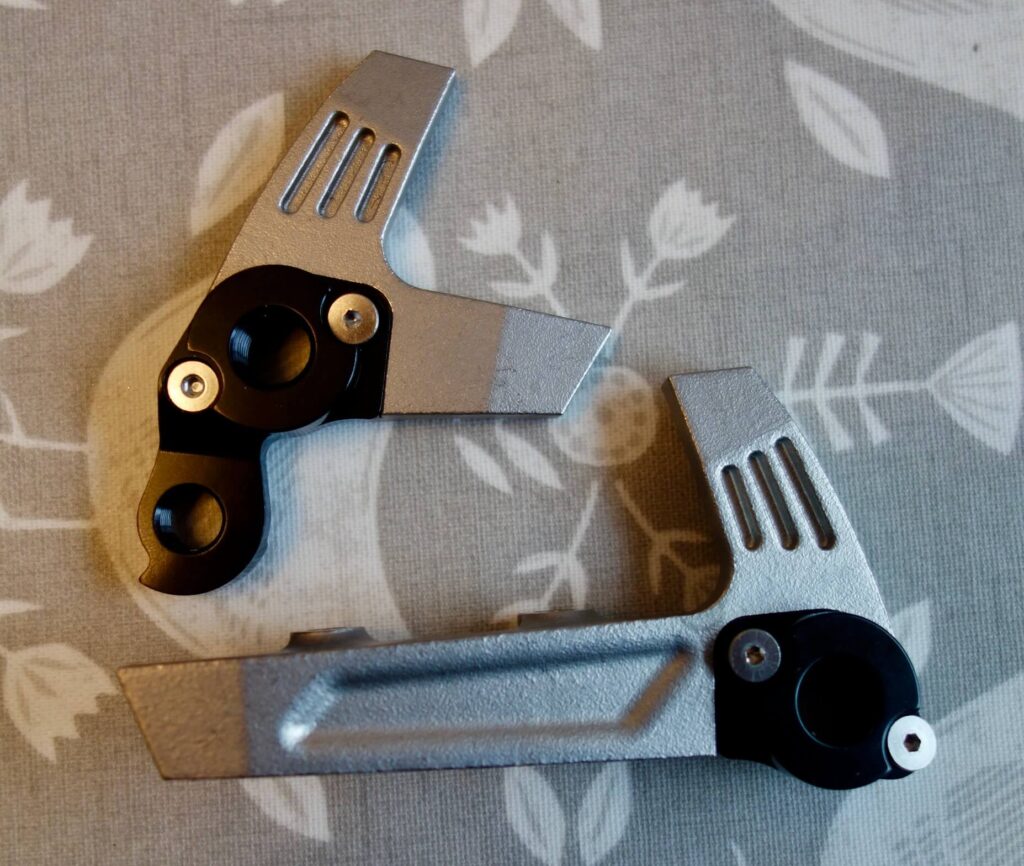
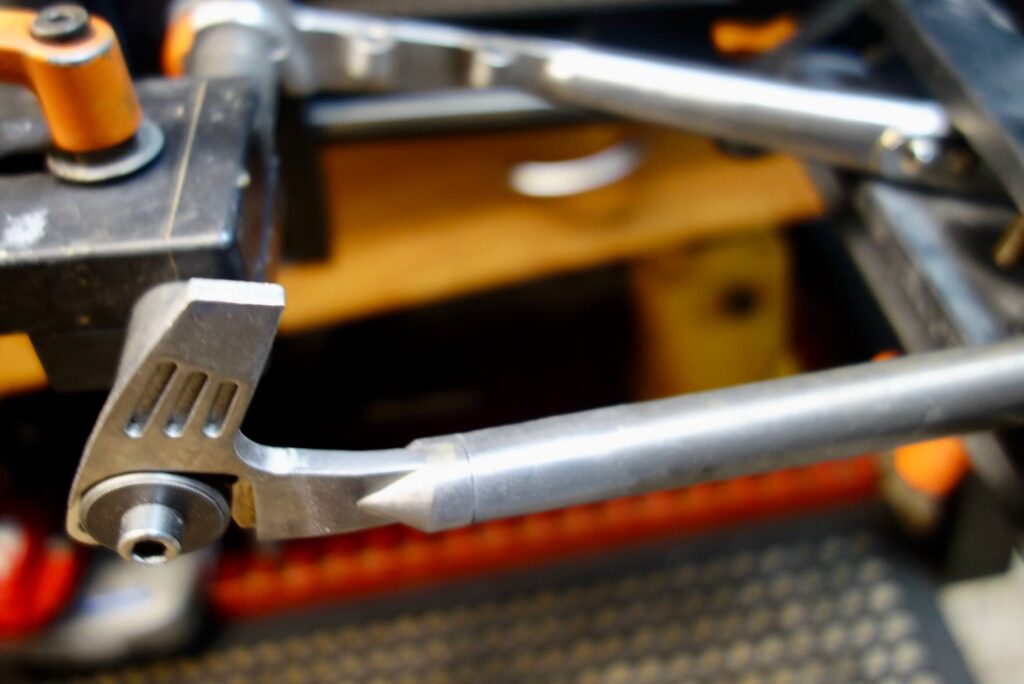
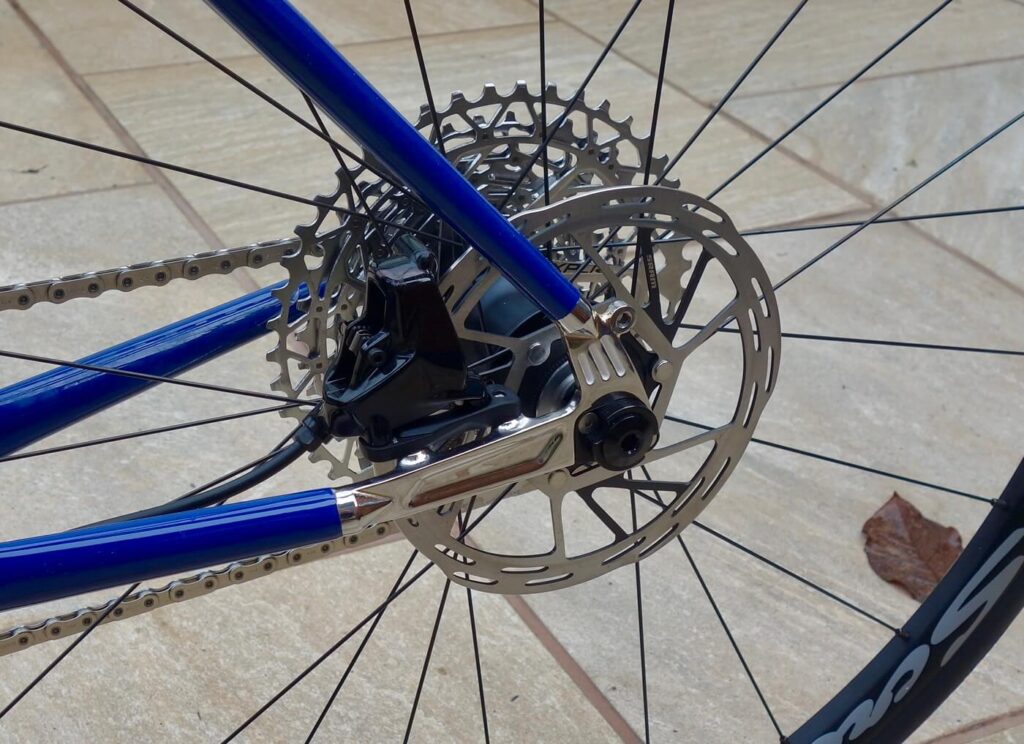
These dropouts are Reynolds LS402 and are forged in stainless steel. They are cheaper than previous ones I have used. They also do some 3D printed ones which look more suitable for tig welding. These are the third type of flat mounts I have used and come with yet another set of difficulties. As opposed to Bear and Paragon flat mounts the ends are at an angle vertically. This would not be a problem if one was simply slotting the chain stays to fit, but, even though I will be using Reynolds stays, which are narrower than the Columbus ones; when cut to length they are still too wide to slot into the dropouts, so as before I will have to make connecting pieces, which will now have to be slotted at an angle. As with the Paragon dropouts the drive side is much shorter than the non-drive side, making centring of the stays more difficult as they will be of different lengths. A third difference is the fact that the tips are bent in by 10 degrees. This in fact makes the chain stays line up better with the dropouts given the wide rear spacing, so is in my opinion a better design. I do, however, think the Bear dropouts, which are equal in length, are the easiest to use.
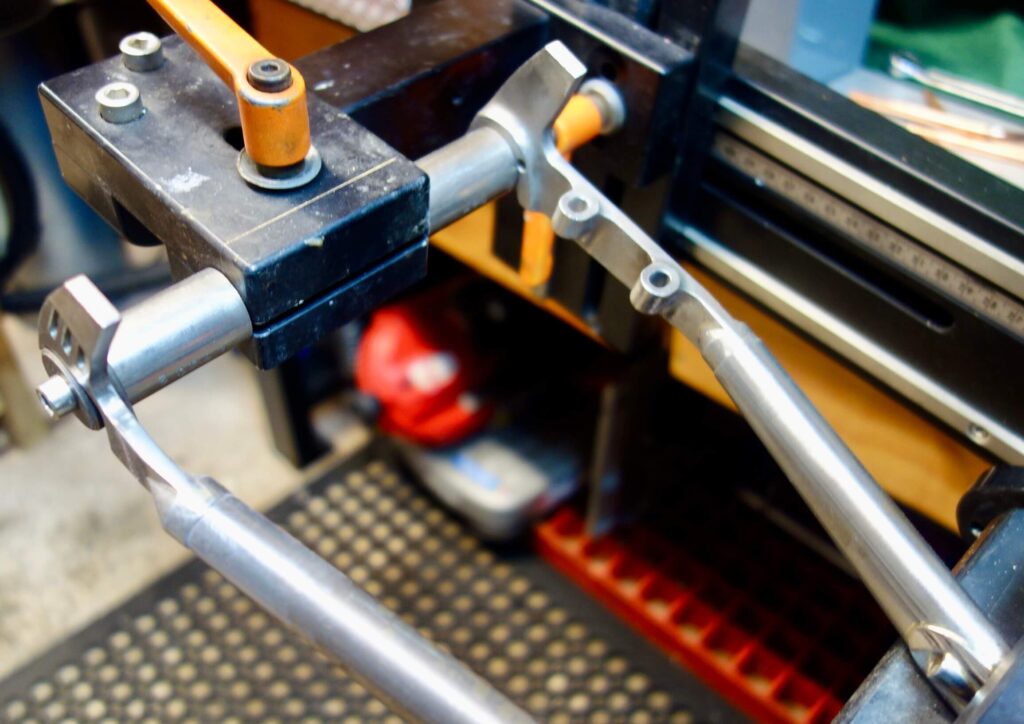
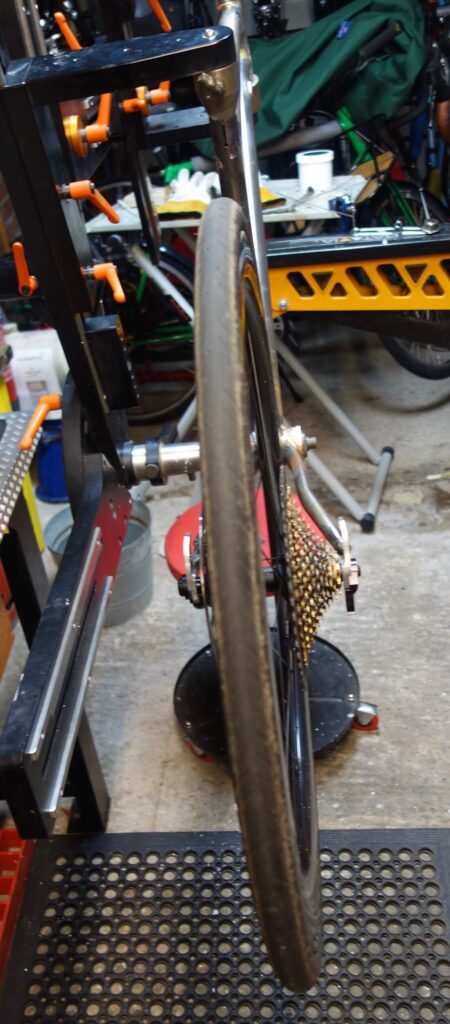
I, of course, because of the different design, had to make yet another rear dummy axle to fit in my jig before I could start assembly. These dropouts are also easier to use during assembly as the axle can be made to fit without the black inserts shown and drops in and out without having to prise apart the chain stays.
As I use BikeCad, modelling the dropouts should be easy, but unfortunately they are not yet available pre-programmed in the software. Also it is very difficult to enter your own dimensions in the software, and it cannot allow for the dropout bend. Similarly, although I now have the drawings for Reynolds S bend stays, I still could not use the information to correctly model them into the software, so yet again, a lot of guesswork will be involved in the rear triangle construction!
I really need to obtain the original drawings for these dropouts so I can pass them on to Brent at BikeCad.
The Build
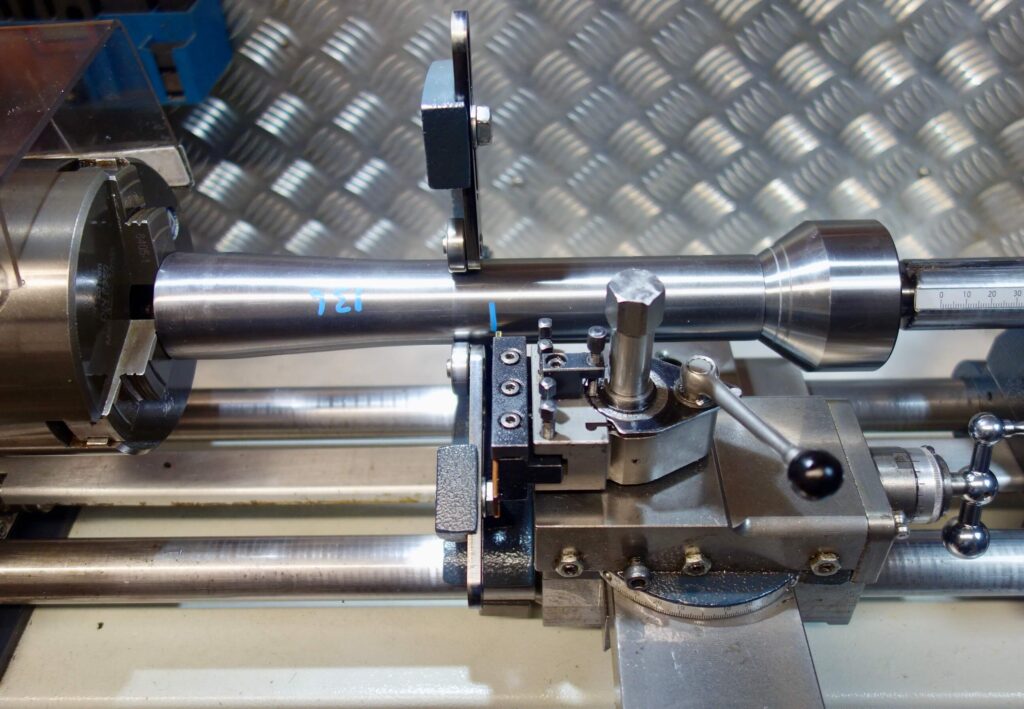
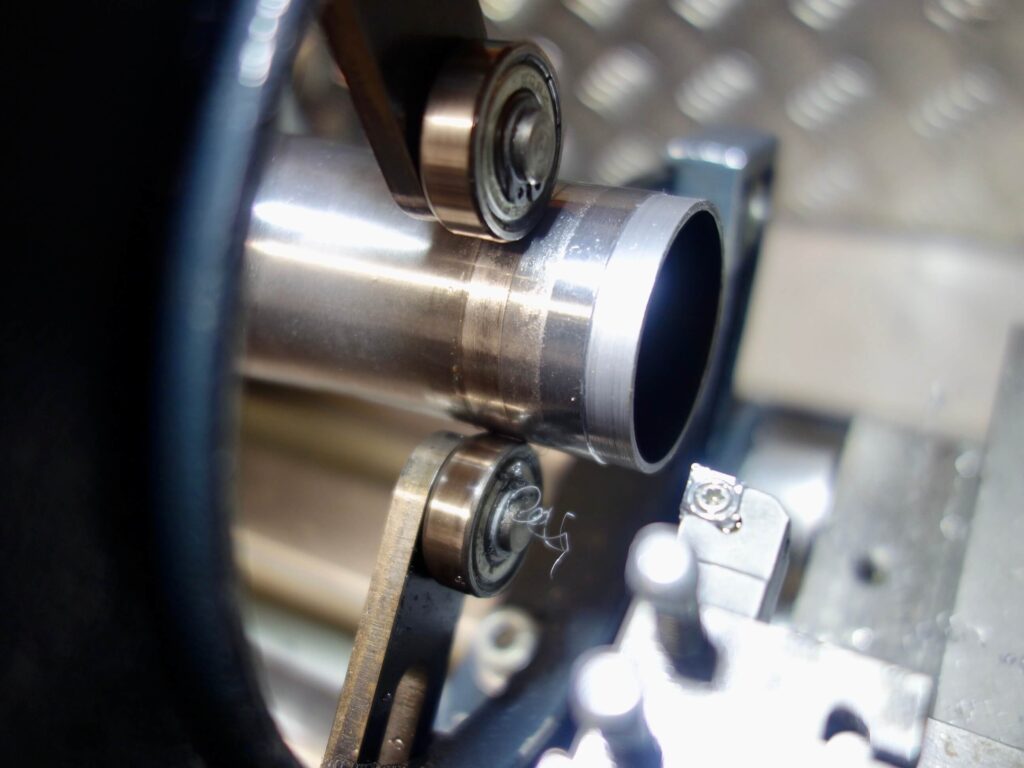
I cut the head tube to size in the lathe so I could turn down the top of the head tube to fit standard 36 mm head tube rings (as obtained from Ceeway). Although the specification for the tapered head tube is for 36 mm at the top, they are in fact oversized, meaning turning them down or making your own rings. the 46 mm rings for the bottom are a fit. I understand Peter at Ceeway has raised the issue with Columbus in the hope they will ensure future ones are exactly 36 mm.
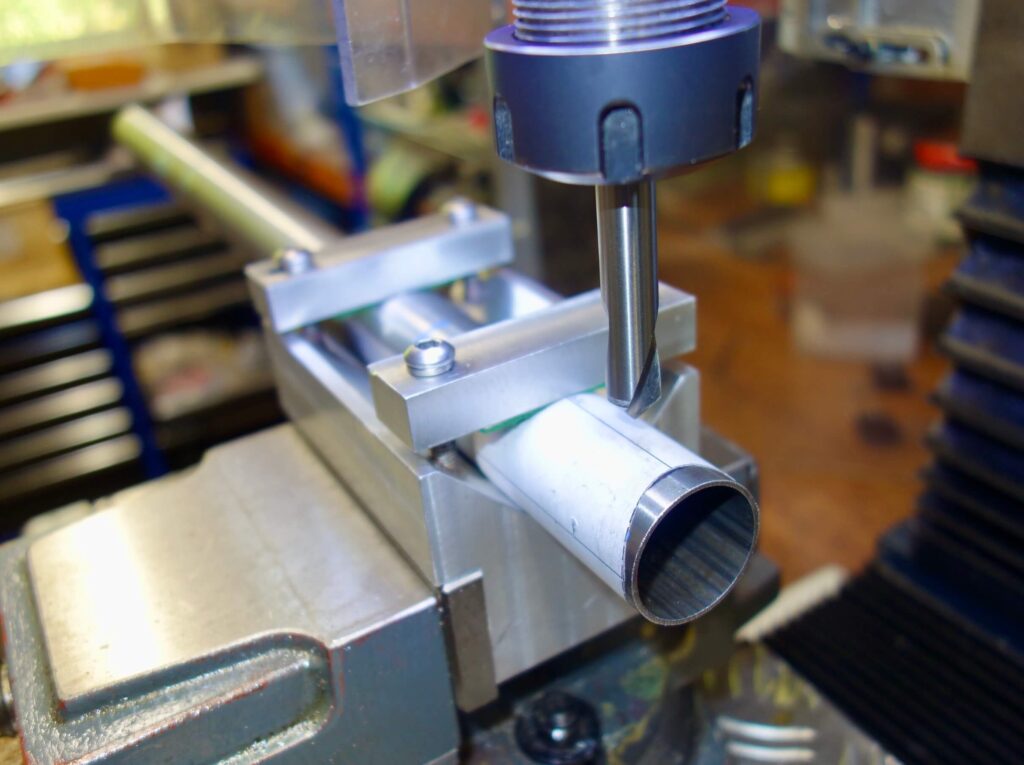
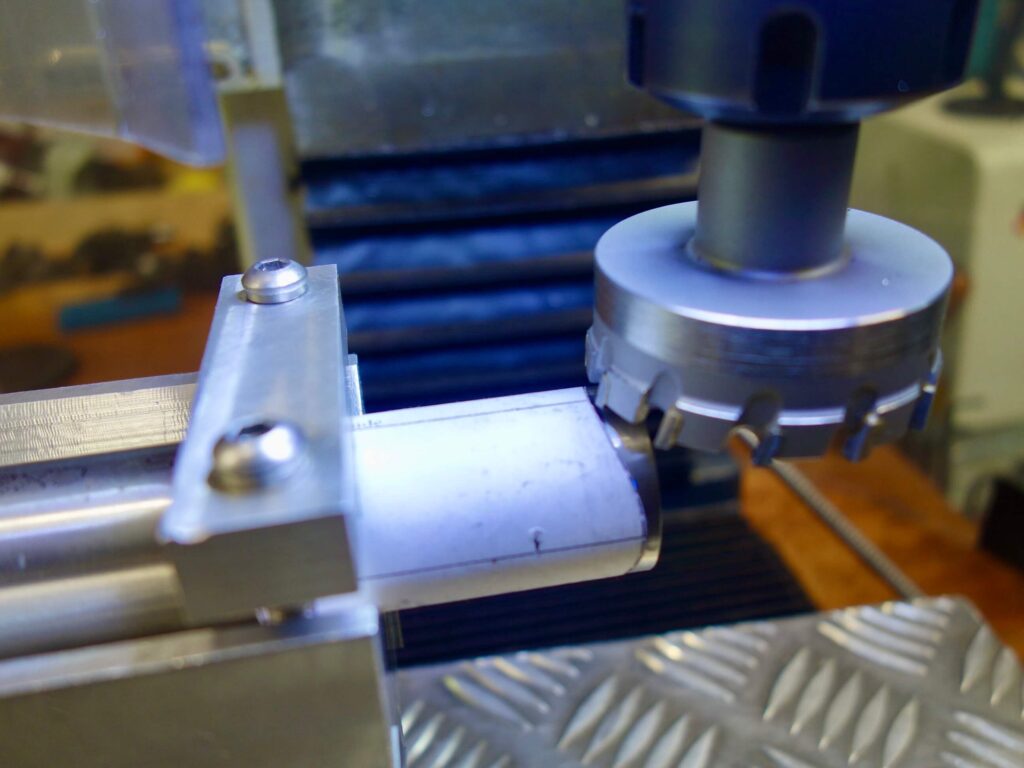
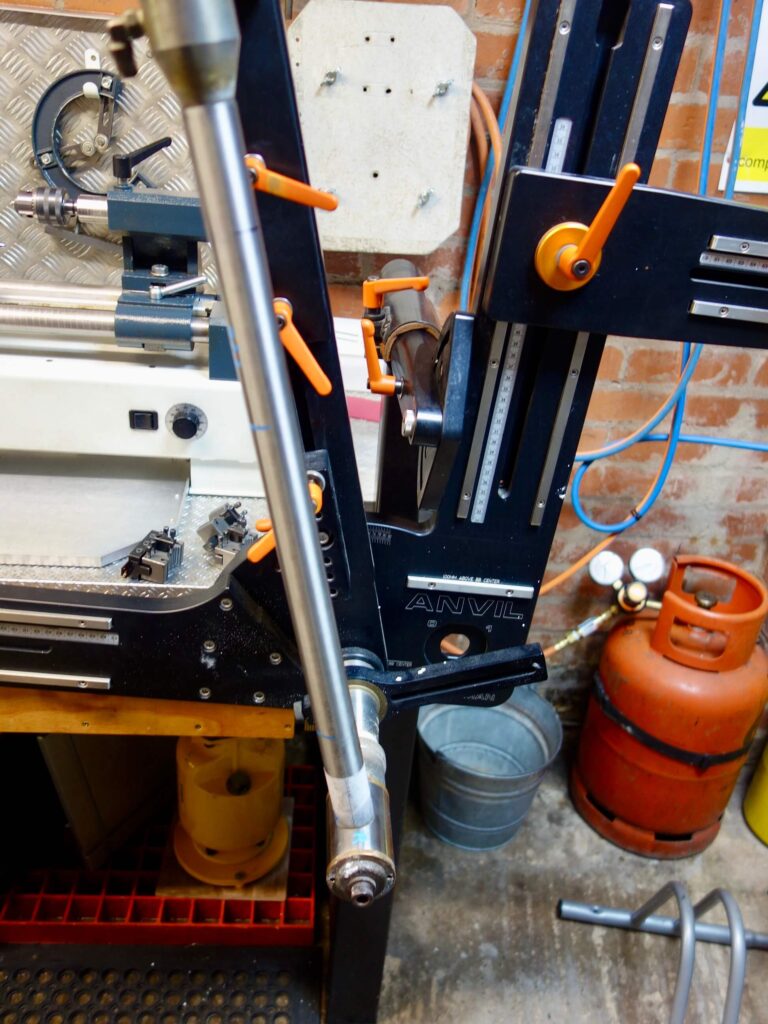
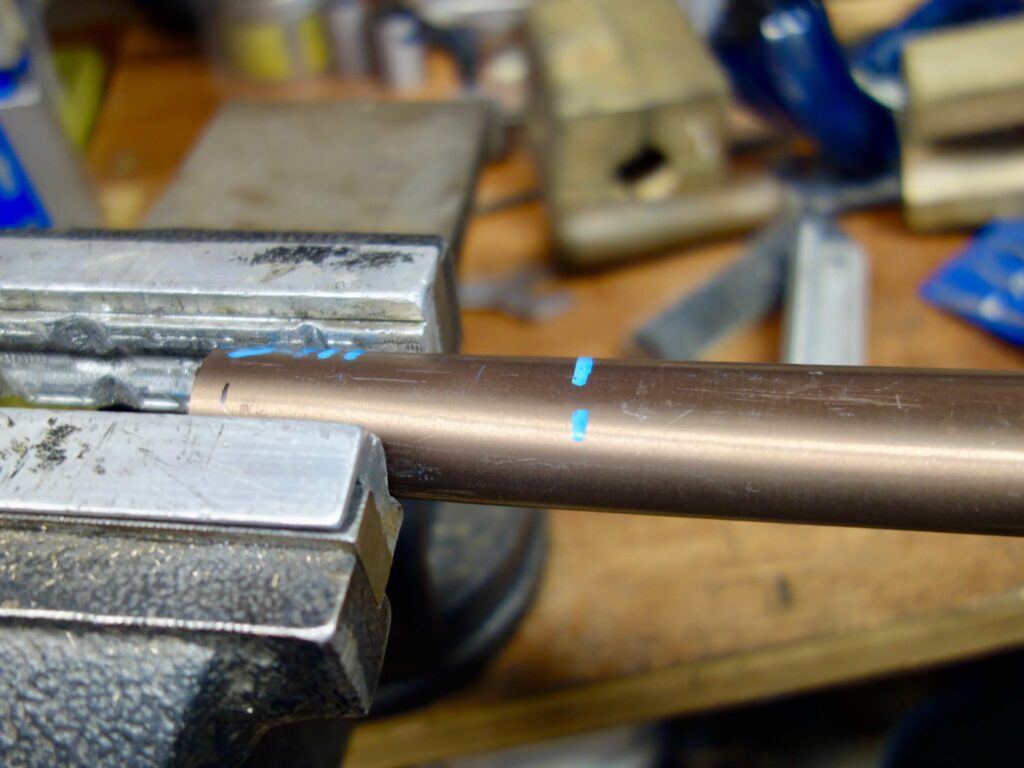
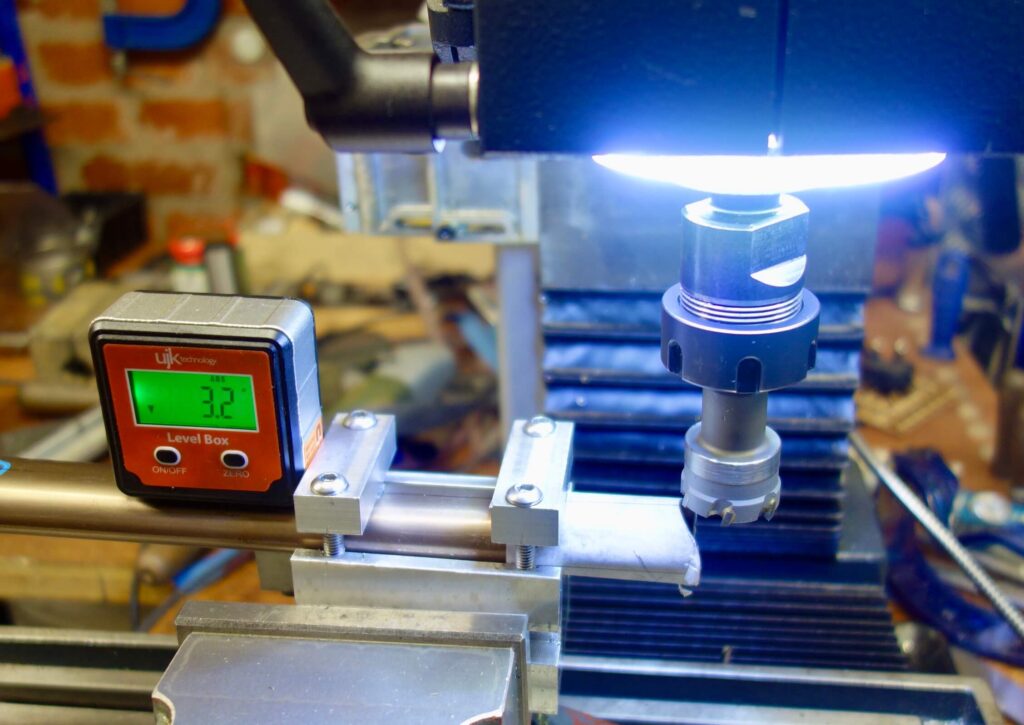
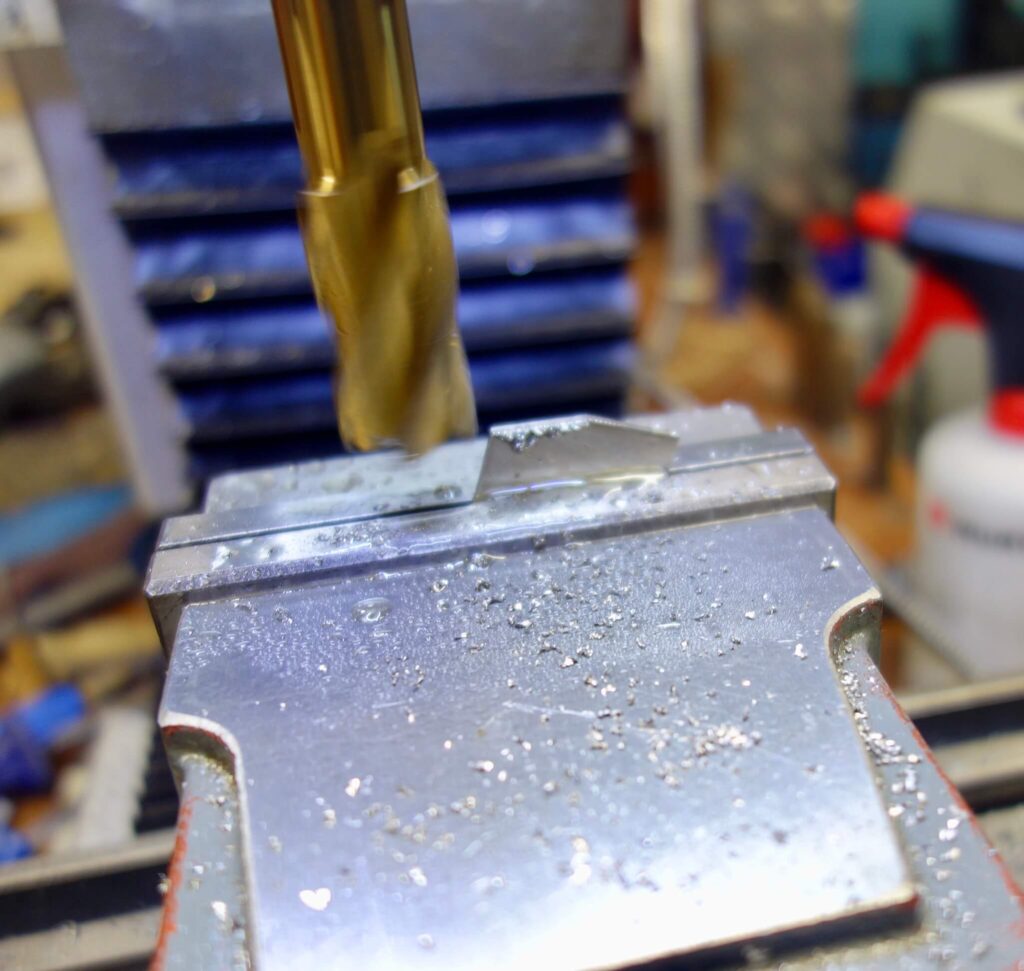
I used the milling machine exclusively for mitering this frame. Overall I think it is the best and easiest machine method.
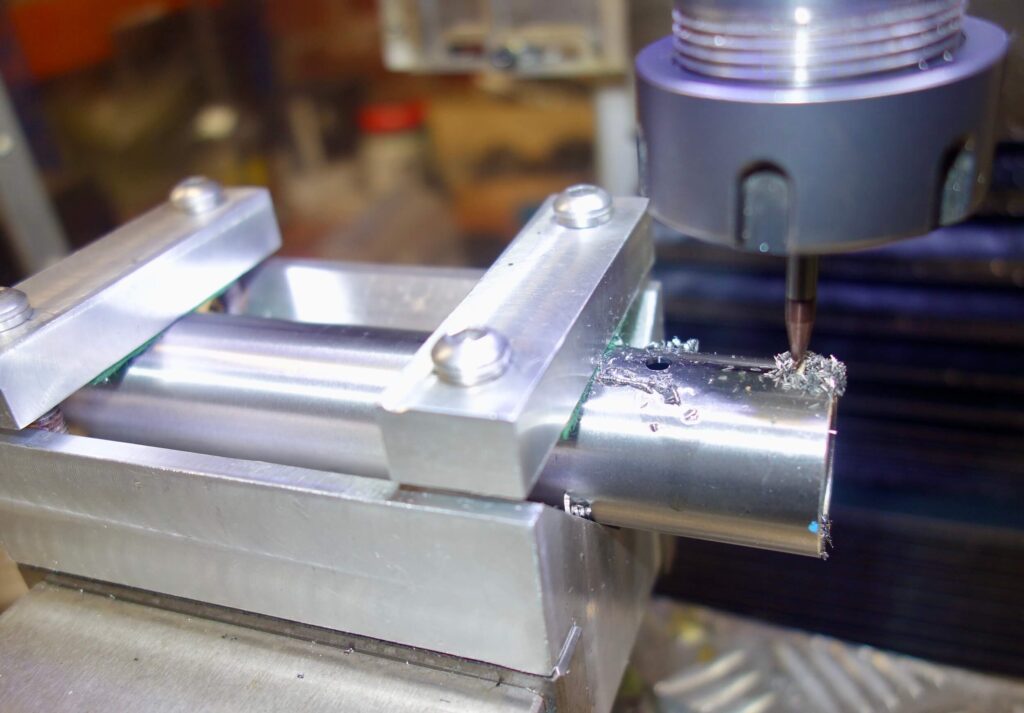
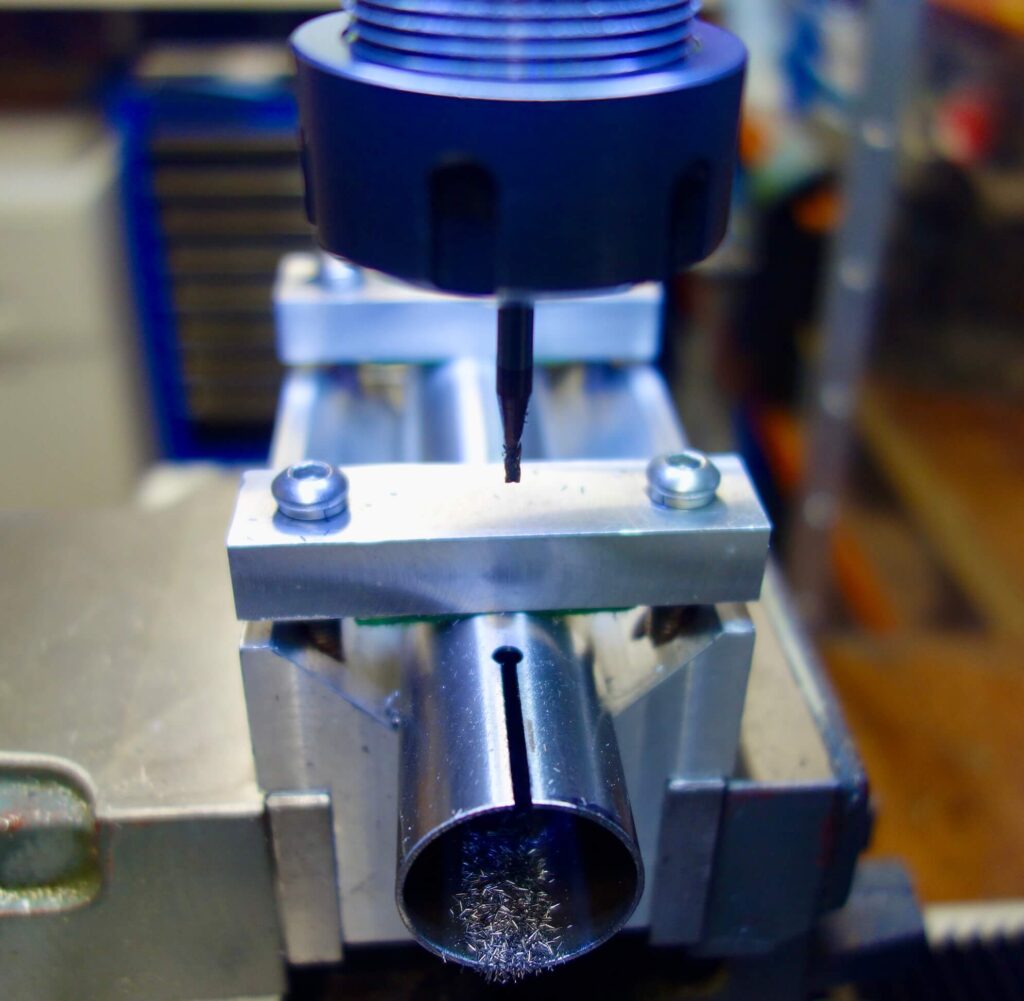
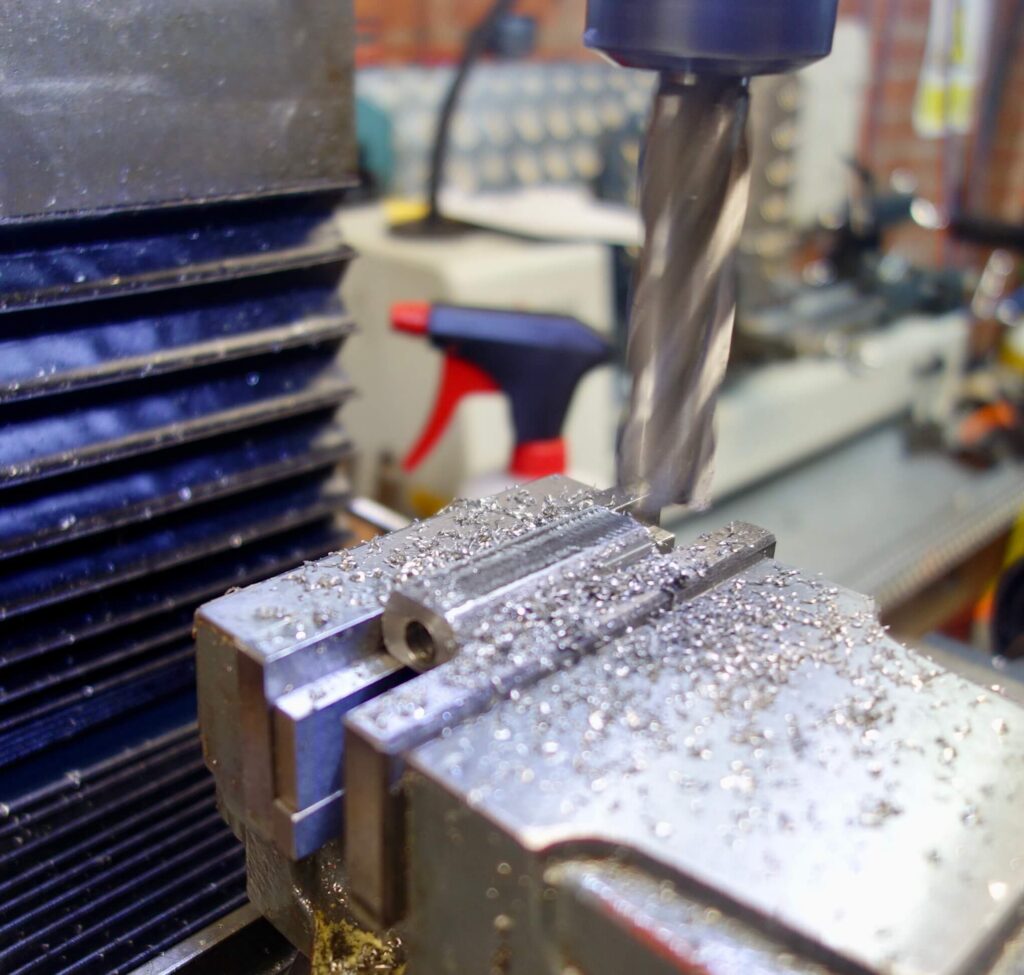
After years of drilling and cutting seat tube slots by hand after frame assembly I have just realised how much easier and neater it is to do this on the mill at the start.
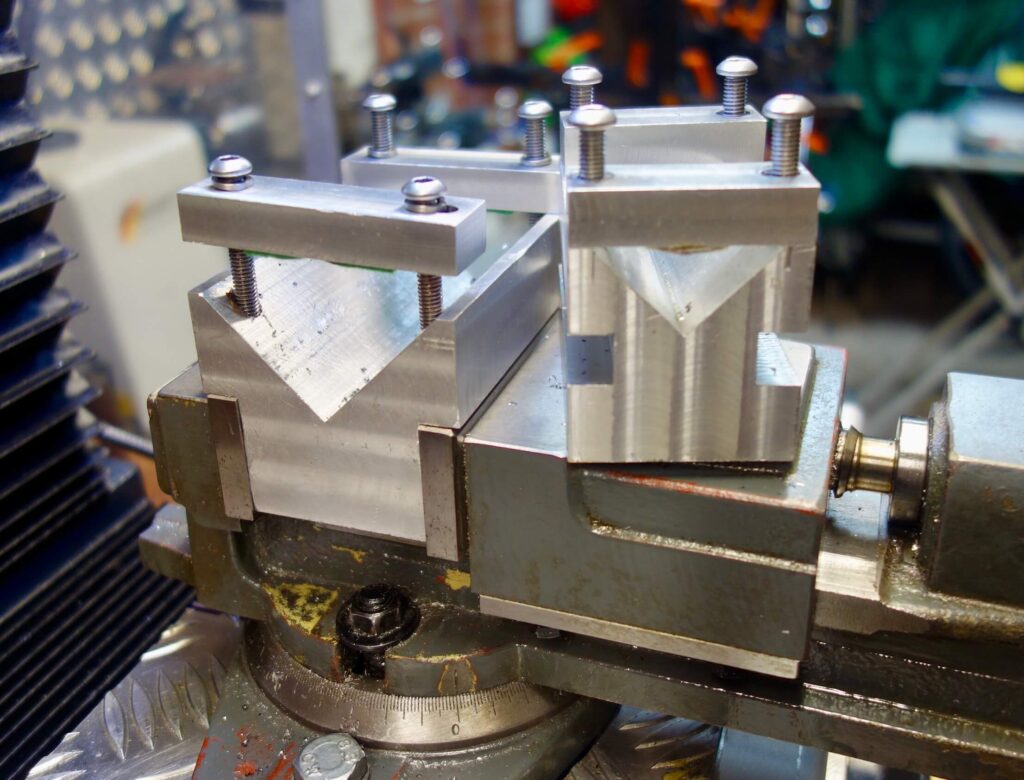
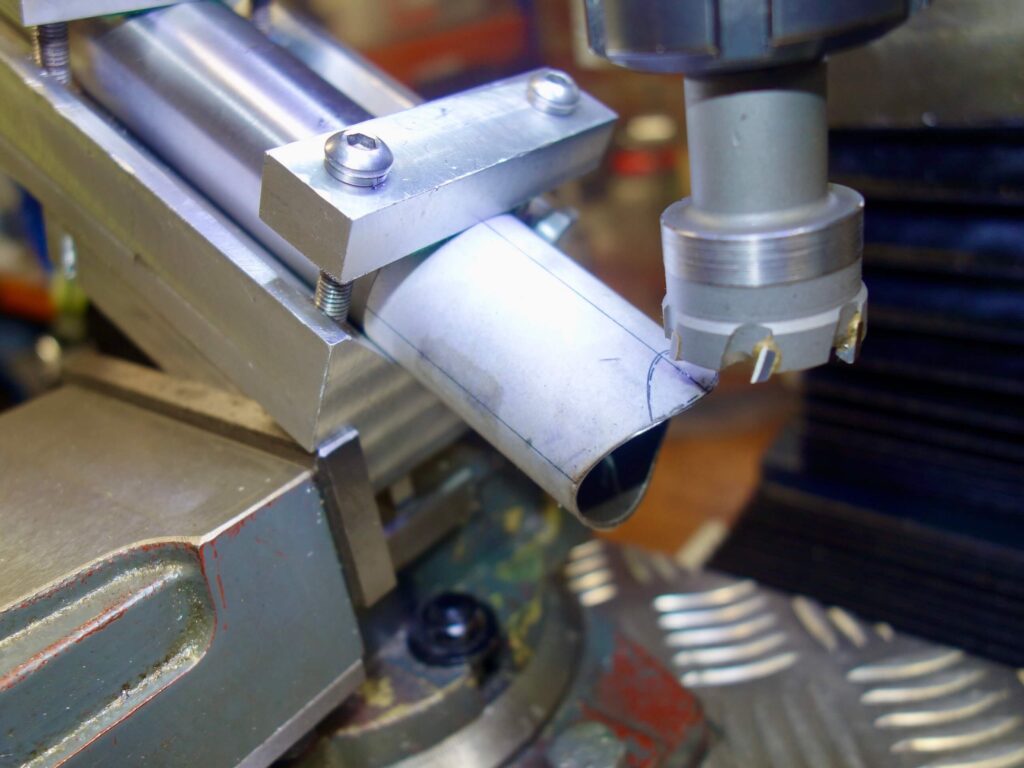
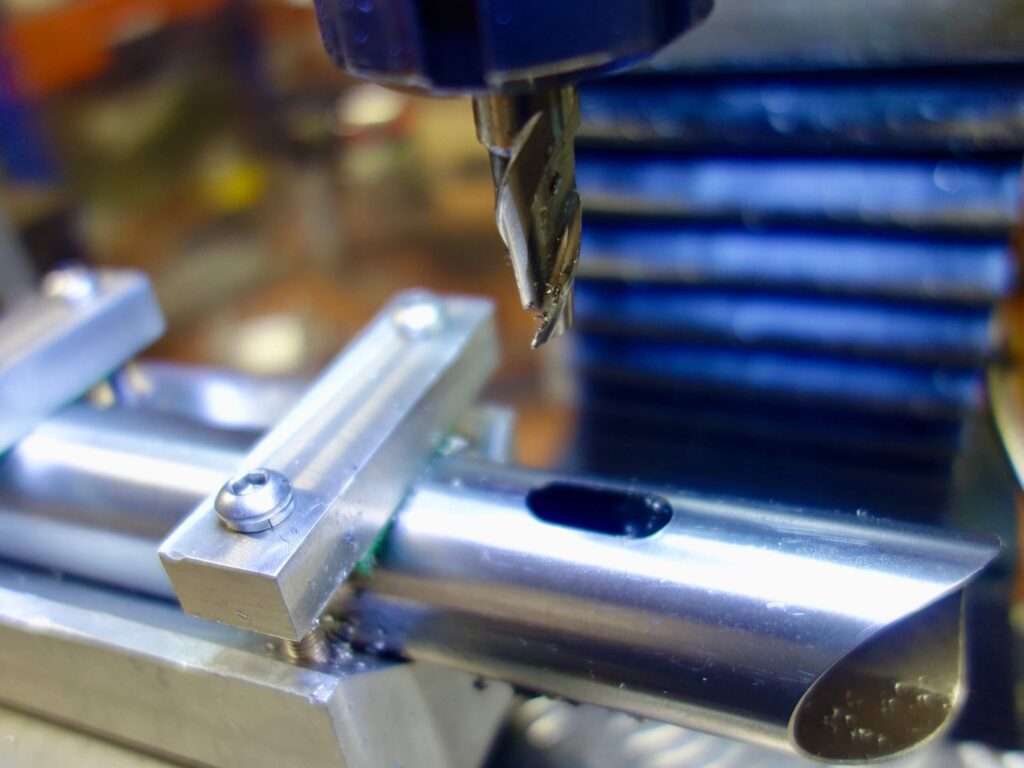
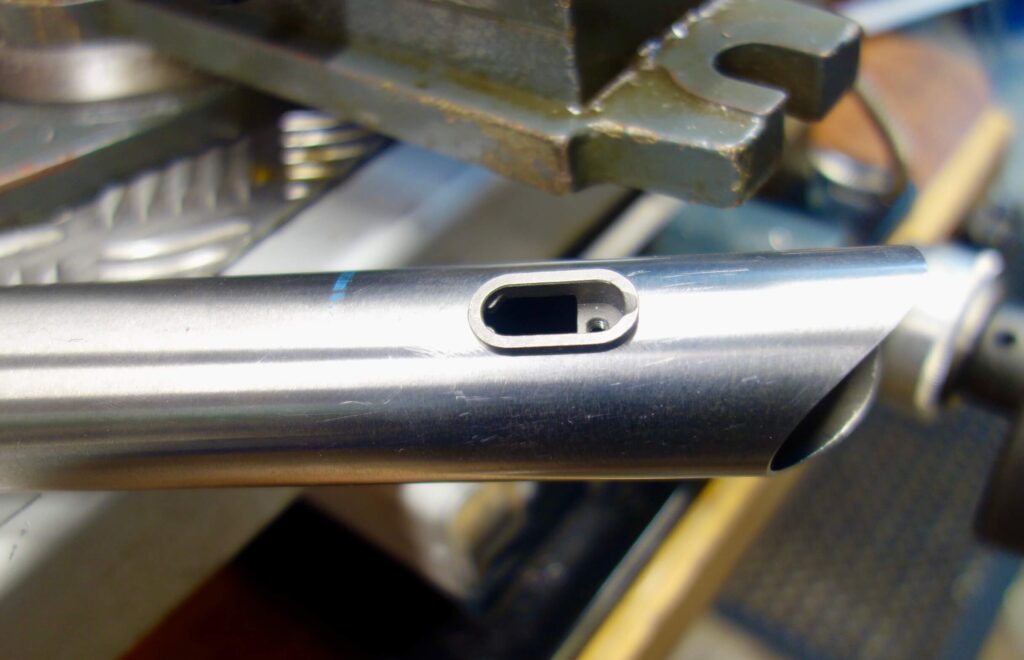
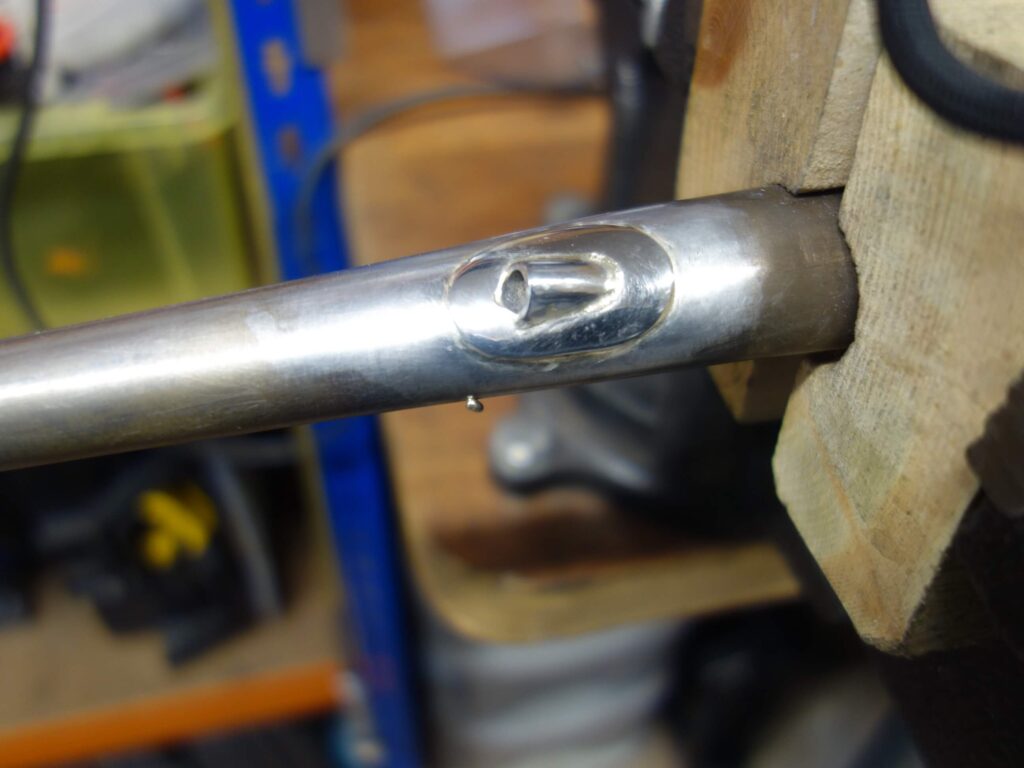
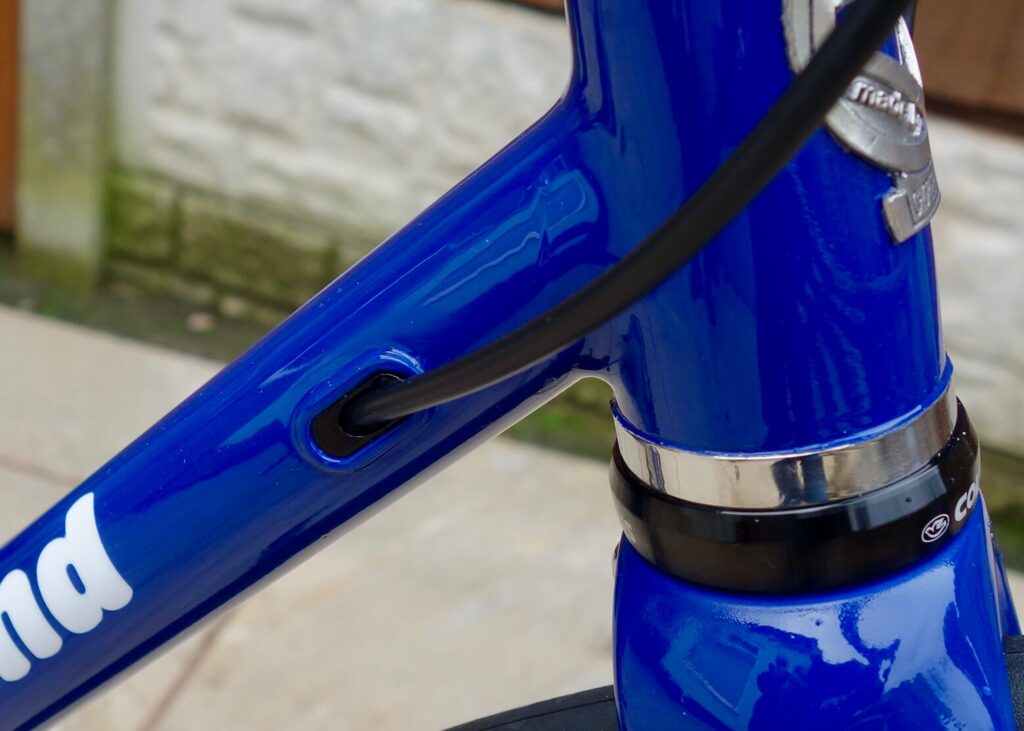
I use the two home made V blocks shown which covers pretty much all tube sizes. I am trying the cable / tube inserts from Ceeway for the first time. These are plain steel reinforcements with bolt in aluminium inserts with a hole for the cable or hydraulic tube.

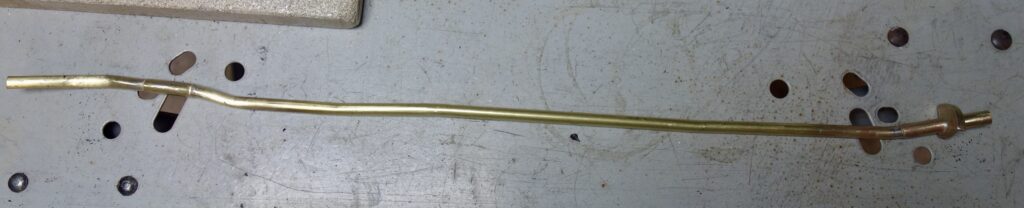
Internal Hydraulic route
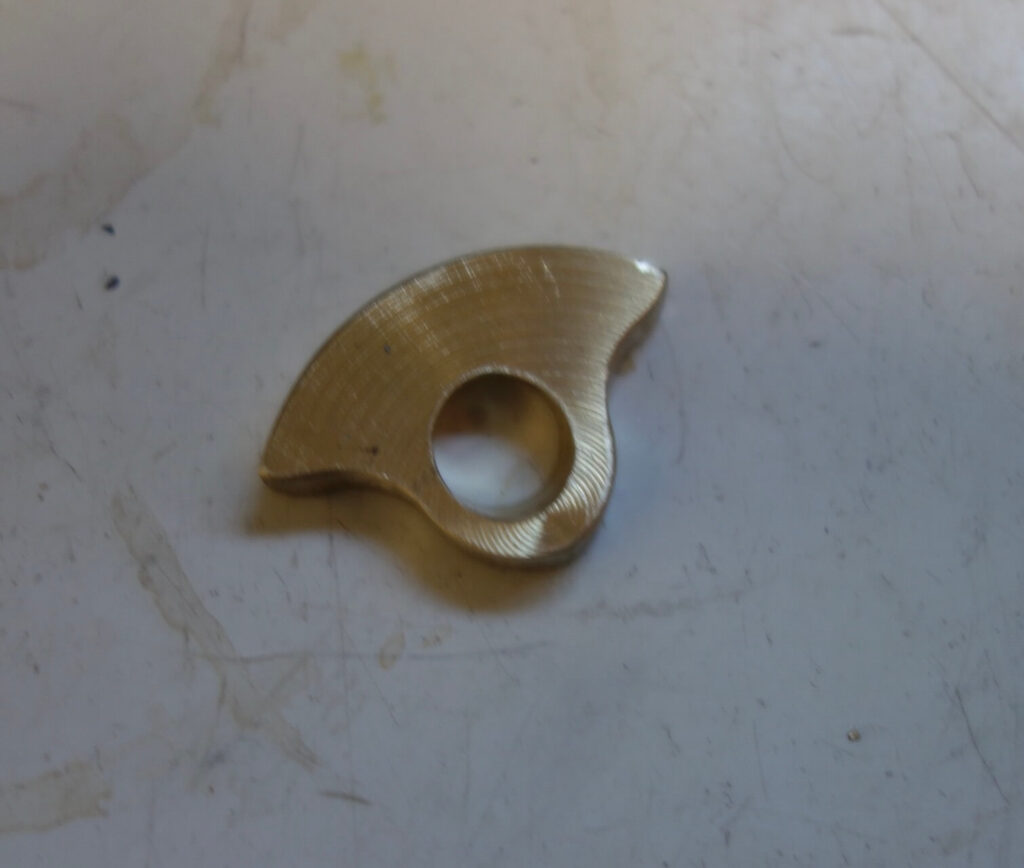
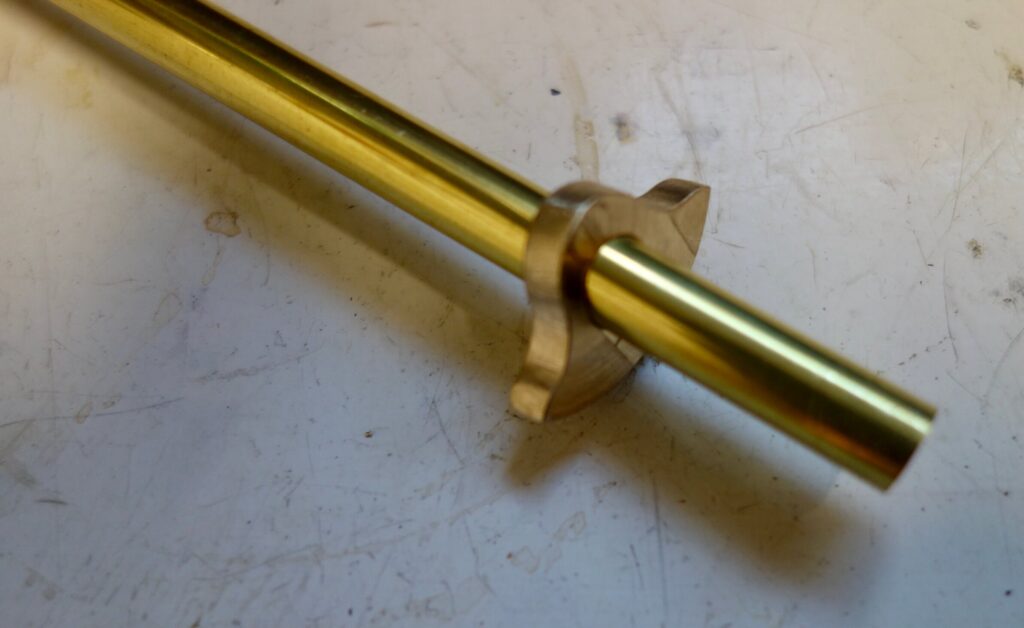
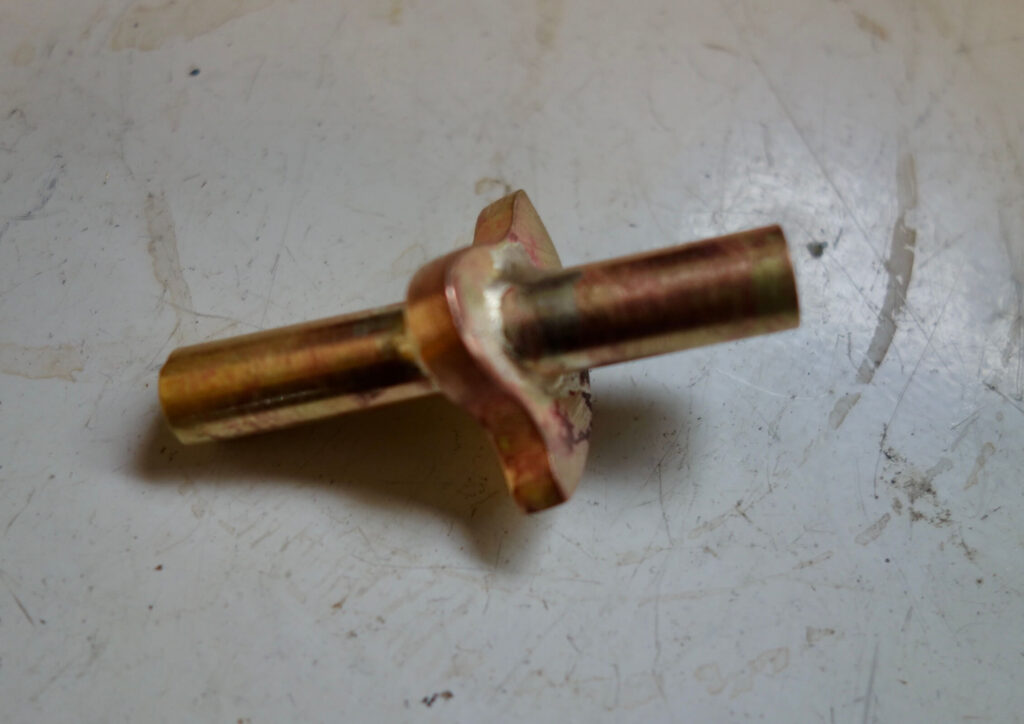
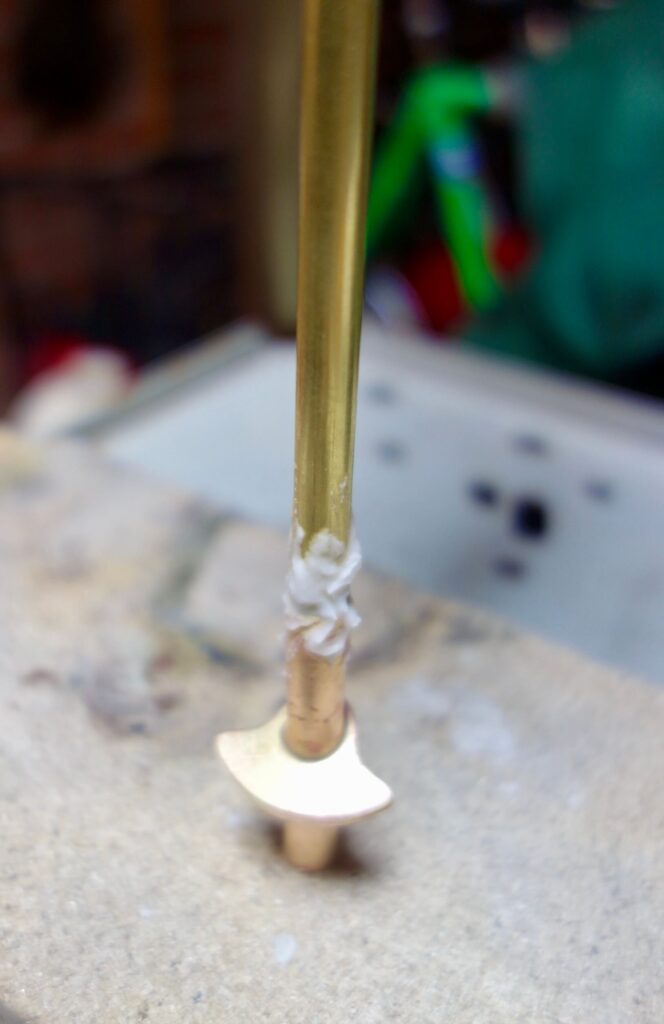
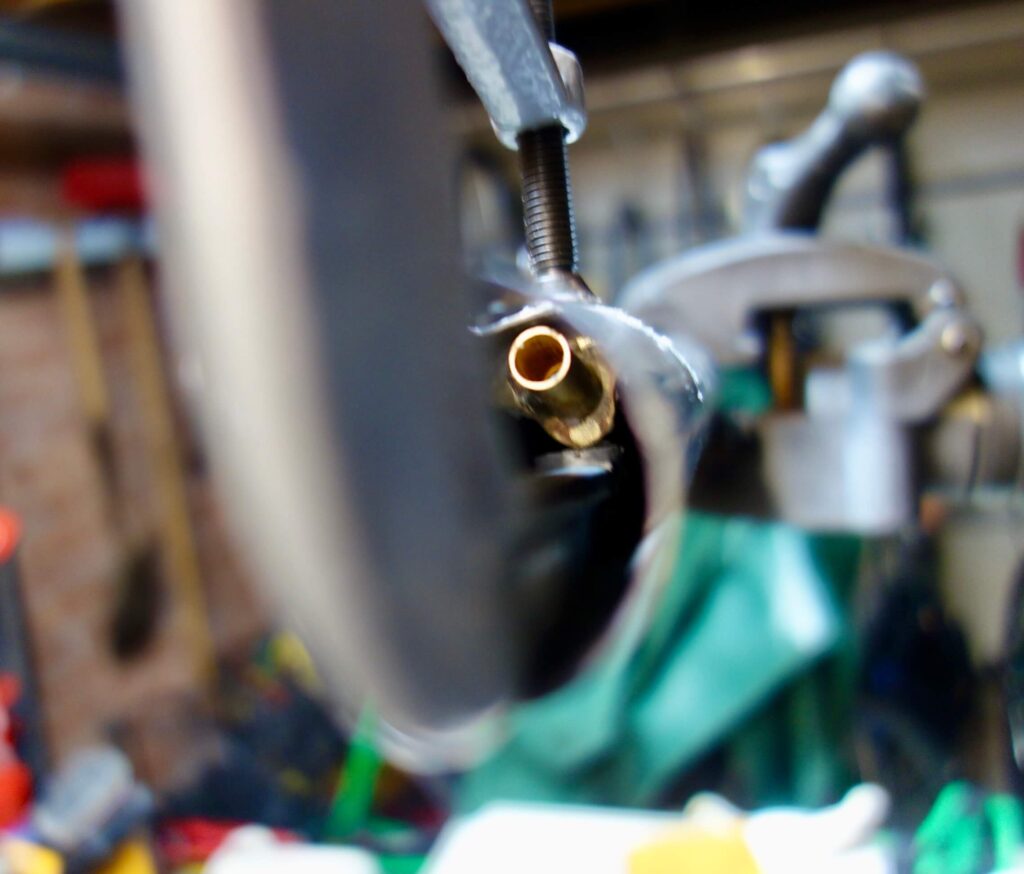
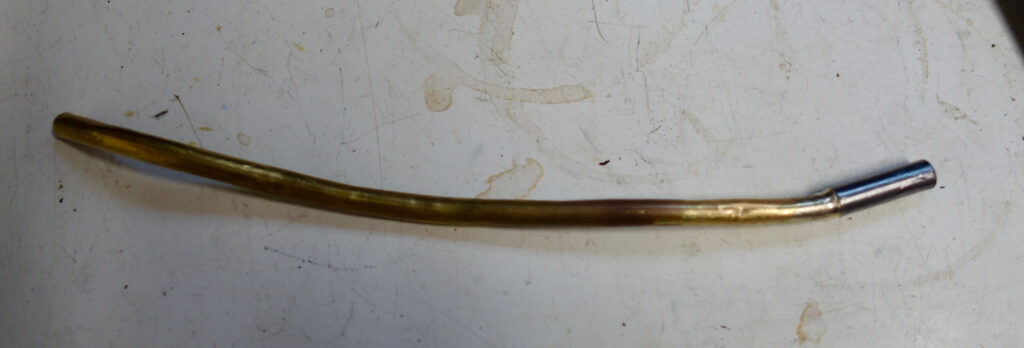
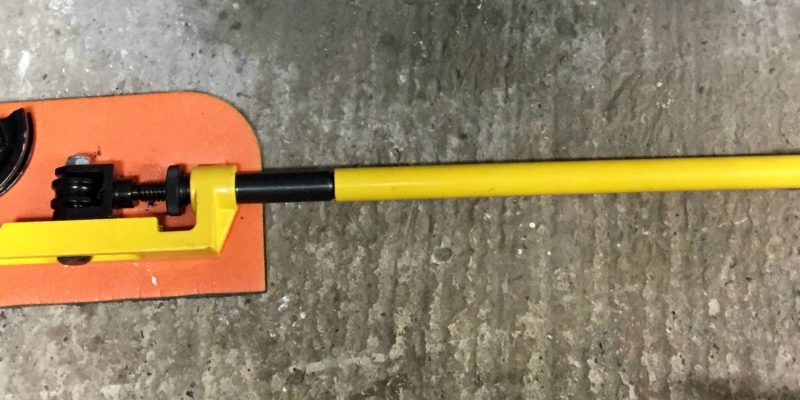
The problem I found with these neat little ports is there is no obvious way of feeding the cables / hydraulic tubes through internal tube guides. I therefore made a brass hanger. I used a slightly wider brass tube at the top (8mm instead of the usual 7mm) to give a wider target for the hydraulic tube as it is not directly connected to the cable port itself. I use a small tube bender to gently shape the internal brass tubes, with a brake cable inside as a mandrel.
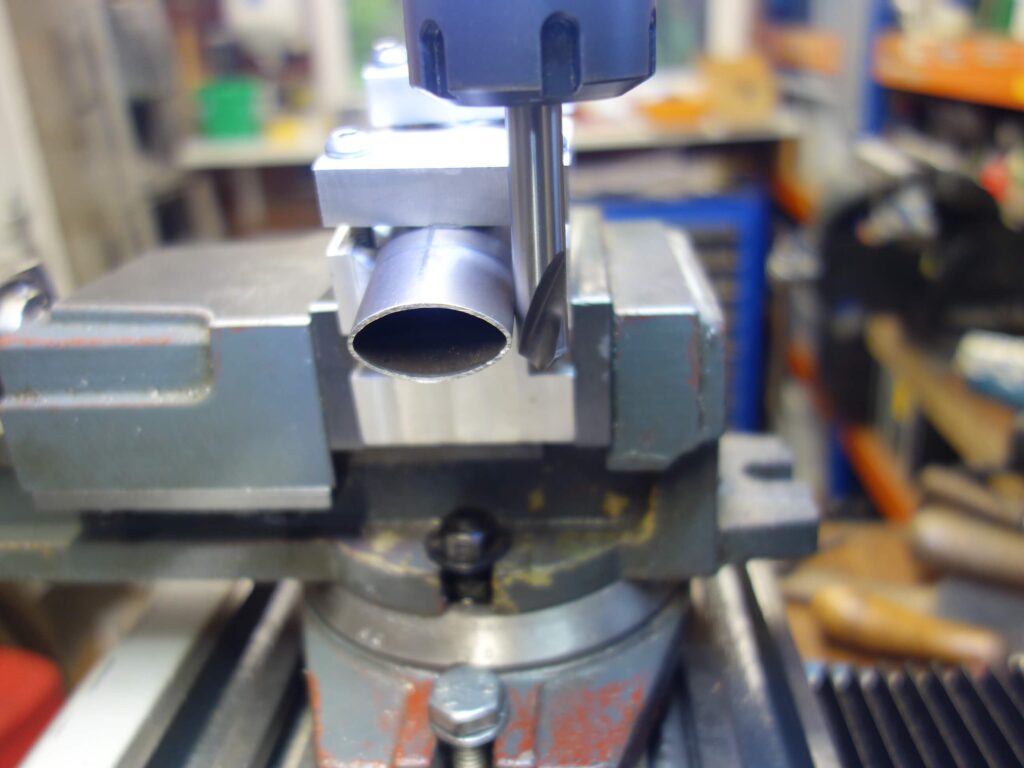
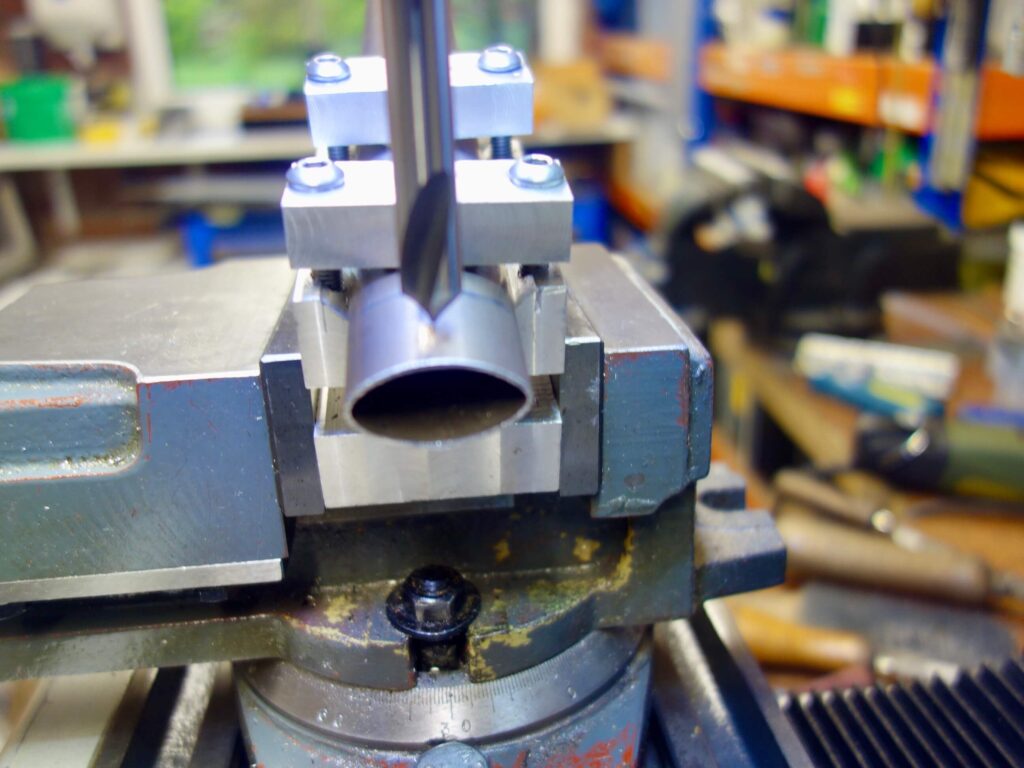
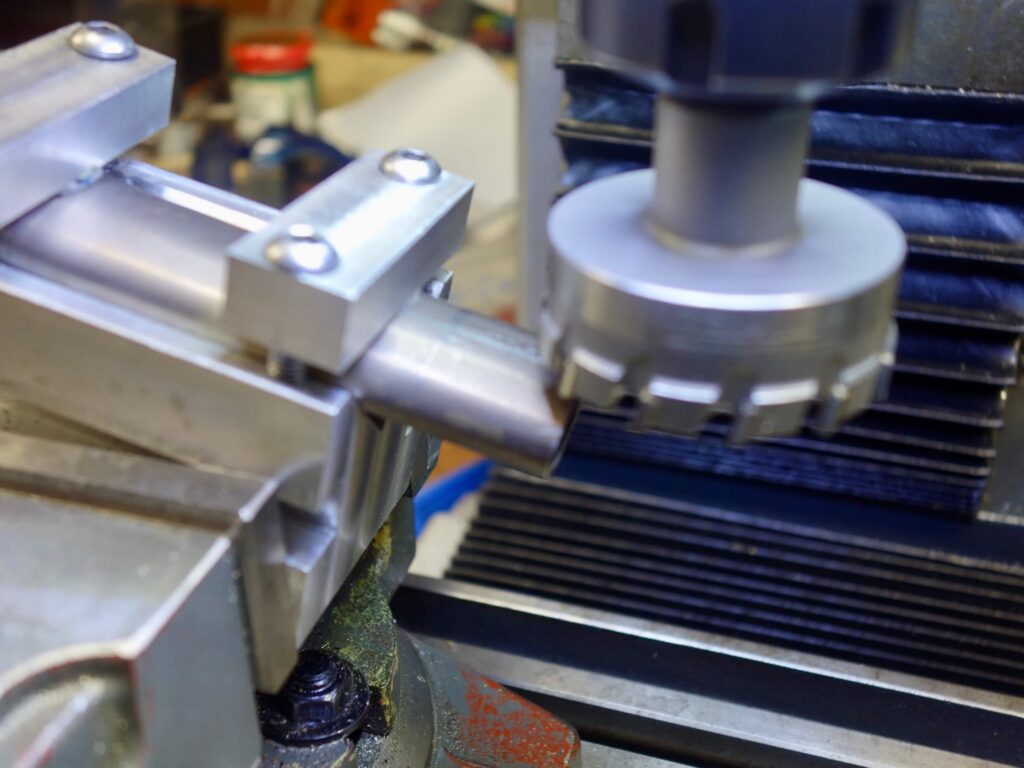
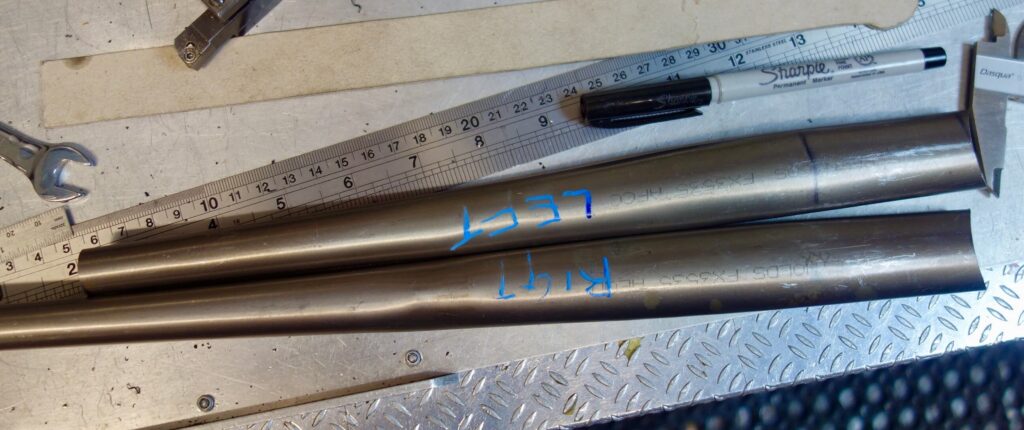
Chain stays prepared. Internal and external diameter of the tips needs to be measured after cutting so dimensions needed for dropout connectors is known
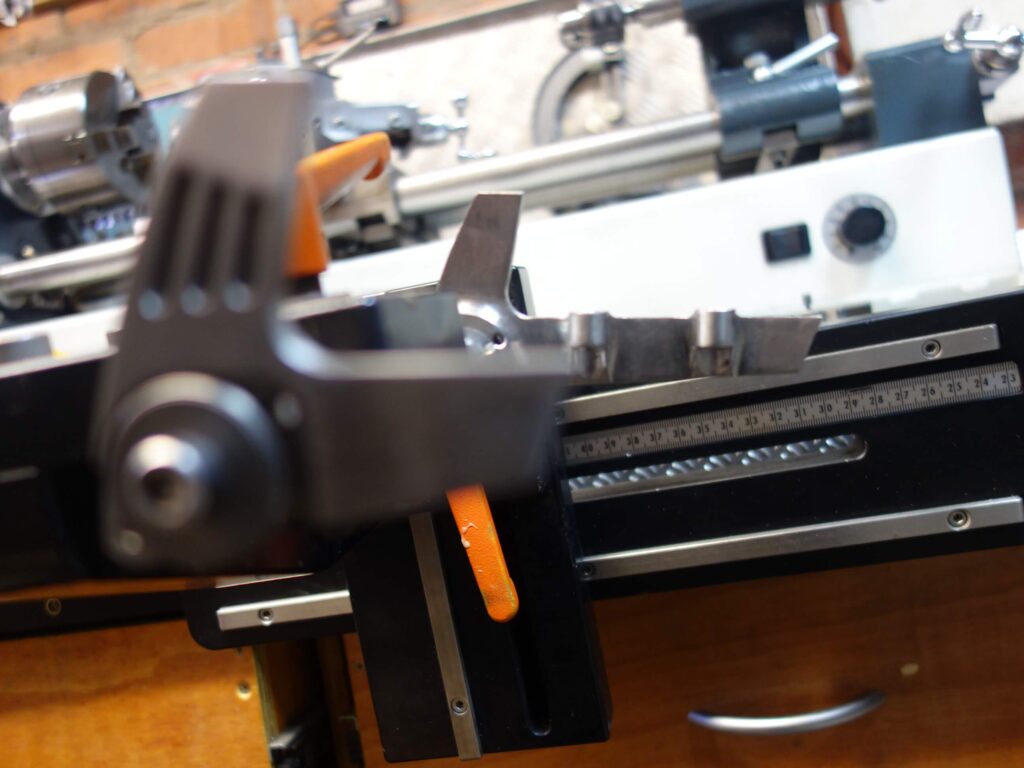

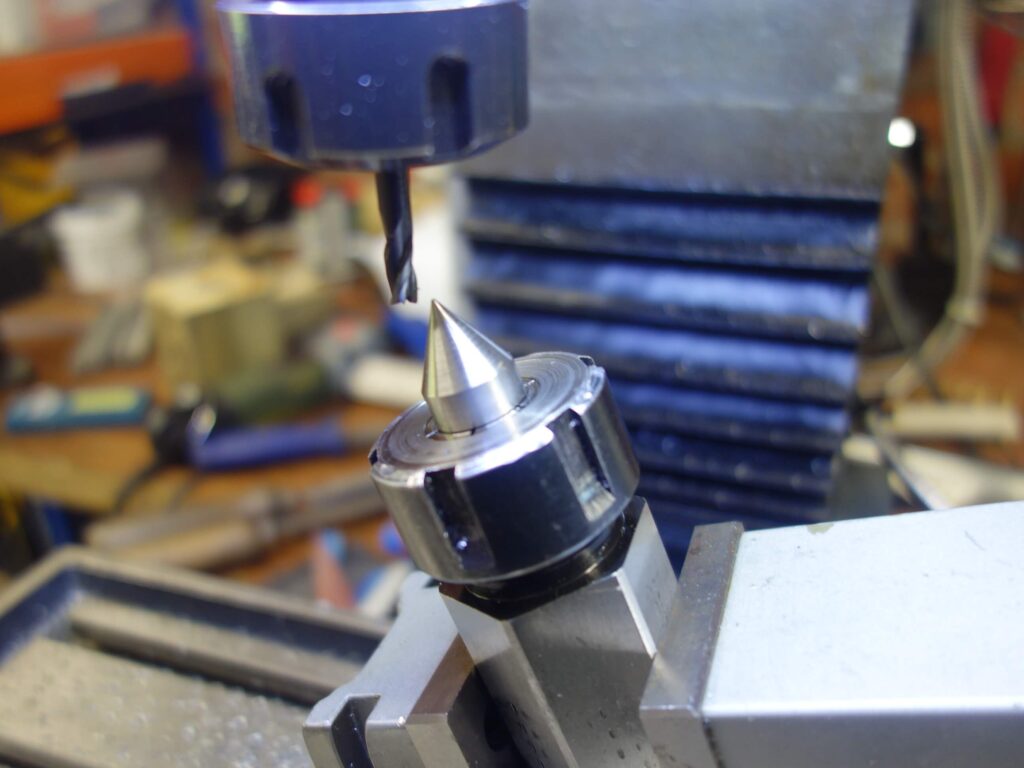
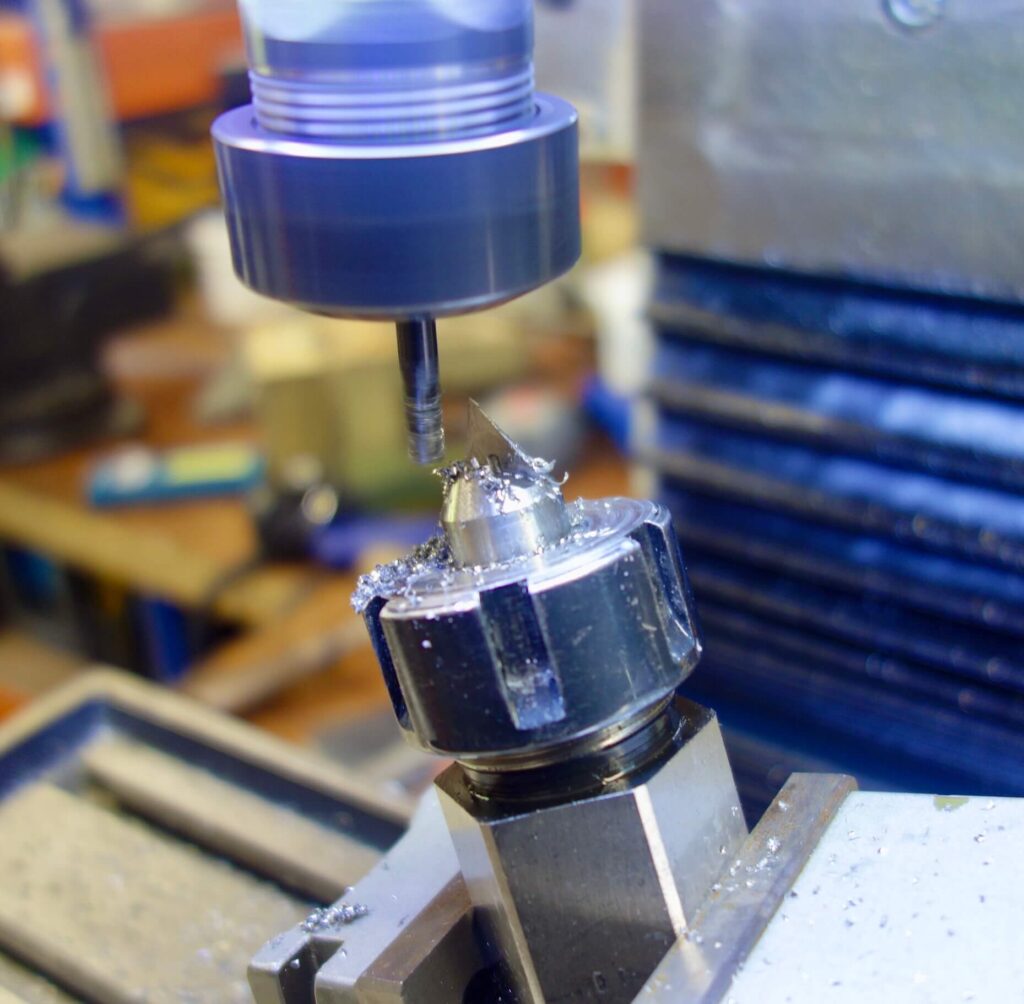
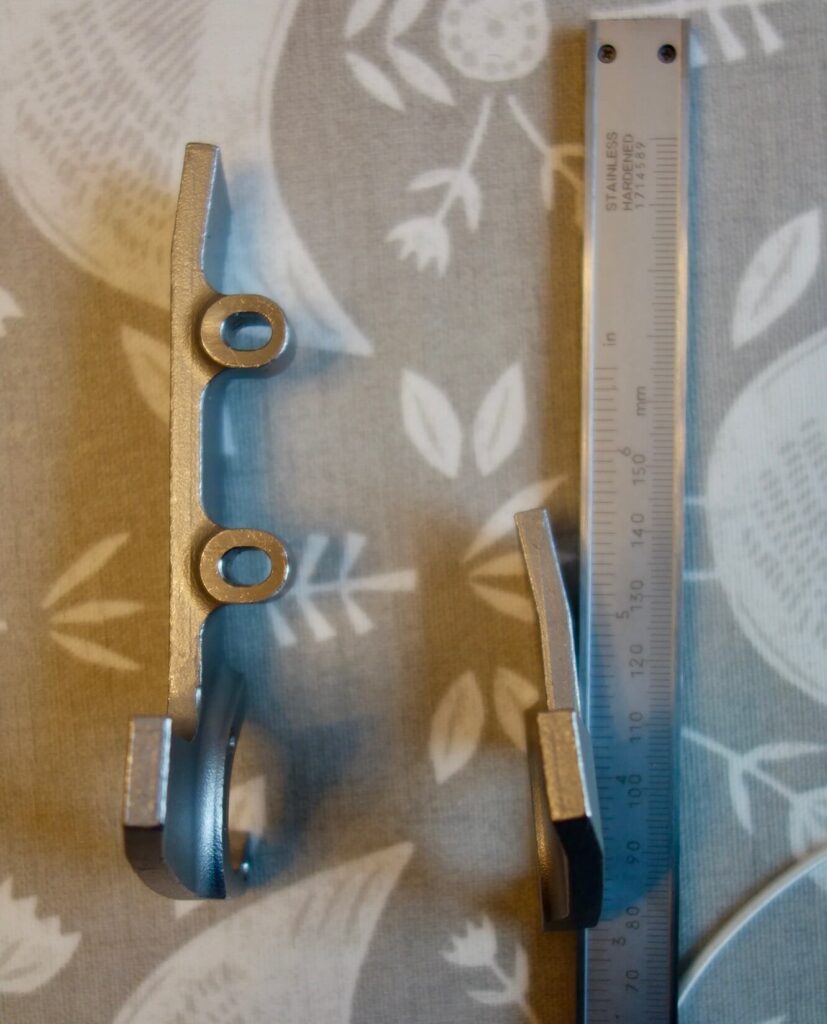
I have, as in the past, been forced to make custom connectors to attach the dropouts to the chain stays. The same process was used for the seat stays.
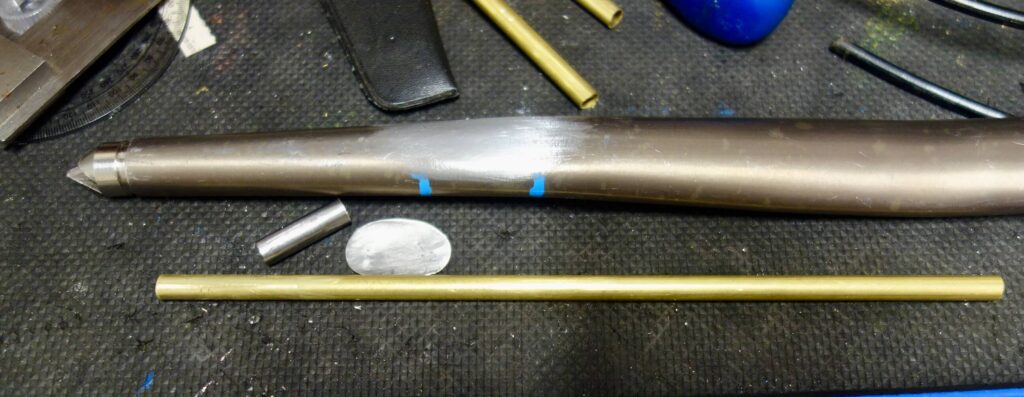
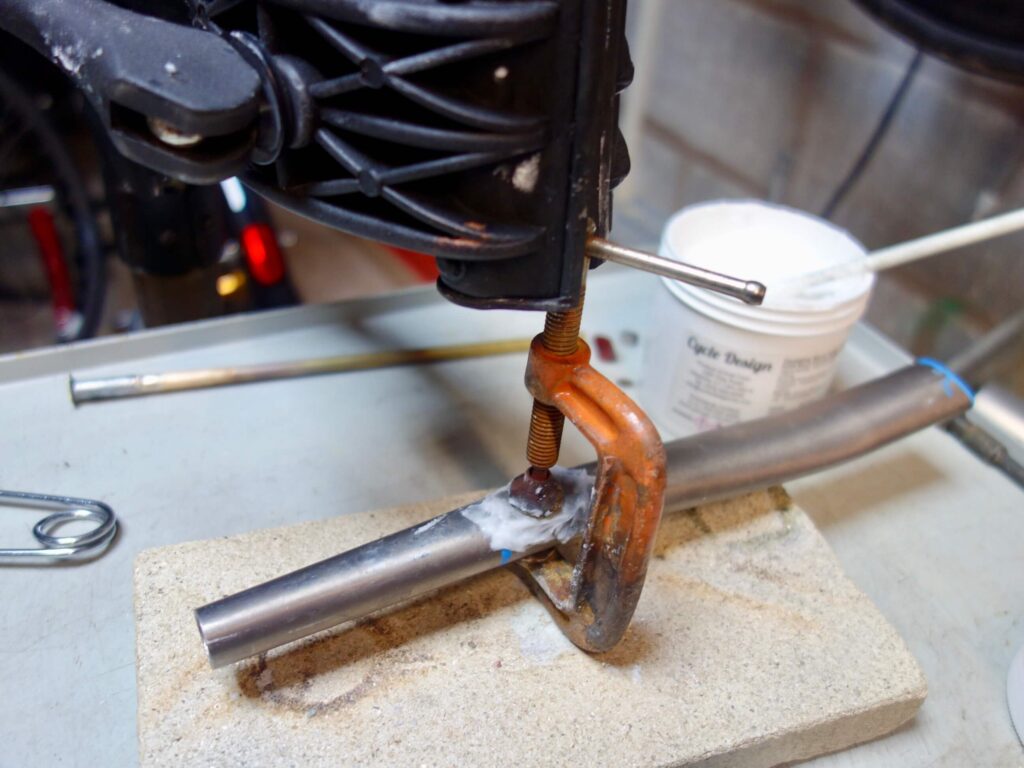
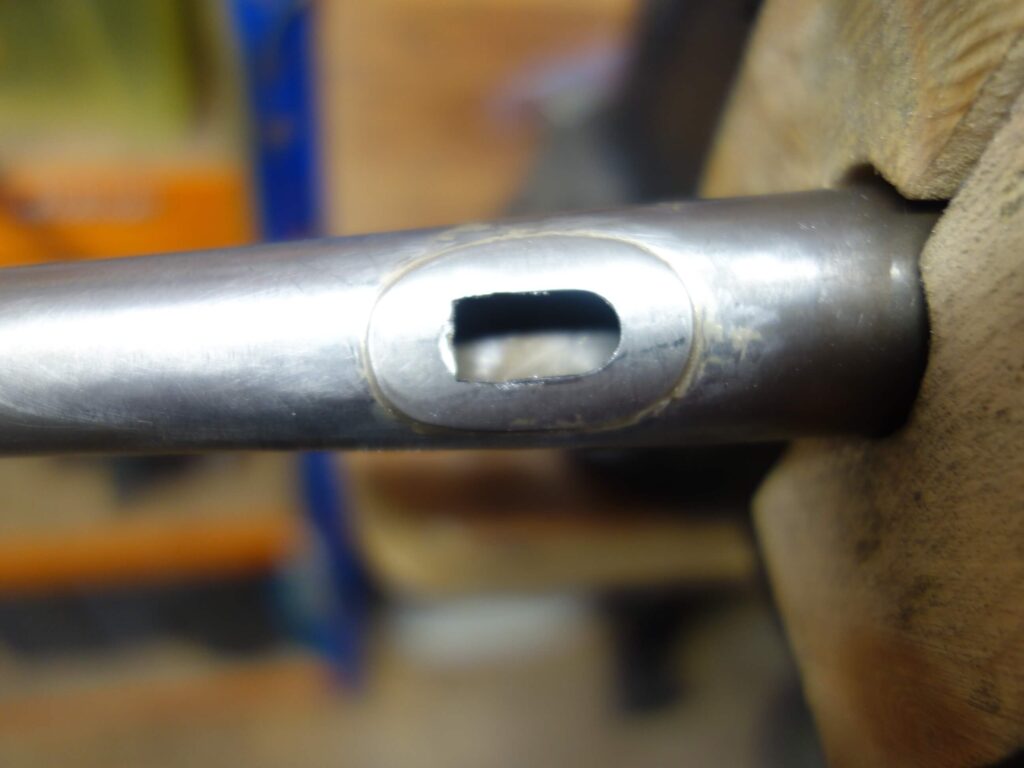
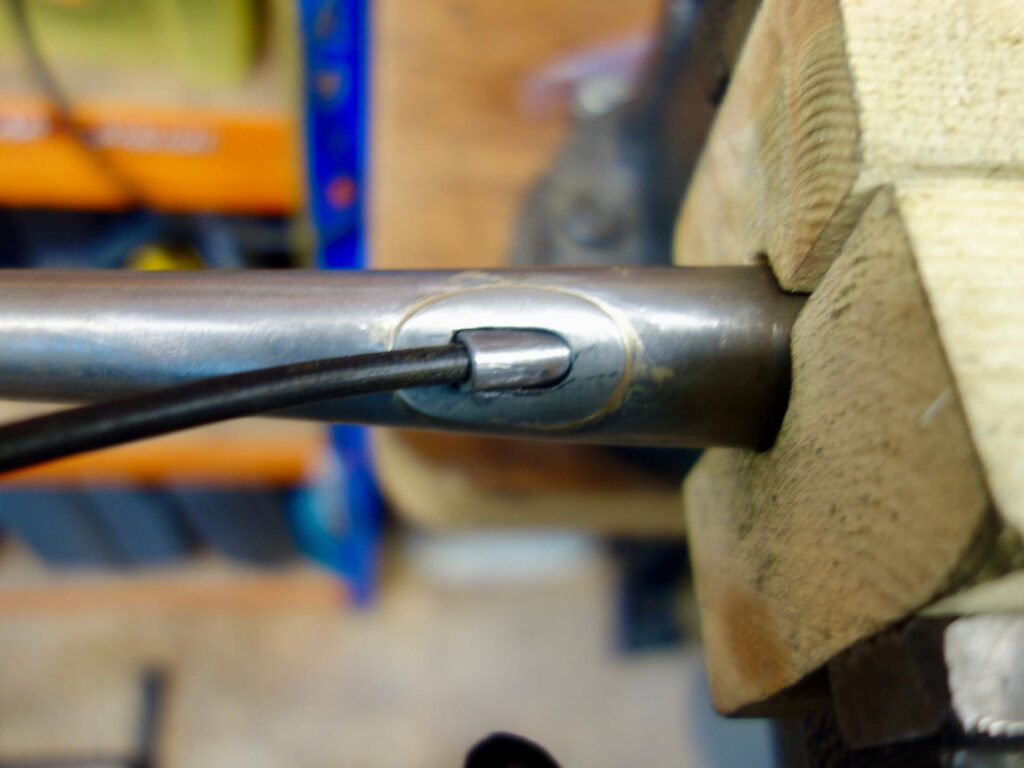
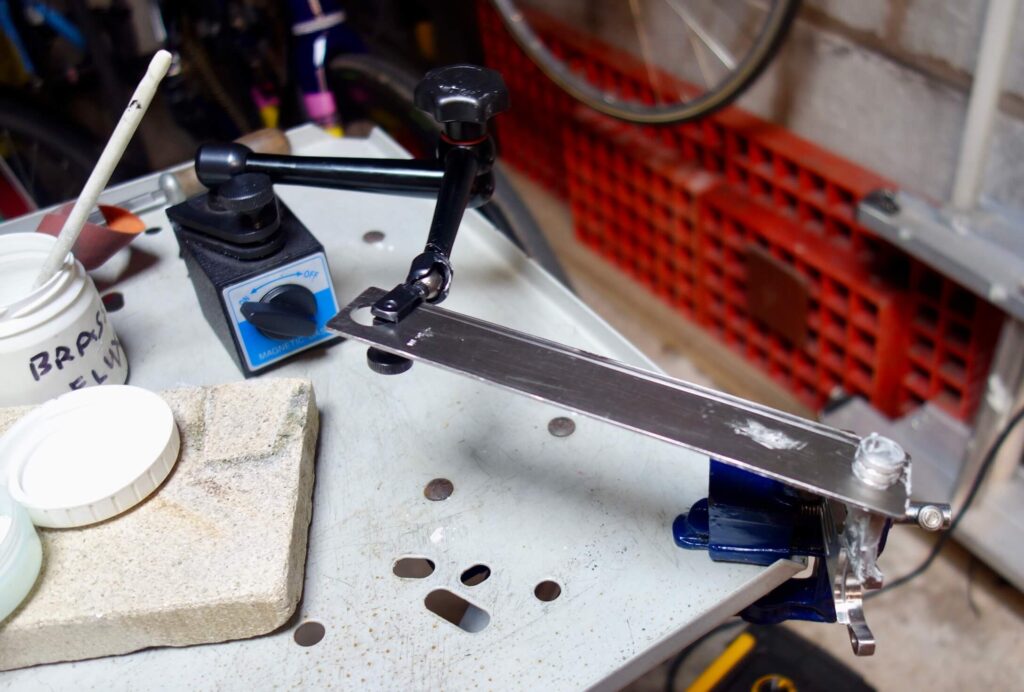
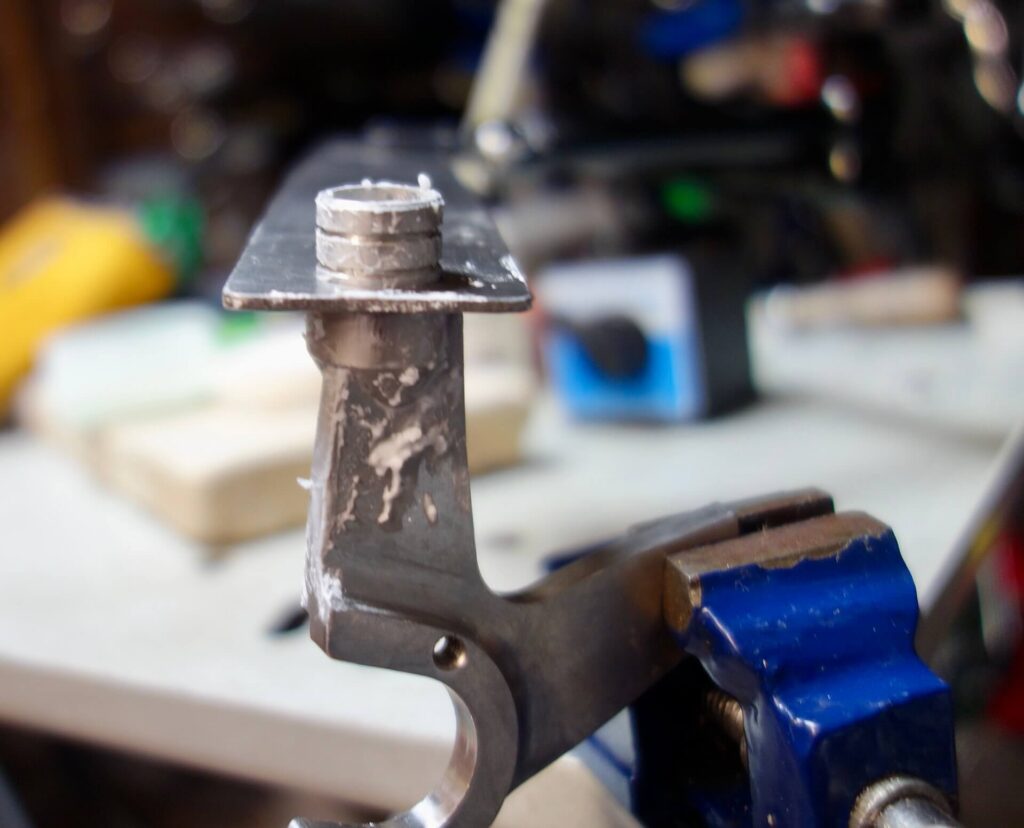
I then silver brazed the stainless steel chain stay connectors to the stainless steel dropouts. This makes the final assembly of the chain stays much easier. more improvisation required to hold them in the correct position, bearing in mind the tips of the dropouts are at an angle.
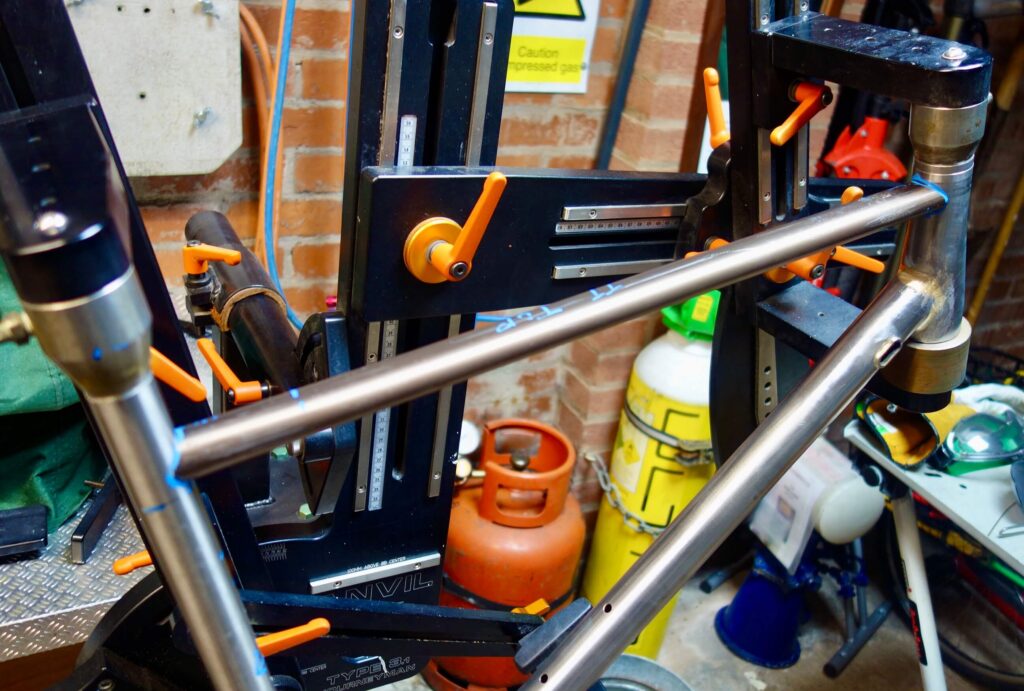
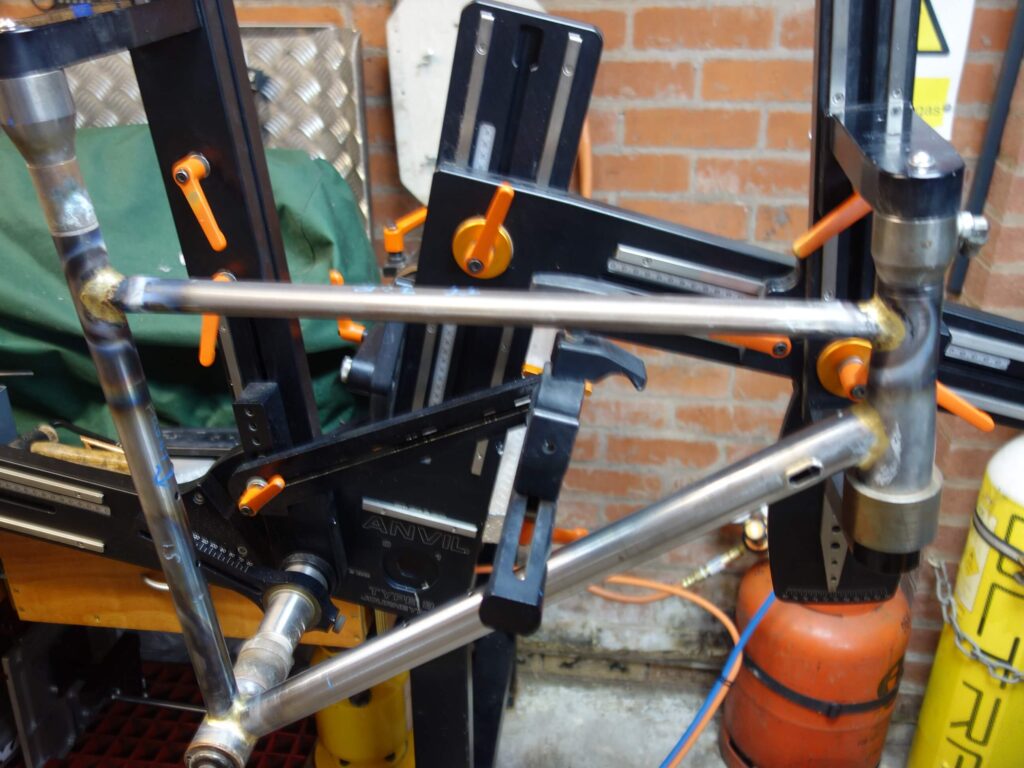
The Final Assembly
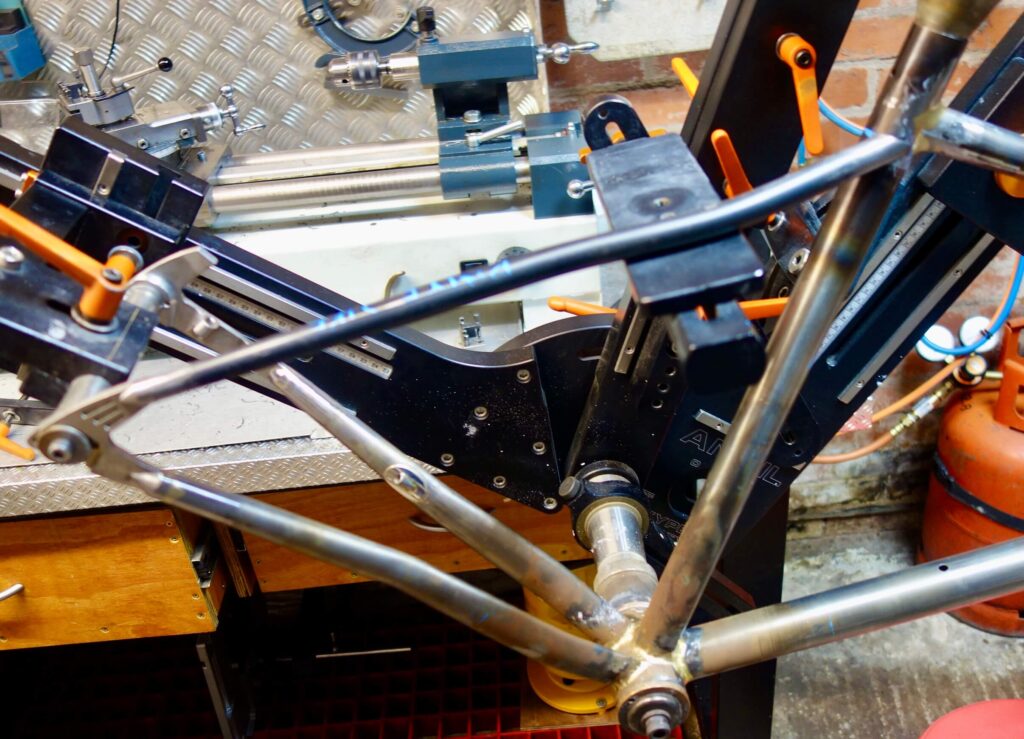
Rear Triangle Assembly
Bits and Bobs

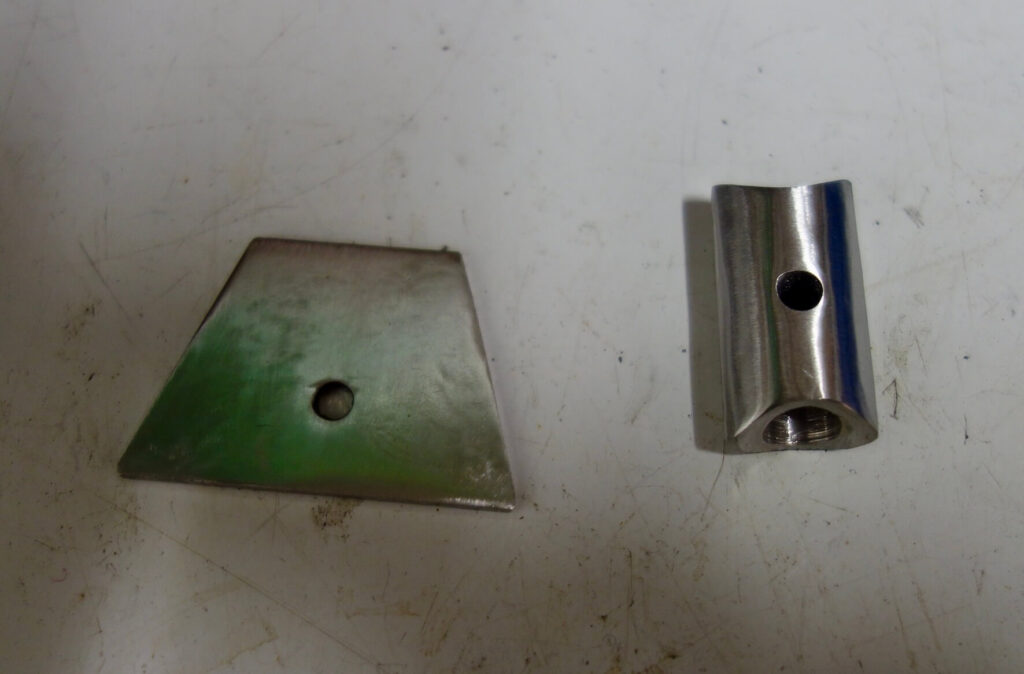


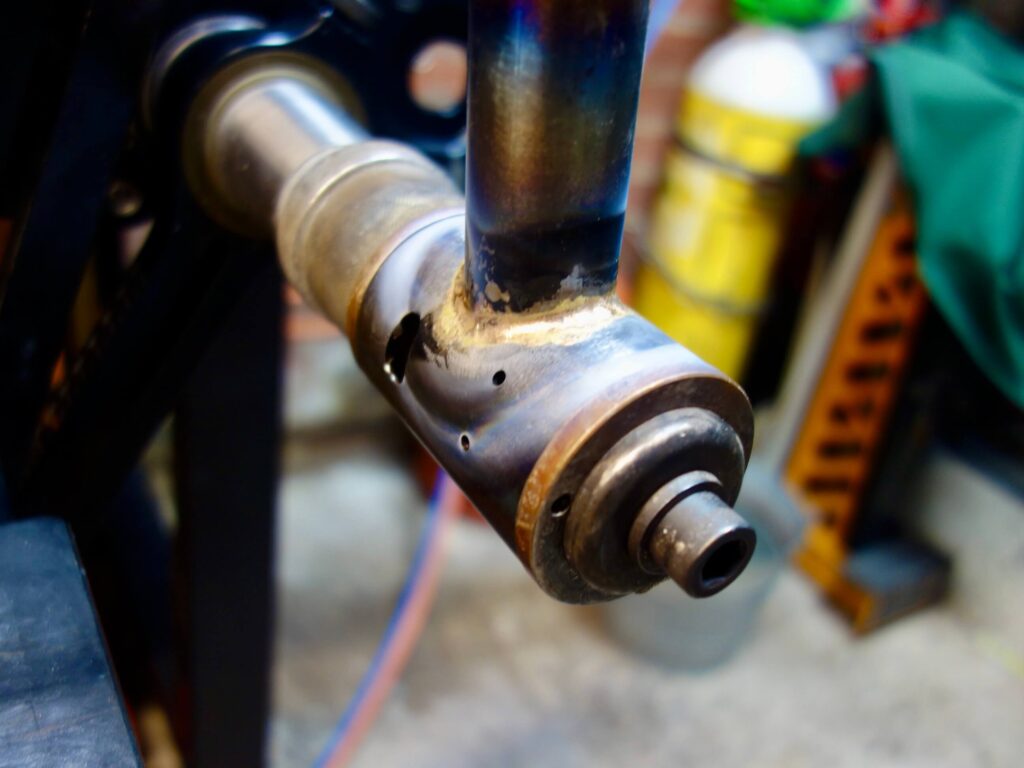
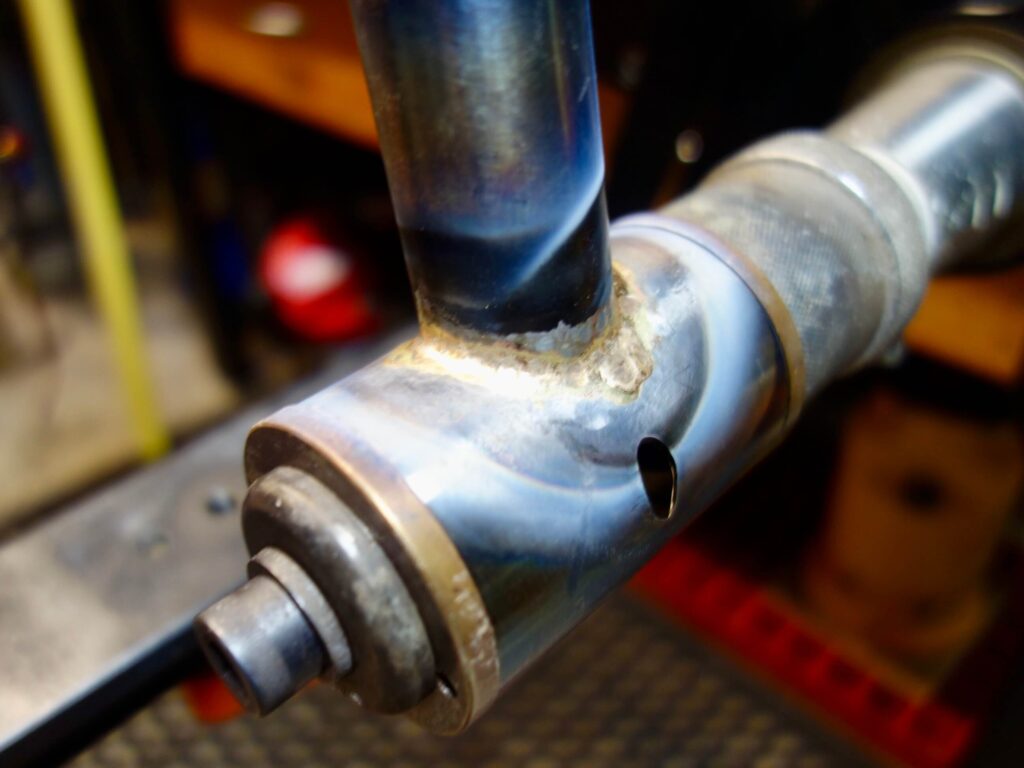
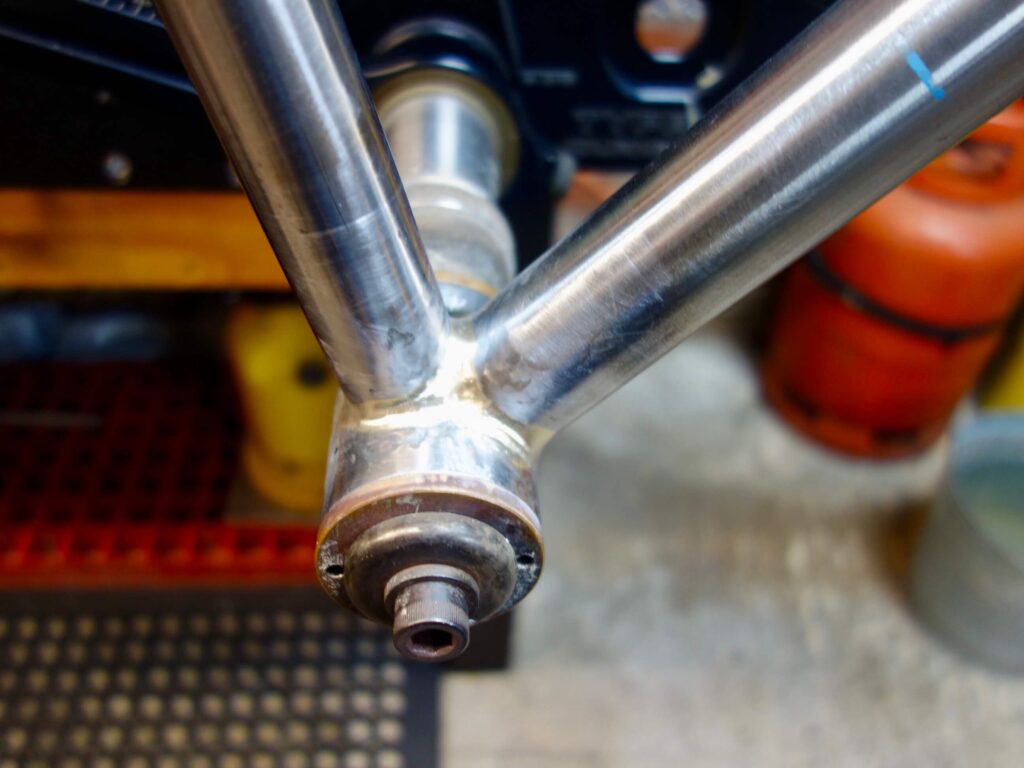
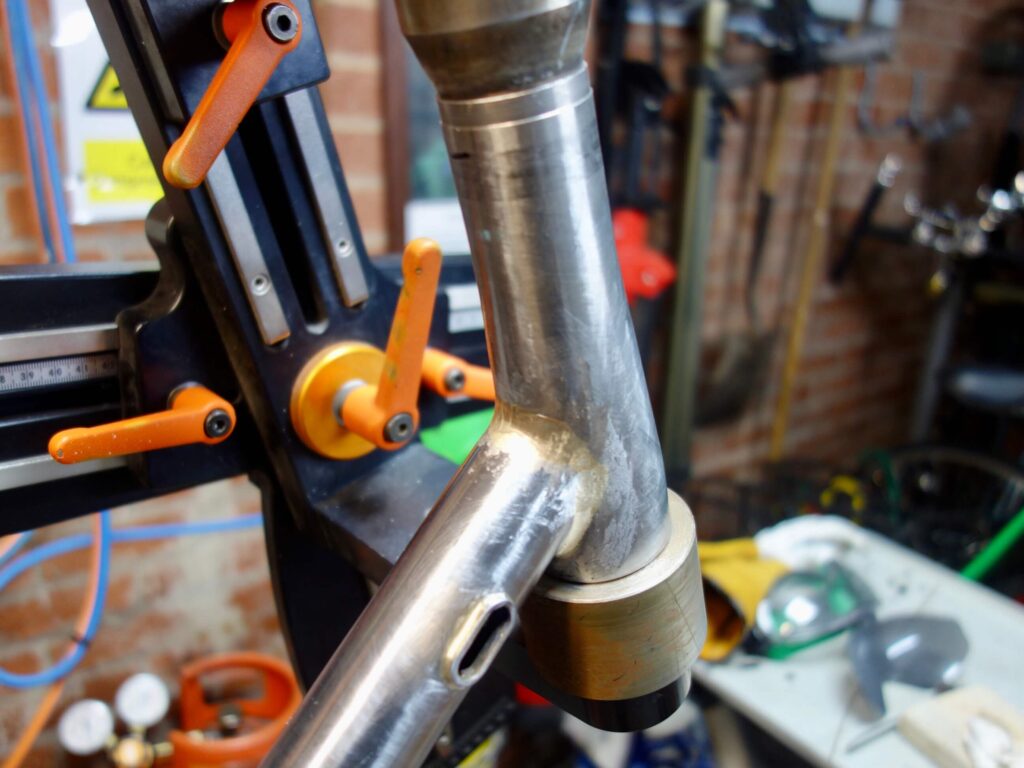
I also added mudguard eyes to the rear dropouts and silver brazed in the internal tubes inside the bottom bracket (not shown).
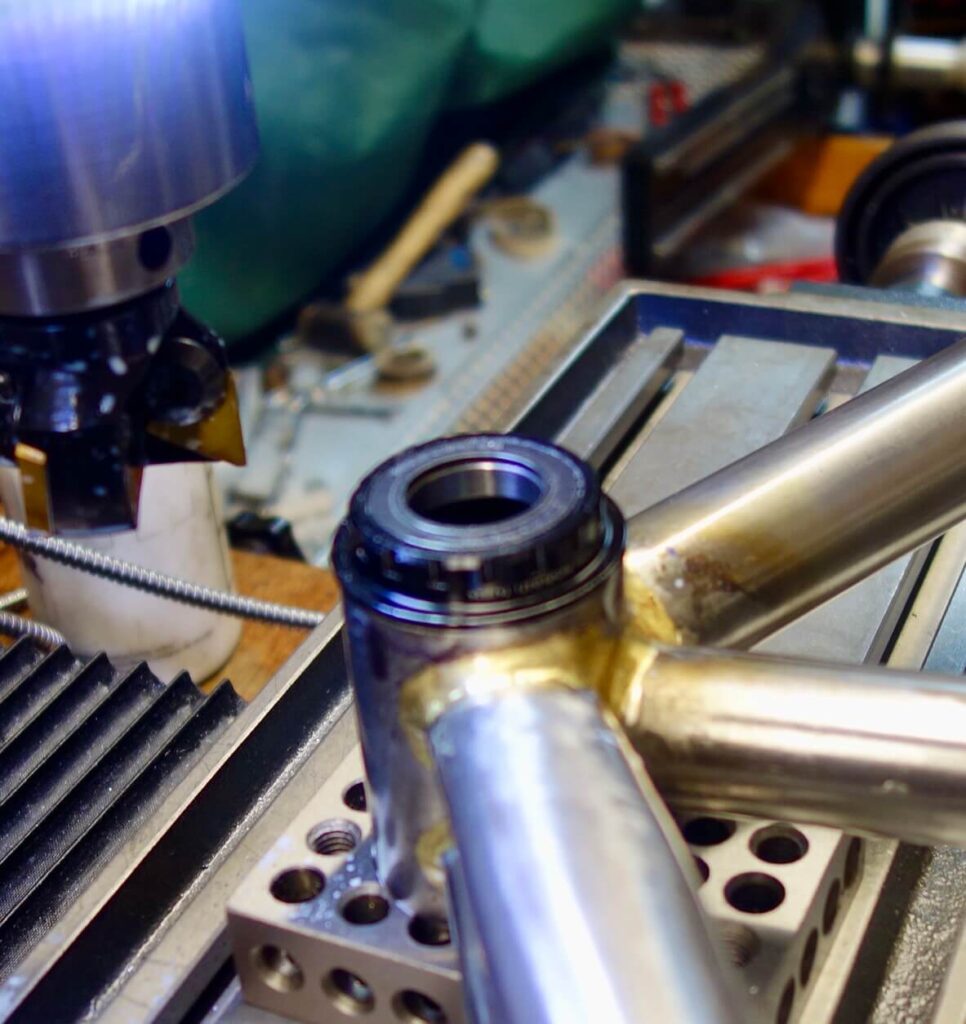
Facing a bottom bracket in a milling machine
Finishing off as always includes reaming the seat tube, Reaming and facing the head tube and chasing and facing the bottom bracket; together with re-tapping all the M5 threads. Not to mention mirror polishing the rear dropouts and bridges.
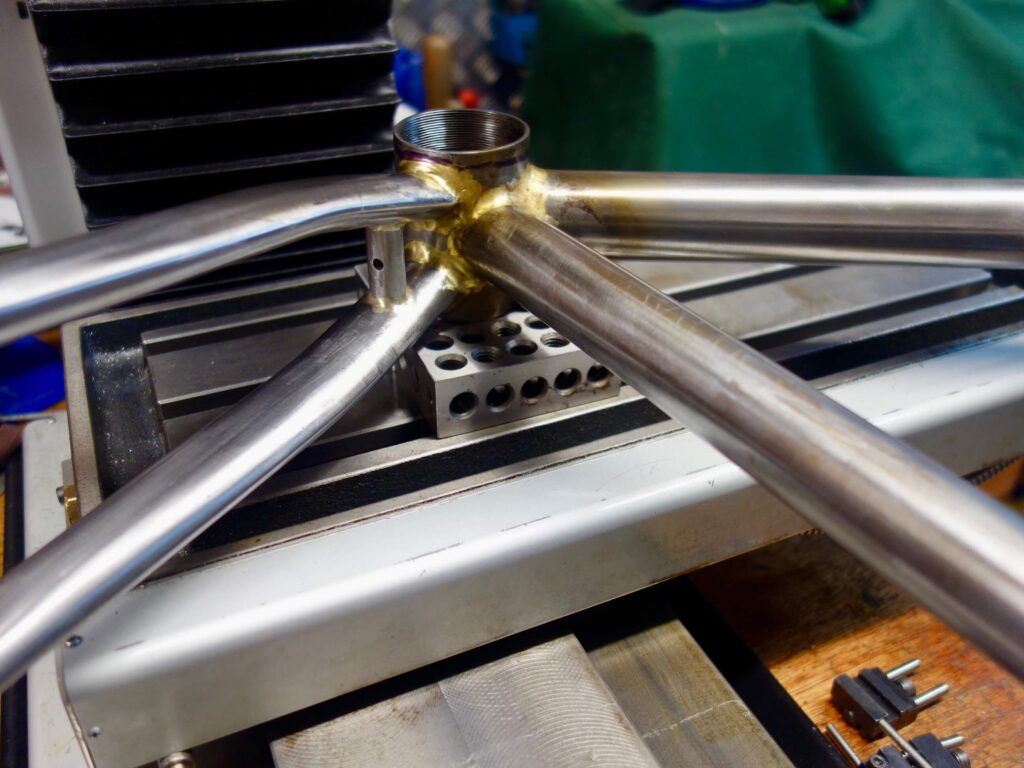
Although I still do not have a facing cutter for a T47 bottom bracket I have always managed to avoid needing one. On this occasion one of the bottom bracket faces had become distorted, but as the other side was still flat, I managed to clamp it to the mill table by inserting the bottom bracket tap as shown below. It worked really well!



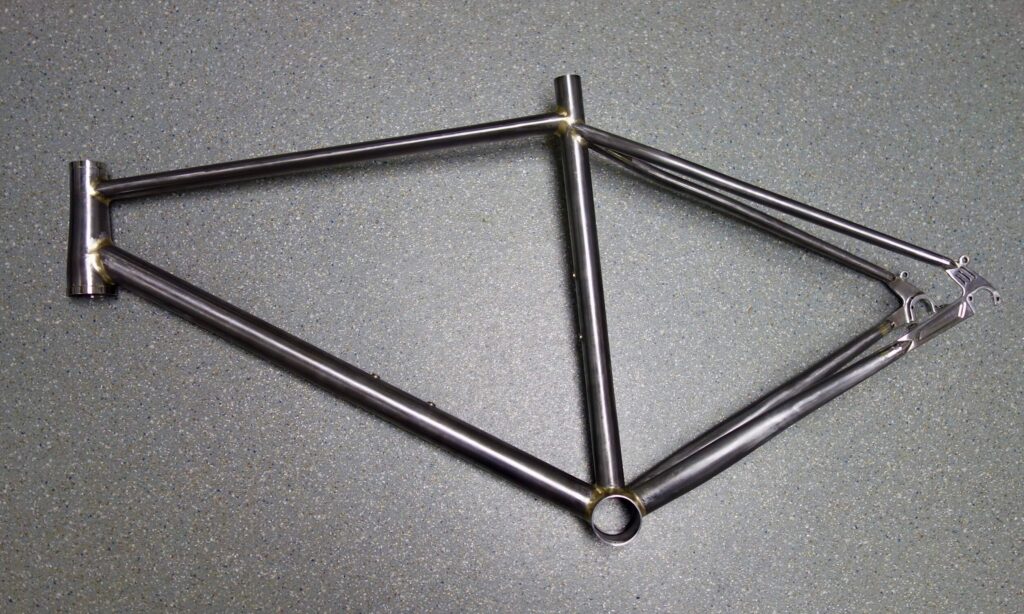
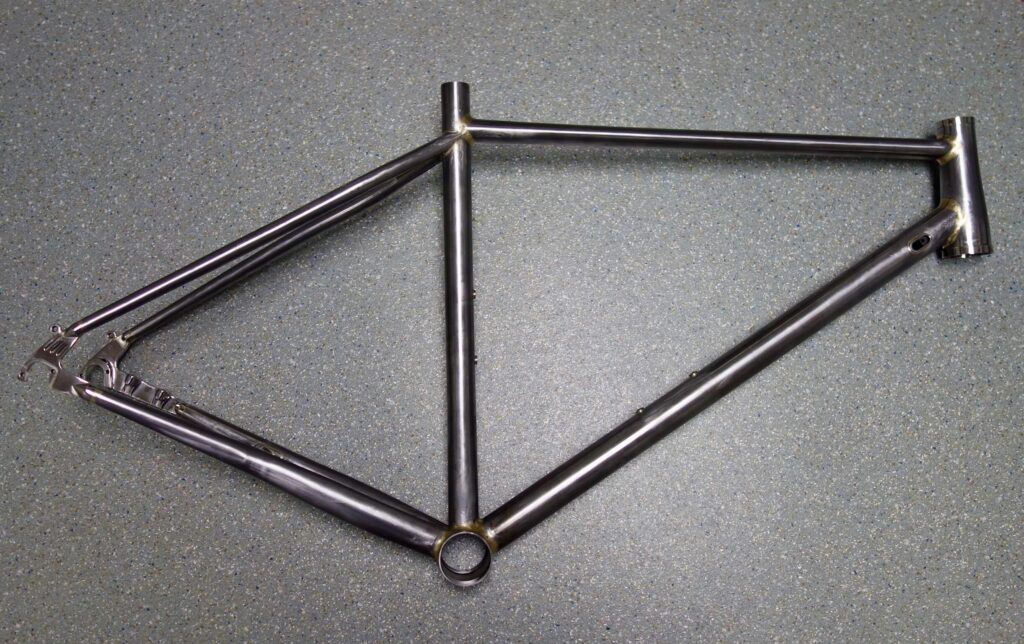
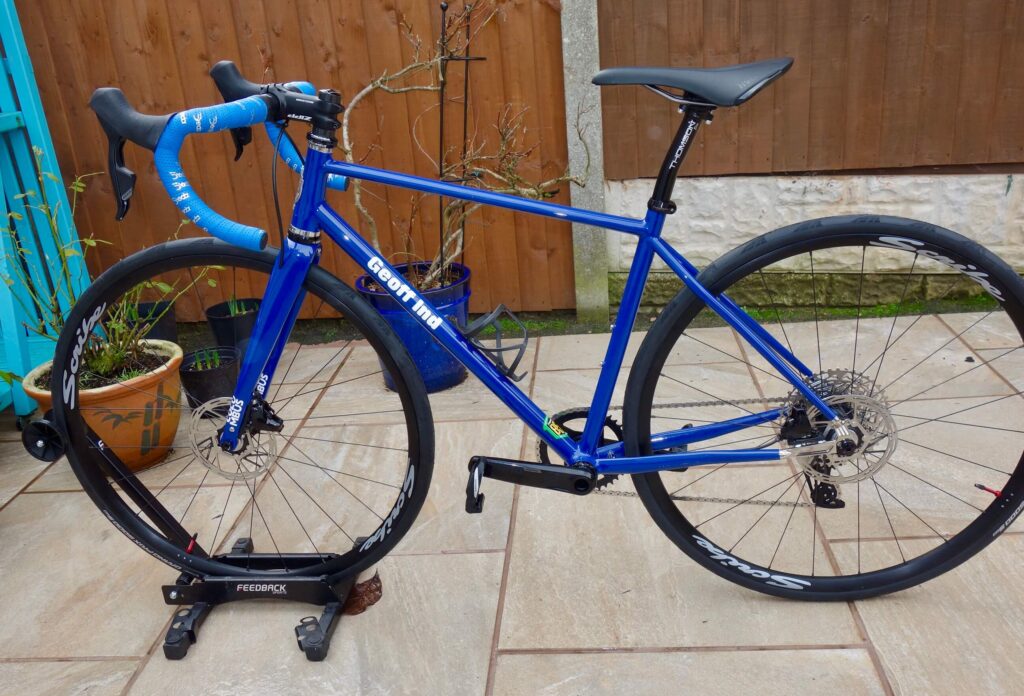
The frame, before and after painting

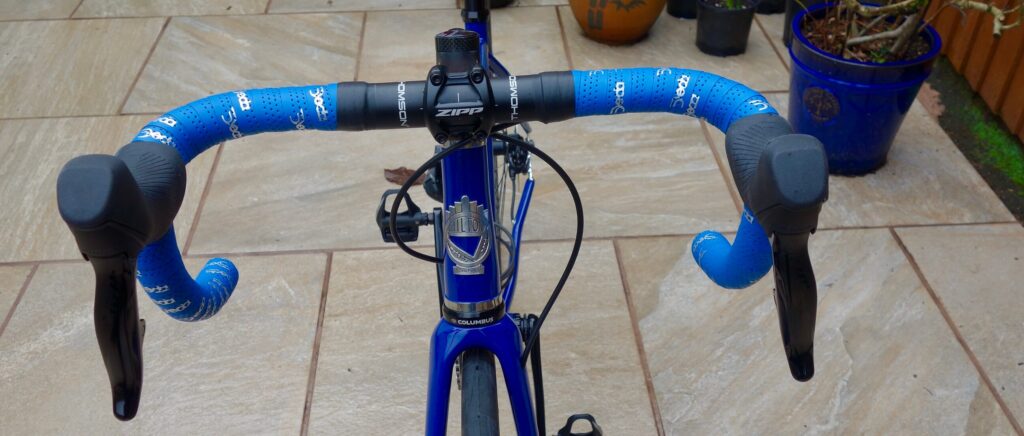
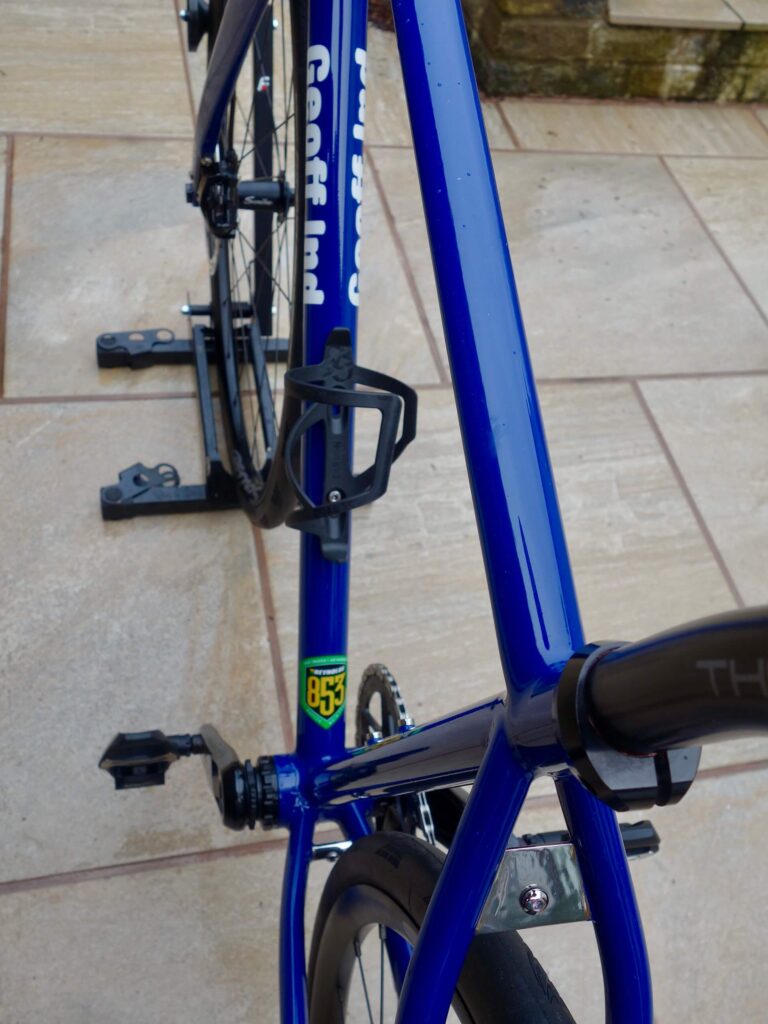
Complete Bike
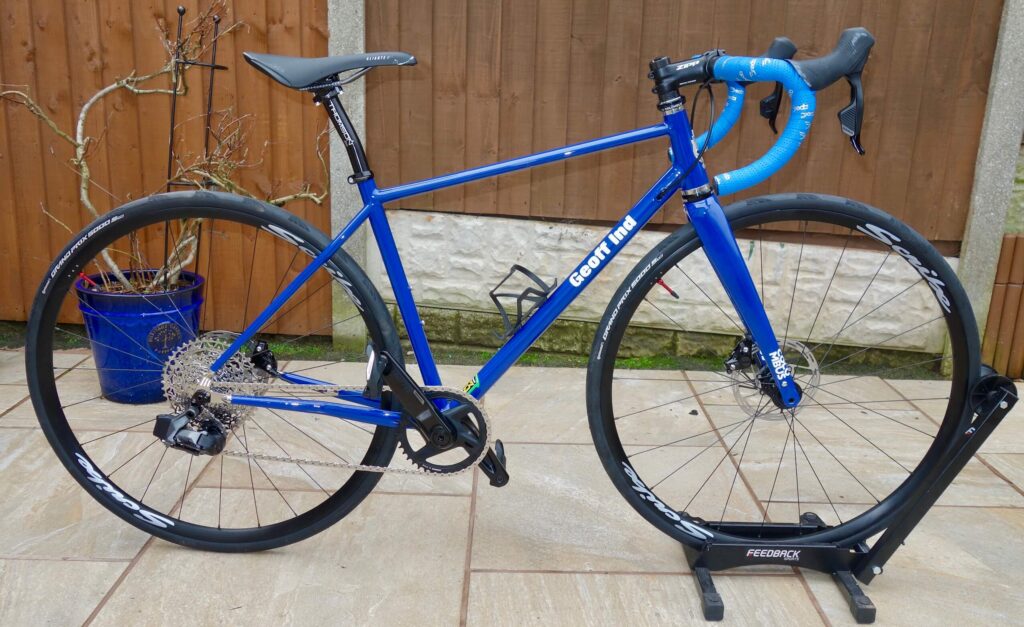
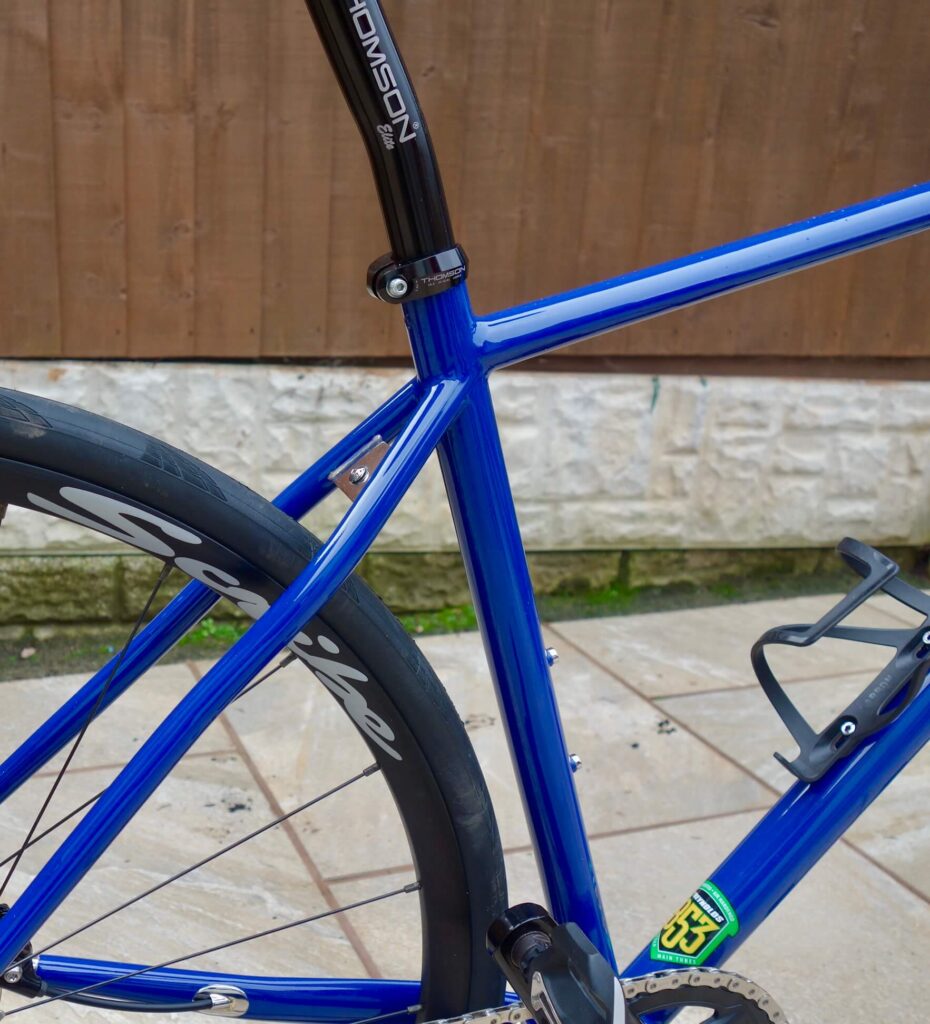
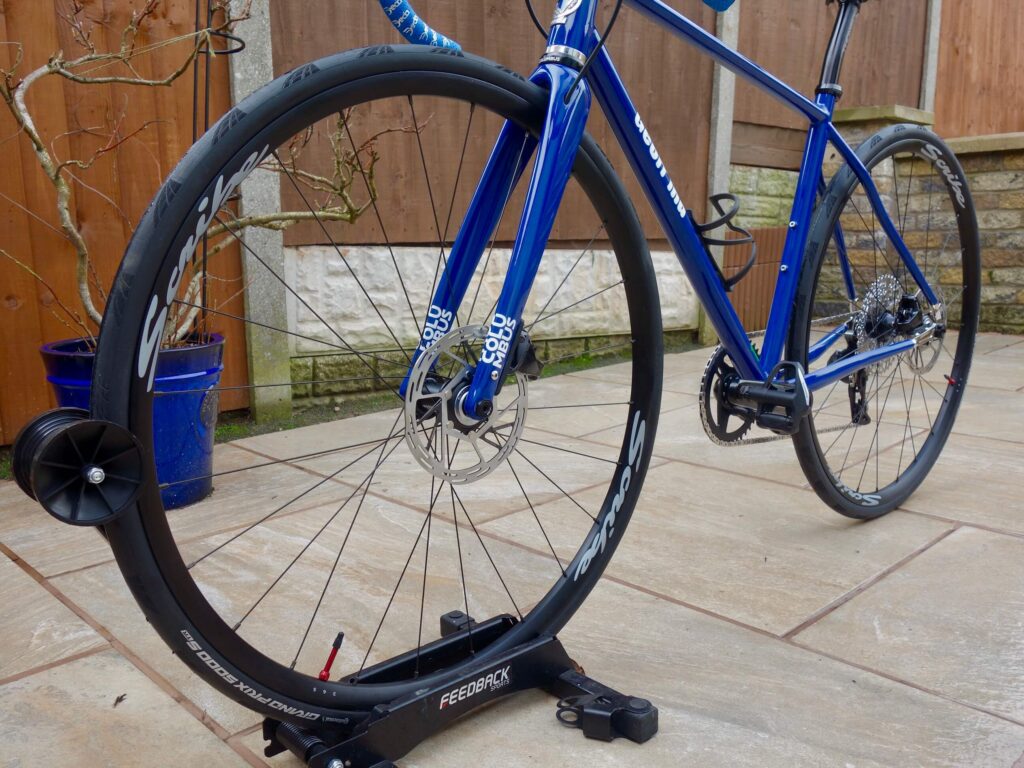
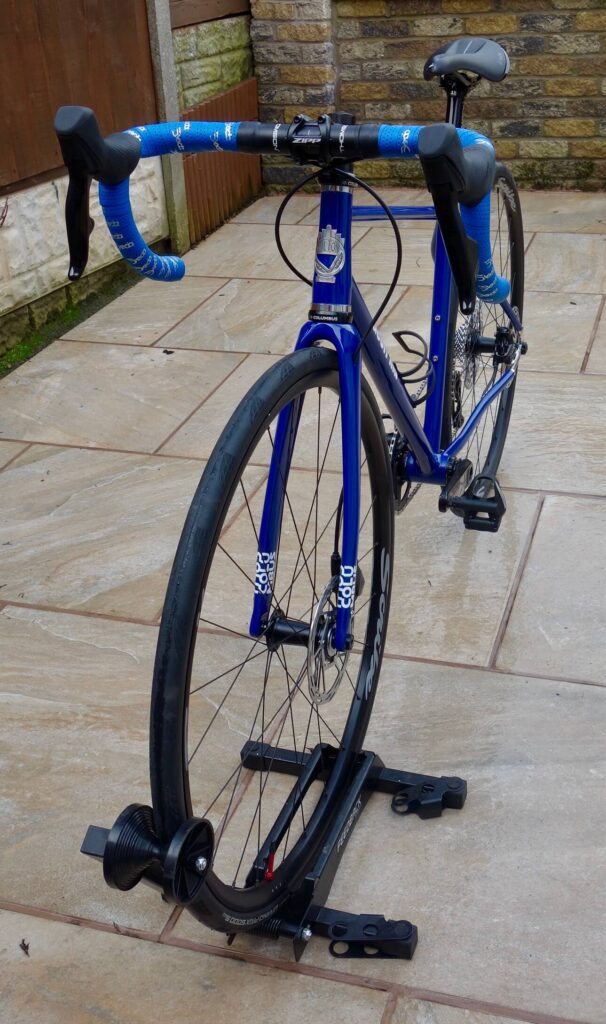
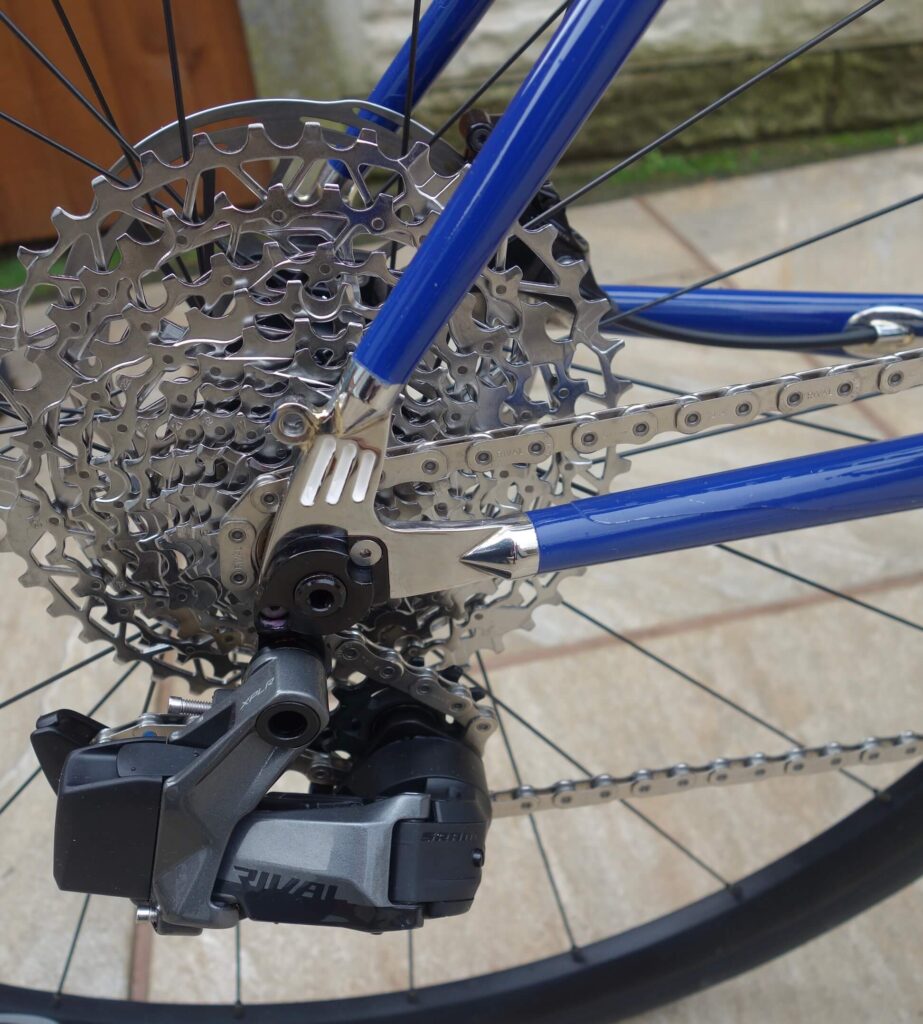
SNH 28/1/25

3 thoughts on “All Round Road Bike (for SRAM AXS)”
Intricate detail, I feel many questions coming on.
Lovely design and superb skills in the workshop.
Can I ask if you run a standard DUB BB axle or do the curved chainstays require a DUB Wide axle?
Thanks
Hello Gav,
For me rear chainstay clearance is more trial and error rather than skill! Even with Bikecad I can never get the unequal length dropouts to model in the software. I have always used the wide bottom bracket (DUB + T47) to be safe for similar builds and this gave me about 5mm chainring clearance in the end. It is possible to use a standard width bottom bracket with curved stays, as I have in the past,but it all depends on the size of the tyres you wish to use. Building for a narrower road tyre you would be fine.In fact on the build in question curved chainstays were not strictly necessary.