

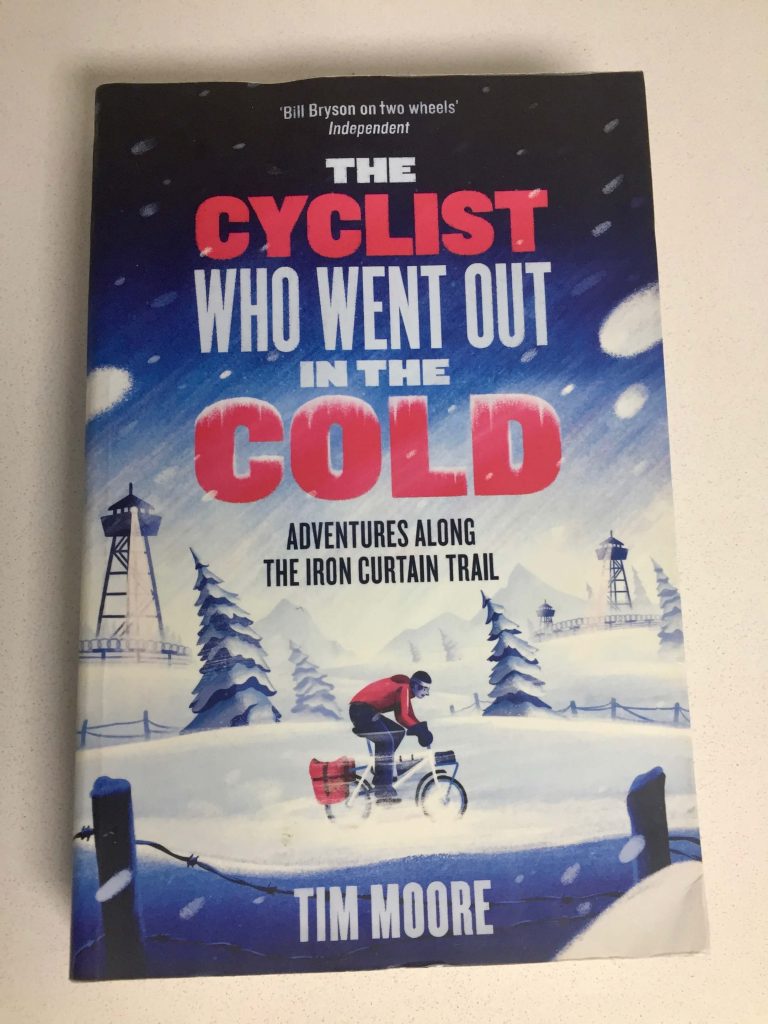
This is a frame alteration I could not have imagined needing to do, until back in 2015 I was contacted by travel author Tim Moore. He asked if it was possible to strengthen the frame of an East German shopping bike to withstand the rigours of a trip of around 10,000 Km. He was concerned the single down tube would be inadequate for the rigours of a trip down the old iron curtain from Finland to Istanbul. I volunteered to make a temporary top tube which I thought would be the best compromise. This was because there was only two weeks to complete the job, including stripping and rebuilding the bike. It also mimicked his original idea of clamping on a length of scaffolding tube. The steel frame was made of an unknown steel which was quite heavy duty and welded. I felt there was insufficient time to risk actually brazing in a top tube in case something unpleasant happened, not to mention a re-paint which had not been on the agenda. Additionally this approach would retain the originality of the frame. The frame was a MIFA, which were mass produced in the old East Germany.
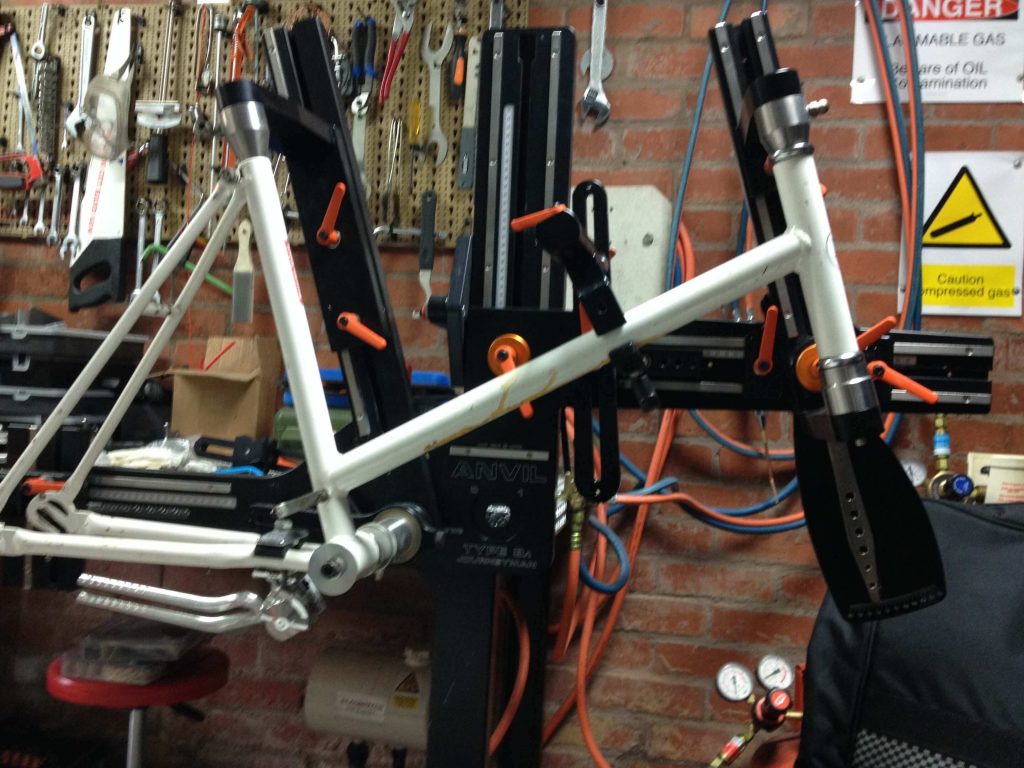
The procedure was relatively straight forward. Set up in the jig in order to ascertain the frame angles as accurate as possible. Then work out where the tube will fit (not much room for manoeuvre here), then mitre the tube ends. I used 25.4 mm Columbus Gara plain tube which was the largest width possible . The tube was cut a little short to accommodate a sleeve at either end. Fortunately the bike head tube had the same outside diameter as the internal diameter of a scrap of XCR Head Tube, and for the seat tube a scrap of Reynolds tube was also a match. I simply added a seat bolt boss either side of each and cut them in half.
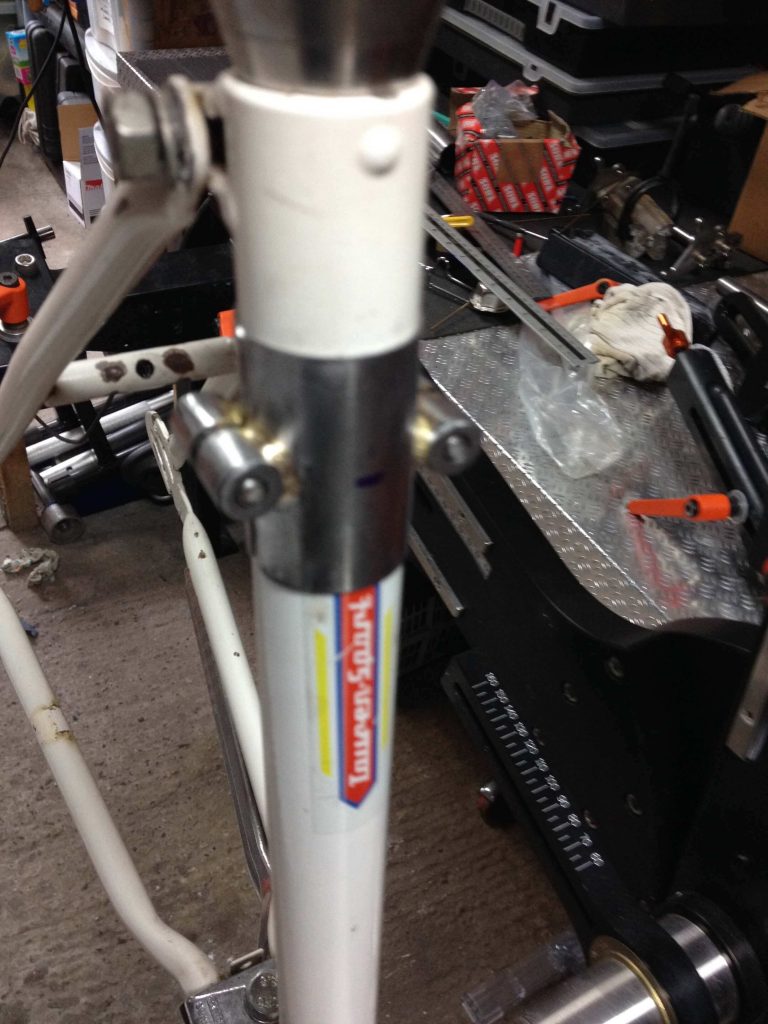
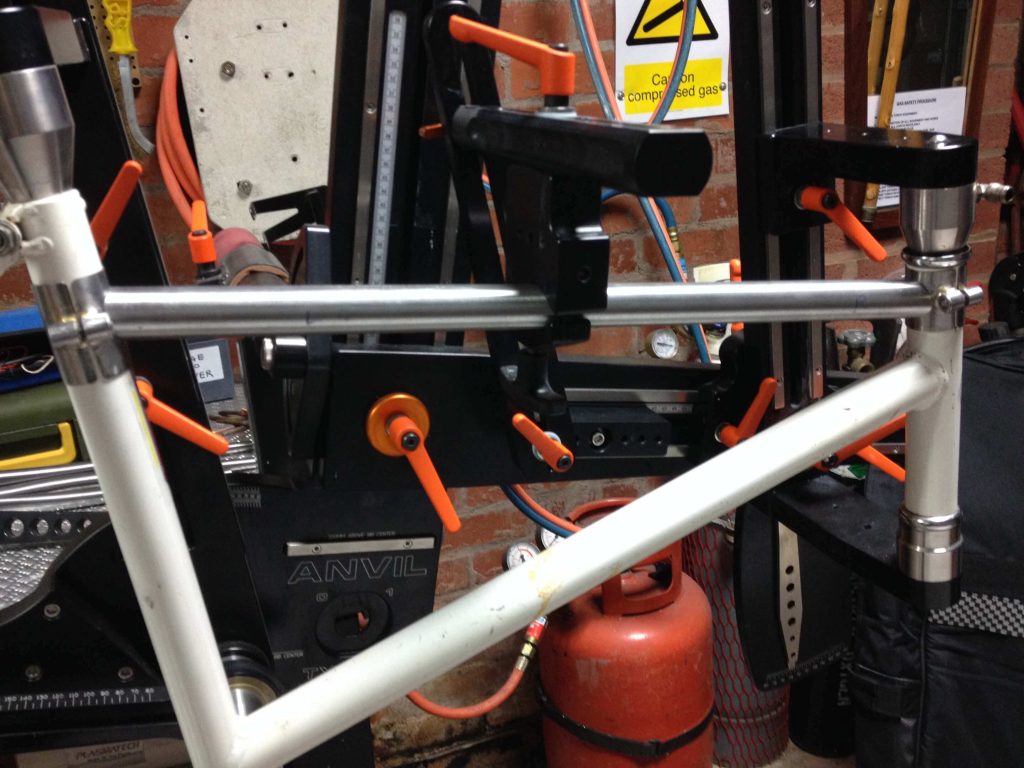
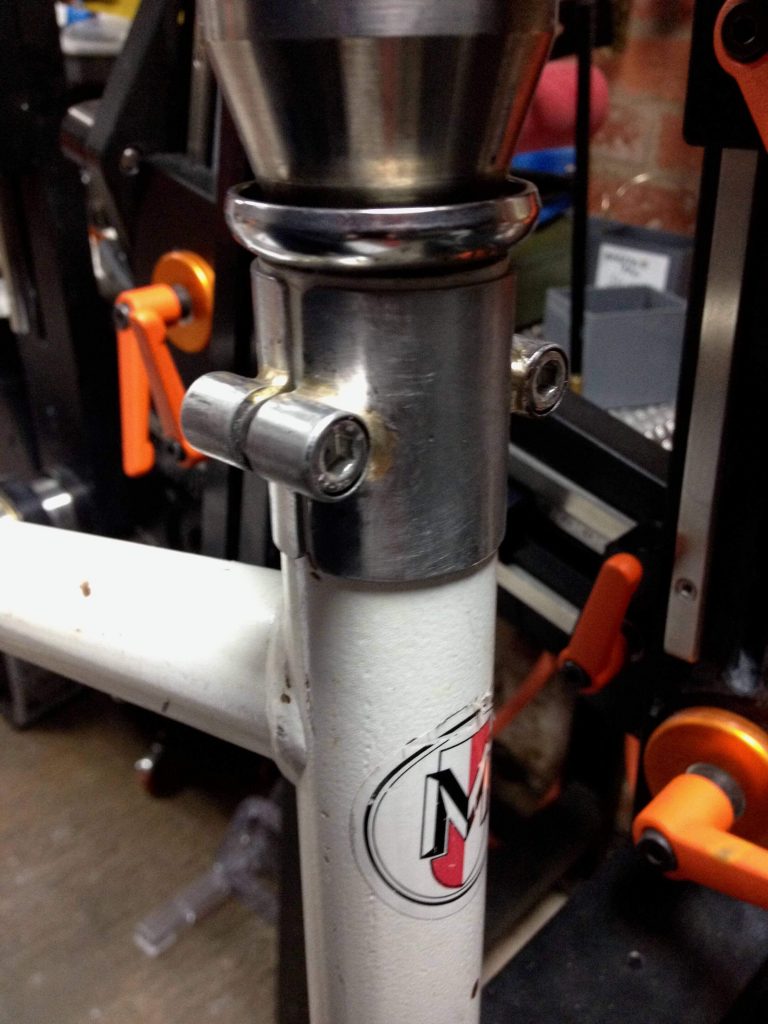
In order not to damage the paintwork, the tube had to be brazed to the clamps away from the frame, so I used a dummy seat tube and BB I had made for the balance bike project together with a length of unpainted head tube, setting up in the jig exactly as it was.

After test fitting I painted it white, the wrong shade as it turned out!
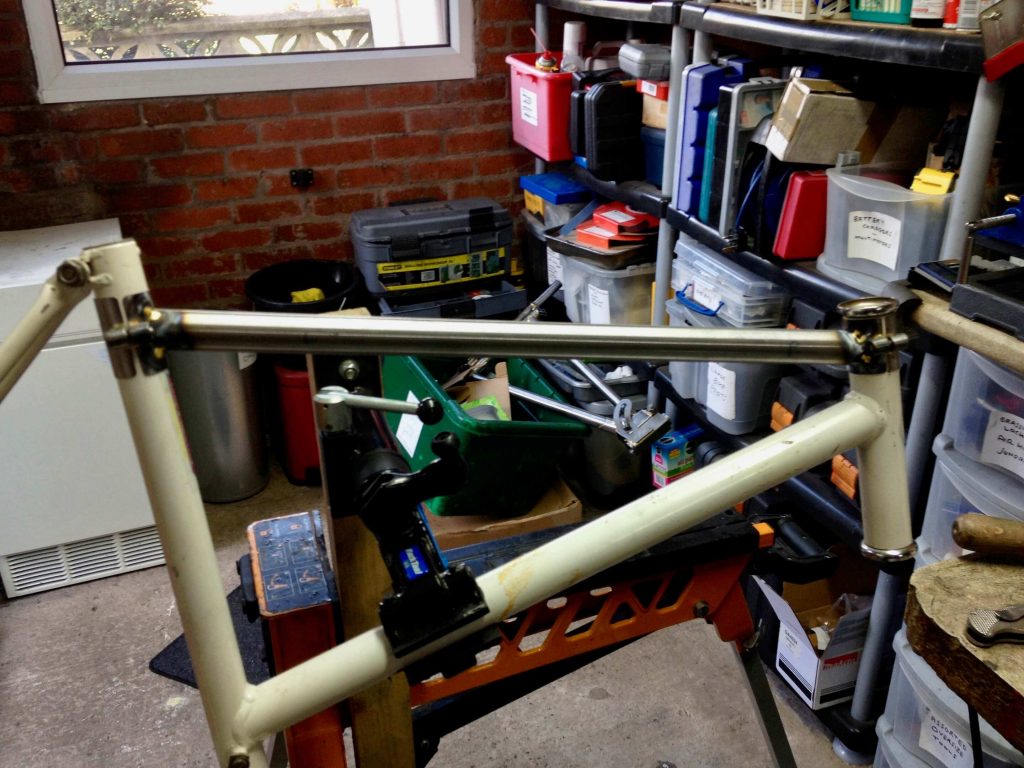
I am not sure whether the modification was necessary, but at least it provided extra luggage storage.
The other modification, which I thought was more vital was to improve the fixing for the pannier rack, which was an M5 hole in a very flimsy rear dropout, for both rack and mudguard. I brazed on a reinforcing piece on the top with an M6 tapped hole.
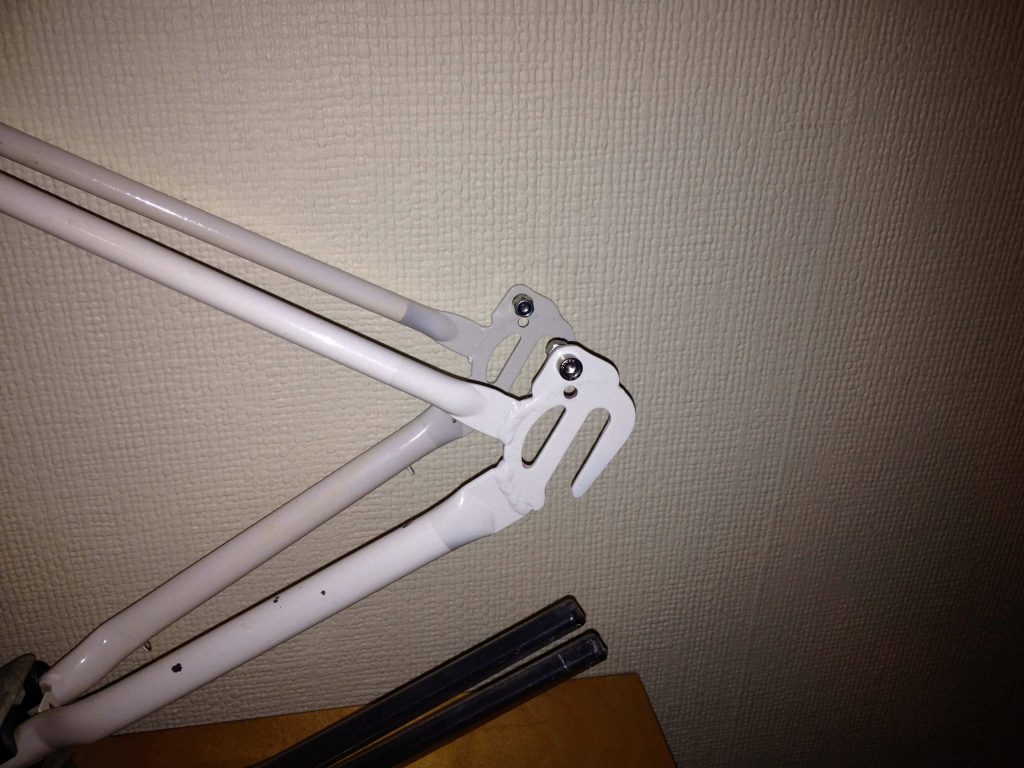
Being aware that the author’s books usually contain a measure of catastrophe, I was determined that nothing I had done would fail, which I am glad it did not.
The resultant book is both funny and informative and well worth reading if you have not already done so. I doubt anyone will be asked to do this again!
1 thought on “A Bolt-On Top Tube”
Oh wow, reading the book at the moment so delighted to see this “article” describing your work
Ta Mark