
Probably the commonest alteration carried out on frames is increasing the width of the rear dropouts to accommodate wider wheels. This is often done on older frames with 120 mm rear spacing (still the current standard for track bikes) to accommodate modern road wheels of 130 to 135 mm axle width. I have mostly done the 120 to 130 adjustment and this is usually possible without removing the brake and chain stay bridges, which does make the process a whole lot easier, but would usually require a respray. It is probably possible to space by 15 mm, as I have done this, usually by accident and then having to lever the stays back again!
Levering chain stays (and attached seat stays) is part and parcel of bicycle frame building as inevitably some contraction of the rear dropout spacing will occur after brazing as the metal cools. I have described my own methods of rectifying this in “Hot and Cold Setting”. Spacing a rear triangle is also cold setting and the methods essentially the same, though it is often more difficult as the seat stays are always attached.
The traditional method, I suspect, is to insert your lever between the rear dropouts and rest it against the side of the seat tube. The frame must be properly secured in tube blocks in a solid vice or by the bottom bracket, again solidly in a vice that will not move. I use thin aluminium angles over the vice jaws to protect the bottom bracket shell. Commercially available vice jaw covers are likely to be too thick and may pop the frame out with the force of the applied lever. Personally I find that wedging the end of the lever between the chain stays near the bottom bracket is the most effective for me, though this method does lever both side at the same time, the levered side the most, so this must be taken into account when switching sides or you will be over spacing. At the dropout end rest the lever mainly in line with the chain stay where most of the force will be required.
The tools you need are as follows:
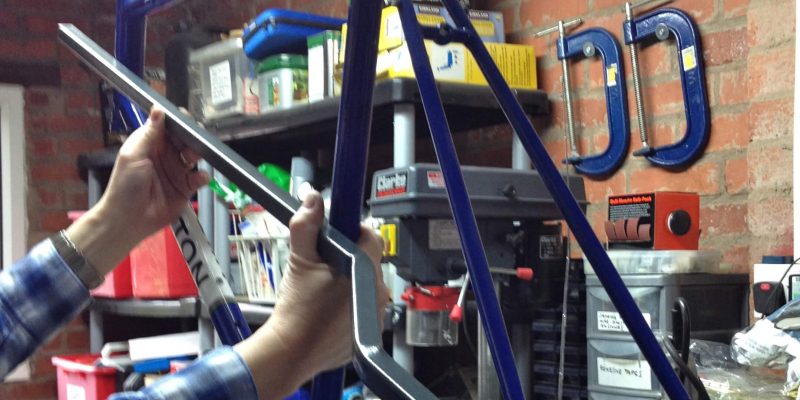
1. A lever. I use a rather excessively large length of 4×4 (see header picture above), which has to be applied gently, but thinner pieces of timber may be effective. You need quite a lot of force so thin bits of wood are no good and may snap, therefore in general anything that flexes significantly should be avoided.
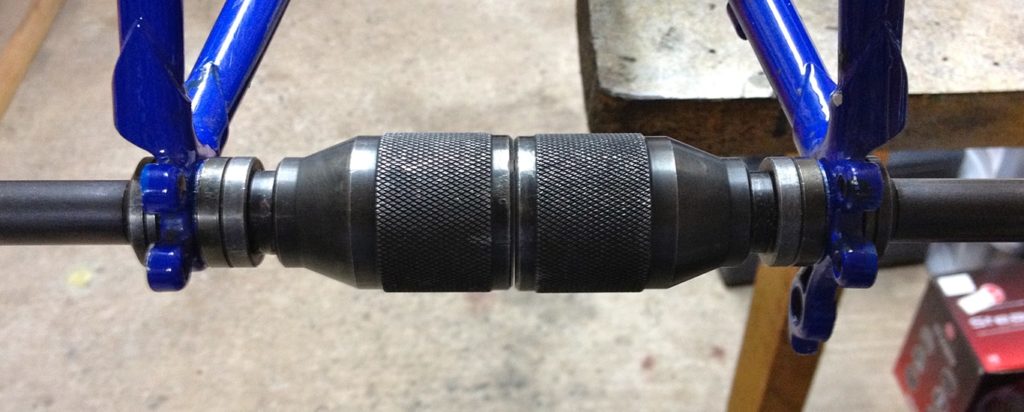
2. A dropout adjuster. These could be home made but the widely available one shown below is worth it. Obviously when you widen the rear triangle the dropouts will not be parallel and need to be bent slightly to re-straighten them. This tool allows you to do this by bending each dropout individually and lining them up in the centre. Also the width of the adjuster can be set by varying the arrangement of the washers.
3. A method of checking that the rear triangle is centred. I have an accurate jig, so placing the frame in the jig with the correct axle width inserted can be used to ensure the spacing is central, in as much as if it will not fit in the jig further adjustment will be needed.
A crude method is to tie a piece of string from one dropout and around the head tube to the other dropout. If the rear end is central the distance measured from the string to the seat tube will be the same on each side. This of course assumes the the front triangle is perfectly straight.
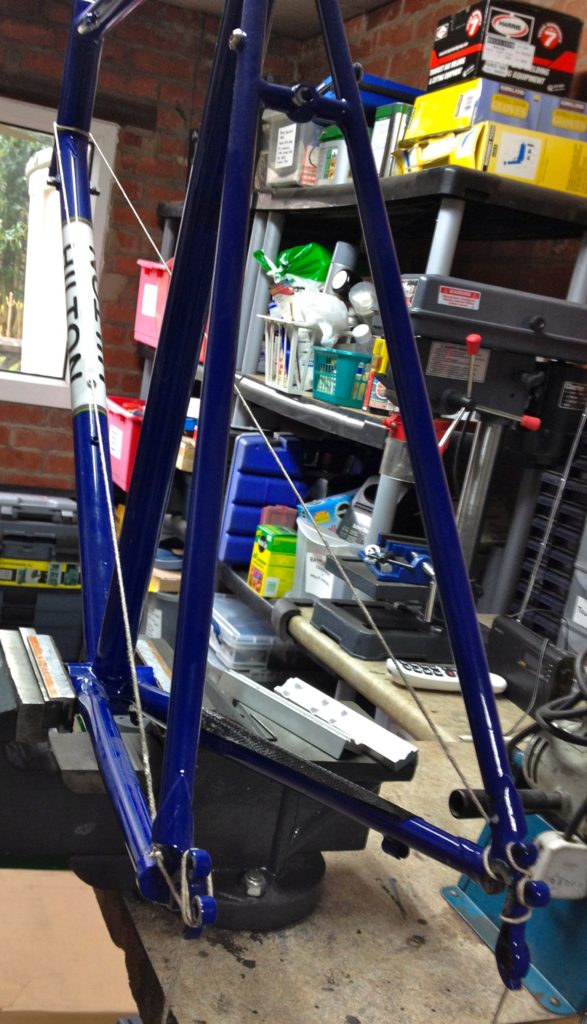
The only other method I know is to insert a wheel, which needs to be true, and see if it lines up centrally by eye. I do this anyway as a final check. I think this is probably more accurate than the string method and will also show up twist in the rear dropouts if this wasn’t properly addressed by the dropout adjusters.
Removing the Brake and Chainstay Bridges
This makes levering the rear triangle much easier, but will need the bridges renewing afterwards as they will need to be longer. The bridges should be cut and then filed down. The removal of the paint and damage from re brazing the bridges means a respray would be desirable. In the example shown below the brake bridge required a height adjustment an any case. This was a mixte frame and despite having three tubes each side is was surprisingly easy to space, 20 mm would have been feasible. The tubes, however, were very narrow, and the relative difficulty of widening a rear triangle will be influenced by the diameter of the chain stays in particular and even the shape. With curved stays it just needs to be hoped that they will bend in the same place on both sides. The watchwords are GENTLY,SLOWLY, CAREFULLY!
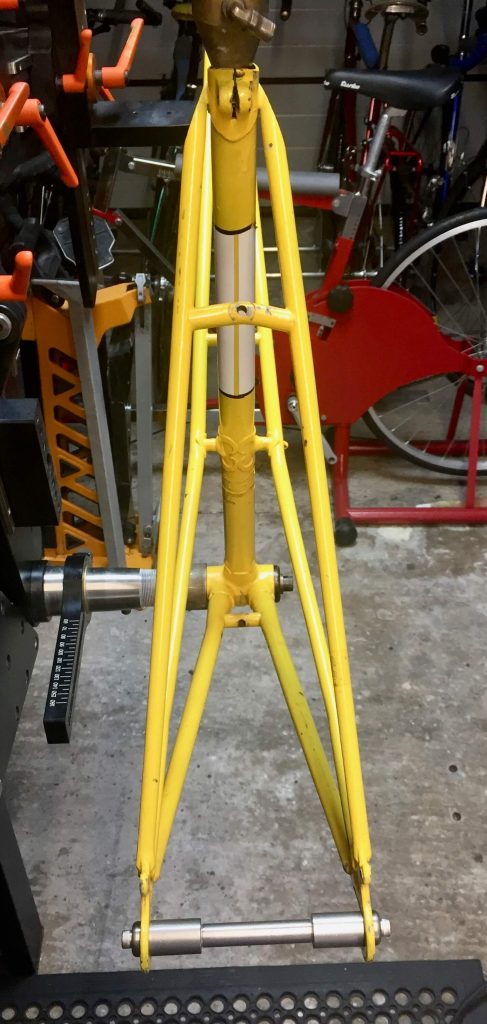
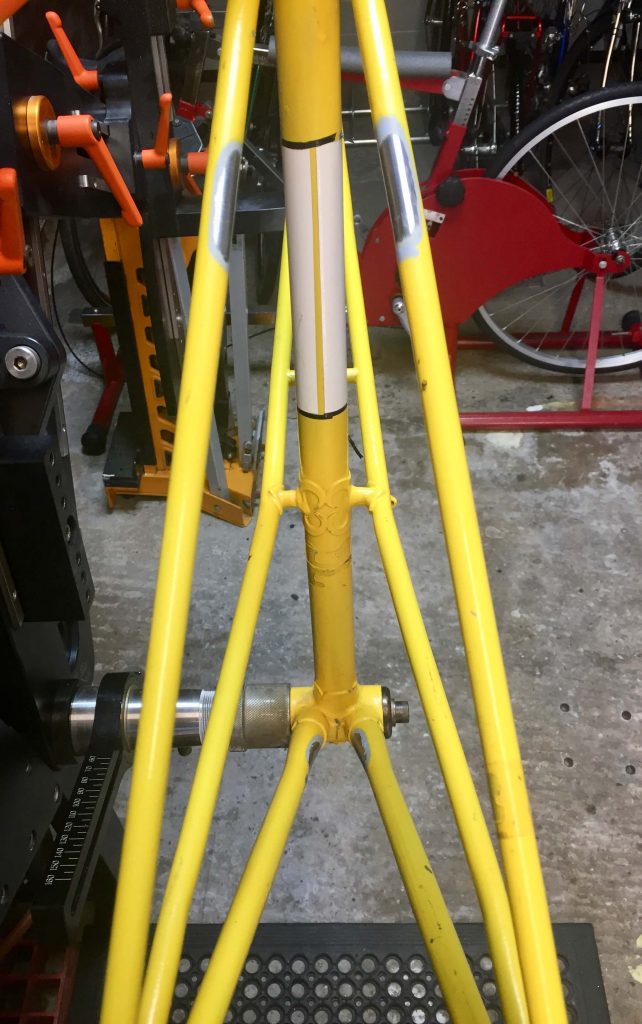
Unfortunately I lost the photographs of the replacement bridges.
The above advice offers no guarantees you will be successful.