
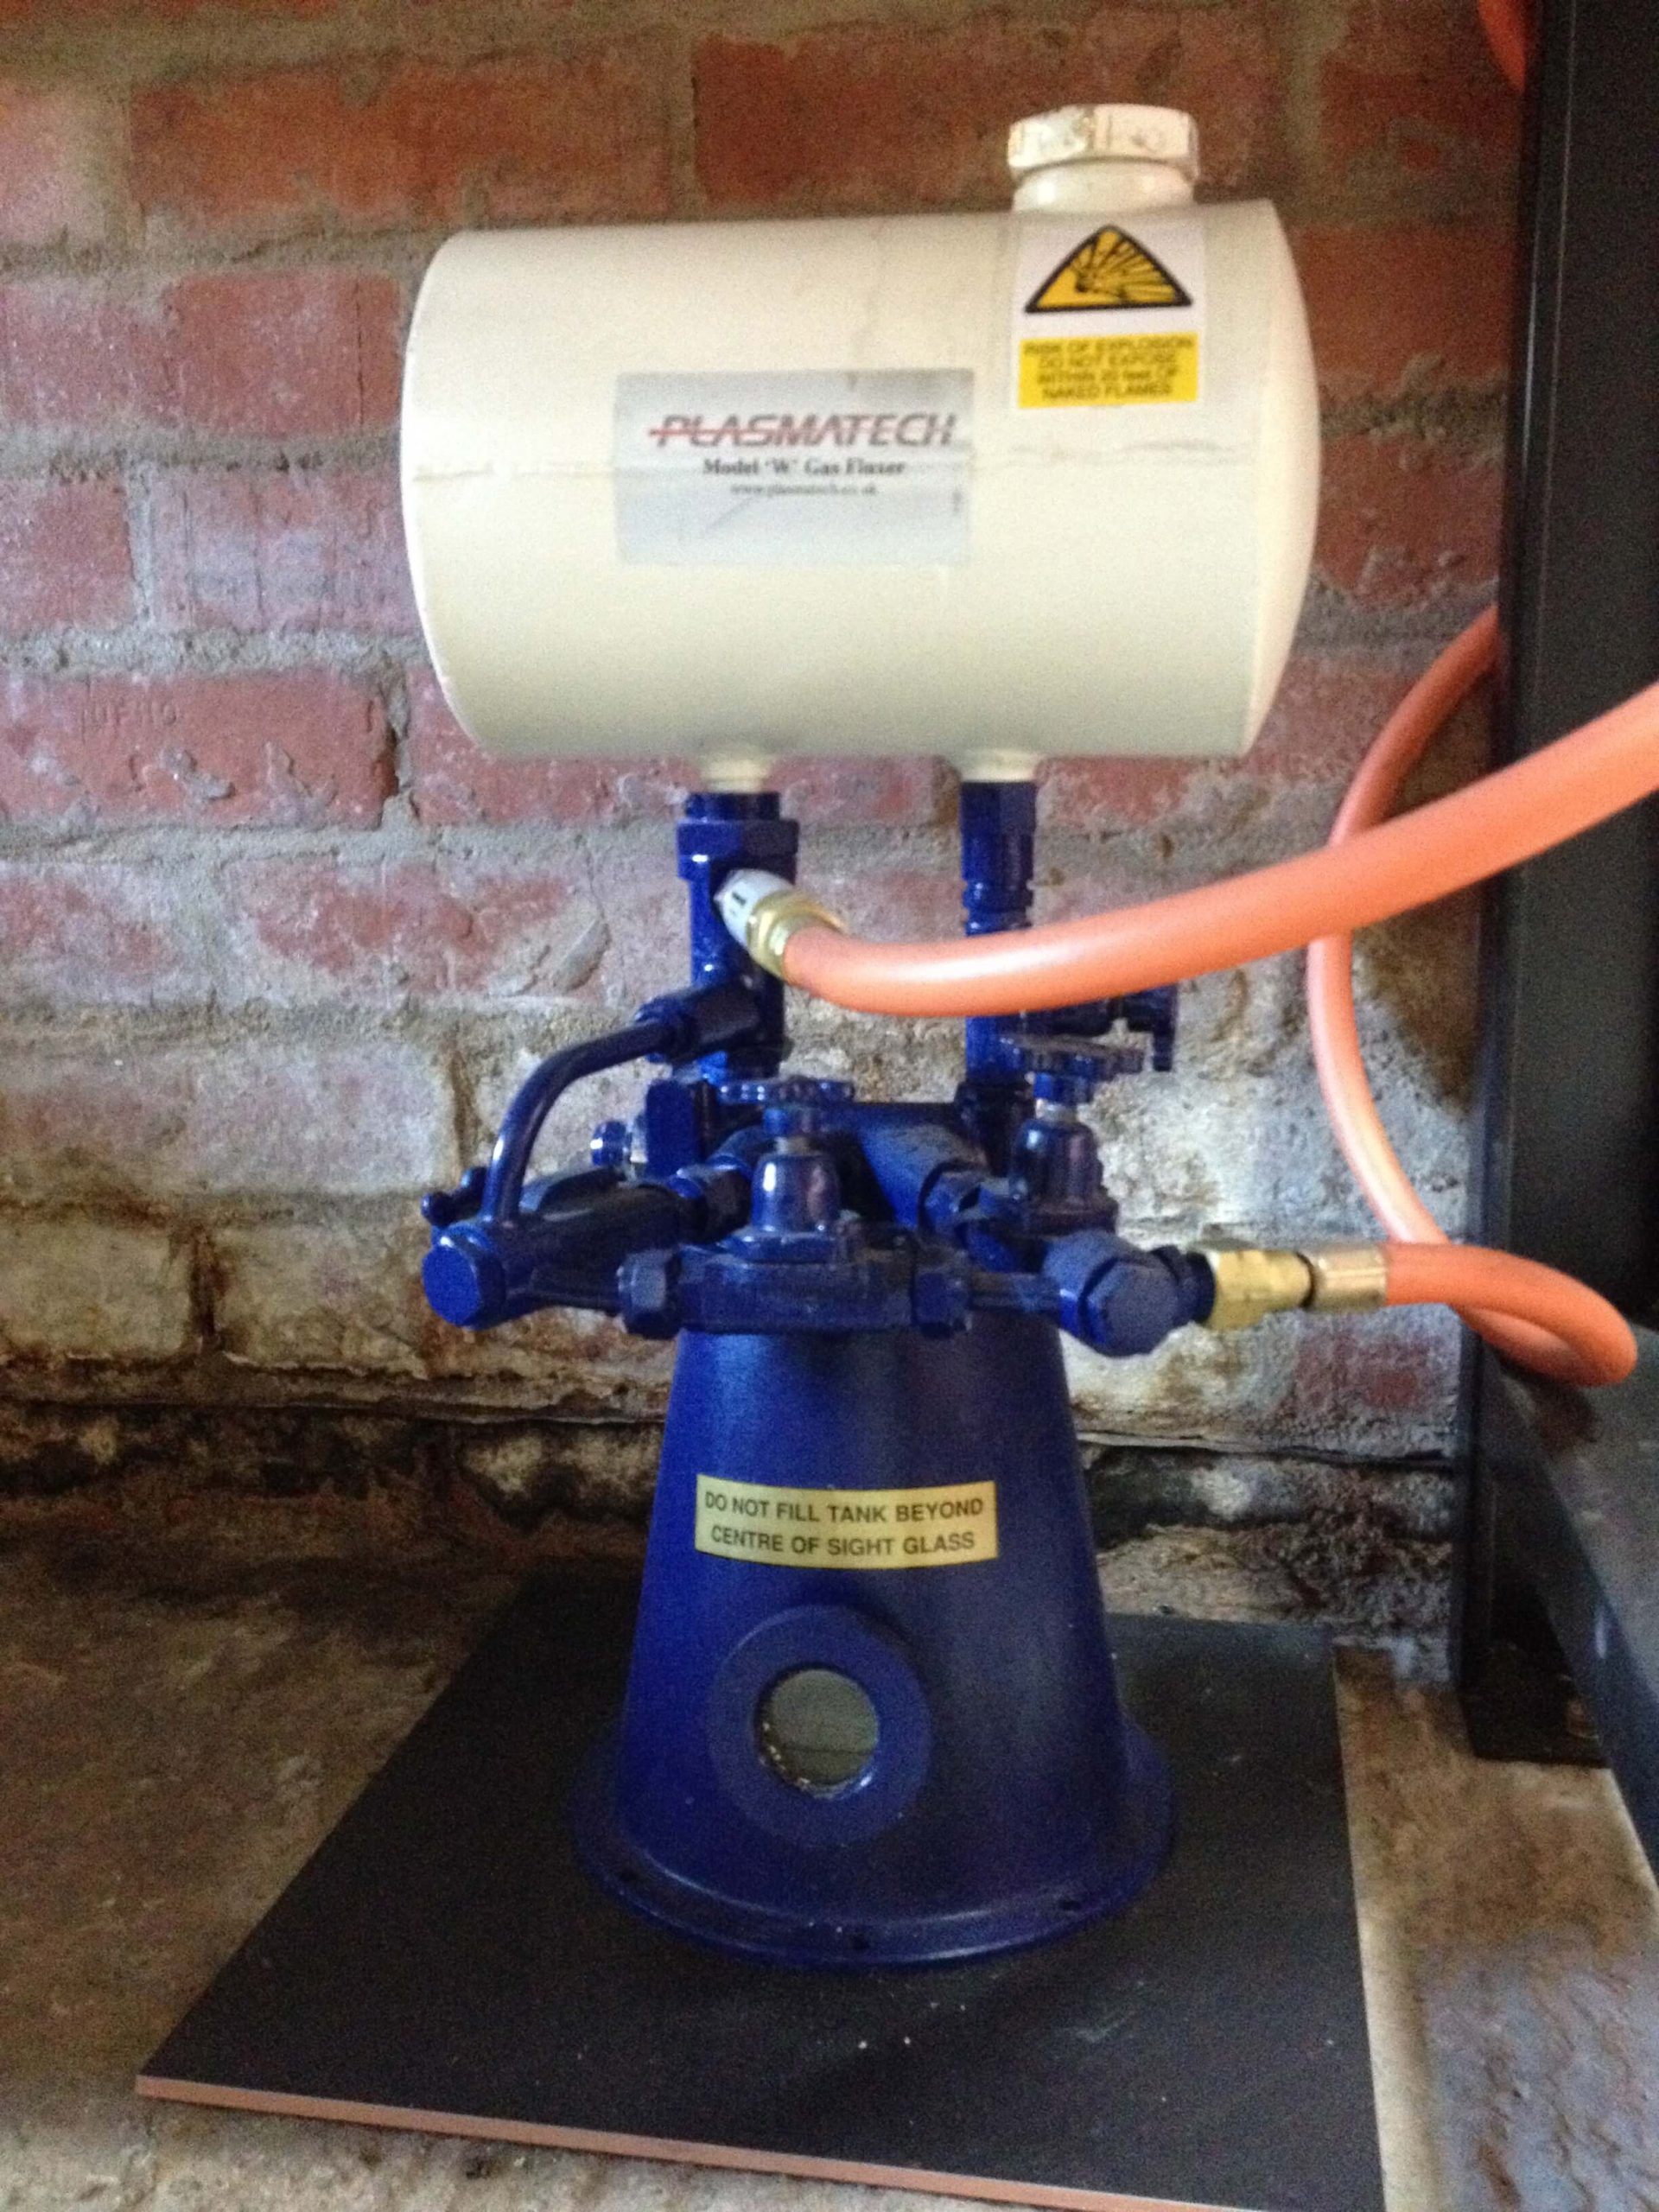
I have been running my Gas Fluxer now for 2 years before the gas pressure dropped right off and it looked like it would need servicing. The outflow valve was very stiff and showed evidence of white residue on the threads suggesting a leaking valve. The usual most likely cause of pressure drop off is a blocked flashback arrestor but in this case replacing it didn’t help. I resolved to empty the fluxer and replace any faulty seals.
The manufacturers Plasmatech, suggested that if there were signs of air exposure i.e. white residue, then the central wick could have hardened and may need replacing. As I was going to dismantle the fluxer I decided to replace all the seals and wick but in the end left two of the valve diaphragms alone as replacements are expensive at £18 each and in fact the valve diaphragms can be replaced at any time without emptying the fluxer. The Wick is £25 and the rest of the seals are inexpensive, however a full kit of replacement parts is over £100 and I clumsily also chipped the sight glass adding a further £15.
Emptying the fluxer is best done outdoors wearing a respirator mask to avoid exposure to the toxic fumes. Fortunately I had kept the original container so was able to funnel the flux back into it. I had only used about 1/4 of the 5 litres of flux over the two years whilst building about 5 bikes. There are no instructions provided for servicing though you can download a diagram from the Plasmatec website: http://www.plasmatech.co.uk/File/Labelled%20Gasfluxer%204-08.pdf
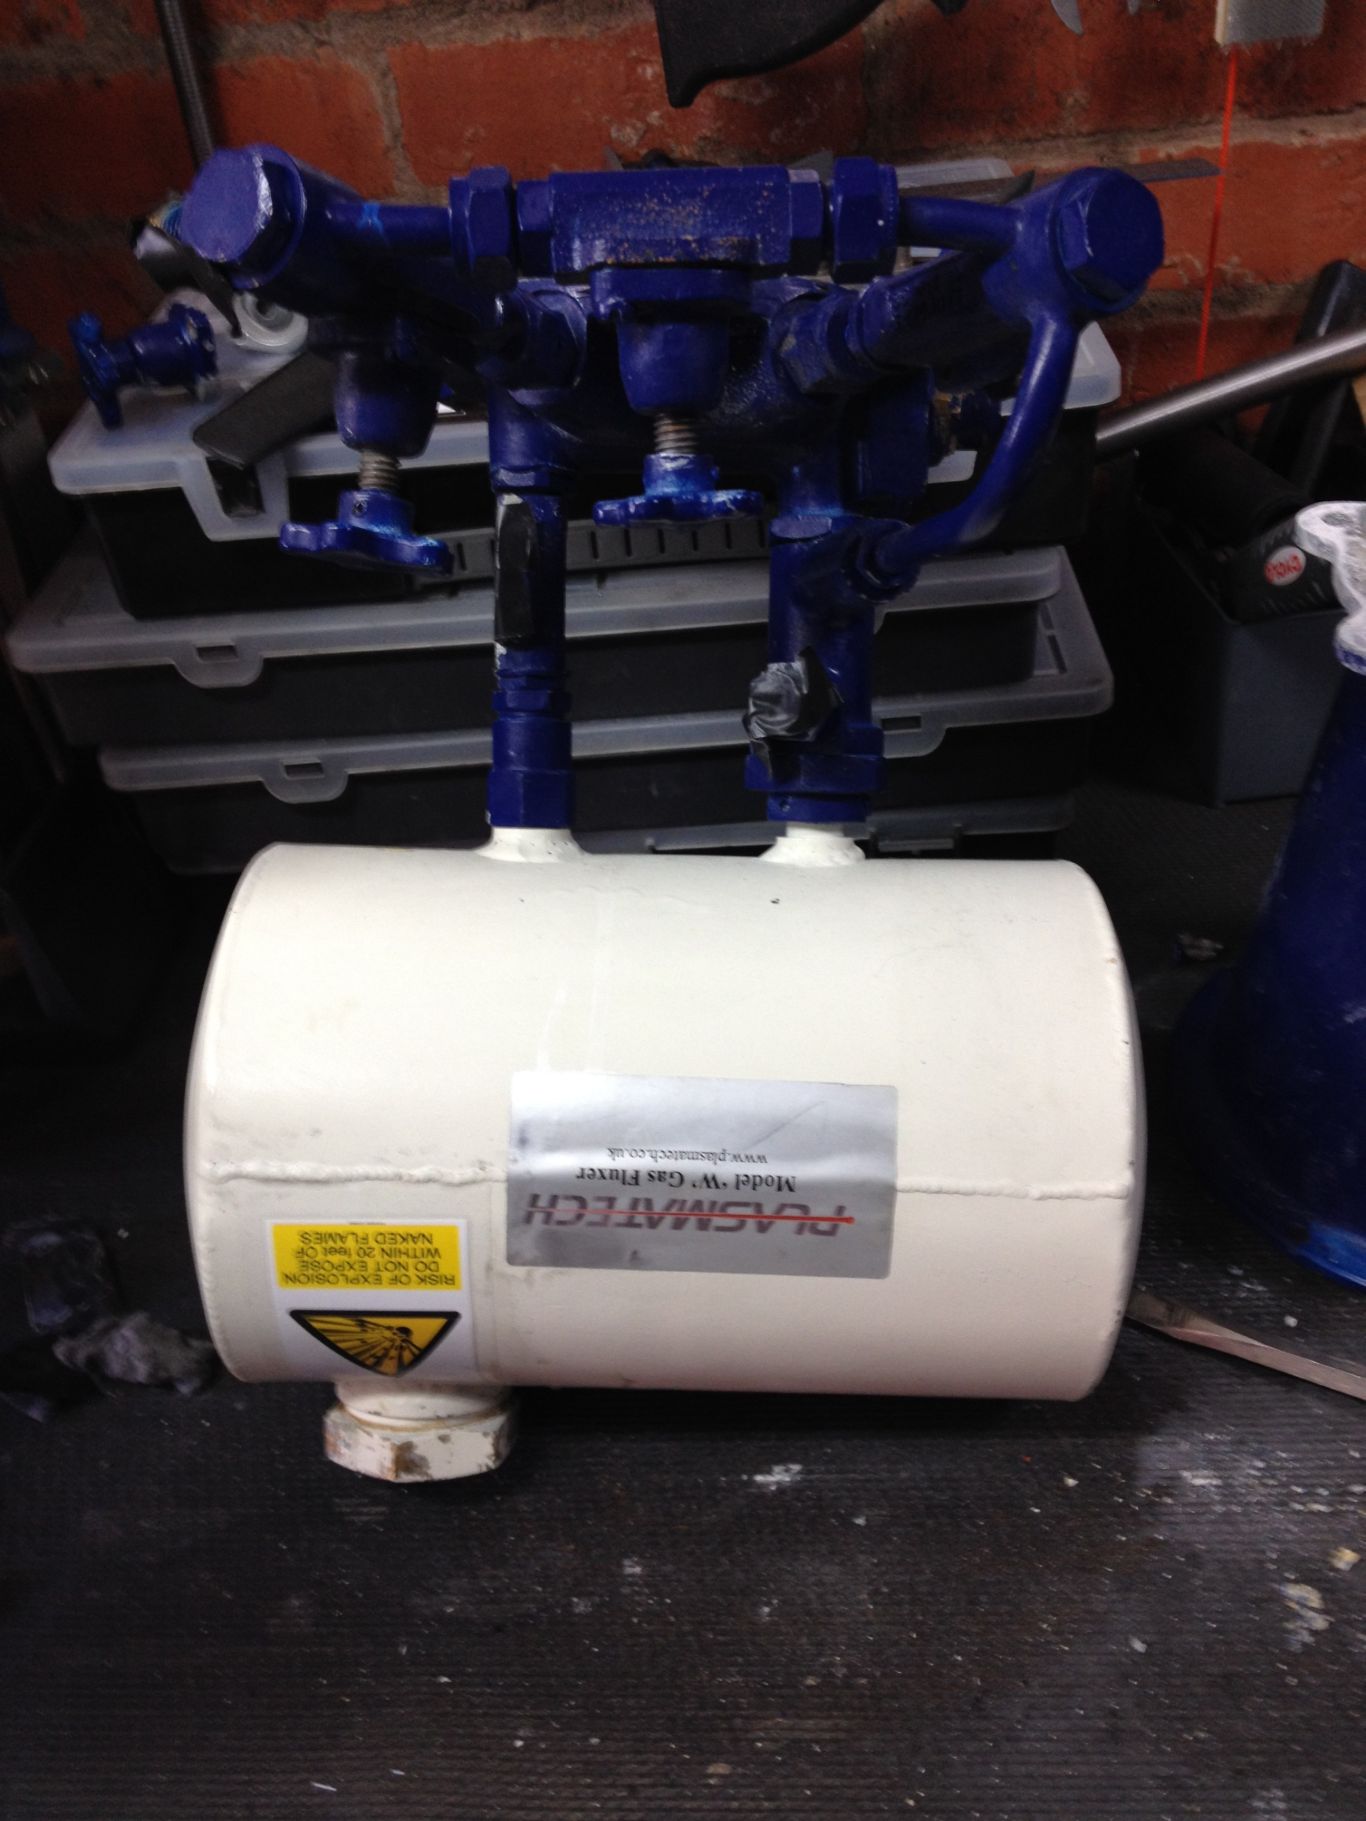
The fluxer can be dismantled into two parts before emptying i.e. unbolting, the main gasket and separating the main chamber from the reserve tank, emptying the main chamber then opening the top cap and emptying the reserve tank.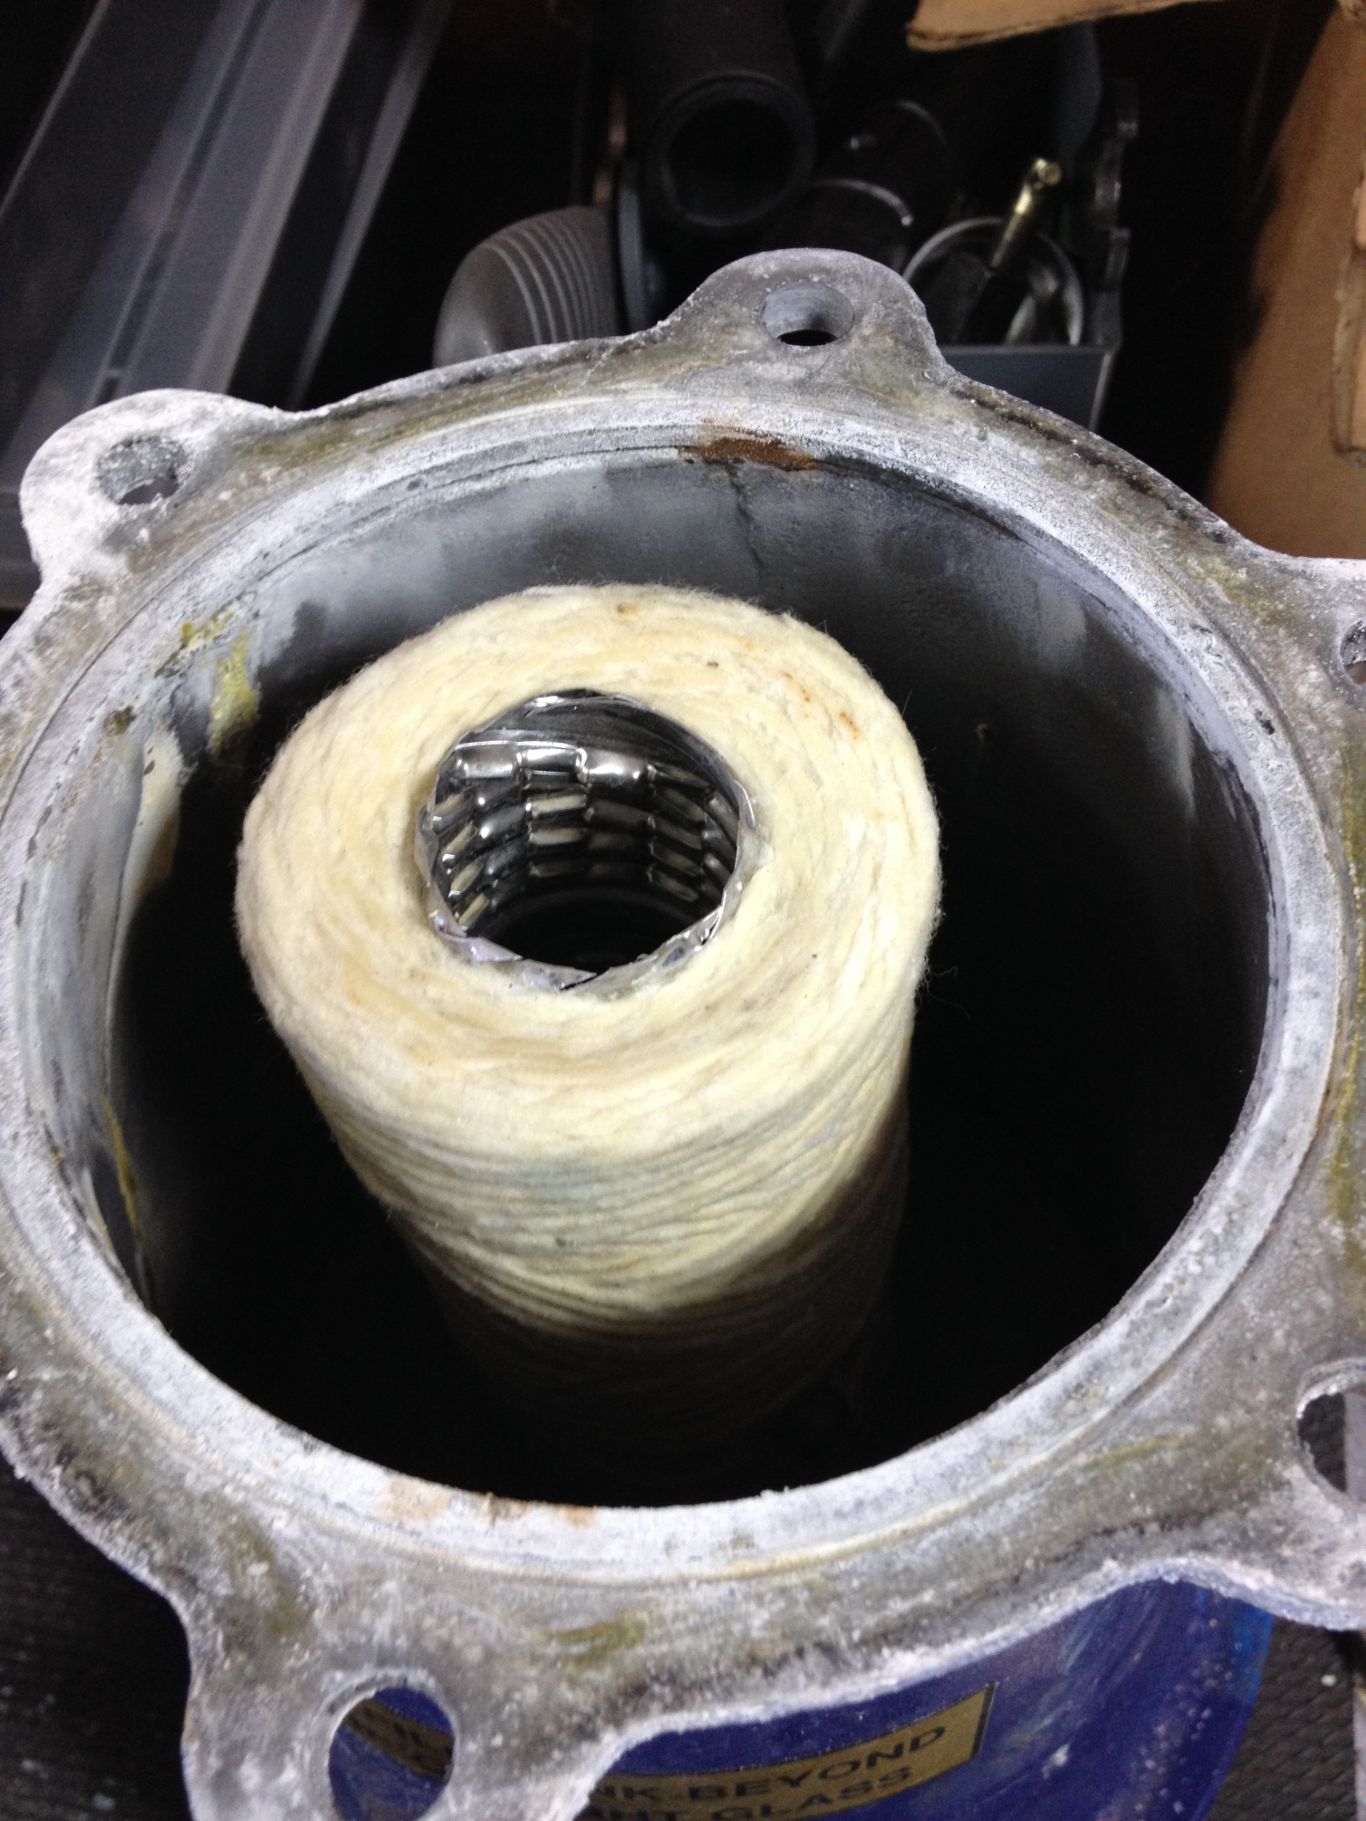
The wick is a tight coil of string around a mesh core. In fact mine seemed to be in good condition and the blockage I suspect was simply a sticking outflow valve.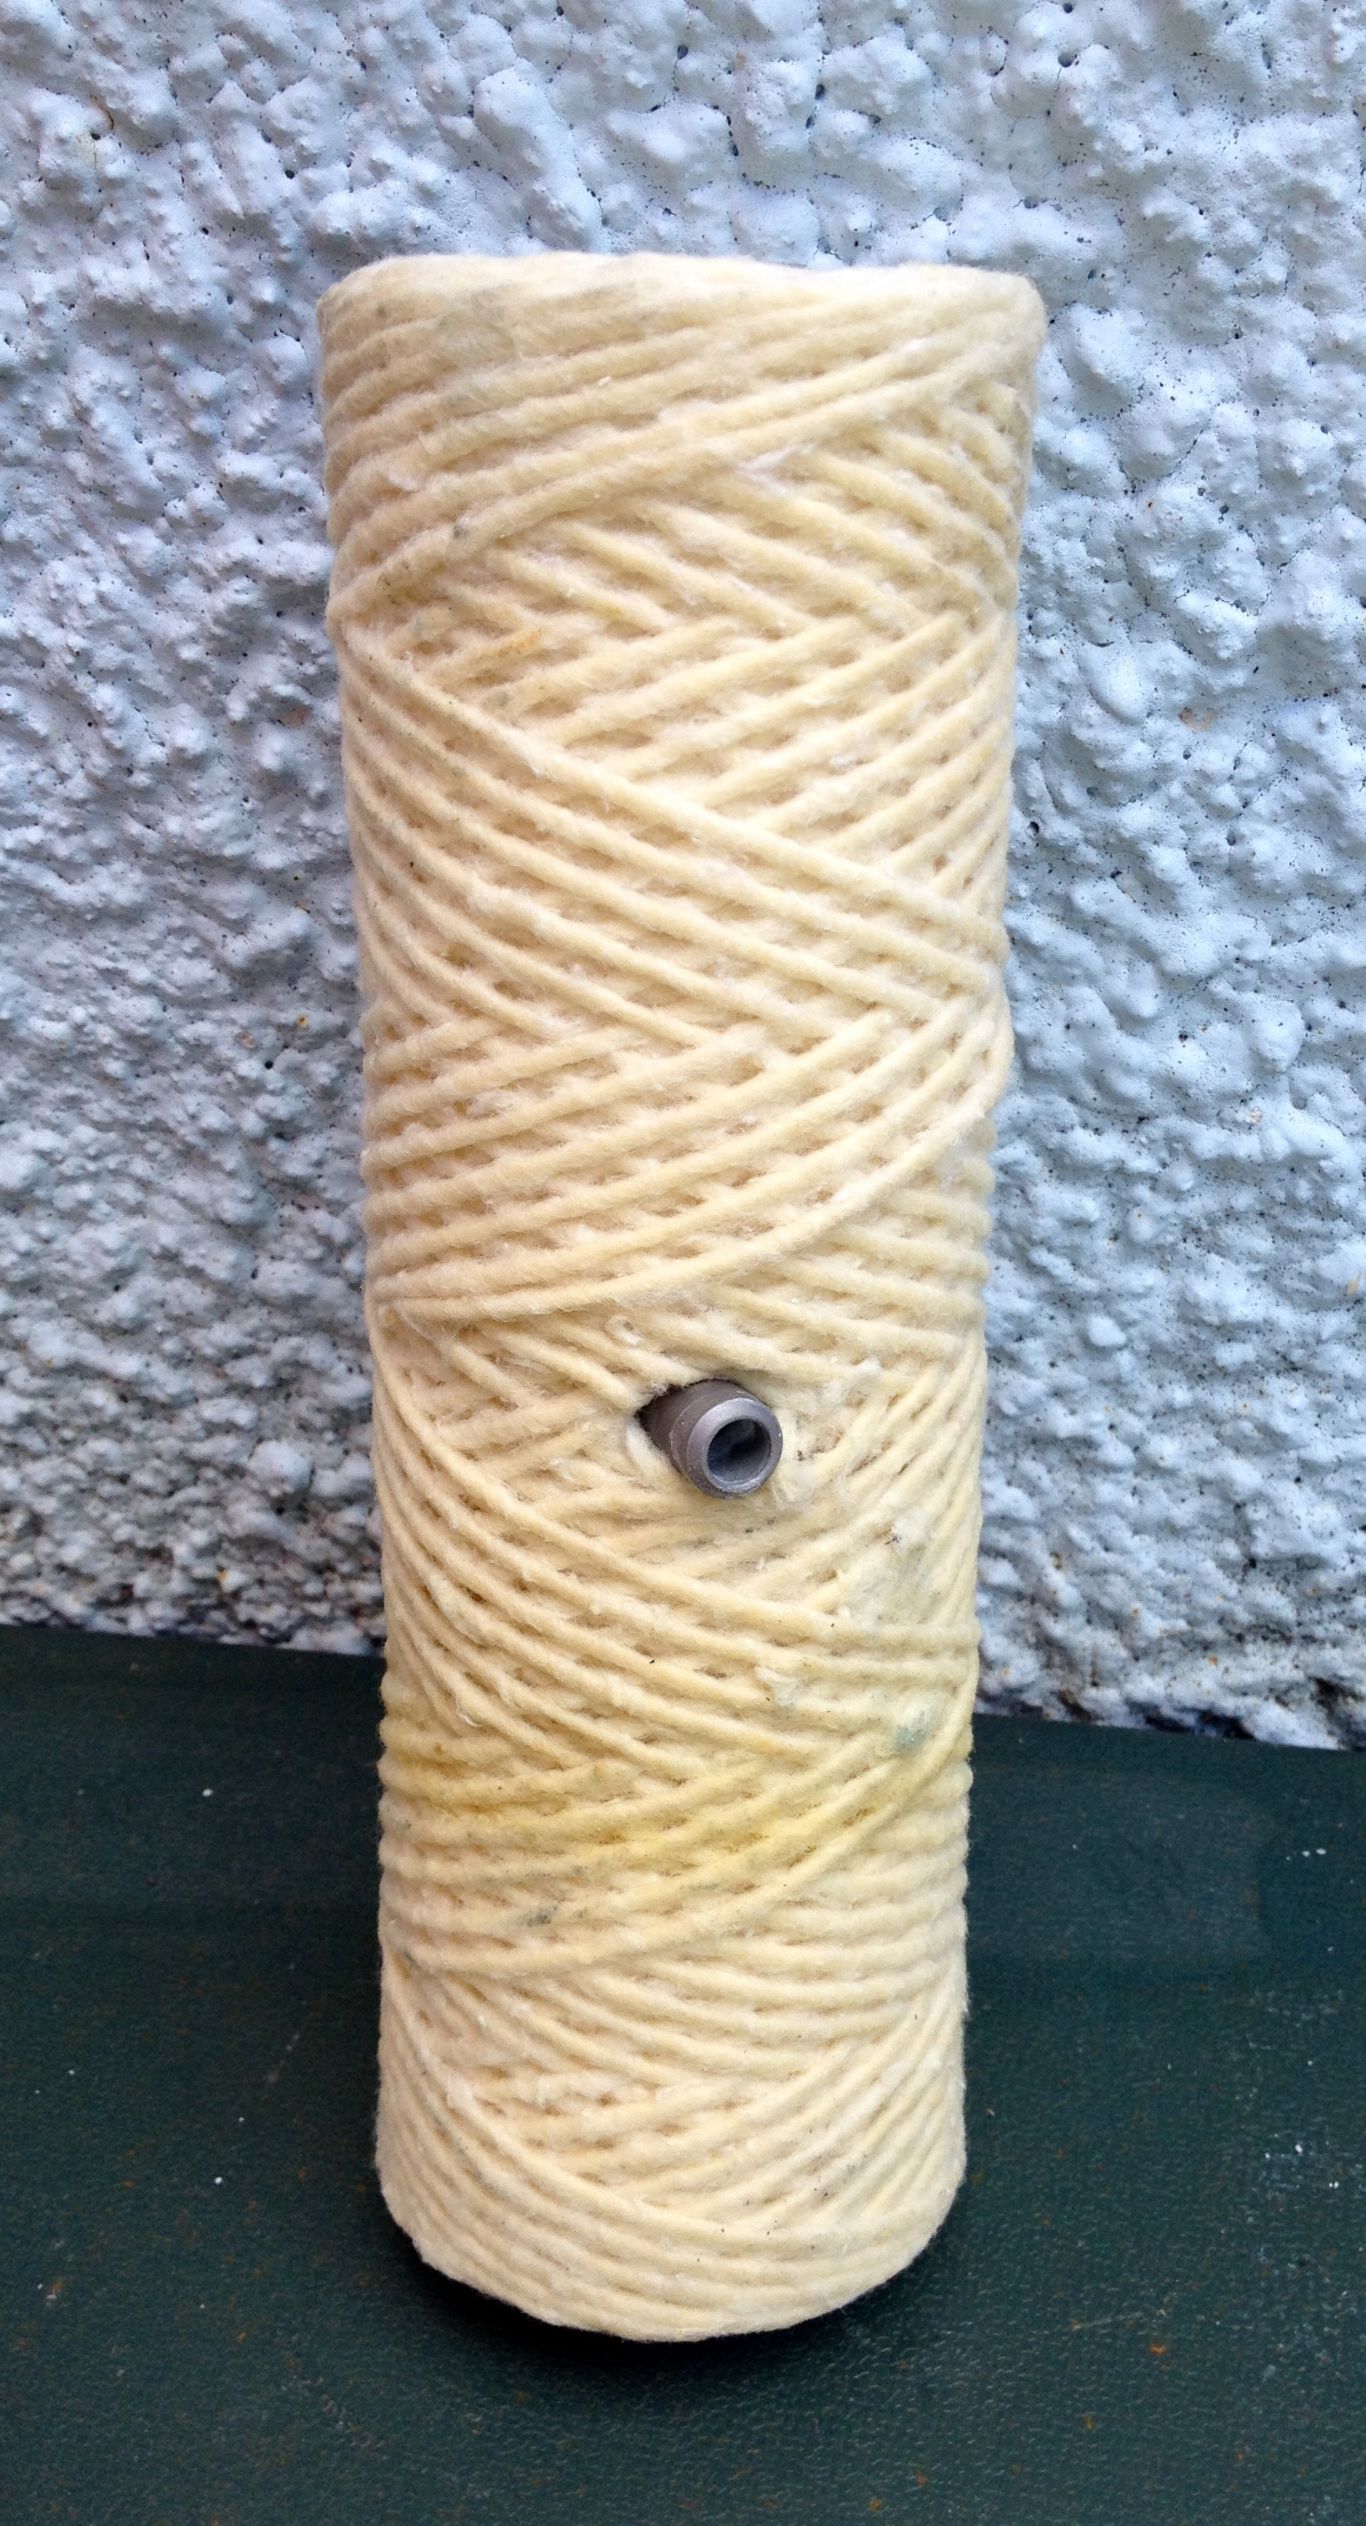
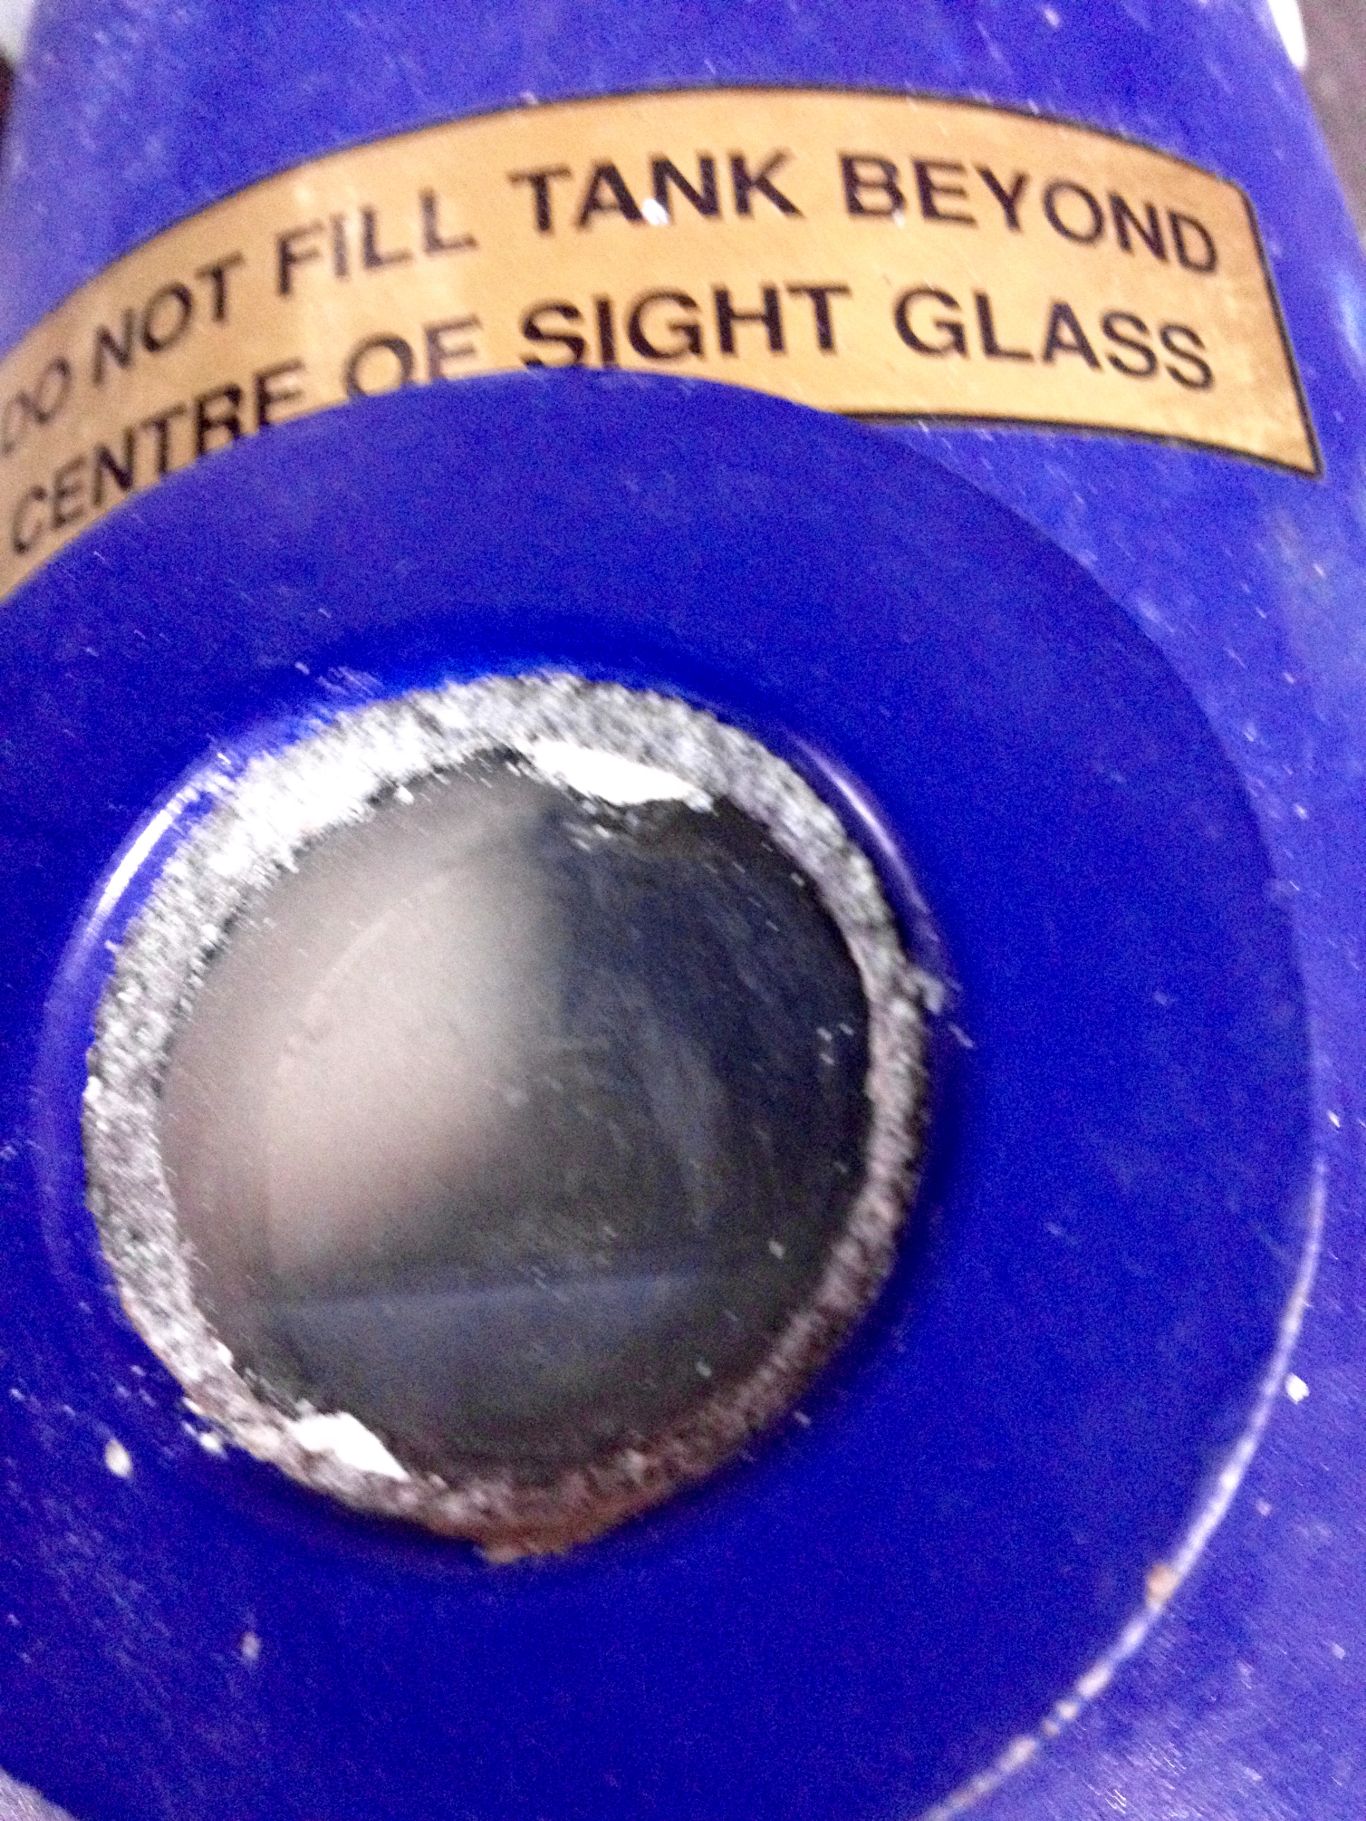
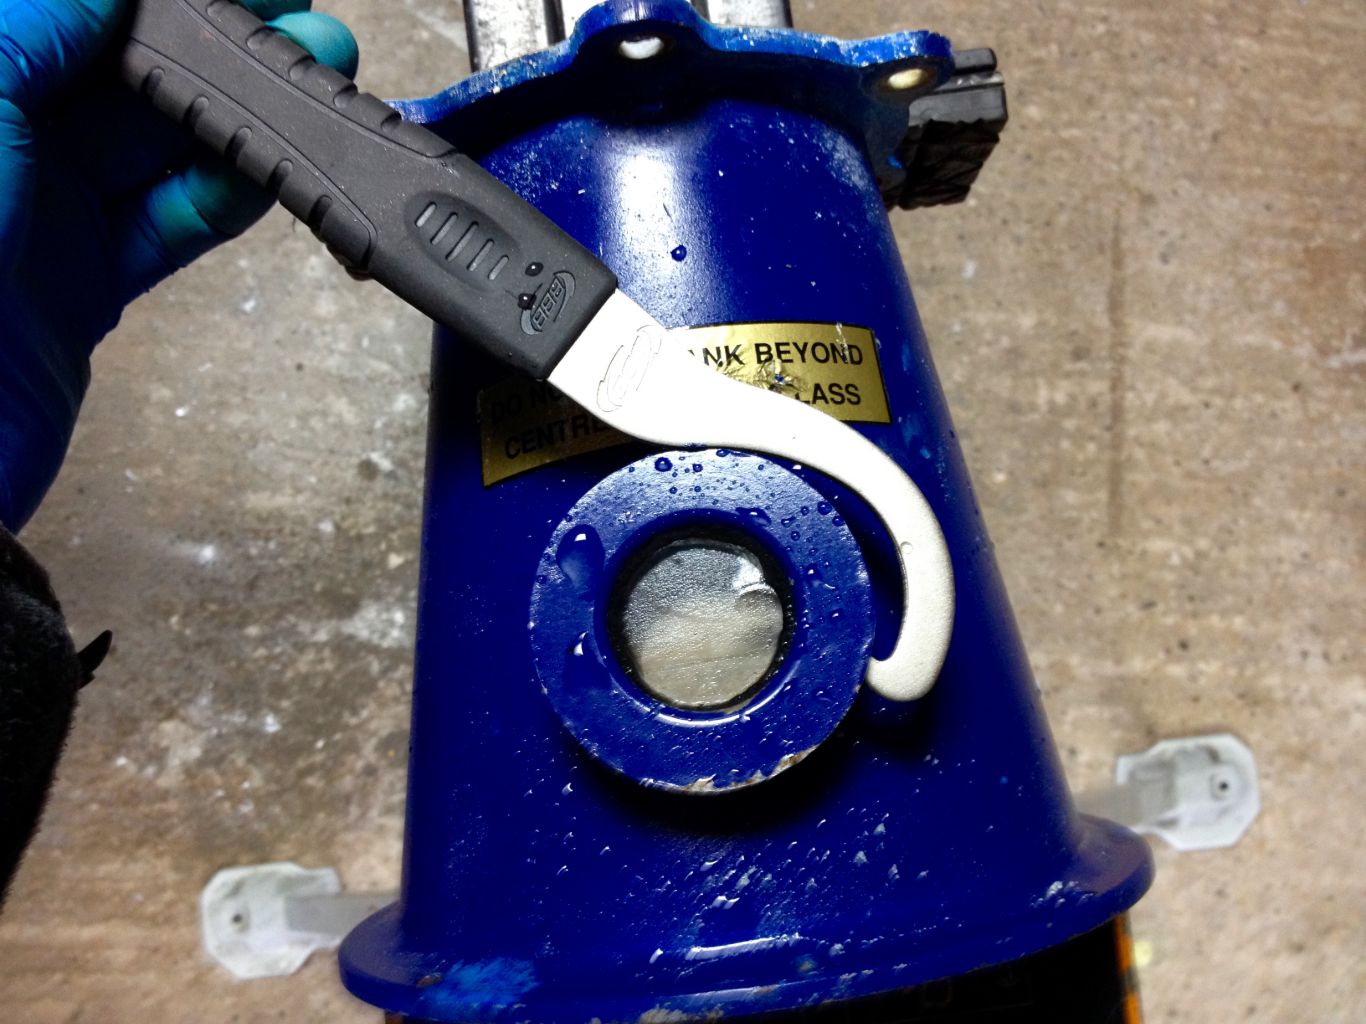
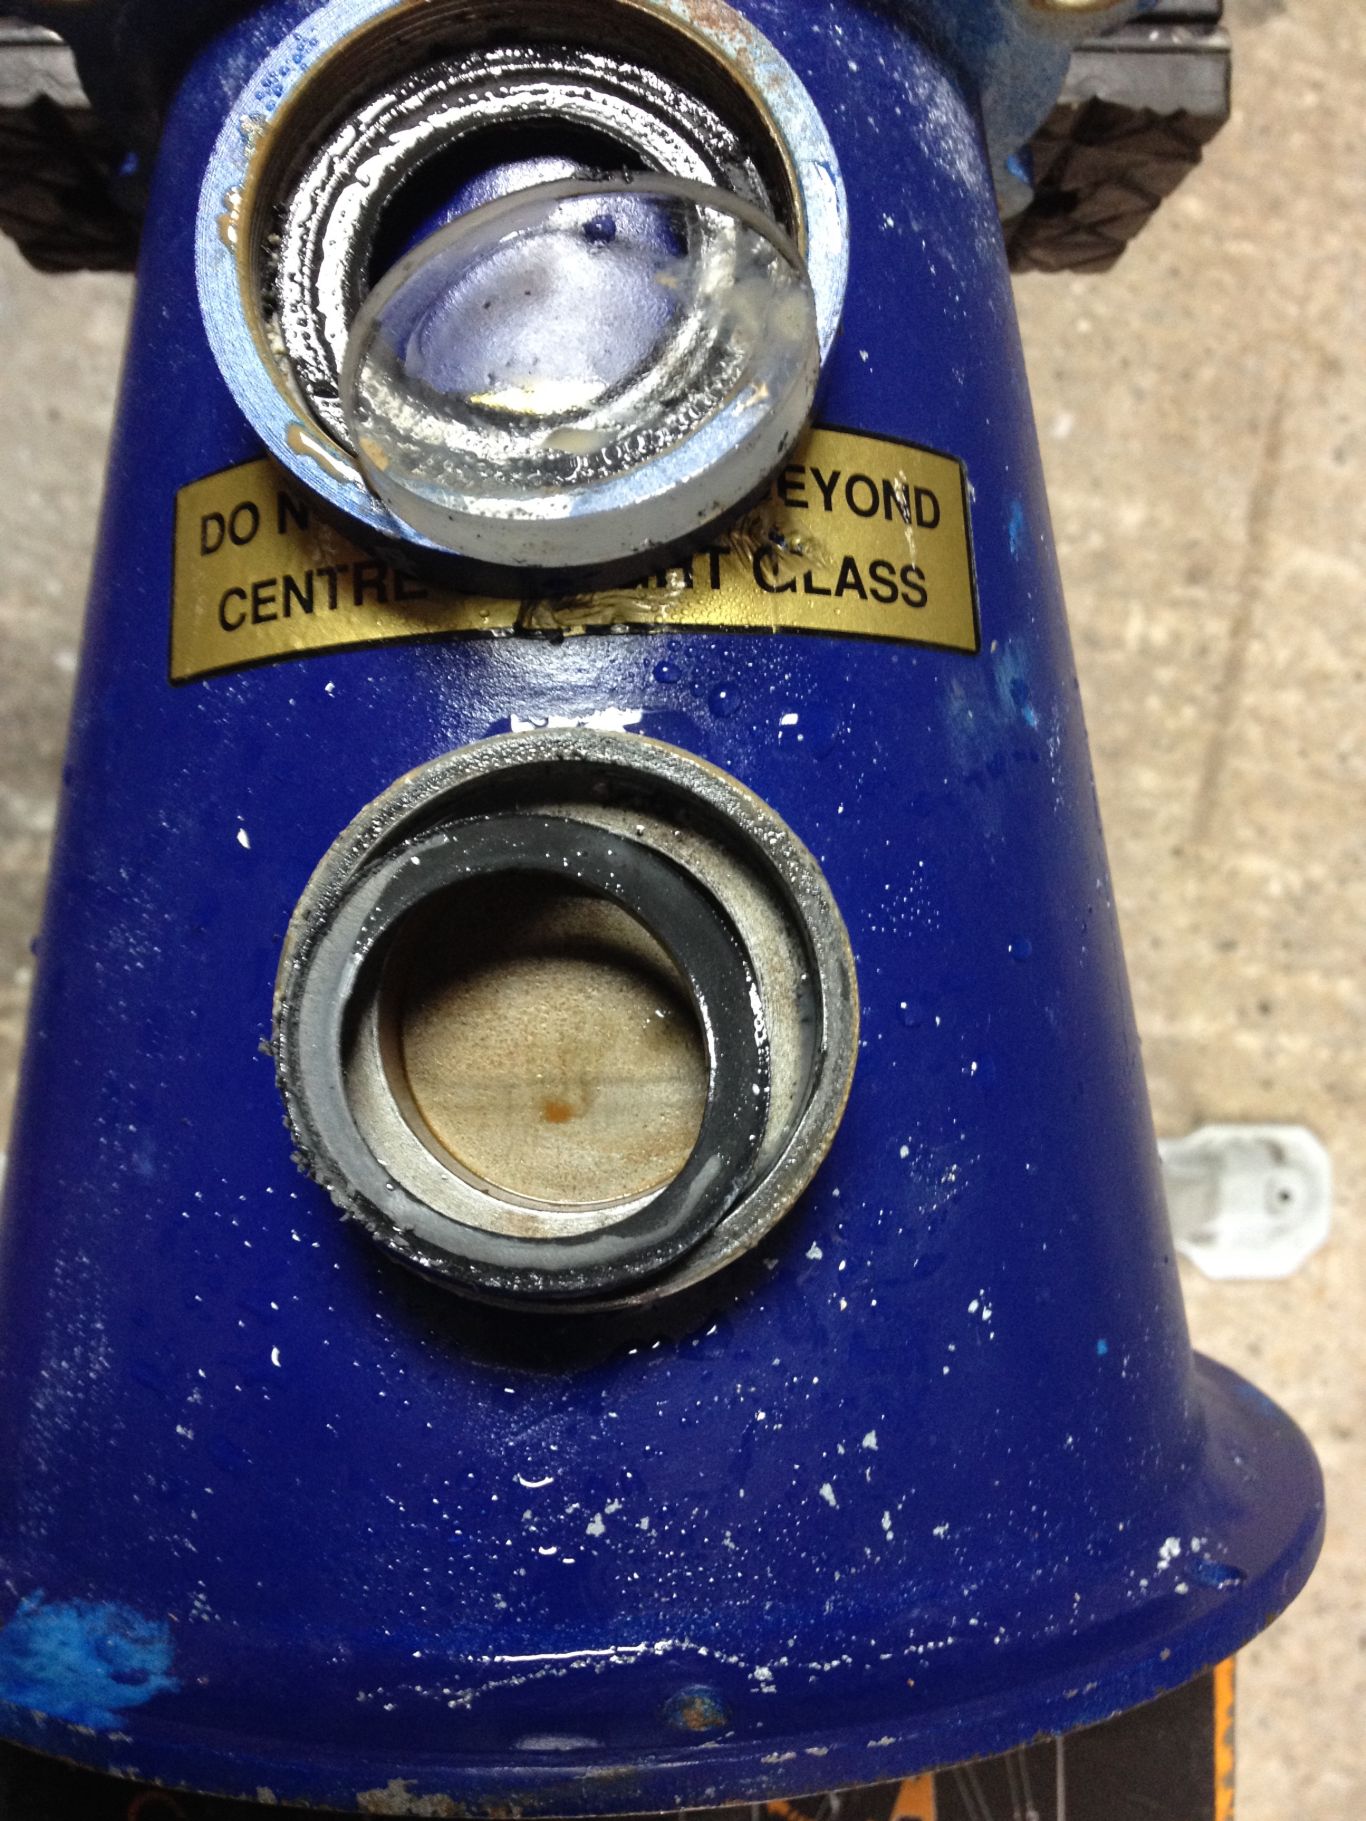
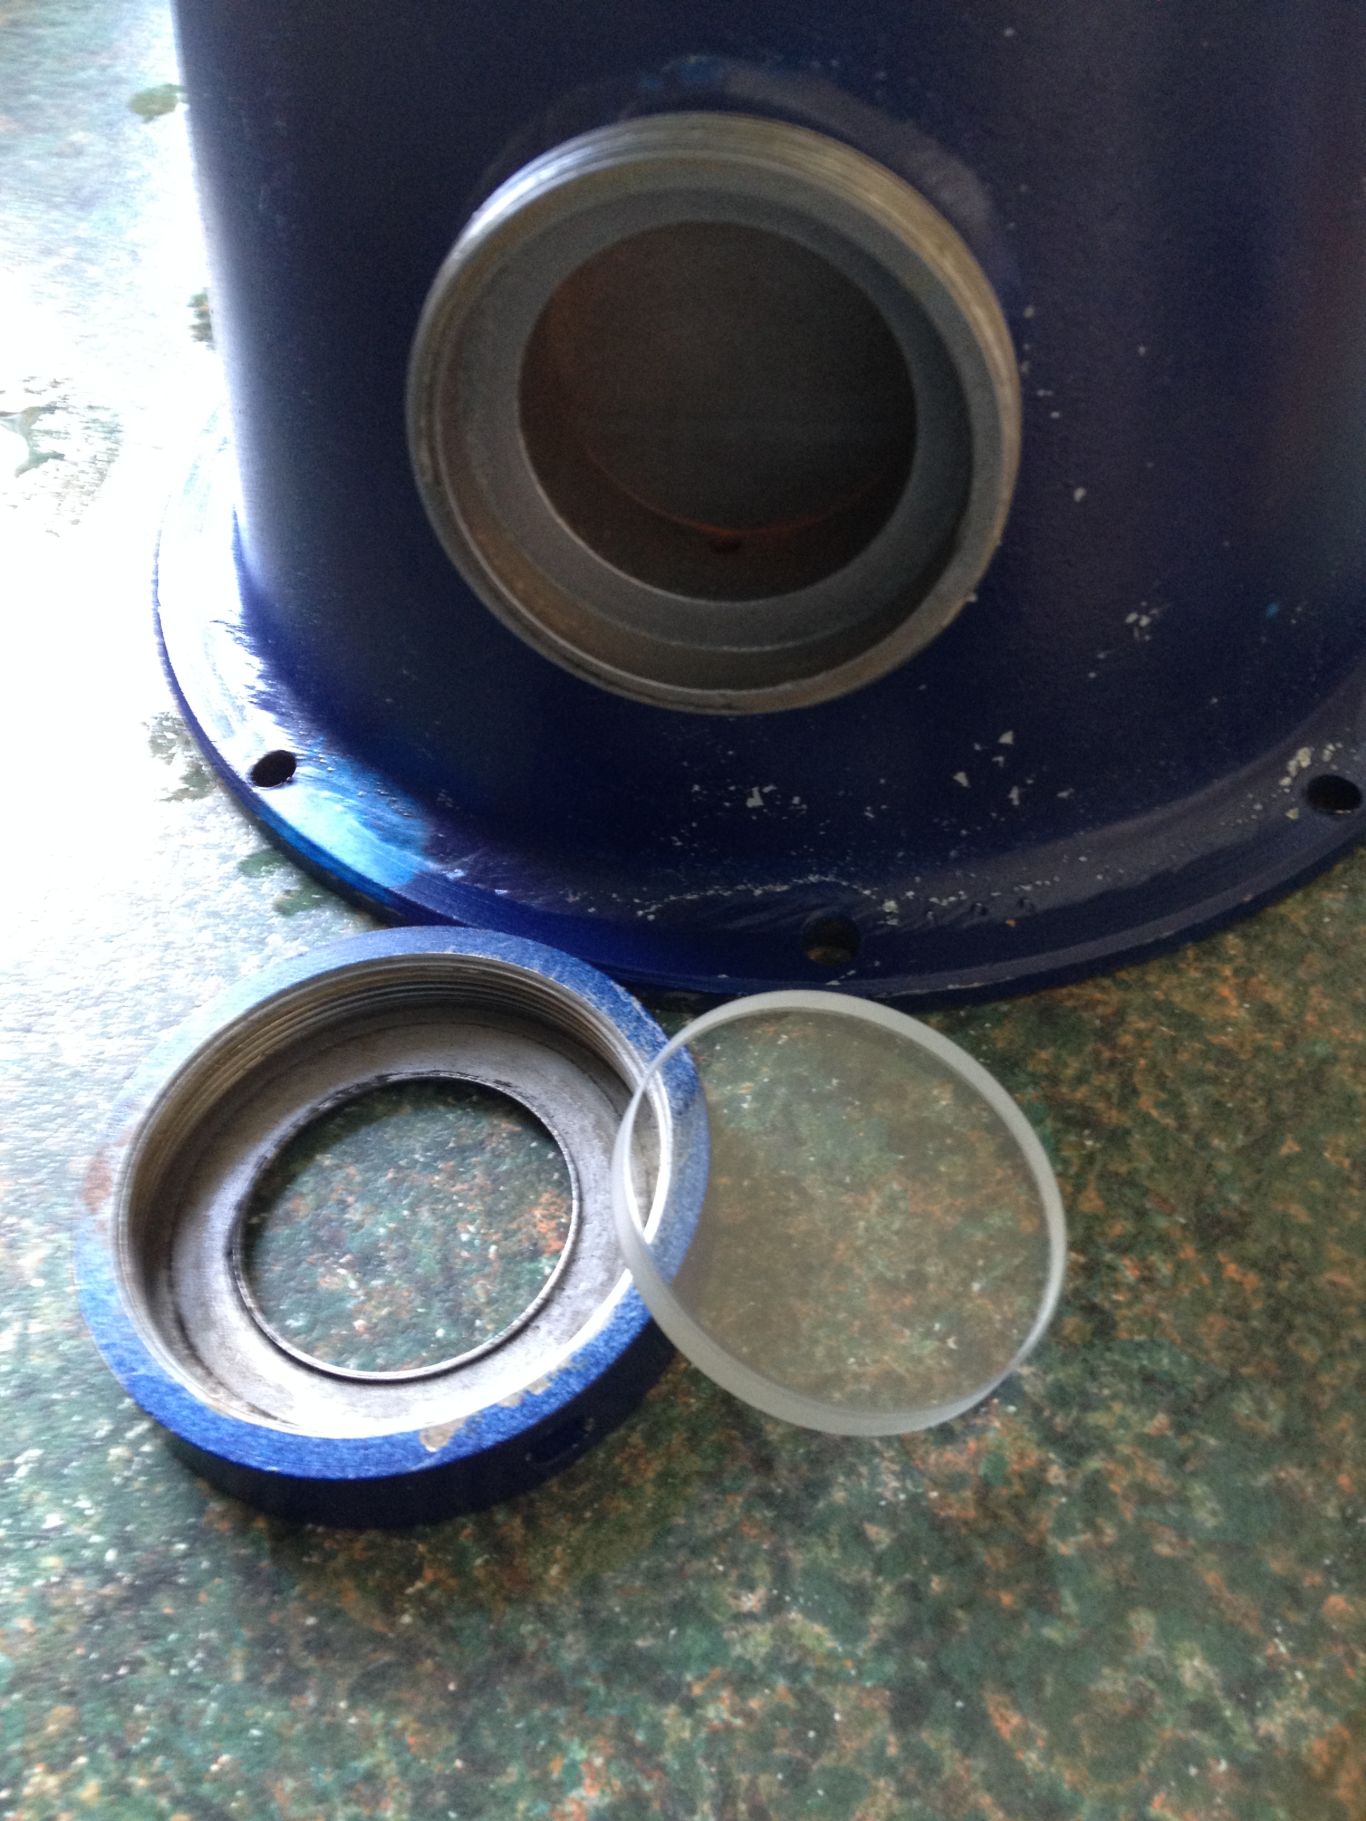
The sight glass seals also showed signs of leakage and it is simply unscrewed to remove both the seals.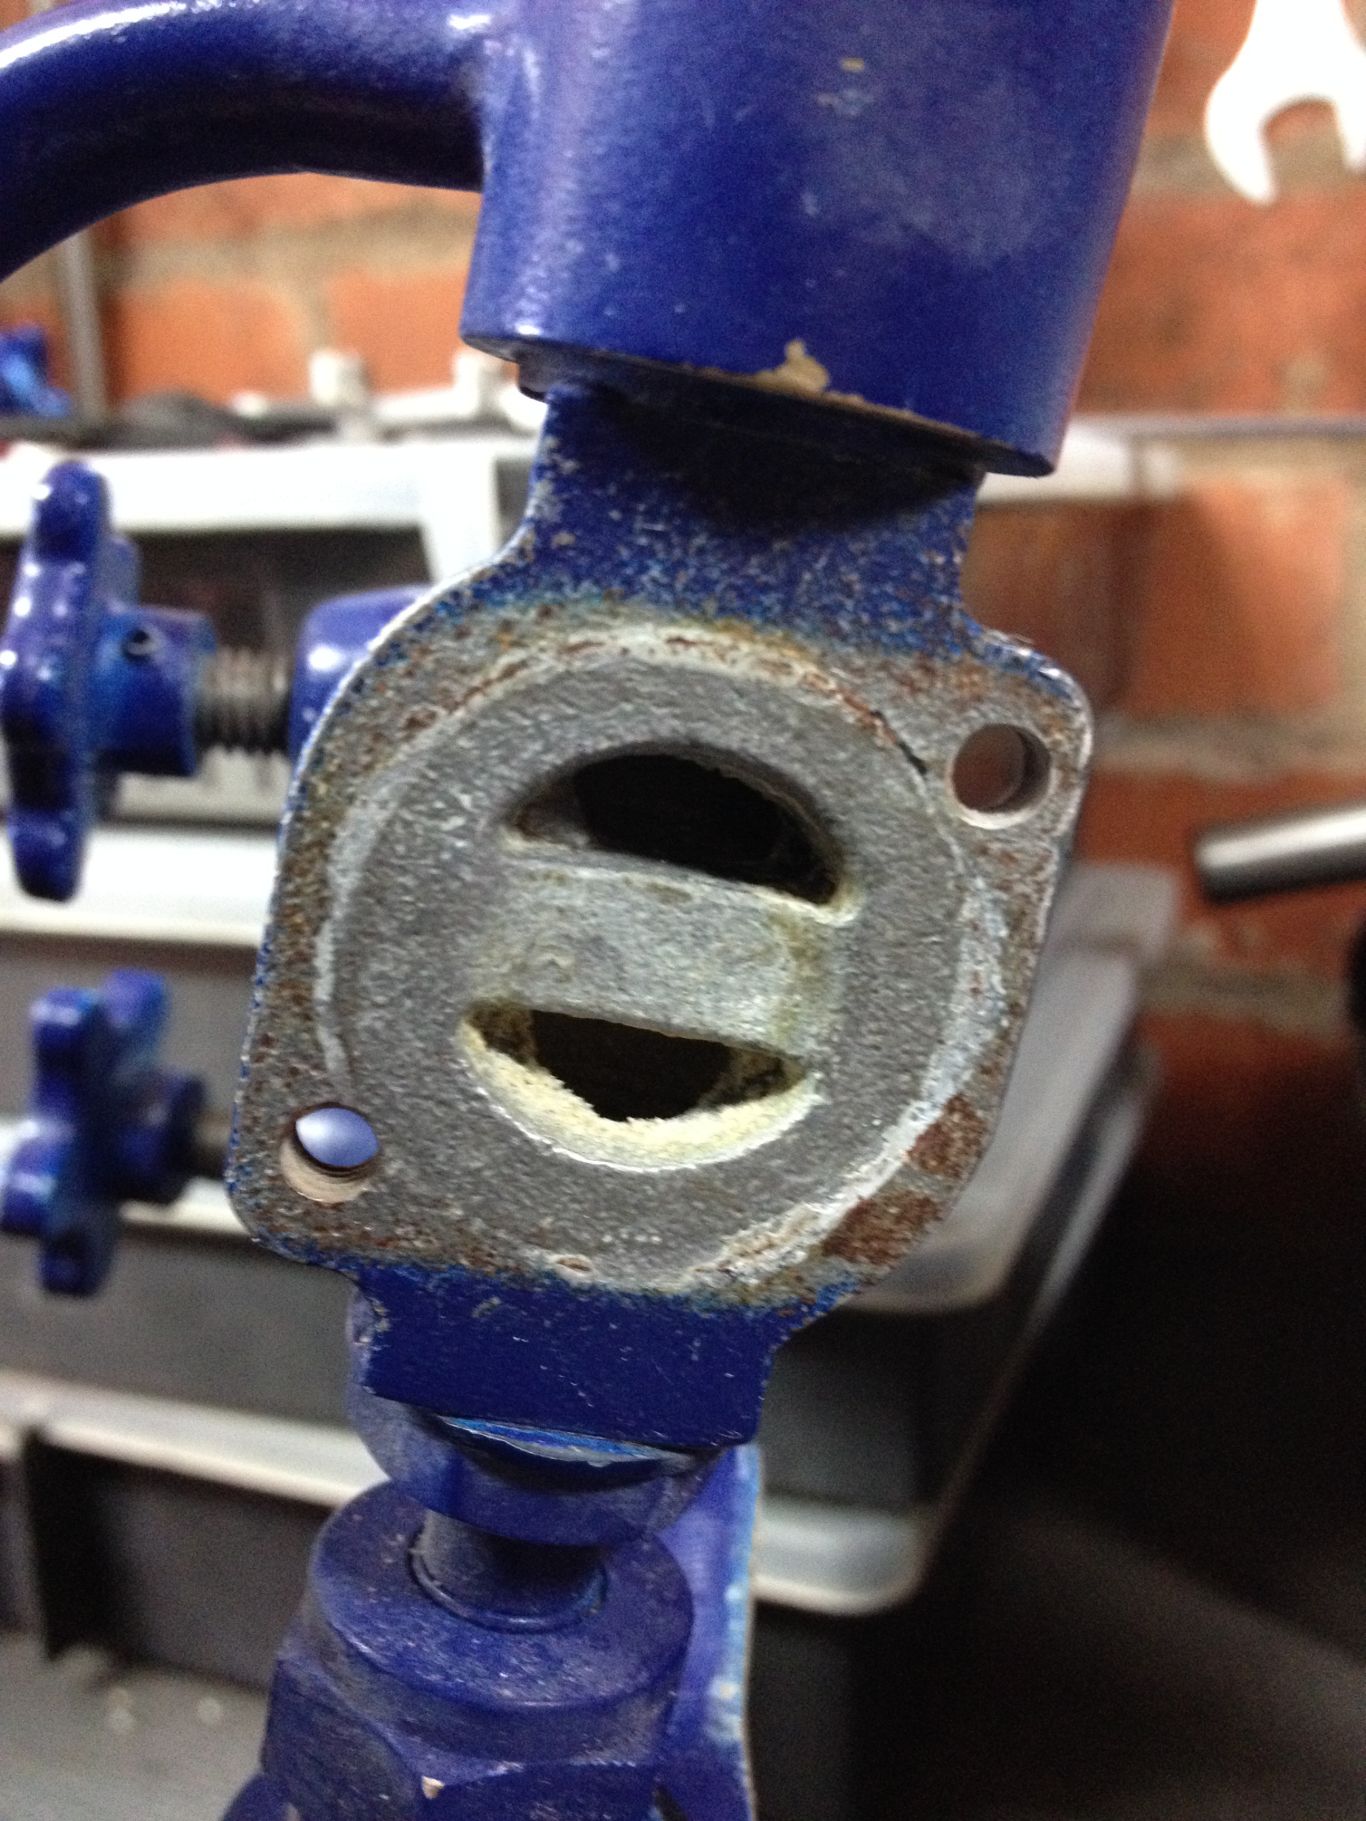
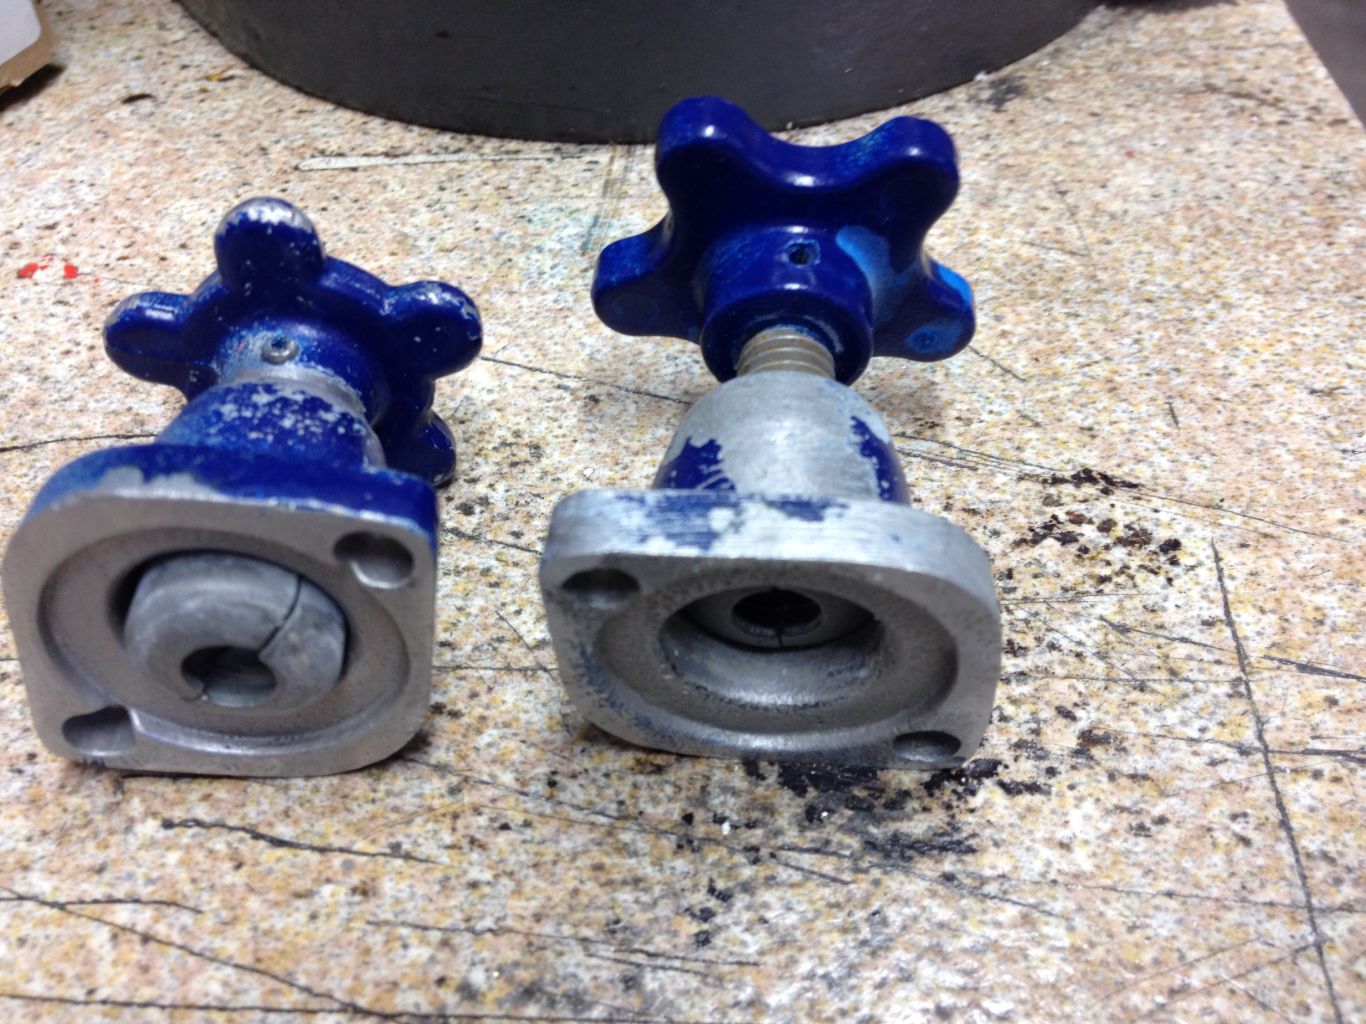
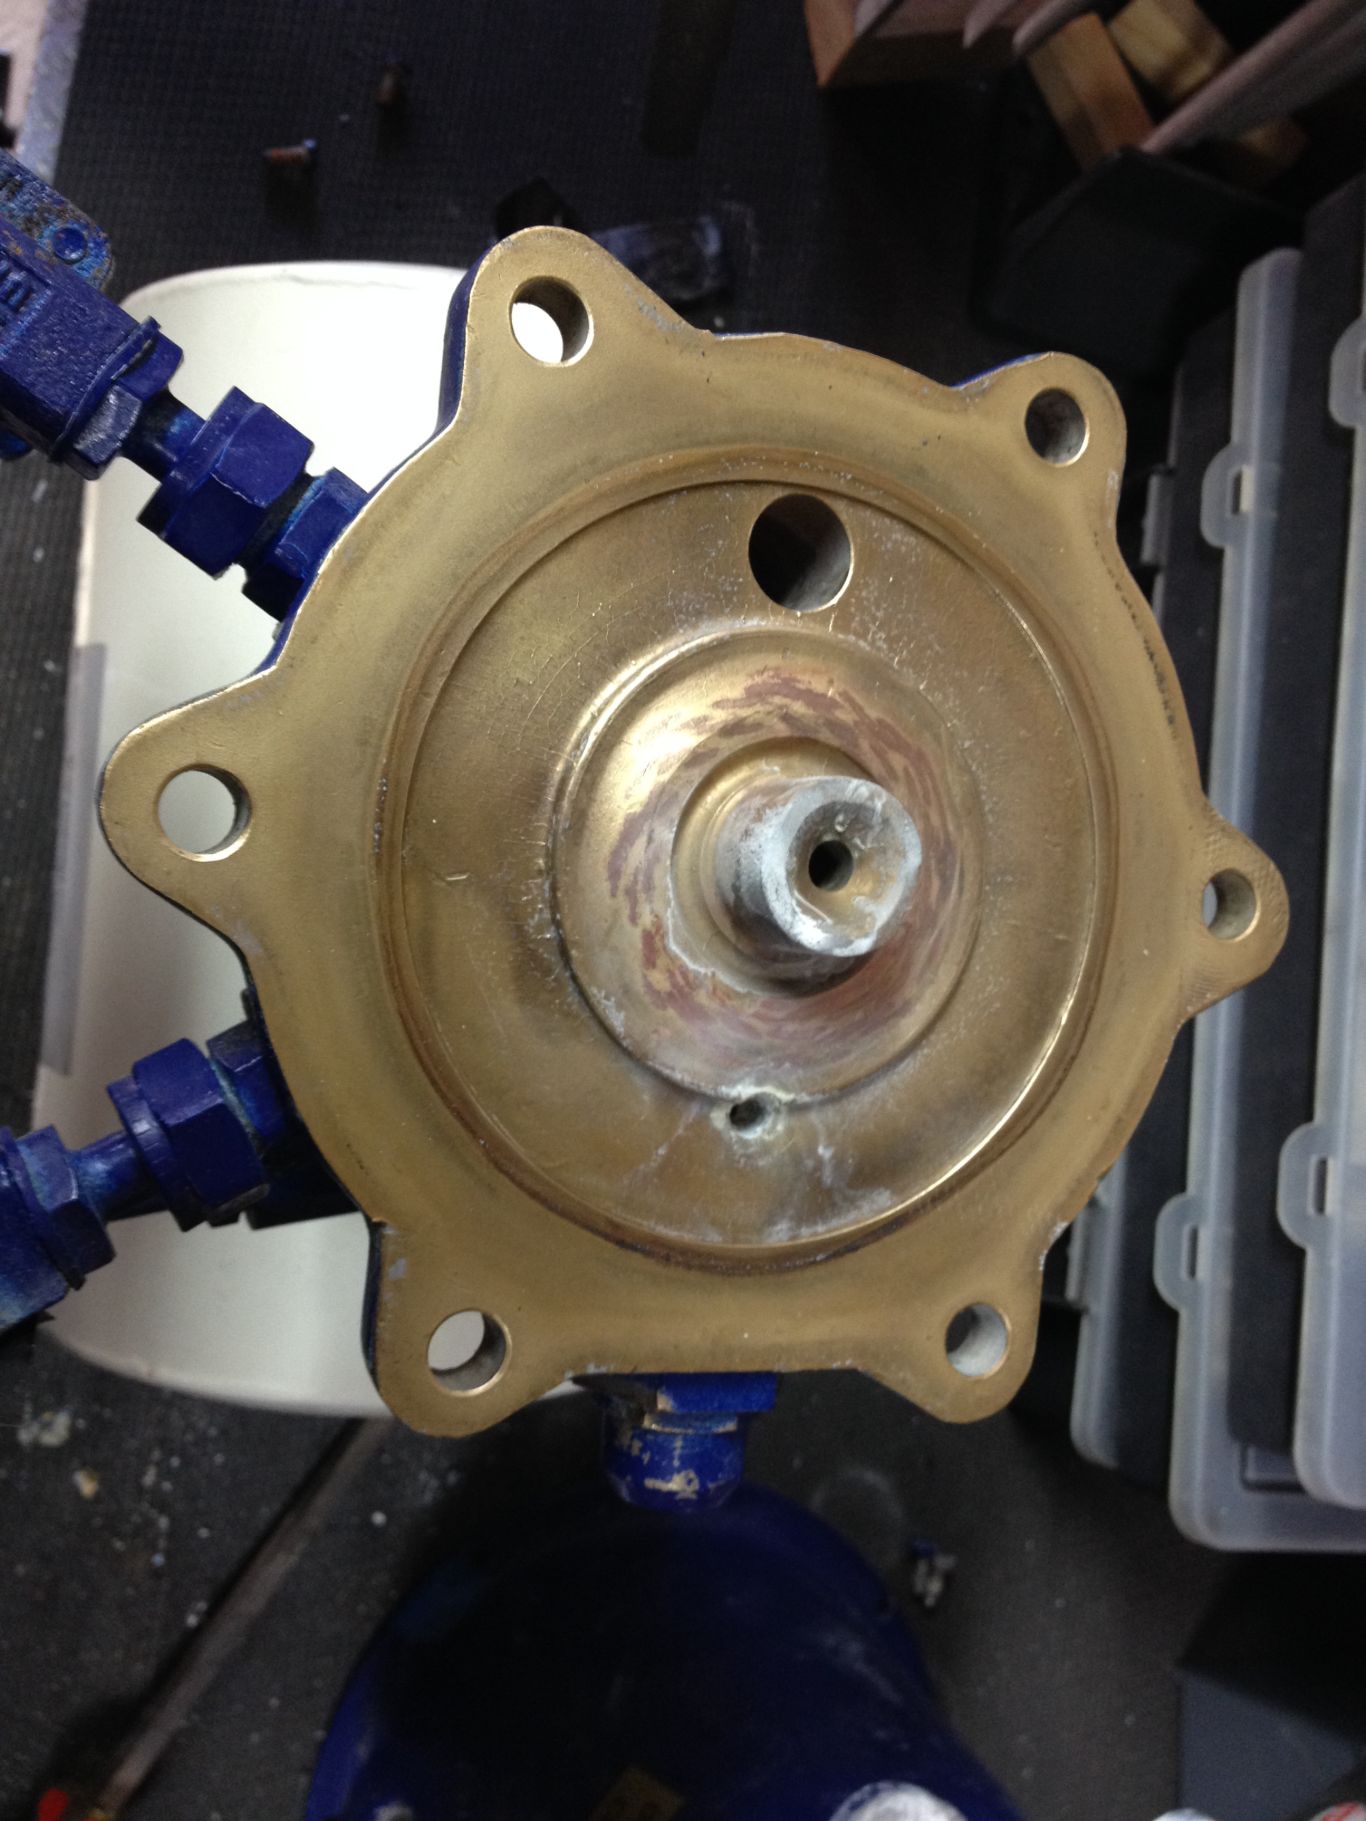
The valves are known as Saunders valves and consist of a split collar that grips a rubber diaphragm which is then screwed in and out to cover the two ports. The flow comes up through one hole of the valve seat shown and down through the other confirming it is necessary to open the valves fully in use.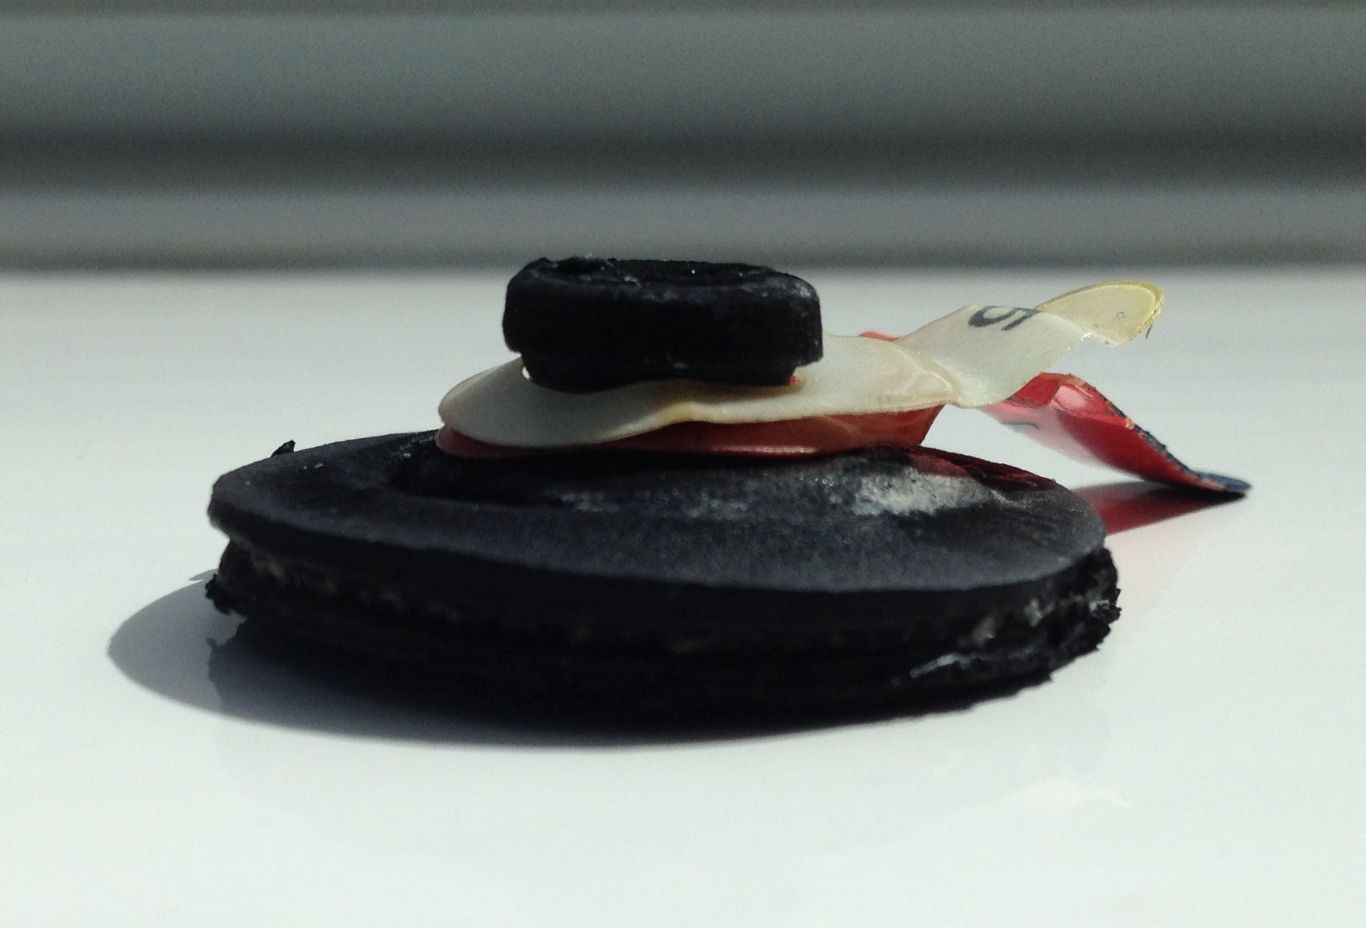
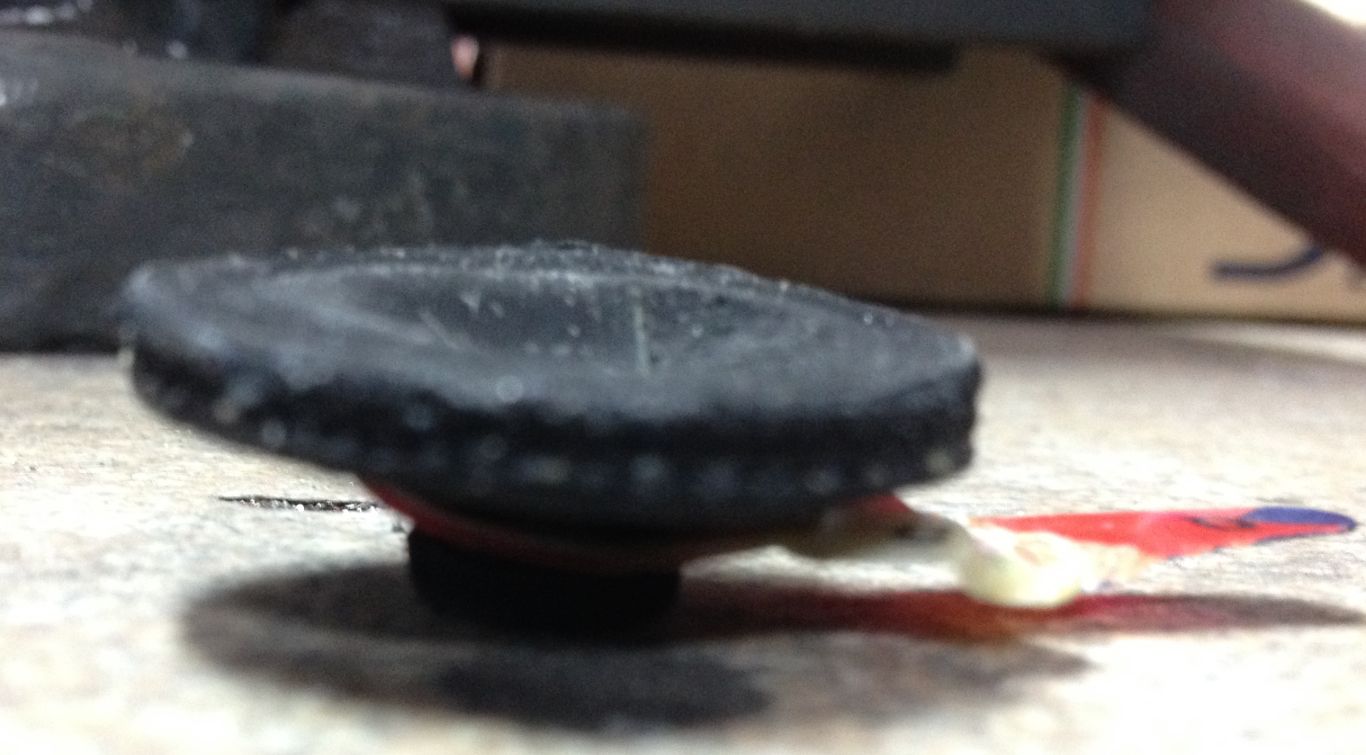
The diaphragms were in fact in reasonable condition and are quite thick so it is reasonable to use firm finger pressure to close them but be wary of over tightening as I suspect this may have caused the diaphragm to stick to the valve seat in my case. Dried flux residue washes away with water and I cleaned the mating surfaces with wire wool before reassembly. The lower tank and upper storage tank of the fluxer are made of steel and the upper valve section seems to be in brass.
Reassembly can be done in any order: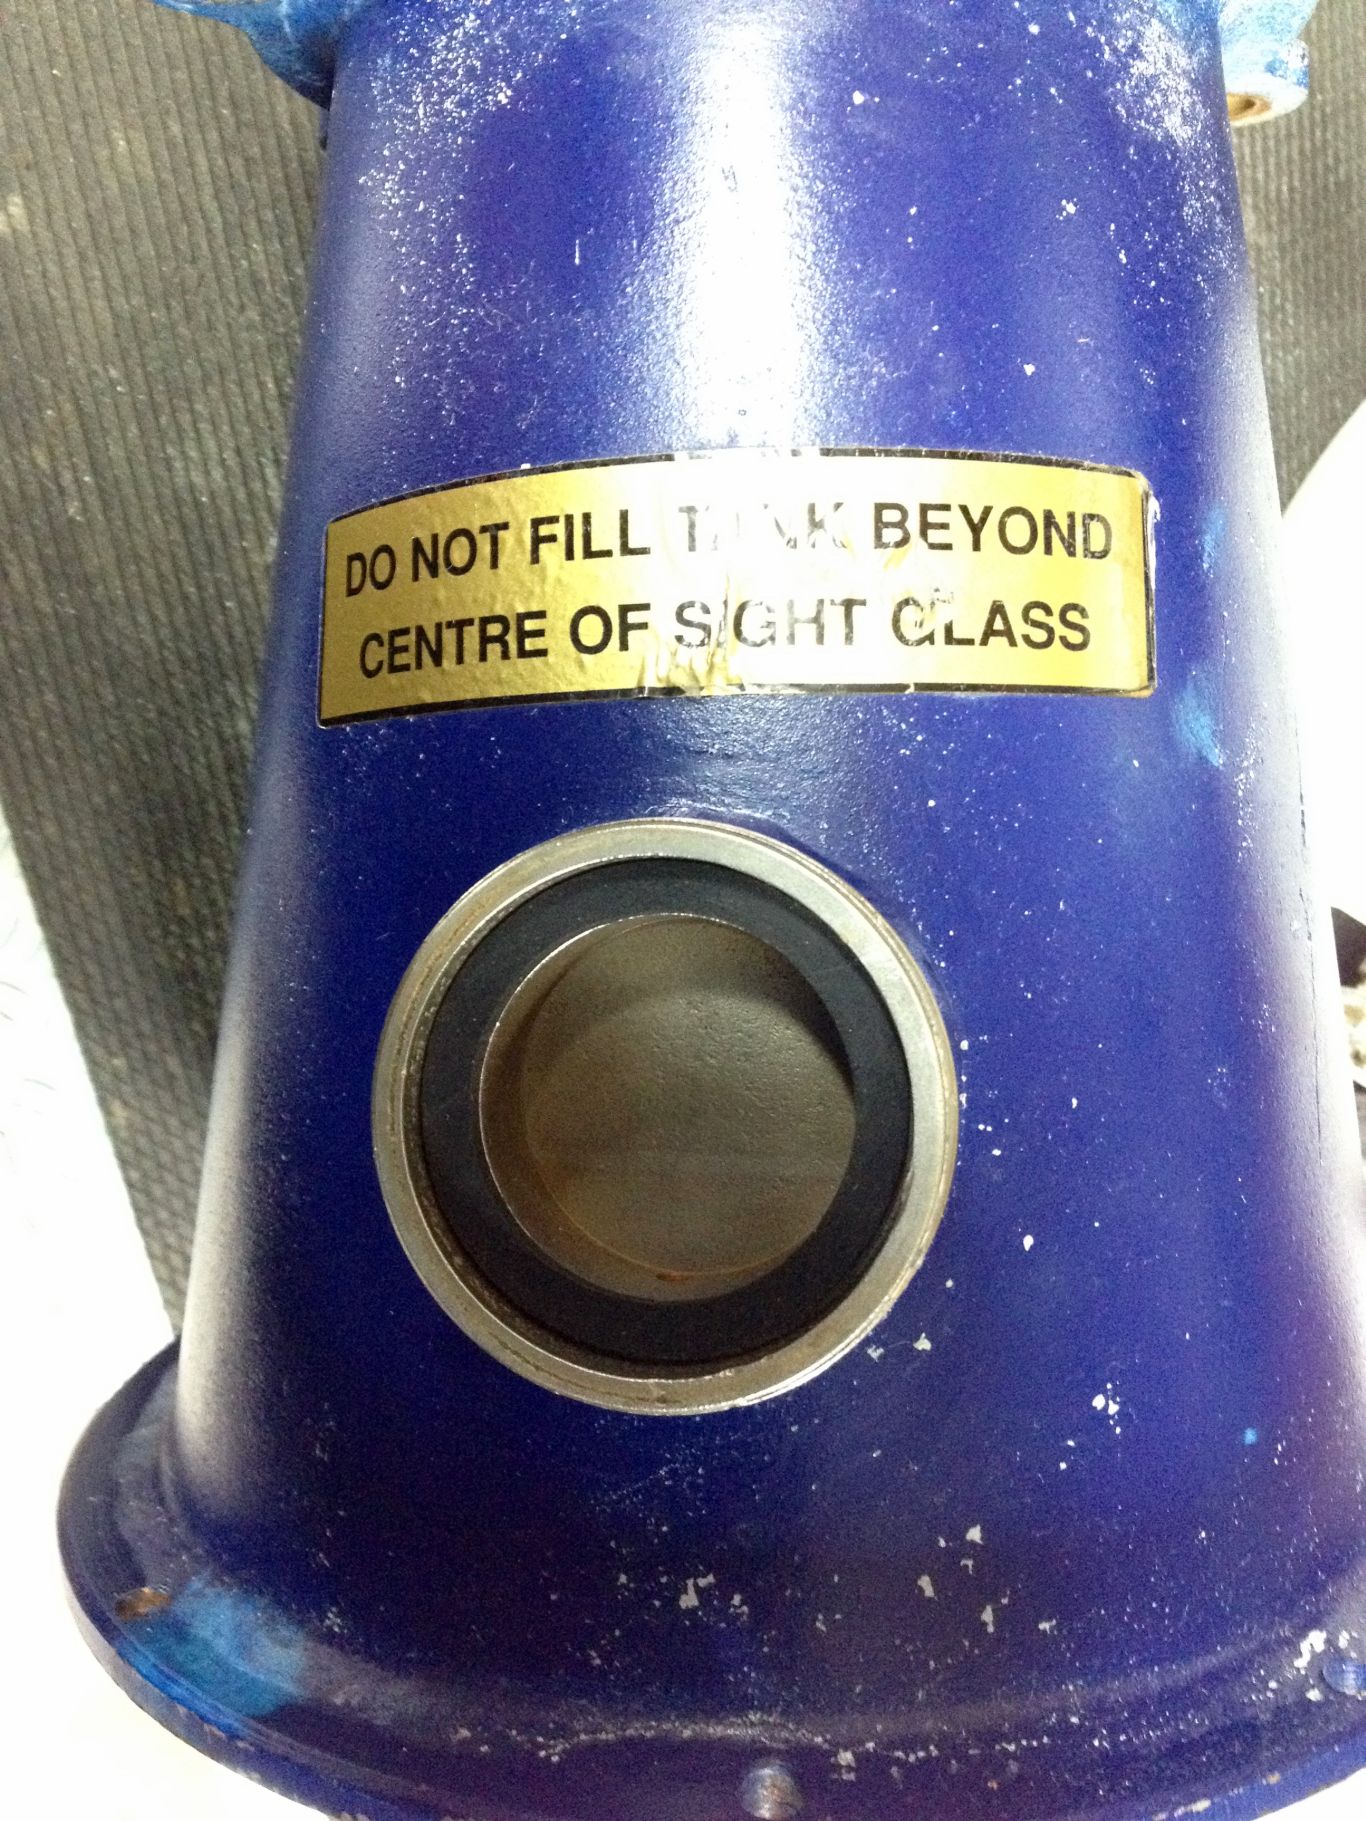
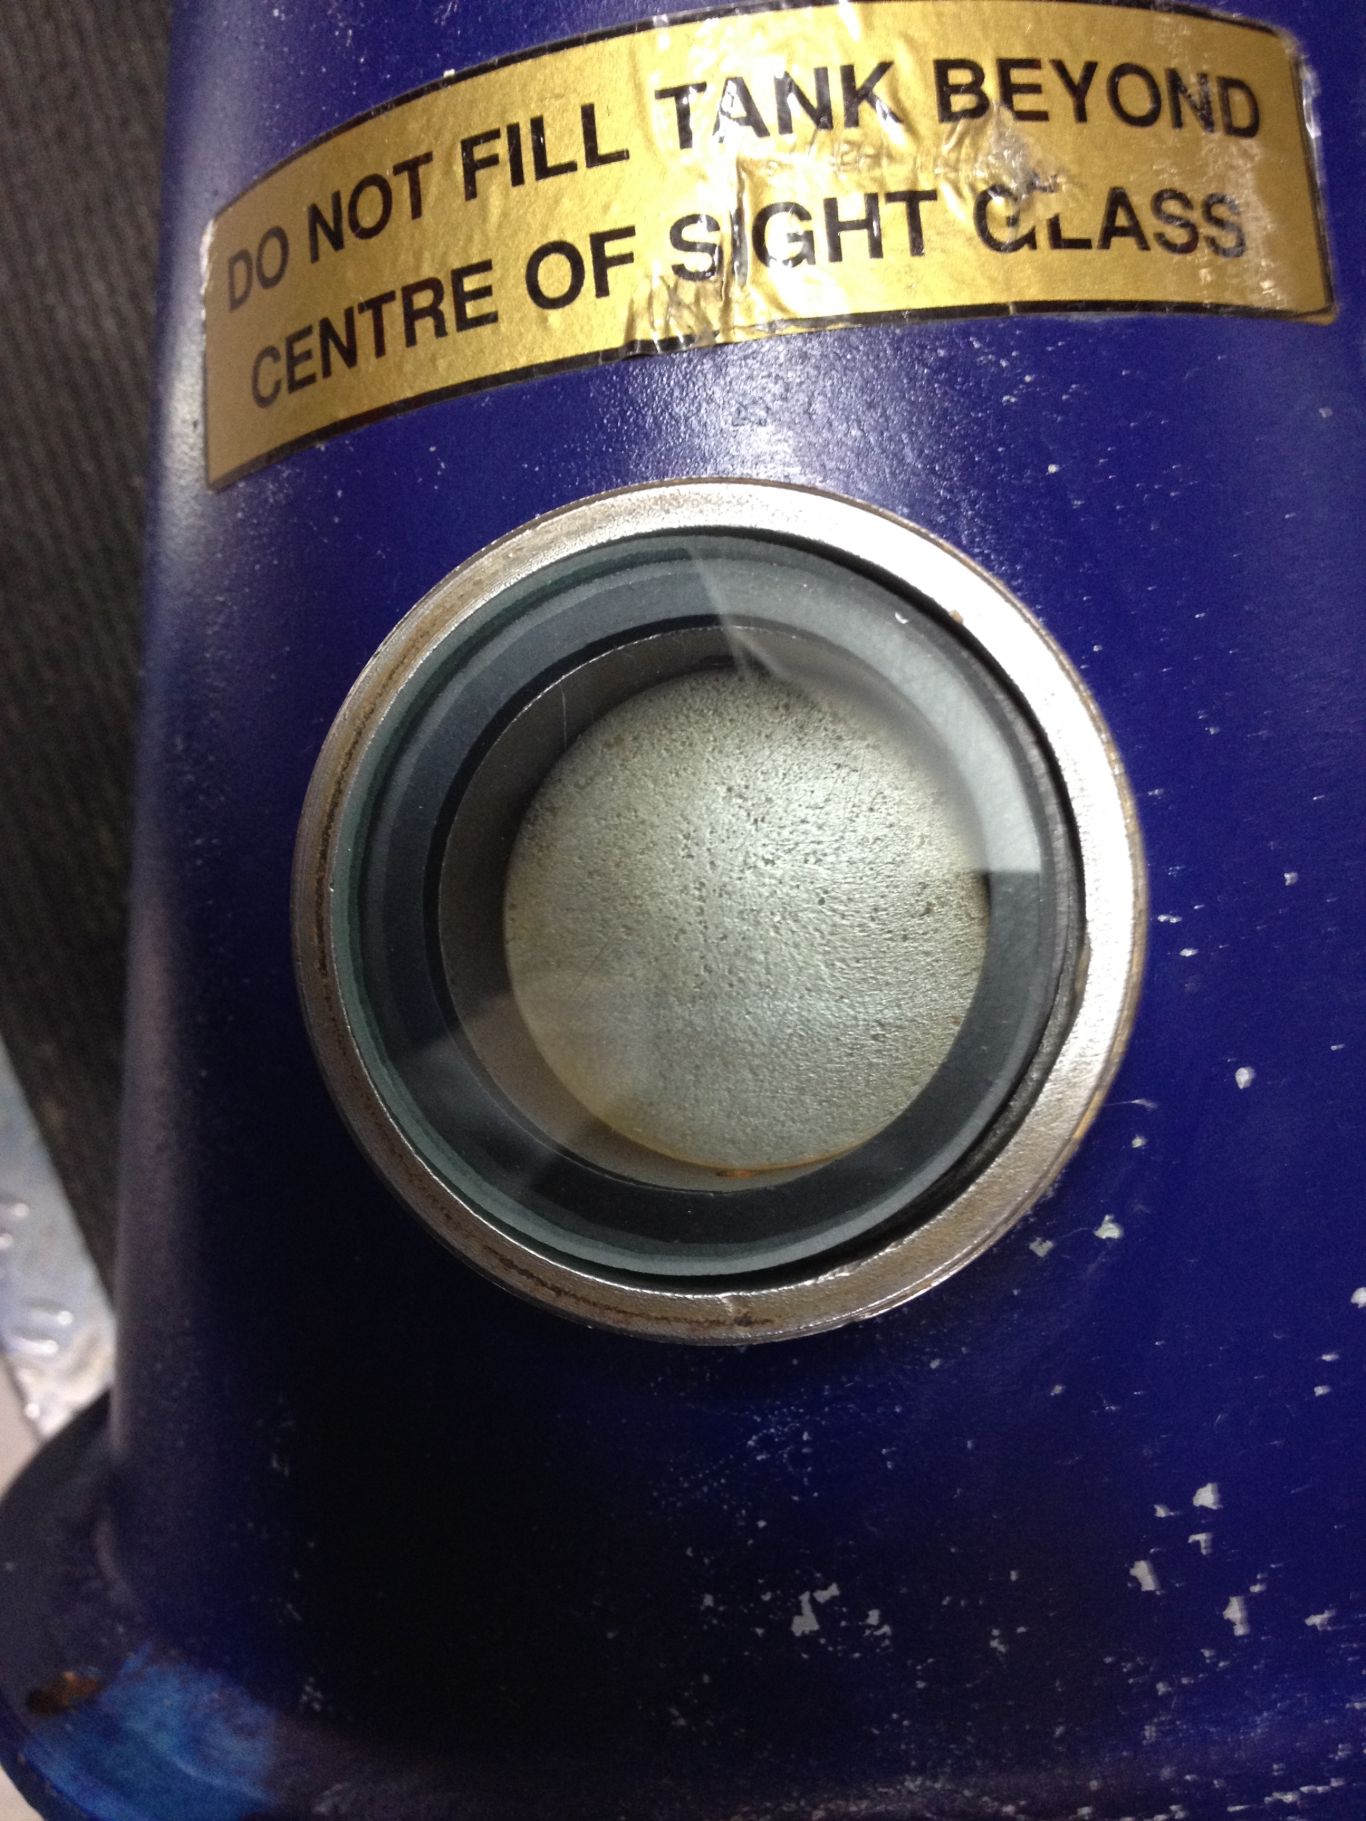
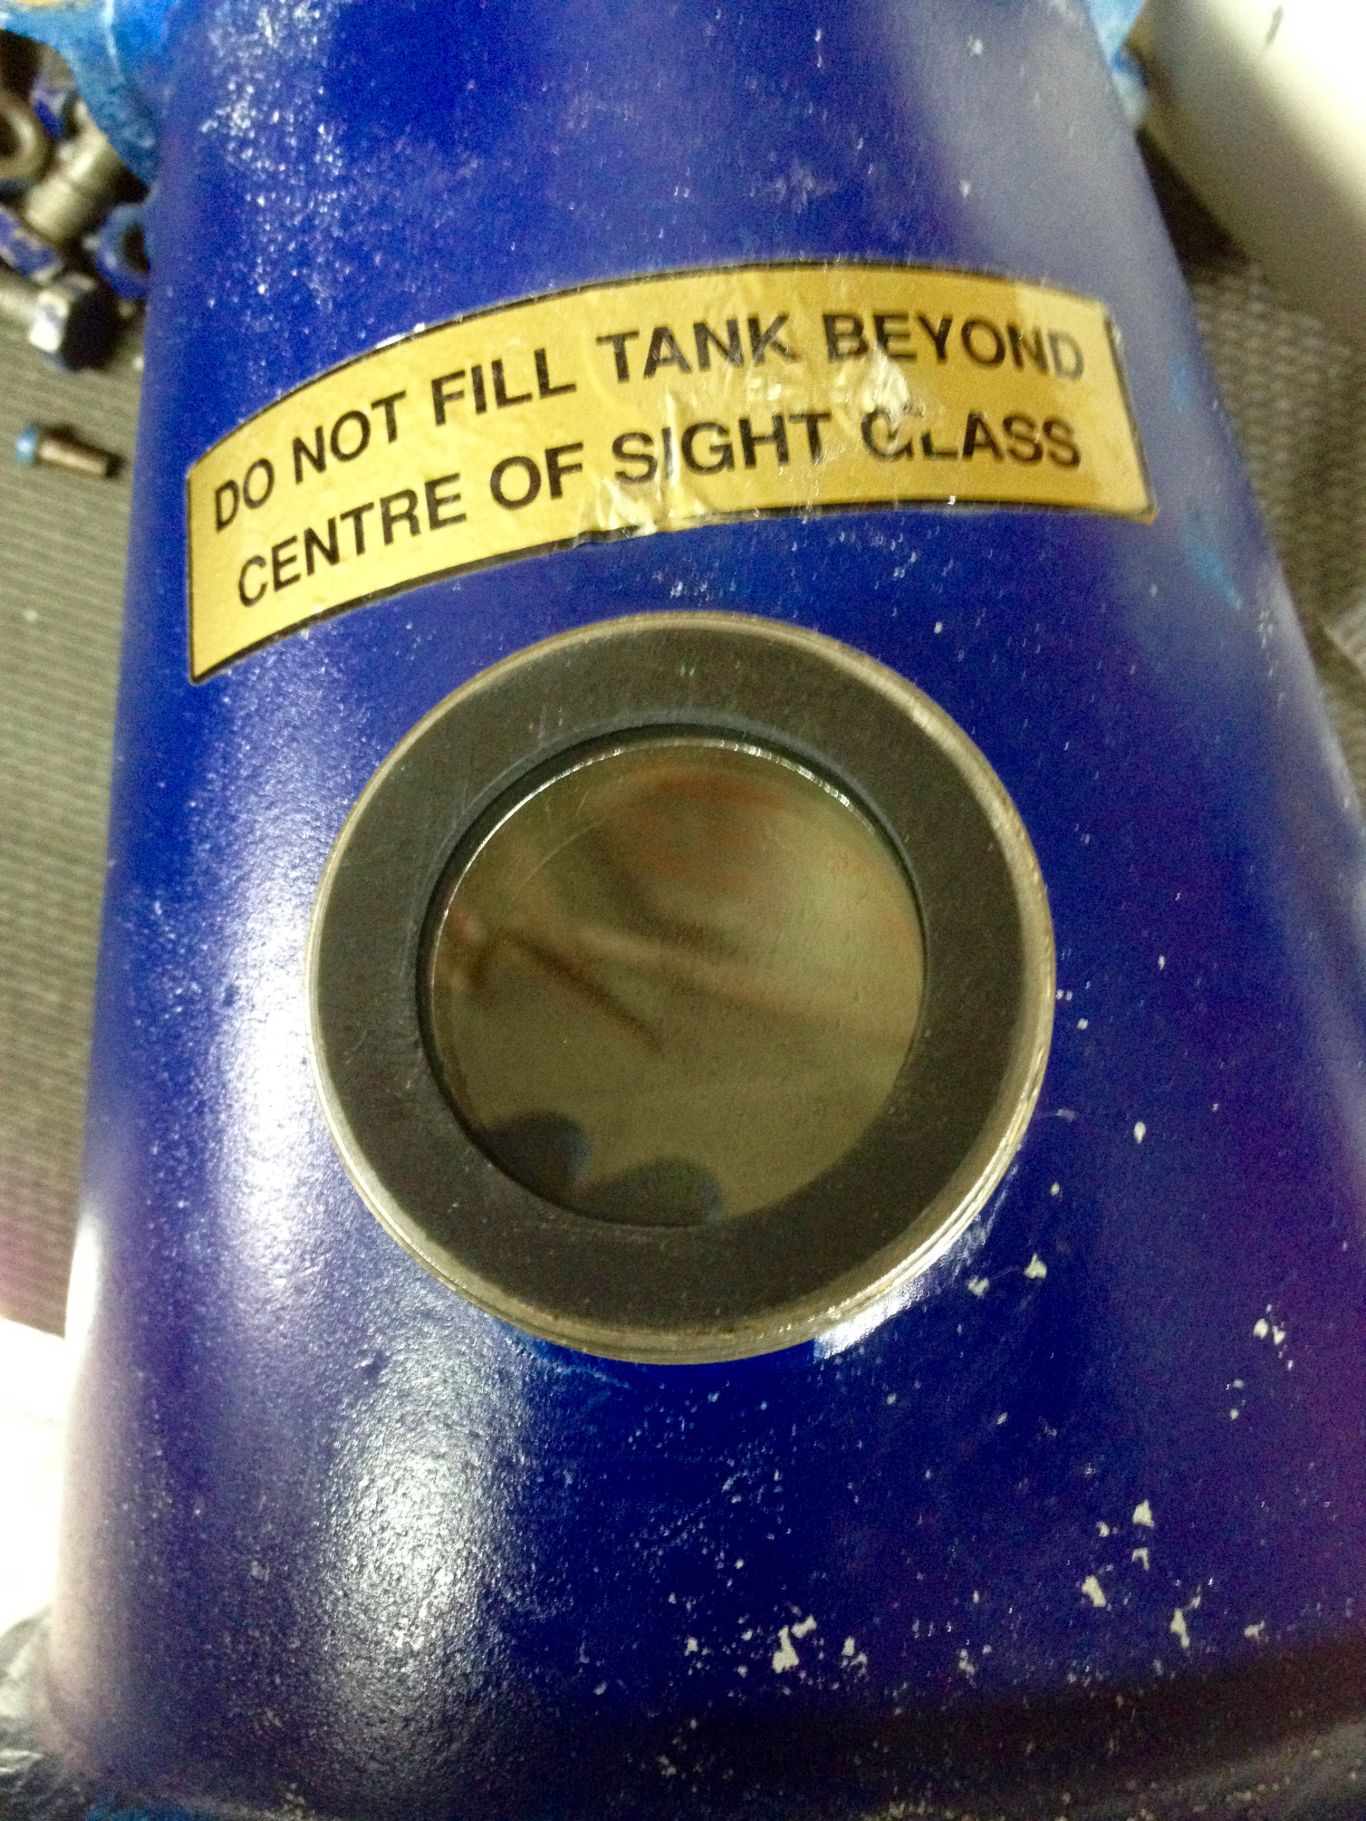
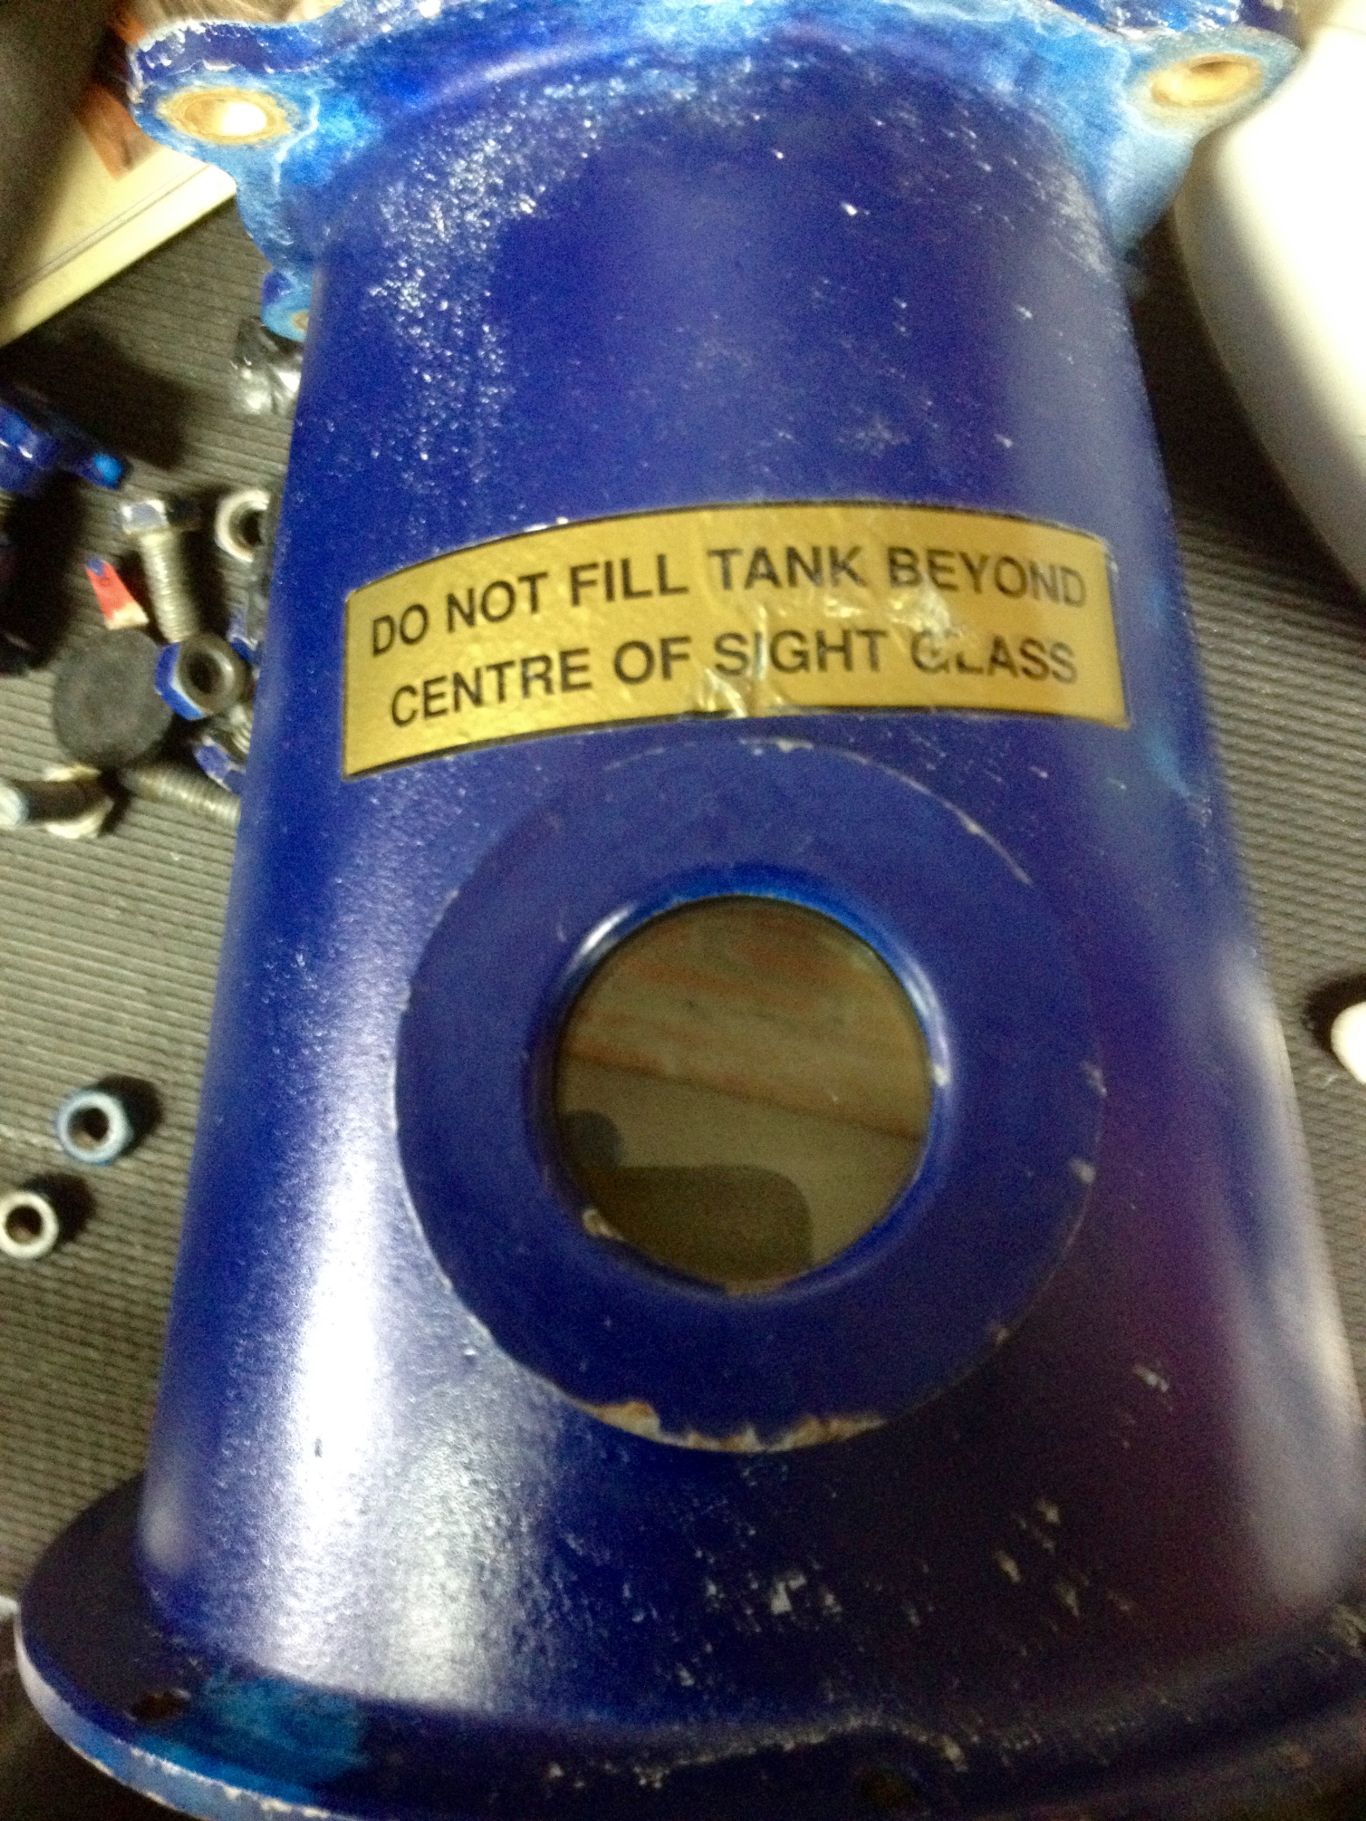
The two sight glass seals are not identical. I strongly advise soaking these seals in Hot Water before assembly. When I did not do this I found the leaking and crystallisation around the seals returned quickly. The softer heated seals tightened down a lot more. Screw back the sight glass cover and tighten by hand, though I finish off the tightening using a C spanner (as used for freewheel lock rings and old style bottom bracket lock rings), as the ring has two holes drilled either side.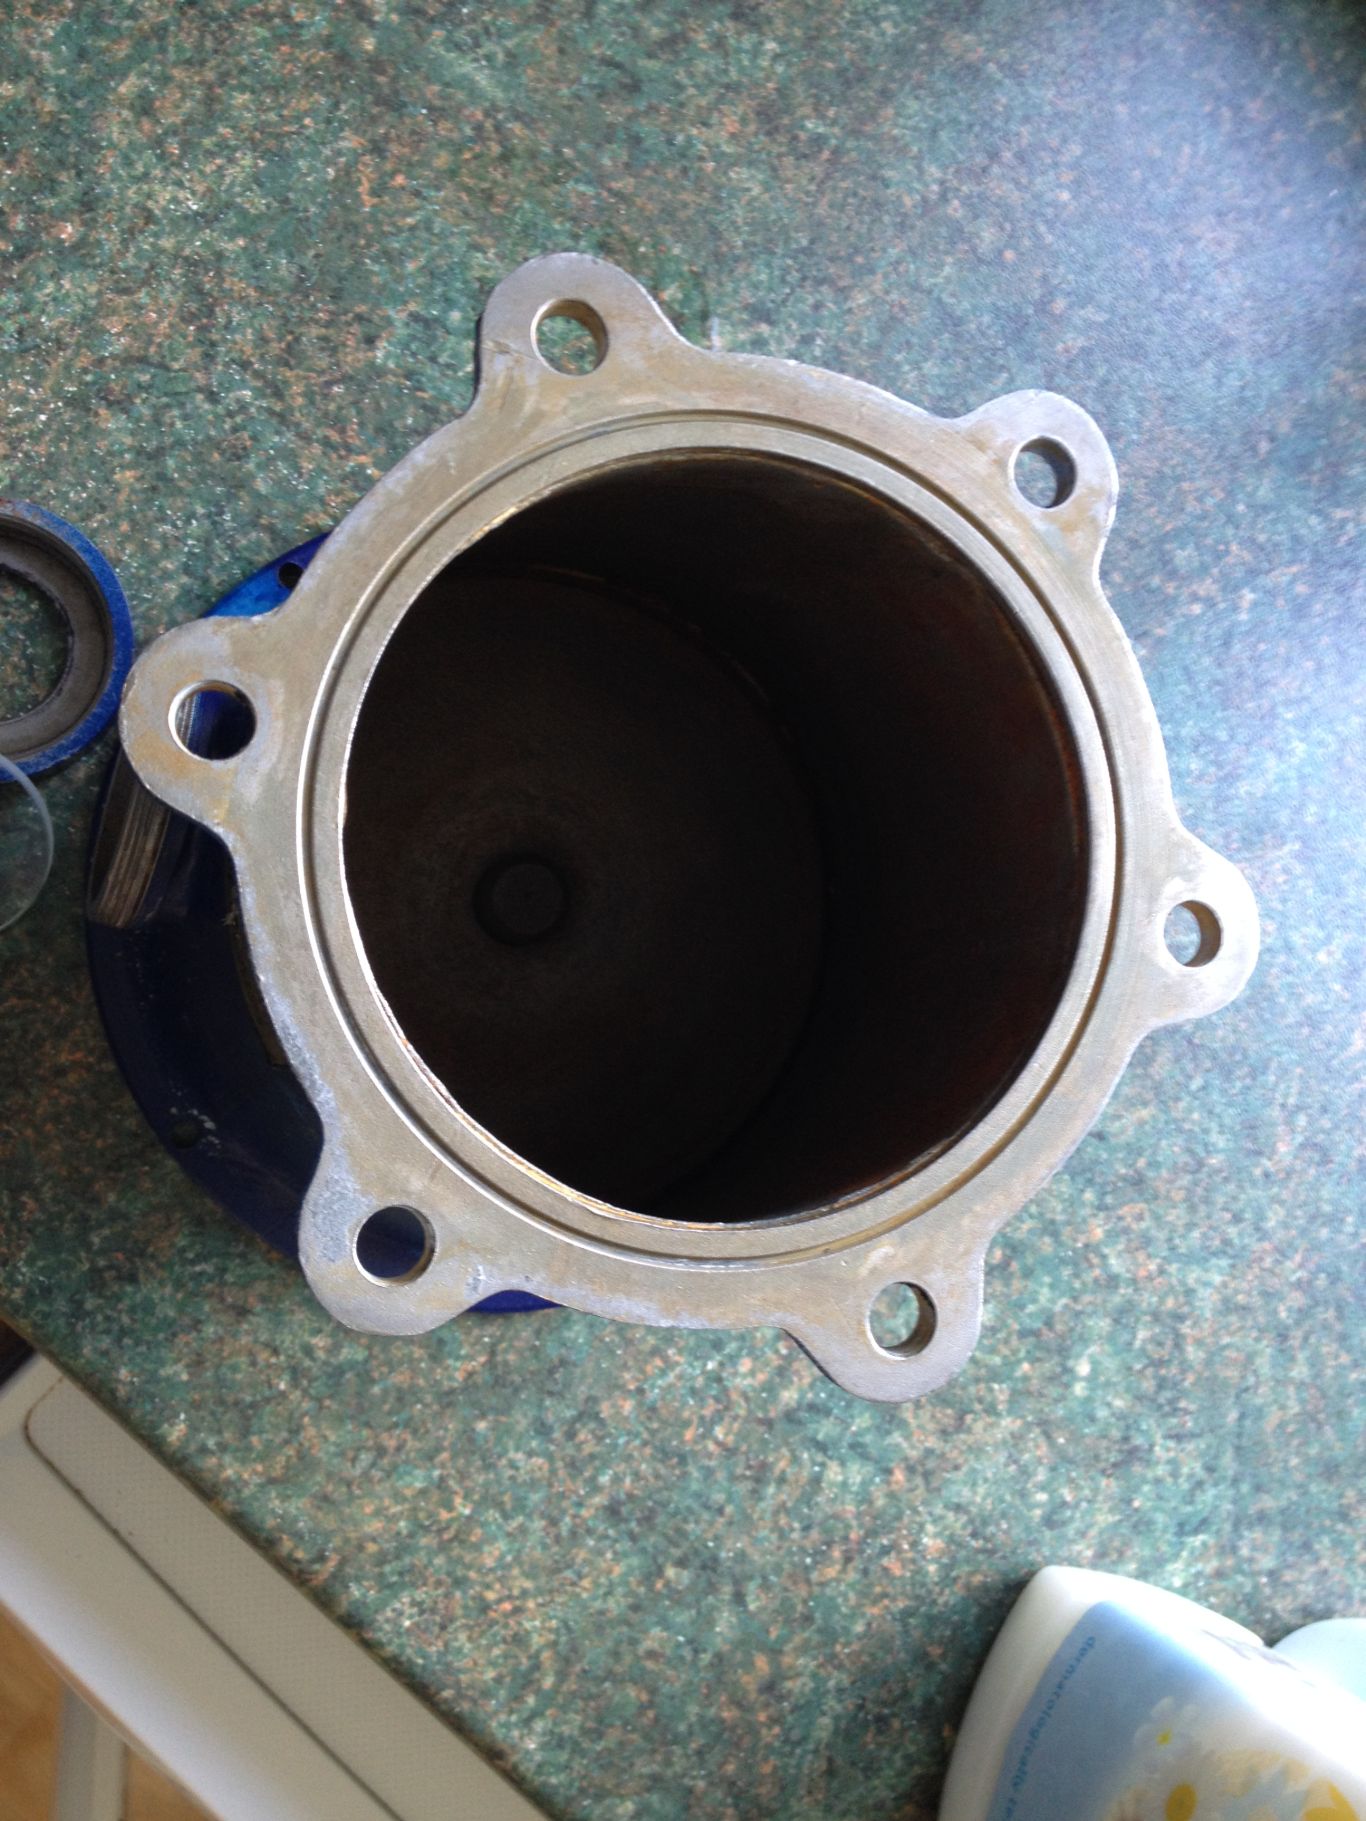

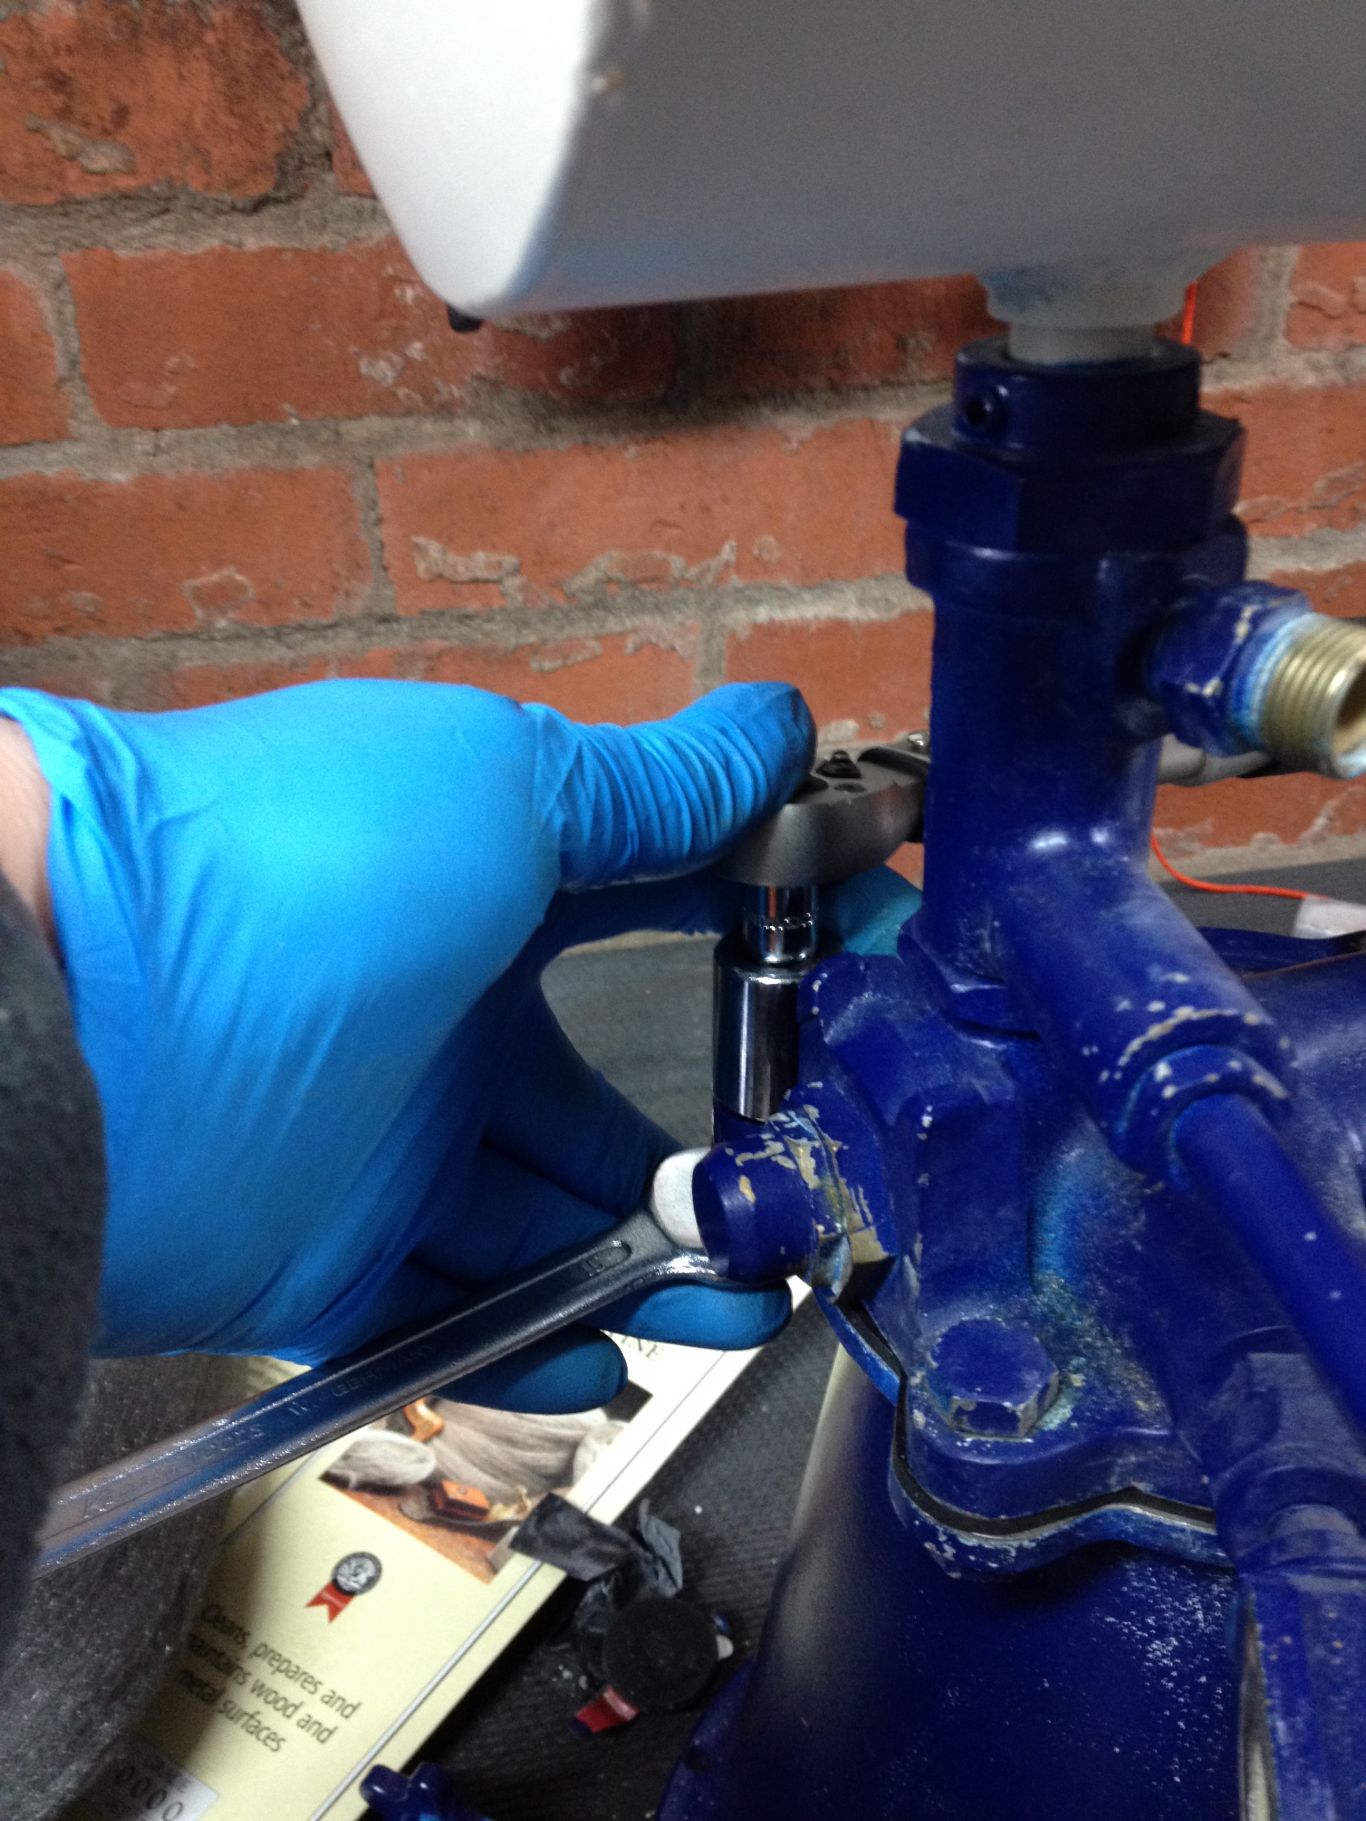
New wick and main tank gasket. I used a torque wrench to tighten the bolts to ensure even tightening. Conventionally the tightening sequence is to tighten diametrically opposed bolts ending with the bolt next to the one you started with. My final tightening torque was 10 Nm.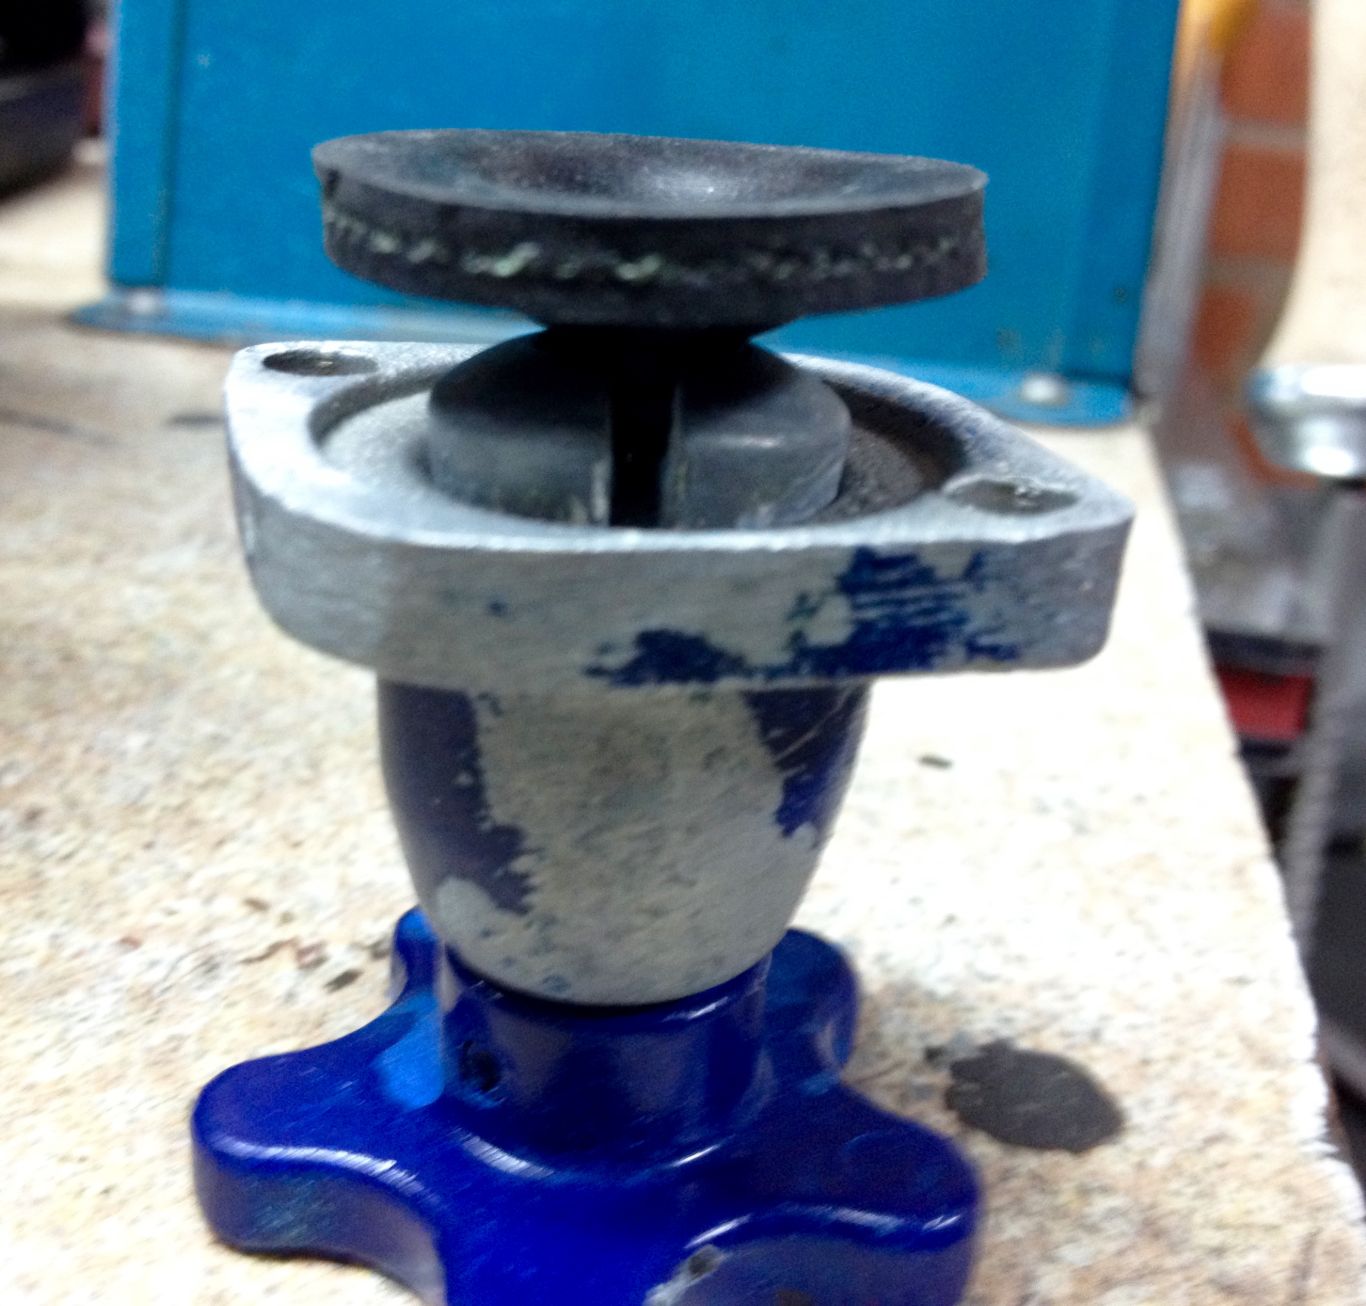
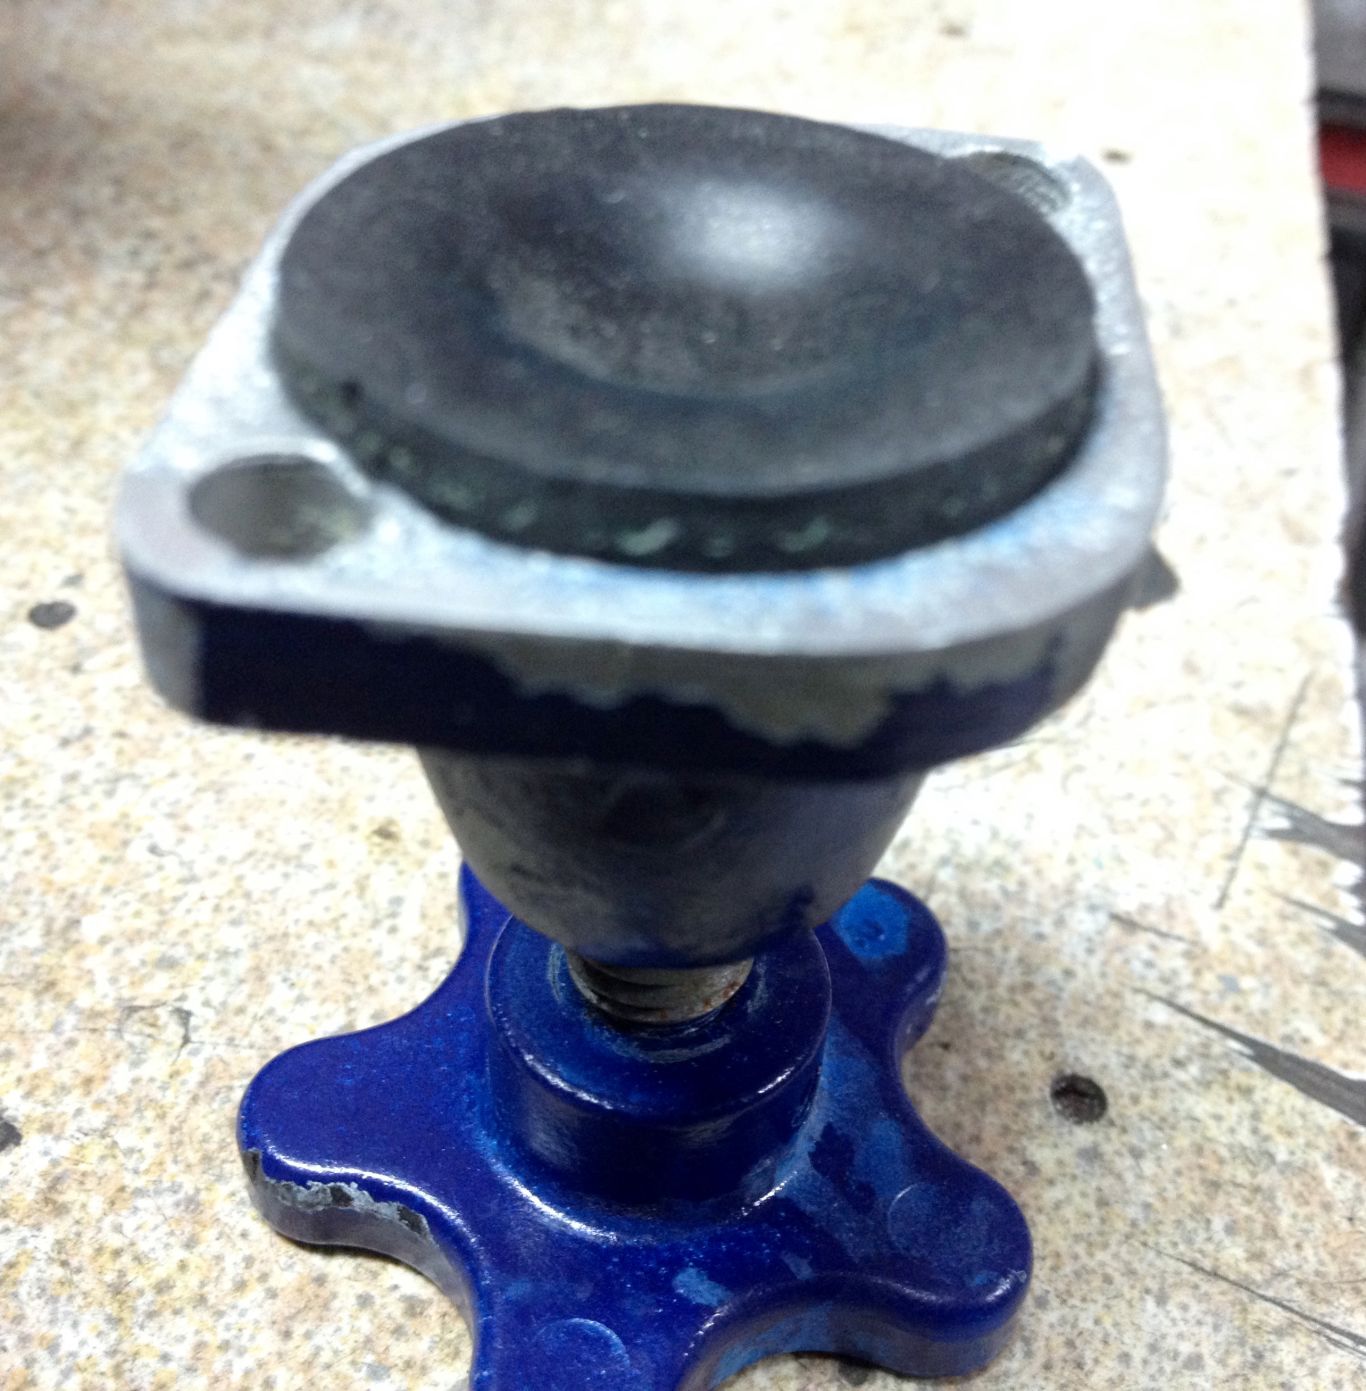
New Saunders valve diaphragms clipped into collars and retracted before screwing back in place.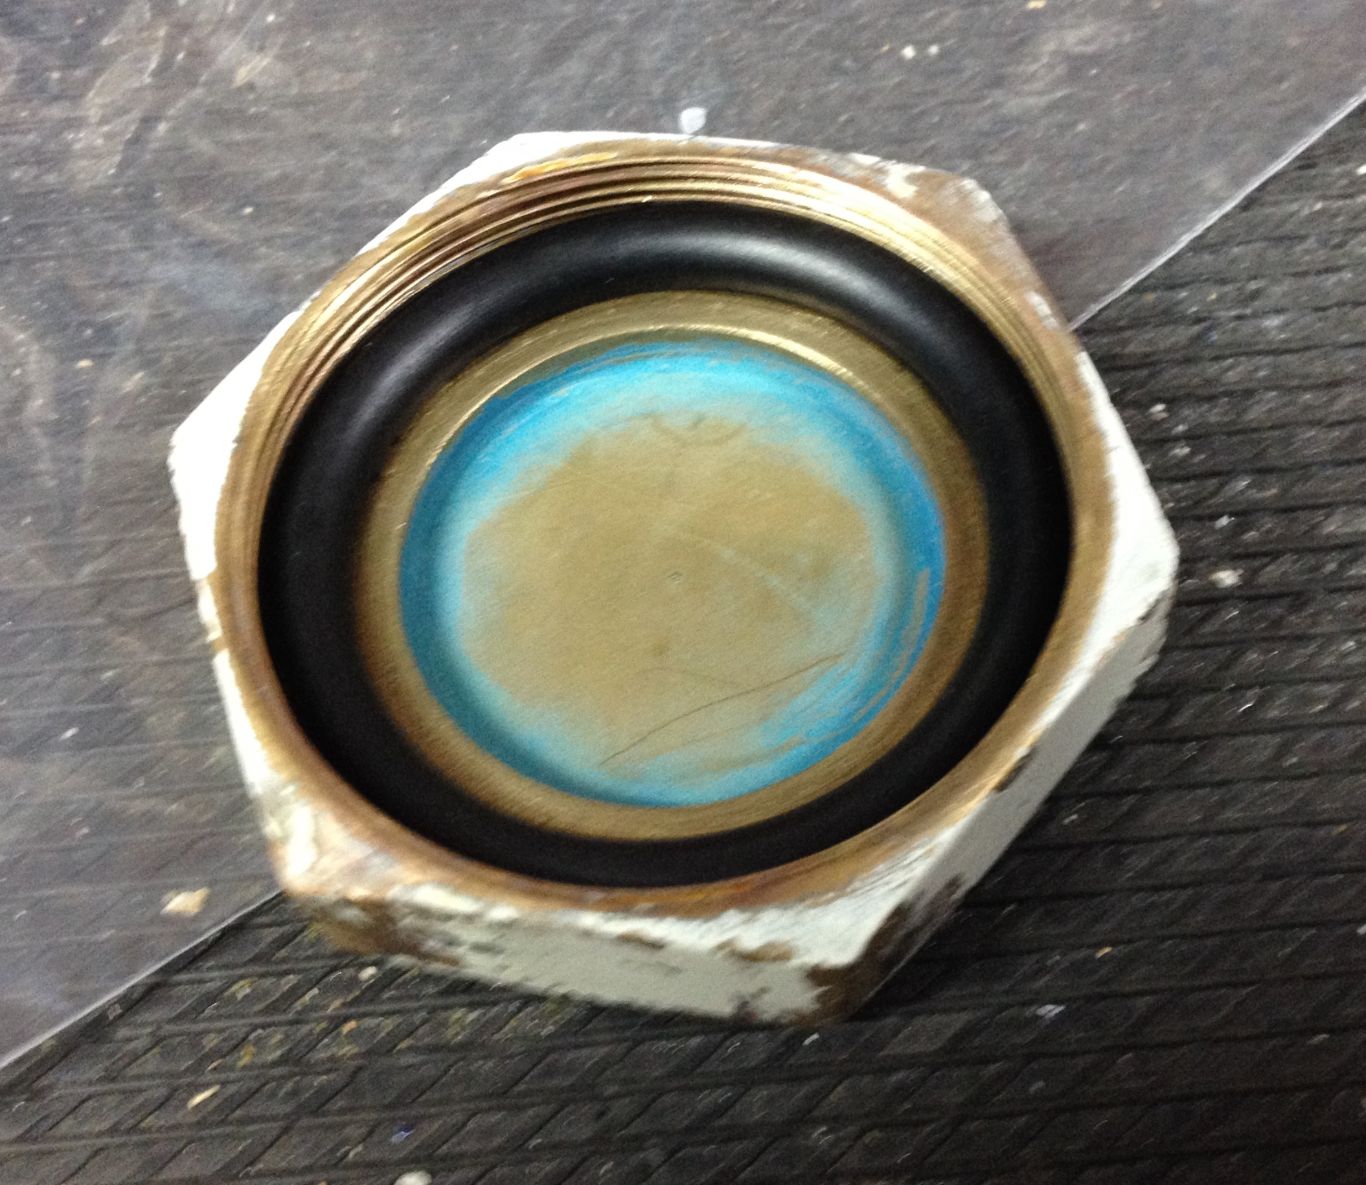 Reserve tank O ring seal replaced
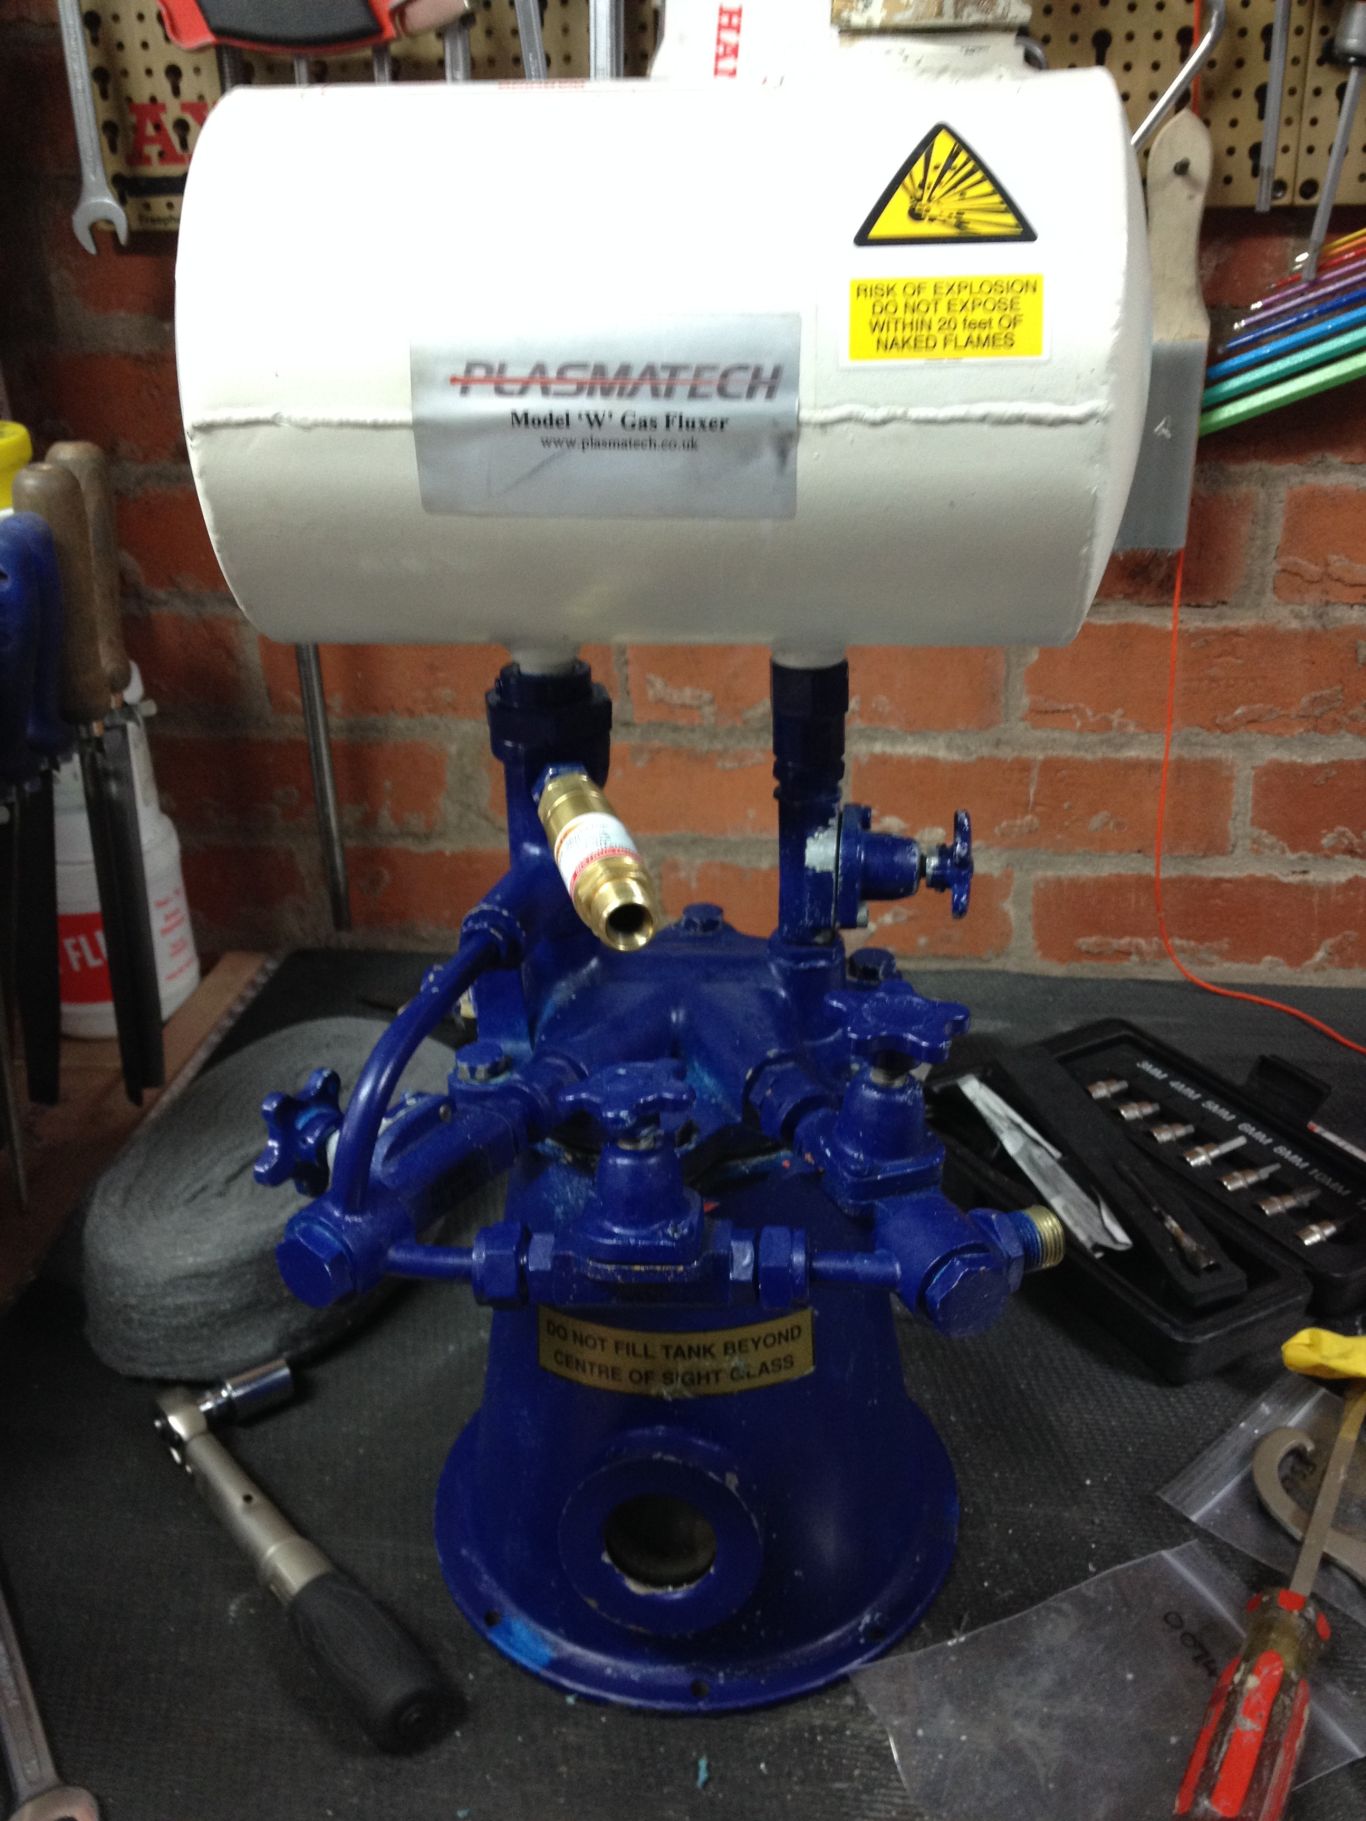
Finally a new flashback arrestor was added
I tested before refilling by connecting up the fuel gas and opening the inflow valve, then pressurising to the max recommended pressure which is 9psi. Shut off the cylinder valve and leave it for a while to see if the pressure gauge remains stable. If OK vent it and fill again with flux. Further tightening of seals can be done subsequently if there is any evidence of leakage indicated by white residue at the seals. You can also leak test joints with a leak test solution.
Subsequent decomissioning
In March 2022 I decided to replace this fluxer with a newer type. I had been using it for nearly 9 years and it still had the original flux in it! The problems with the leaky window and tendency for the rubber valves and seals to perish made me feel I didn’t want to replace everything again, before I considered renewing the flux. I have been doing very little brass brazing over the last few years, having been using more silver and I feel this fluxer is more satisfactory if it is used more often rather than left standing for long periods. I have now replaced it with and Autofluxer M3

4 thoughts on “Servicing a Model W Gas Fluxer”
Hi we switched from oxy-acetylene to oxy-propane for some production items we run. An your website has been terrific for information on this system as we have the same fluxer. I’ve tried plasmatech for a spare rubber ball in the safety valve but sadly not retrieved one. Have you had any difficulty with the propane, superior gasflux mix causing the ball to swell and get stuck?
Dear James,
I’m sorry to say I am not sure about the ball you are referring to. I have not come across one on my fluxer. The fluxer diagram does refer to the section before the exit port (18) as a safety valve but I did not dismantle this as there was no suggestion of replaceable parts. I have certainly had problems with sticking saunders valve diaphragms and blocking of flashback arrestors with dried flux residue, together with leaky window seals, but I have generally attributed this to the fact my fluxer can lie idle for long periods with the valves closed. I have heard in the past of propane gas affecting rubber hose as it was a big problem for the caravan industry and caused oily residues to damage the gas regulator downstream of the hoses. It happened to me and was only rectified with stainless hoses. This is probably completely irrelevant! I use propane specific hoses for my set up. Sorry again if this is of no help.
Regards
Stephen
Hello, just stumbled on your site. I was shocked to see the fluxer as I havent seen one in decades. I used to work in a factory just after I left school. This was in the 80’s so hard to get any work. Along with a dozen or so other guys (no girls) I did brazing for wheel chair frames. All day & every day. Winter & summer. If the UK had any slave / sweat shops- this was it. I left just before they went bust. I don’t remember make of the fluxers but they had a red base & white top tank. The liquid flux was supplied in yellow 5ltr cans and stank. Was also very flammable. Gas flame turned green so we wore blue goggles. On a good day you could look down the factory and see a haze waving about upto about waste height, produced from the fumes of brazing. Little H&S back then. Was hard to get good at brazing to start but ‘got it’ after couple of years. Definitley a lost skill.
Thanks for the insight Dean. I think I have seen pictures of type W fluxers in red and white.