
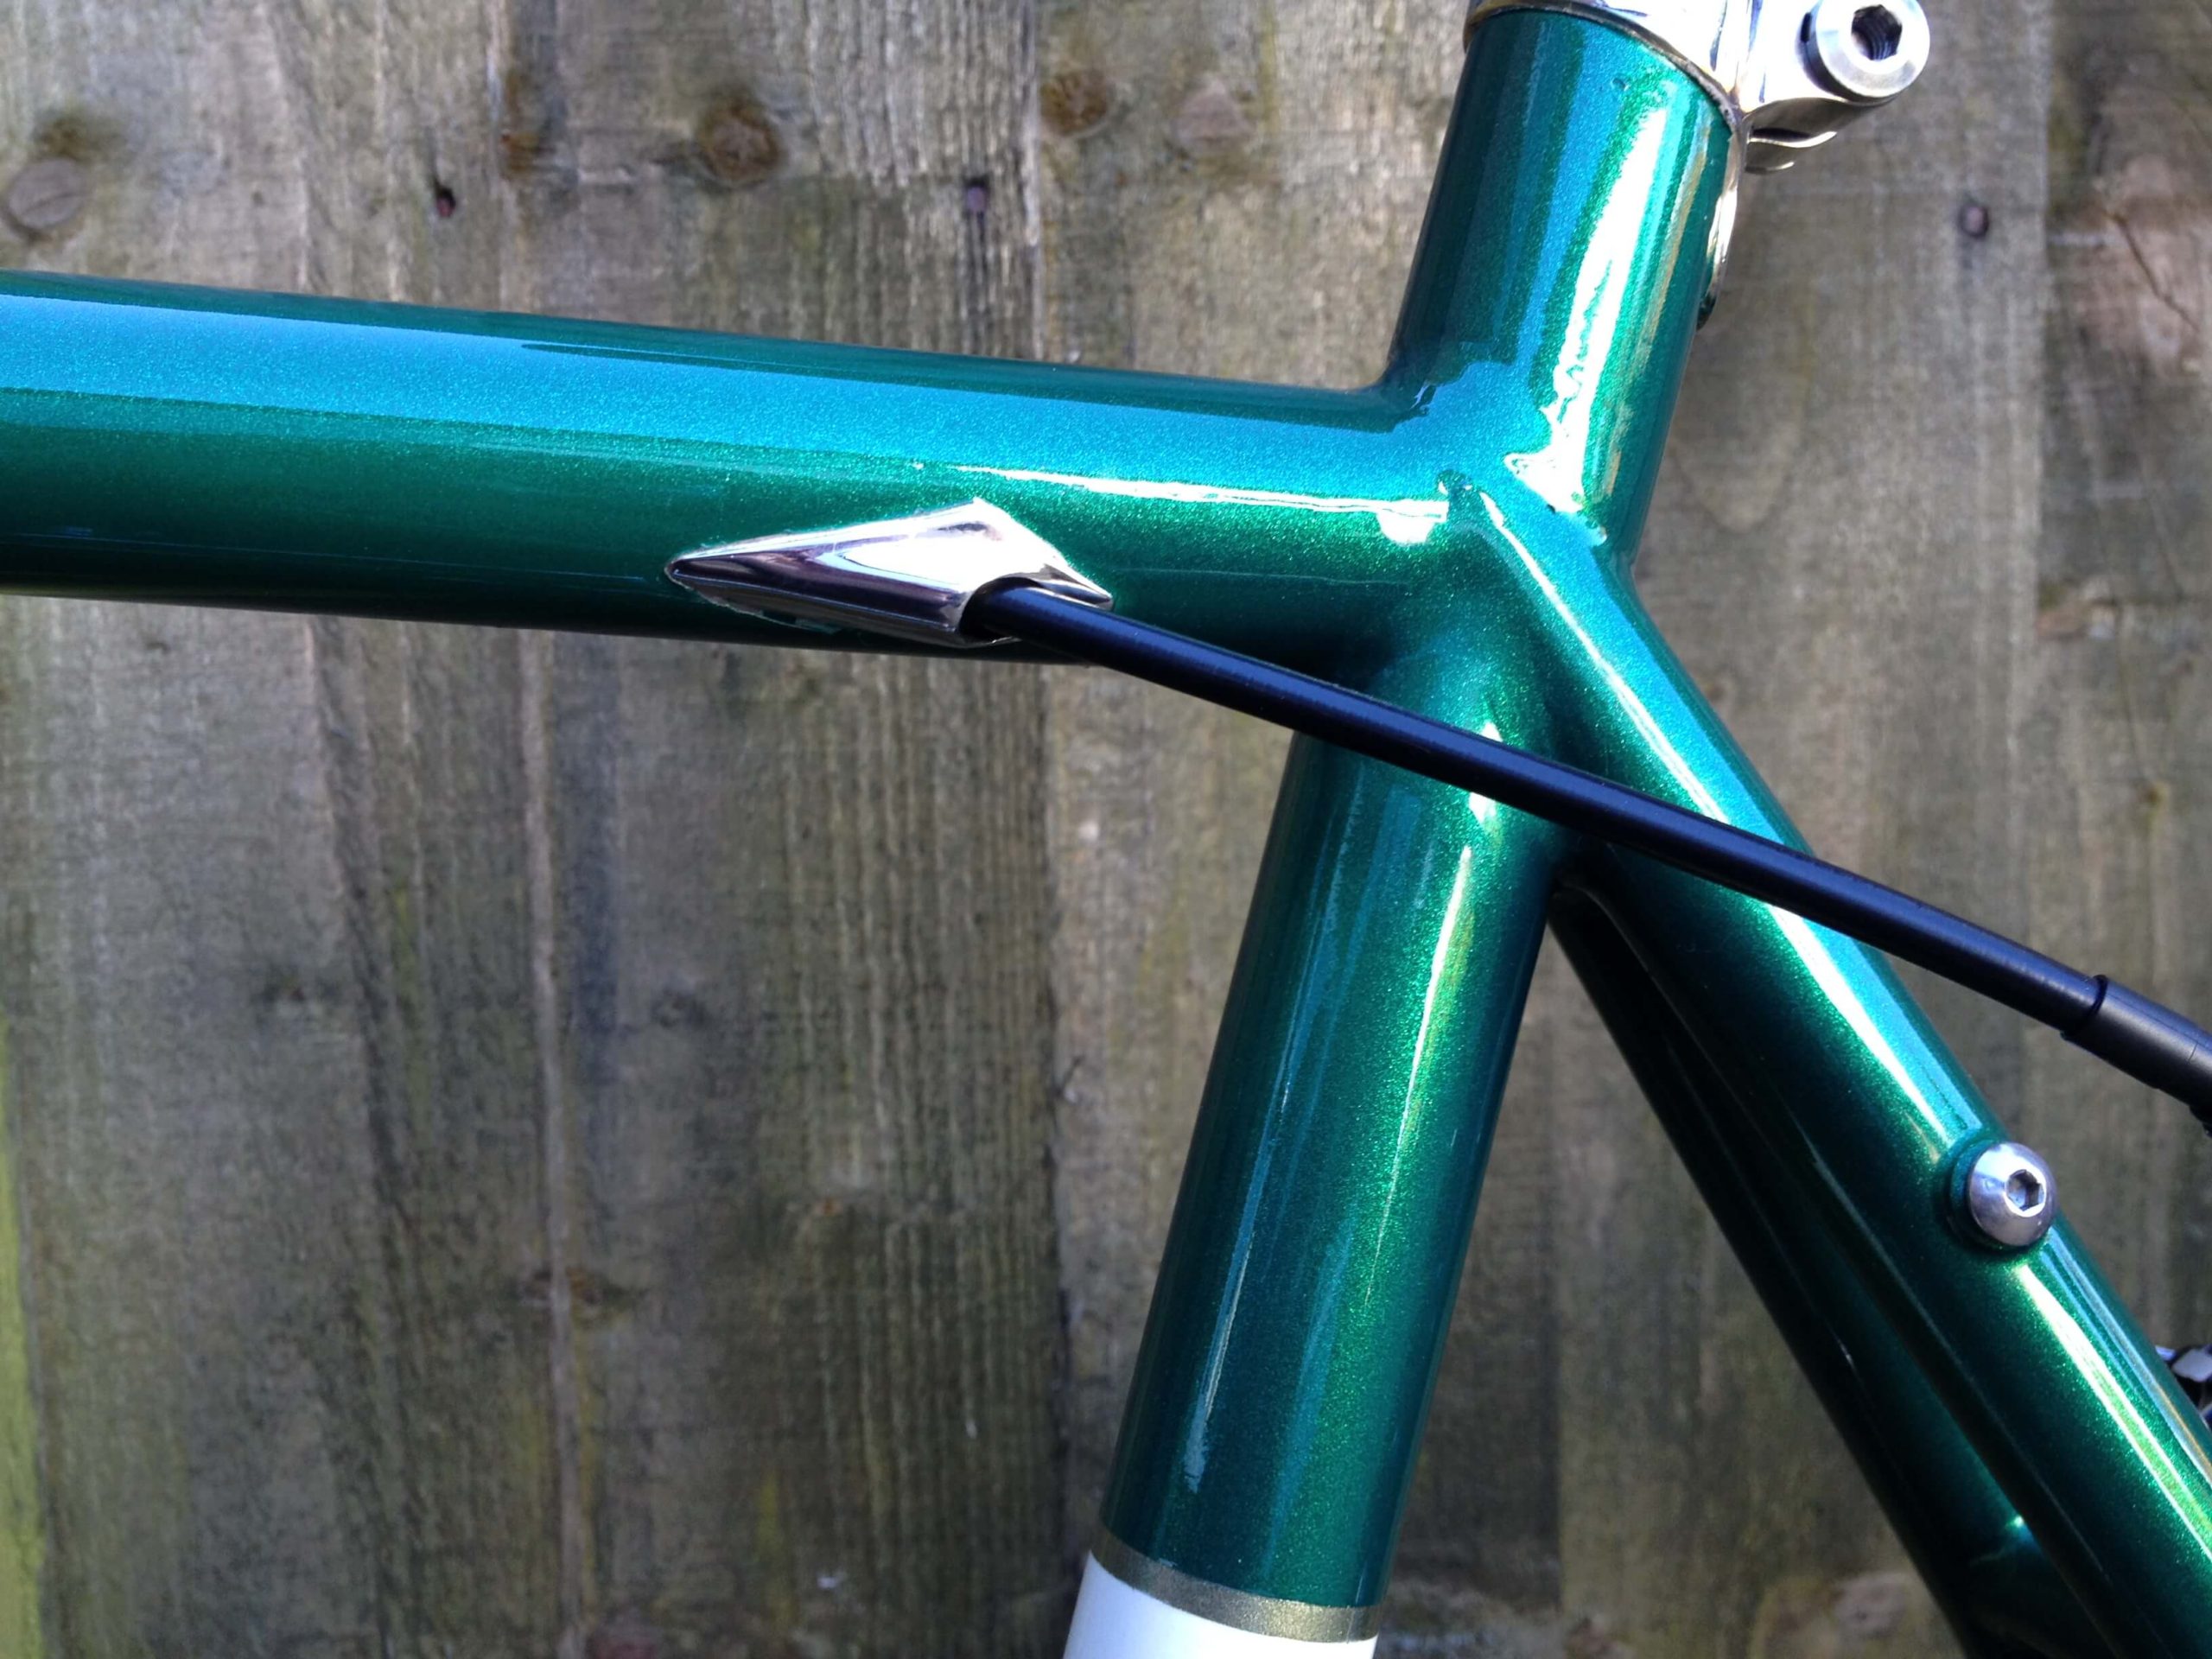
I have done this procedure several times on completed frames, but it is sensible to do it before the tube is brazed. Partly because it reduces the chances of frame distortion when you are brazing into tubes after assembly and partly because if it goes wrong it will be easy to re-do! I have only used brass tubes for this procedure, though it would be possible to use stainless tubes if you can obtain malleable enough ones of the correct diameter. I have also only done it on Top Tubes for brake cables but I imagine the principles are the same for other tubes. Ceeway, and various model making suppliers, supply 7mm diameter brass tube with 0.45mm walls. You need 500mm lengths to do the job but it is also obtainable in 1 metre lengths. A 7mm tube will take a complete brake cable, holding it tightly. It would be possible to forgo the internal tube and simply run the cable in and out of the top tube but I suspect this may cause unacceptable noise from the cable being free inside the top tube, and allow water ingress.
It is not, of course, possible to brass braze brass tubes as they will melt at brazing temperature so this procedure requires silver soldering and care not to overheat and melt the brass tube.
Running brake cable tube into the top tube is not difficult if the in and out ports are on the same side, conventionally on the left hand side. The technique is well described in the Paterek Manual and is as follows;
Select the positions in the tube for entry and exit, usually about 8-10cm from the ends. Drill a pilot hole vertically followed by a hole the size of the guide tube, i.e. in this case 7mm. Then using a long shank drill insert and angle the hole in the direction of the guide tube i.e. inwards into the top tube. Using a standard length drill means you would be unable to angle far enough without the chuck of the drill striking the tube.
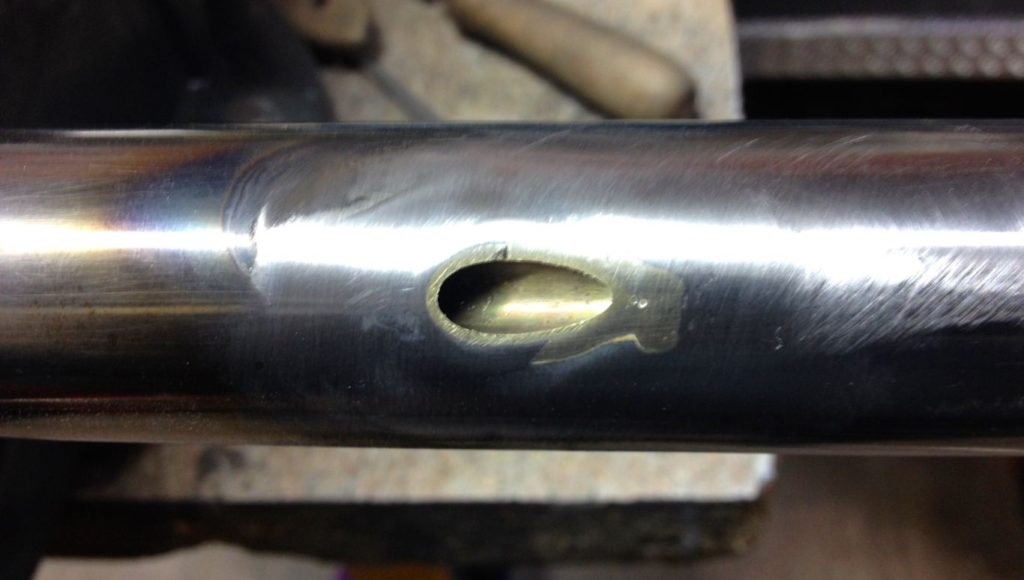
This leaves you with a hole like this, though I finish off by filing with a fine half round file at an angle until the hole is satisfactory. The tube needs to be a tight fit but loose enough to withdraw the tube if necessary.Some filing may be necessary anyway to make sure the brass tube is a tight fit but ideally not so tight that it cannot be withdrawn if necessary. Drill a similar hole at the opposite end of the top tube on the same side, facing the opposite way.
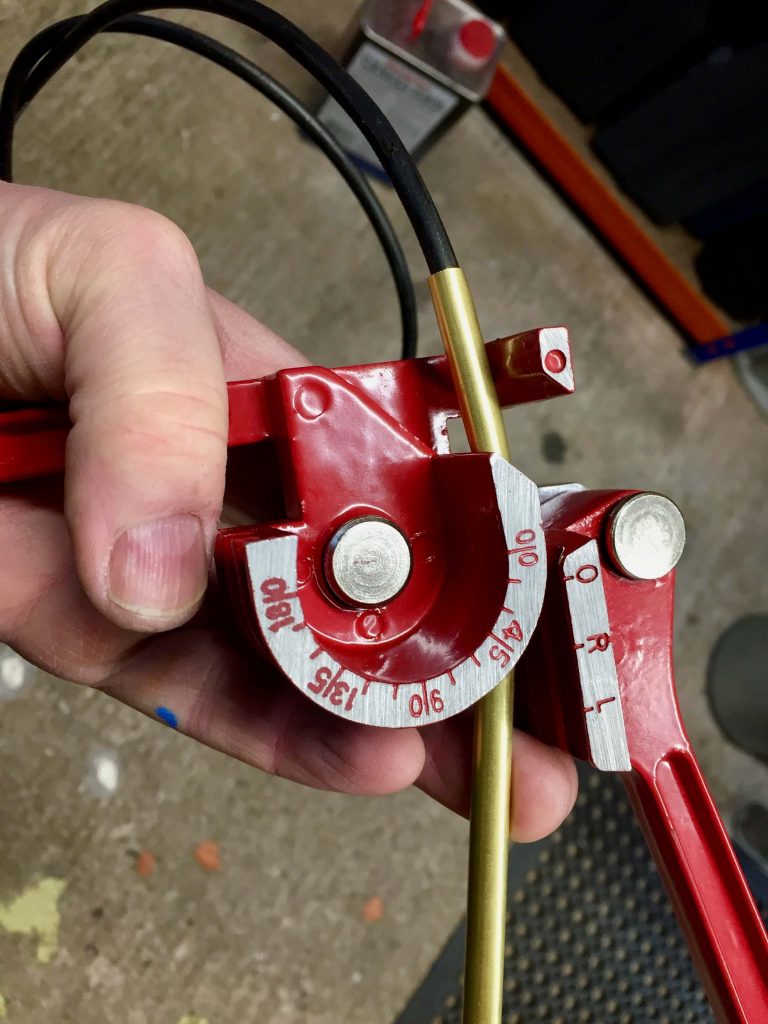
Now bend the end of the tube slightly towards the insertion and exit sides. The tubes buckle easily if bent sharply or too far. A brake cable sheath inserted will act as a protection and I now even go so far as to use a small tube bender as well.
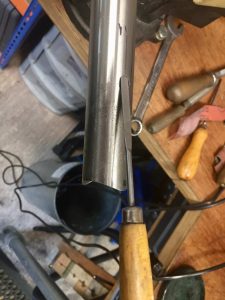

If you have a mill you can cut the elongated hole as shown above, which is less nerve wracking (with very thin tube). This will need to be about twice as long as wide i.e. 7 x 14 mm. However you cannot do this if you have already built the frame. Now insert the tube into one of the holes pushing firmly. You will almost certainly need to resort to tapping the end with a soft hammer to get it to progress. The tube will tend to curve towards the same side, so if your holes are on the same side this explains why this is the easy option. When the end of the tube appears at the second hole you can catch it with a stiff rod, a small screwdriver usually suffices, so you can prise it out whilst still tapping at the other end. Following this, test fit a cable, then silver solder around the tube and cut and file off the surplus.

I prefer to silver solder a covering cap over the hole though some framebuilders leave the hole visible. Remember to insert a cable into the hole before soldering to ensure the cable cap is in the correct position.
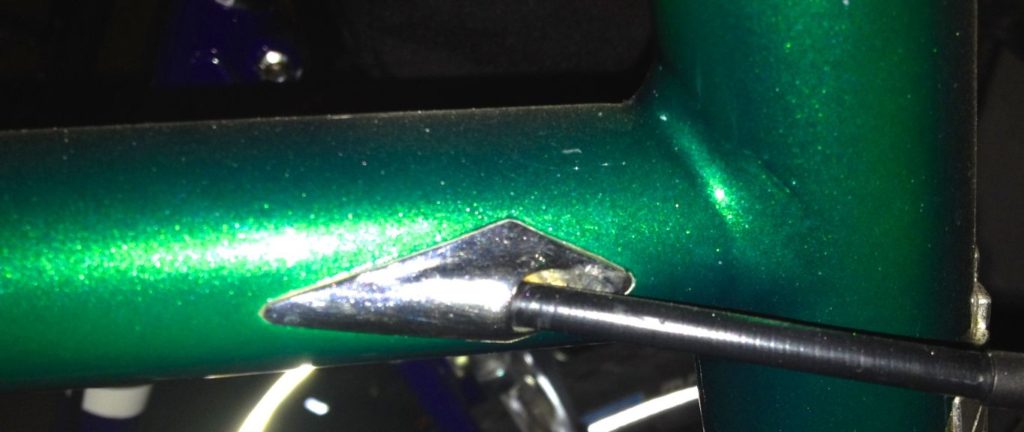
FITTING TOP TUBE GUIDE TUBE ACROSS OPPOSITE SIDES OF THE TUBE
There is a current vogue for routing rear brake cables from the front right side to the rear left side of the top tube. This does look neater and gives a less tortuous route for the cable. However I guess if you live on the Continent you may have your levers on the opposite side and there would be no need to do it. It is much more difficult to do and the method I describe is how I have tackled the problem and constantly fine tuned it. I would recommend this is only carried out on an unfitted tube.
Firstly drill and angle the holes where desired as described above, on opposite sides of the top tube. It will be easier if they are both on the same horizontal level but I never seem to do this. You probably will have already mitred the tube so it is likely to be a one way fit, so make sure you have the holes on the correct sides. This is obviously best done after pre-assembling the frame to ensure the correct positions. Place a slight curve in the guide tube as before. The curve should be no more then the width of the tube.


Insert the tube as in the second photograph then rotate it so it is pointing to the opposite side. An ink mark will help you judge this as you push it in. The reason for the rotation is because as it is advanced the tube will bend towards the same side so it is important the end is facing the opposite hole when it arrives. When the tube becomes visible at the other end, but before it has gone past, I would suggest pushing a length of slightly bent bar into the tube. This will enable you to accurately lever the end to the hole as you continue to force it from the other end. I use a length of 4mm steel rod I got from the local diy shop. You will likely need to retract the tube a little (push and pull) when you have hooked the rod into the tube to secure it. I still find it is necessary to use a tight fitting screwdriver into the end to finally manipulate the tube through the hole s this gives more leverage than the thinner rod.
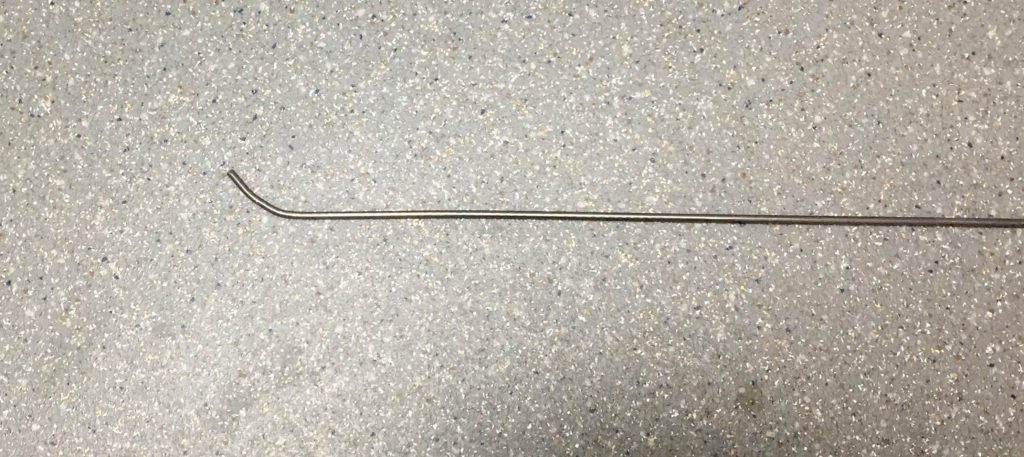

The picture above does show that this method does work even after assembly but it will be a lot easier if you can see what you are doing.
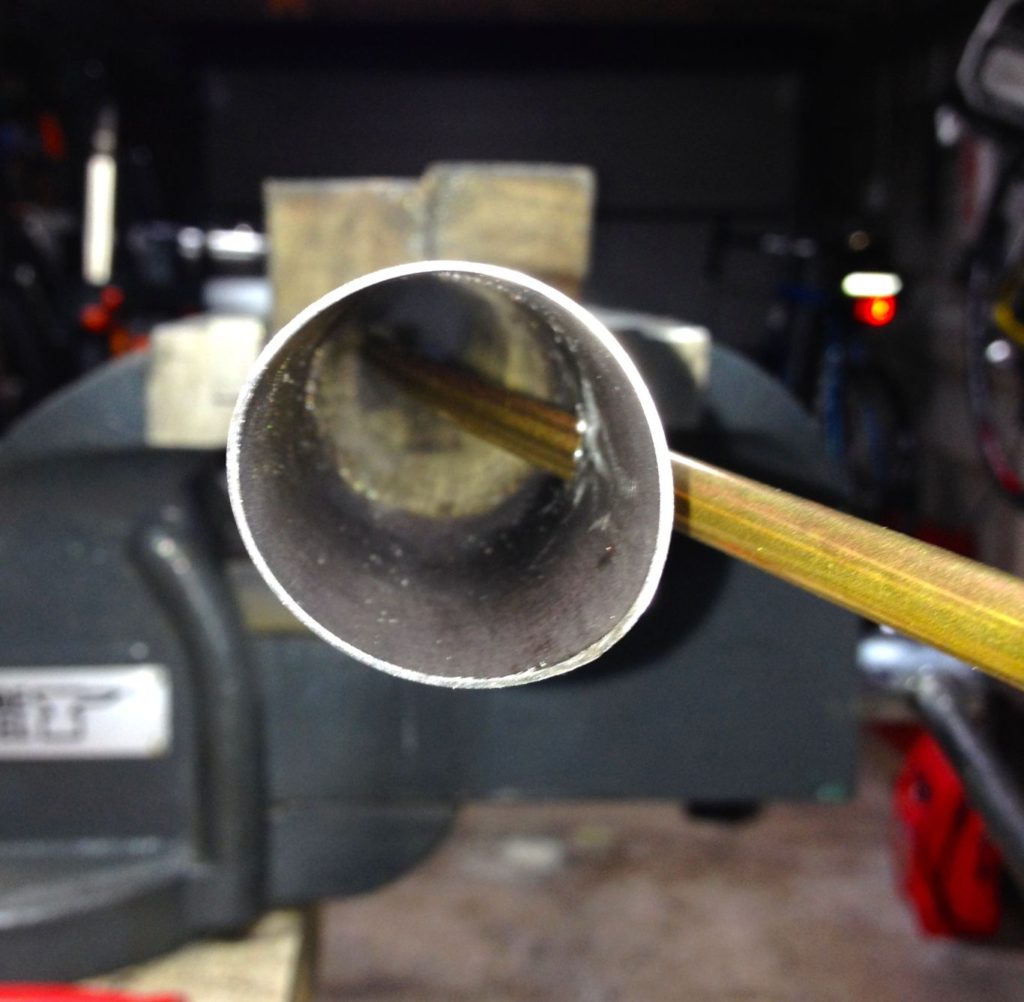

The raised covers that I usually use shown in the pictures above only attach around the edges so can be silver soldered over the brake hole with no difficulty. If you plan to use larger flat cover / reinforcements, as I did recently, then the heat used to solder them on may be enough to melt the solder holding the tube in place. To avoid this, larger flat reinforcements are best added first before the tube is passed through.

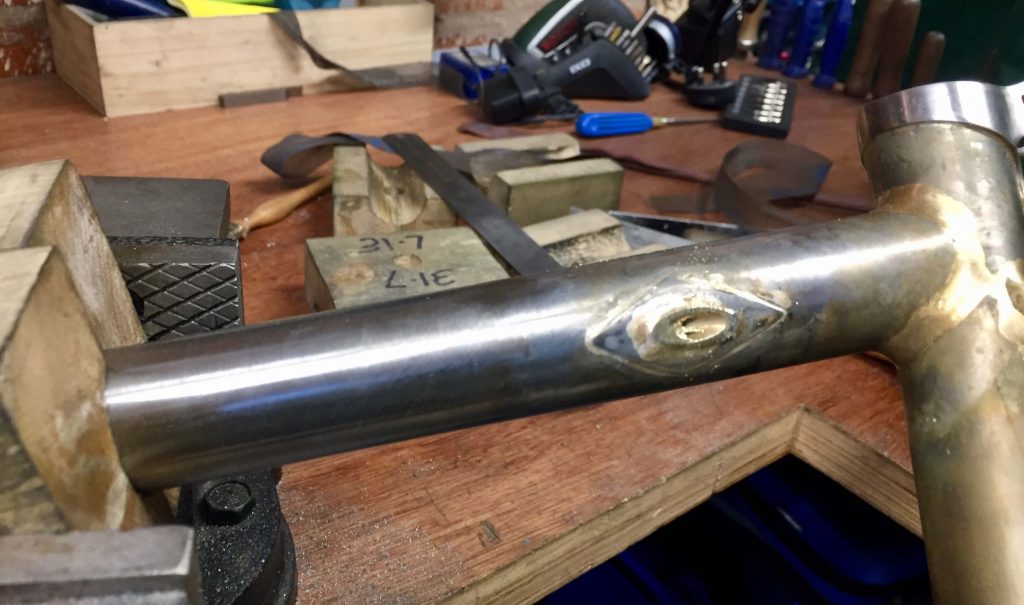
SLIDE HAMMER
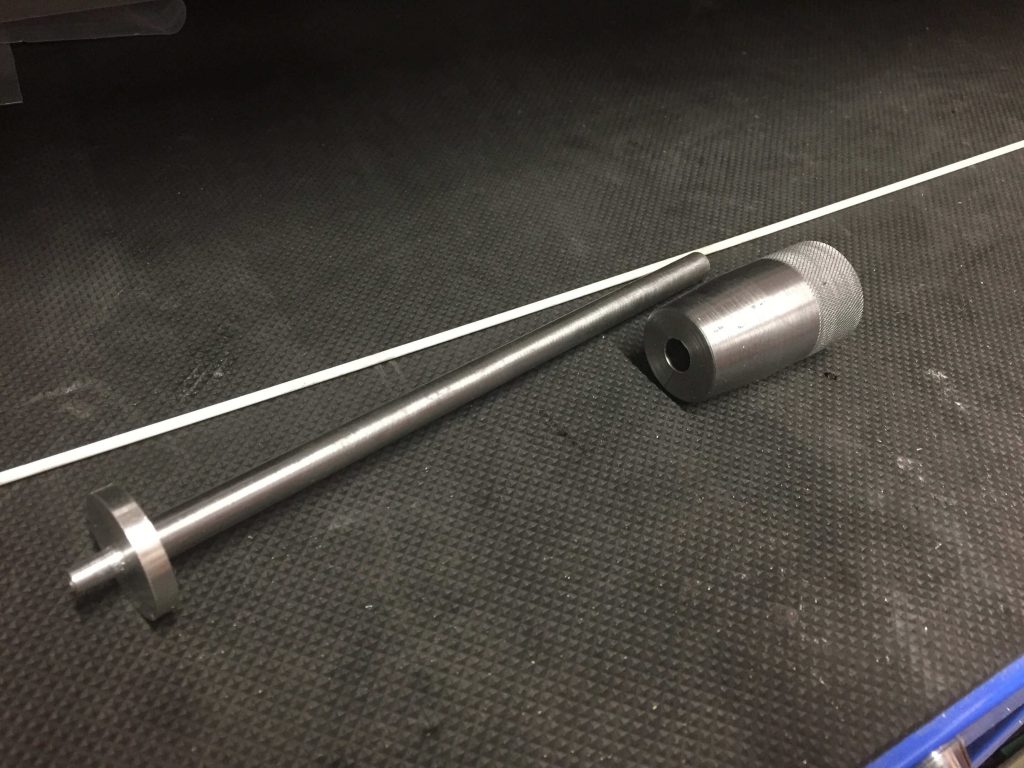
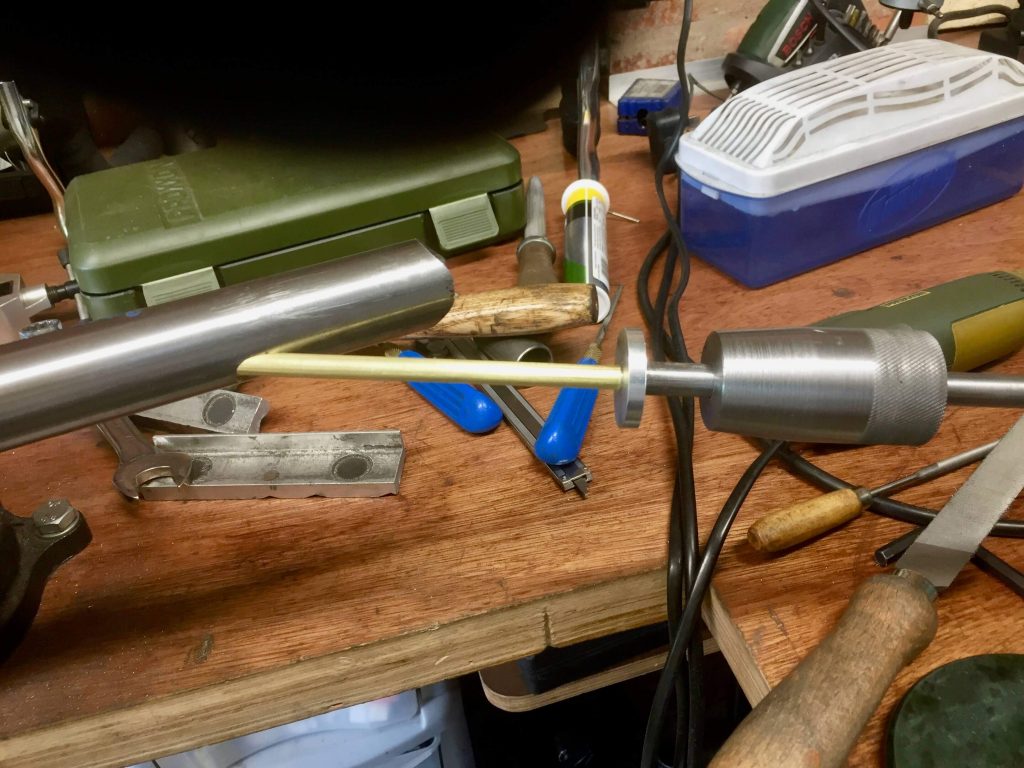
I found that using a hammer to tap the tube through is not ideal as it tends to mangle the end. I made this slide hammer out of a lump of mild steel for the body and a aluminium disc with a slight taper to fit inside the tube. The stem is a length of 10 mm chromoly tube push fitted to the connector. The weight is tapered to avoid striking the tube as it is hammered. It works amazingly well and makes bashing the tube through much easier.
WHAT DOES NOT WORK
It is tempting to think some sort of guide wire or rod would be useful to guide the tube end to end. I have tried a few. Flexible rods such as steel cables and glass fibre rods simply are too weak to guide the brass tube and simple drag out of the hole. Anything stiffer, that is still bendy enough to squeeze through both holes, such as a 4 mm steel rod grabs the tube and it will not advance. Brass, like aluminium, work hardens, which means the more you bend and manipulate it the harder it gets. It is usually quite hard when you get it hence the difficulties in getting it to bend where you want it!
WHAT MAY HELP?
Annealing the brass tube i.e. softening it, may be useful in the process. You would need to heat it to about 400 deg C (same as aluminium). This is most easily done by marking the area with a “Sharpie” ink marker (I don’t know if other brands work!). When the correct temperature is reached the mark disappears. A Commercial temperature indicator product is available called Tempilstix, but these are relatively expensive and not really necessary for this job. Once it has cooled you will find the tube is much easier to bend. I have not tried softening the whole tube because I am worried the tube may then be too soft to bash through, just the end I wish to bend.
I would be delighted to hear of other peoples experiences in this area.
SNH 13/11/20


6 thoughts on “Internal Cable Routing Updated”
STUART TURNER 15 MARCH 2017 AT 10:17 AM
Where did you purchase your covering caps from?
I can’t find them anywhere
STEPHEN HILTON 15 MARCH 2017 AT 12:08 PM
Dear Stuart,
They are available from Ceeway.
Non stainless are art 141/142 https://www.ceeway.com/Braze%20ons.htm
Stainless are art 141s https://www.ceeway.com/what.htm
Stephen Hilton
DIETER 17 SEPTEMBER 2018 AT 9:37 AM
I found that drilling 2x holes and then removing the material between was successful for me to achieve a lower exit angle. The holes I cut were .5 mm larger than the brass tube and I had no problems then “fishing out” the other end.
STEPHEN HILTON 17 SEPTEMBER 2018 AT 9:16 PM
Dear Dieter,
Thanks for the comment. I would like to know more. Did you route along the same side or did you cross over in the tube? I can see the advantage of the method. My reasoning for using the method described was to keep the holes in the frame as small as possible, especially as the stainless tubing (I am about to do some 953 again) is really thin, but it does make life difficult and I may be being overcautious in keeping the holes tight. Any chance you may have any pictures as it would be nice to post an alternative way of doing this.
Best wishes, Stephen
Hi Stephen,
A great article, very helpful!
Regarding elongating the hole using the mill, what kind of end-mill are you using, and what was the reason for choosing it?
Cheers!
Pete
Thank you for your interest Pete. I usually use 7mm thin wall brass tube or imperial equivalent. I therefore use a 7mm slot mill, though as the tubes are thin I expect an end mill would be fine. Using the mill means you can also widen the hole slightly so there is no need to file it out to loosen the fit.