
Since Jon Thompson’s post on introduction to a lathe I thought it worthwhile to share a few of the small bits I have produced since obtaining my lathe, to give a further idea of some of the possibilities. The first thing you discover is that a lathe straight out of the box is only the start, and most of the jobs I think up usually require additional lathe tools from commercial suppliers; or require the making of bits yourself specifically for individual jobs.
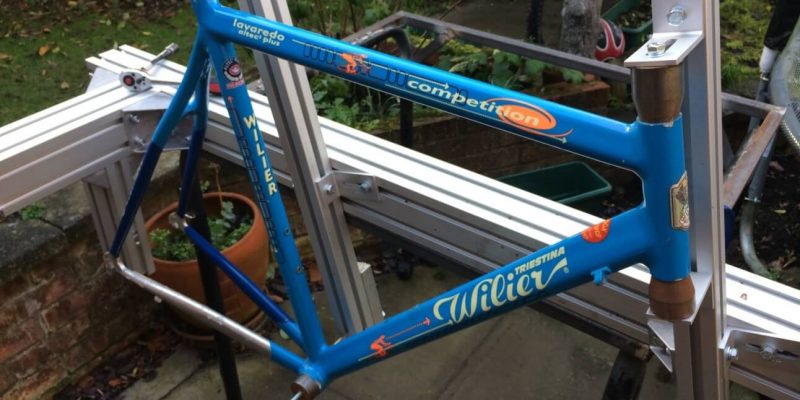
The first thing I wanted to make was a heat sink for brazing the top end of seat tubes; something I now feel is essential for fillet brazing stainless steel in this situation. These are commercially available but on reflection those I have seen would be unlikely to fit in my frame jig should I wish to braze in situ, so I can make my own more fit for purpose. One further point is that despite the Chinese allegedly dumping cheap steel on the open market, none of it has come my way and metal is an expensive commodity to buy, especially in the small quantities usually required.
Heat sink
:


Made of bronze, which seems to be the usual thing because of its heat conducting properties. Split only in two with circular springs to retain the halves. The adaptor to connect the top of the heat sink to the seat cone on the jig is shown. Sized for 27.2mm seat tubes but will probably expand enough to be useable on slightly larger ones. I have since made a larger diameter centre piece for larger seat tubes which uses the same cones and adapters.
Bottom Bracket Stamp Guide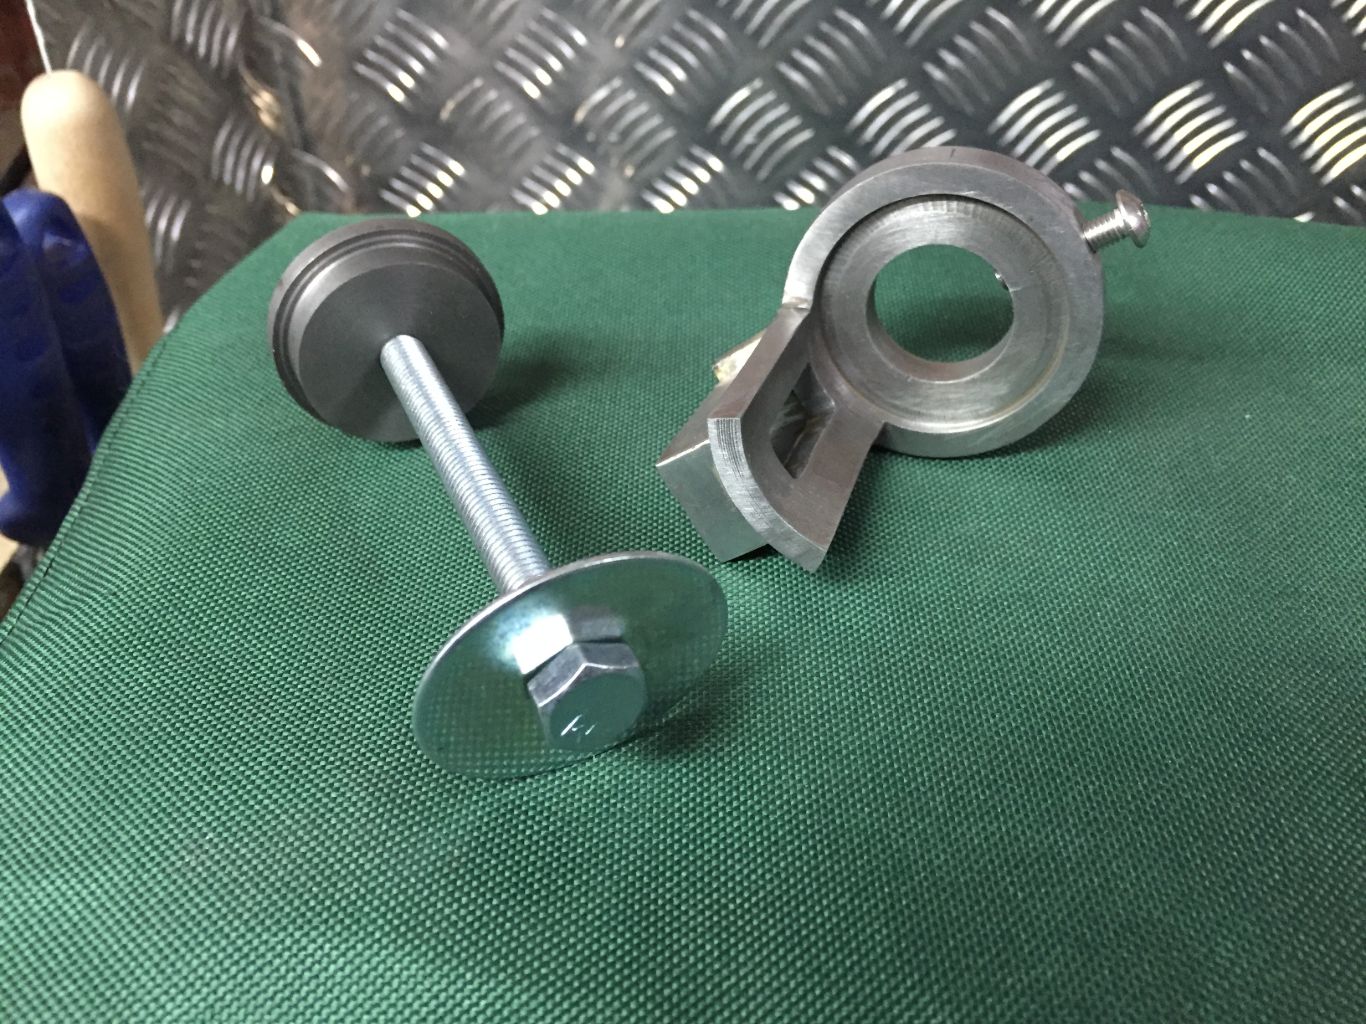
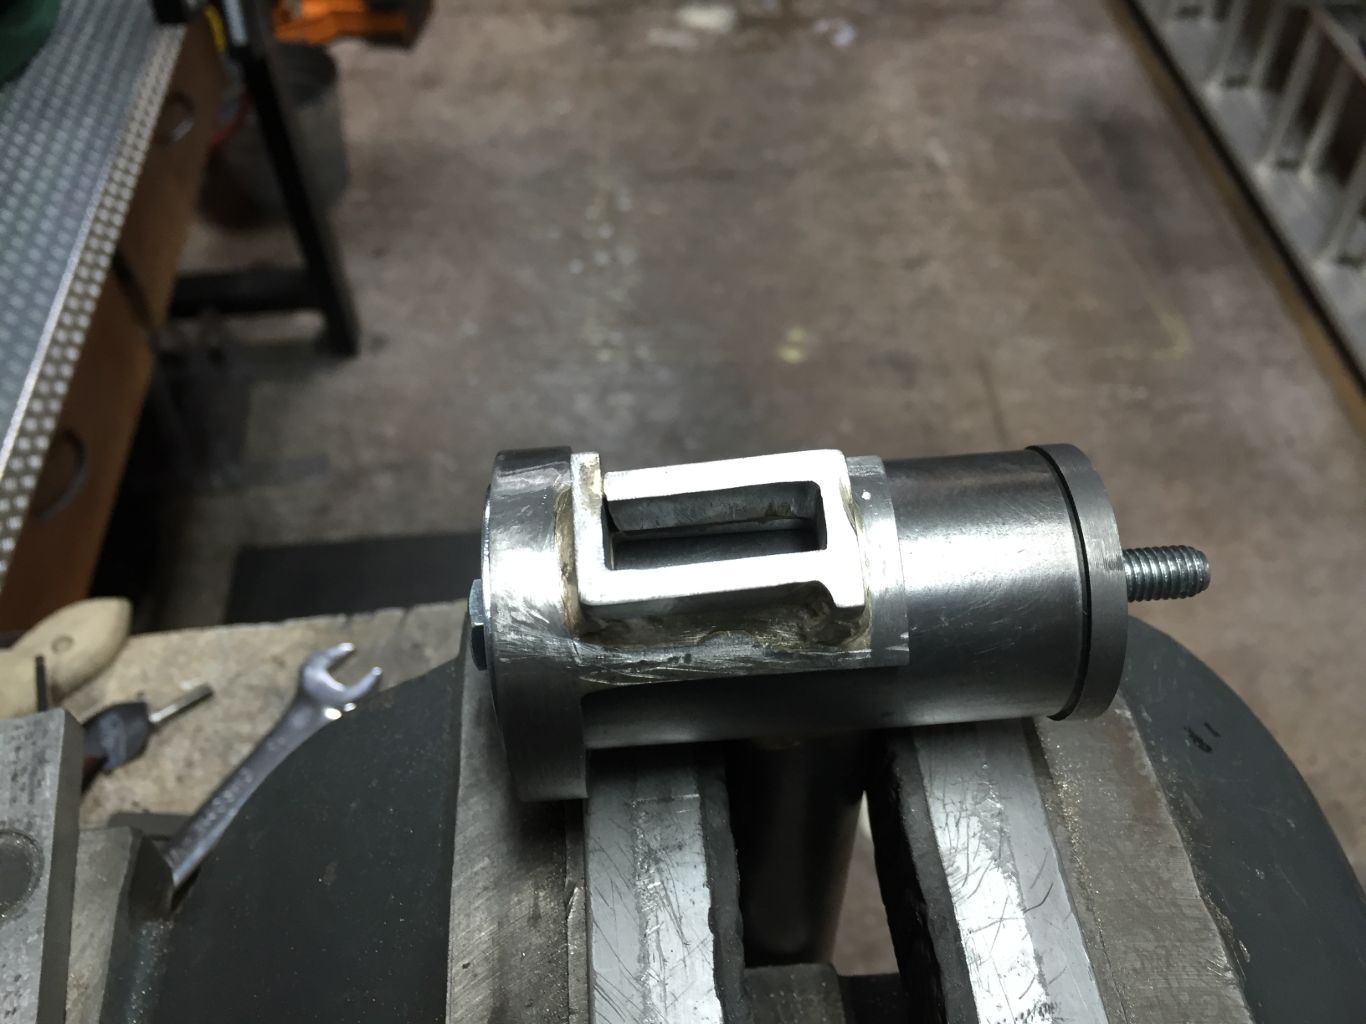
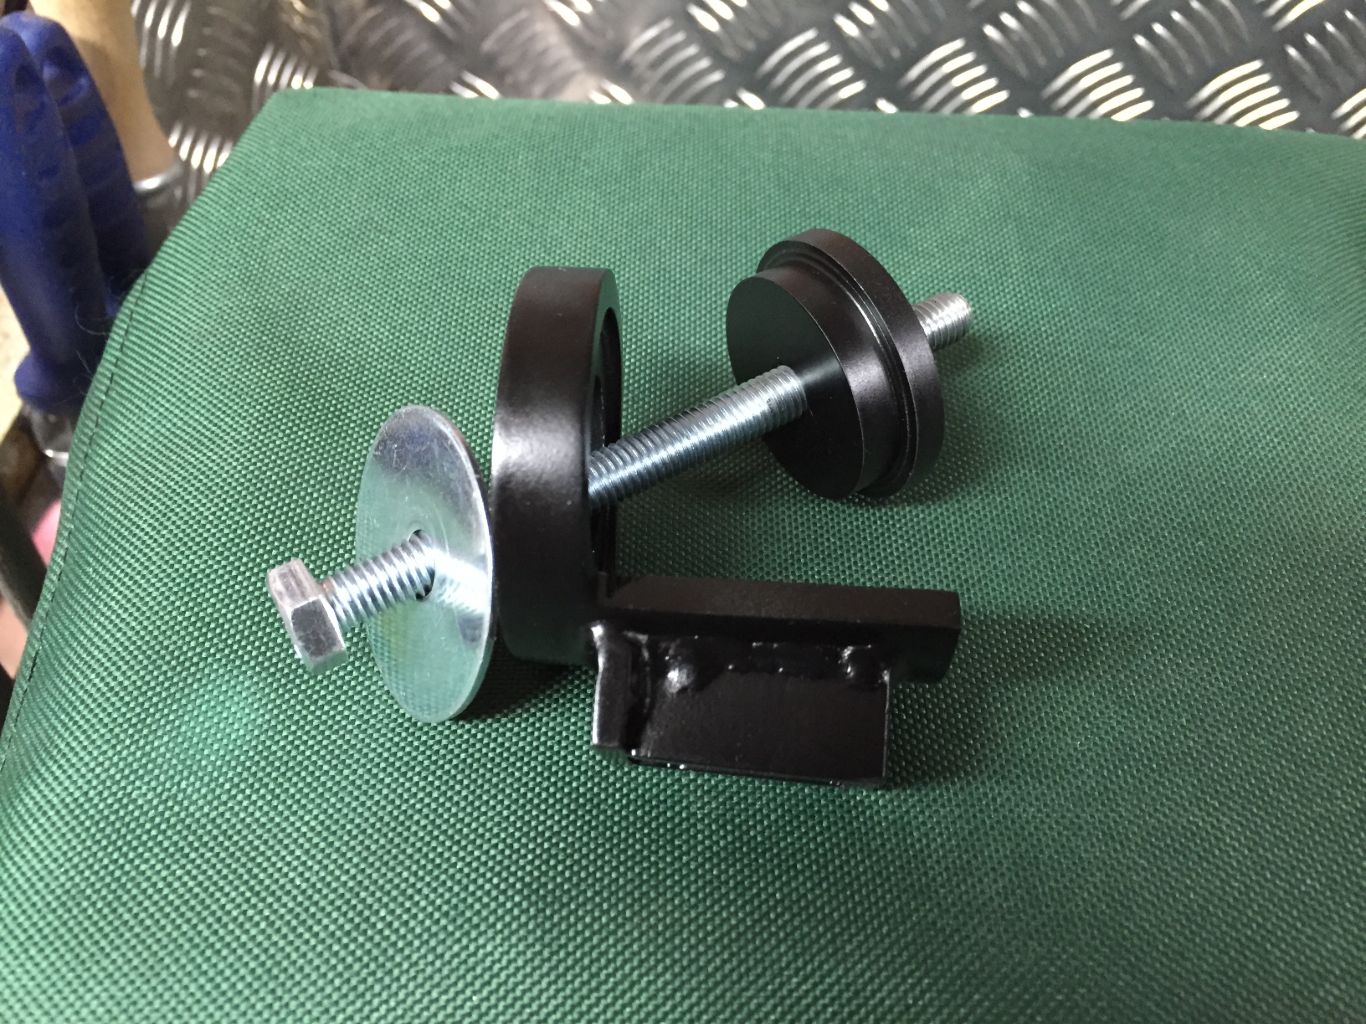
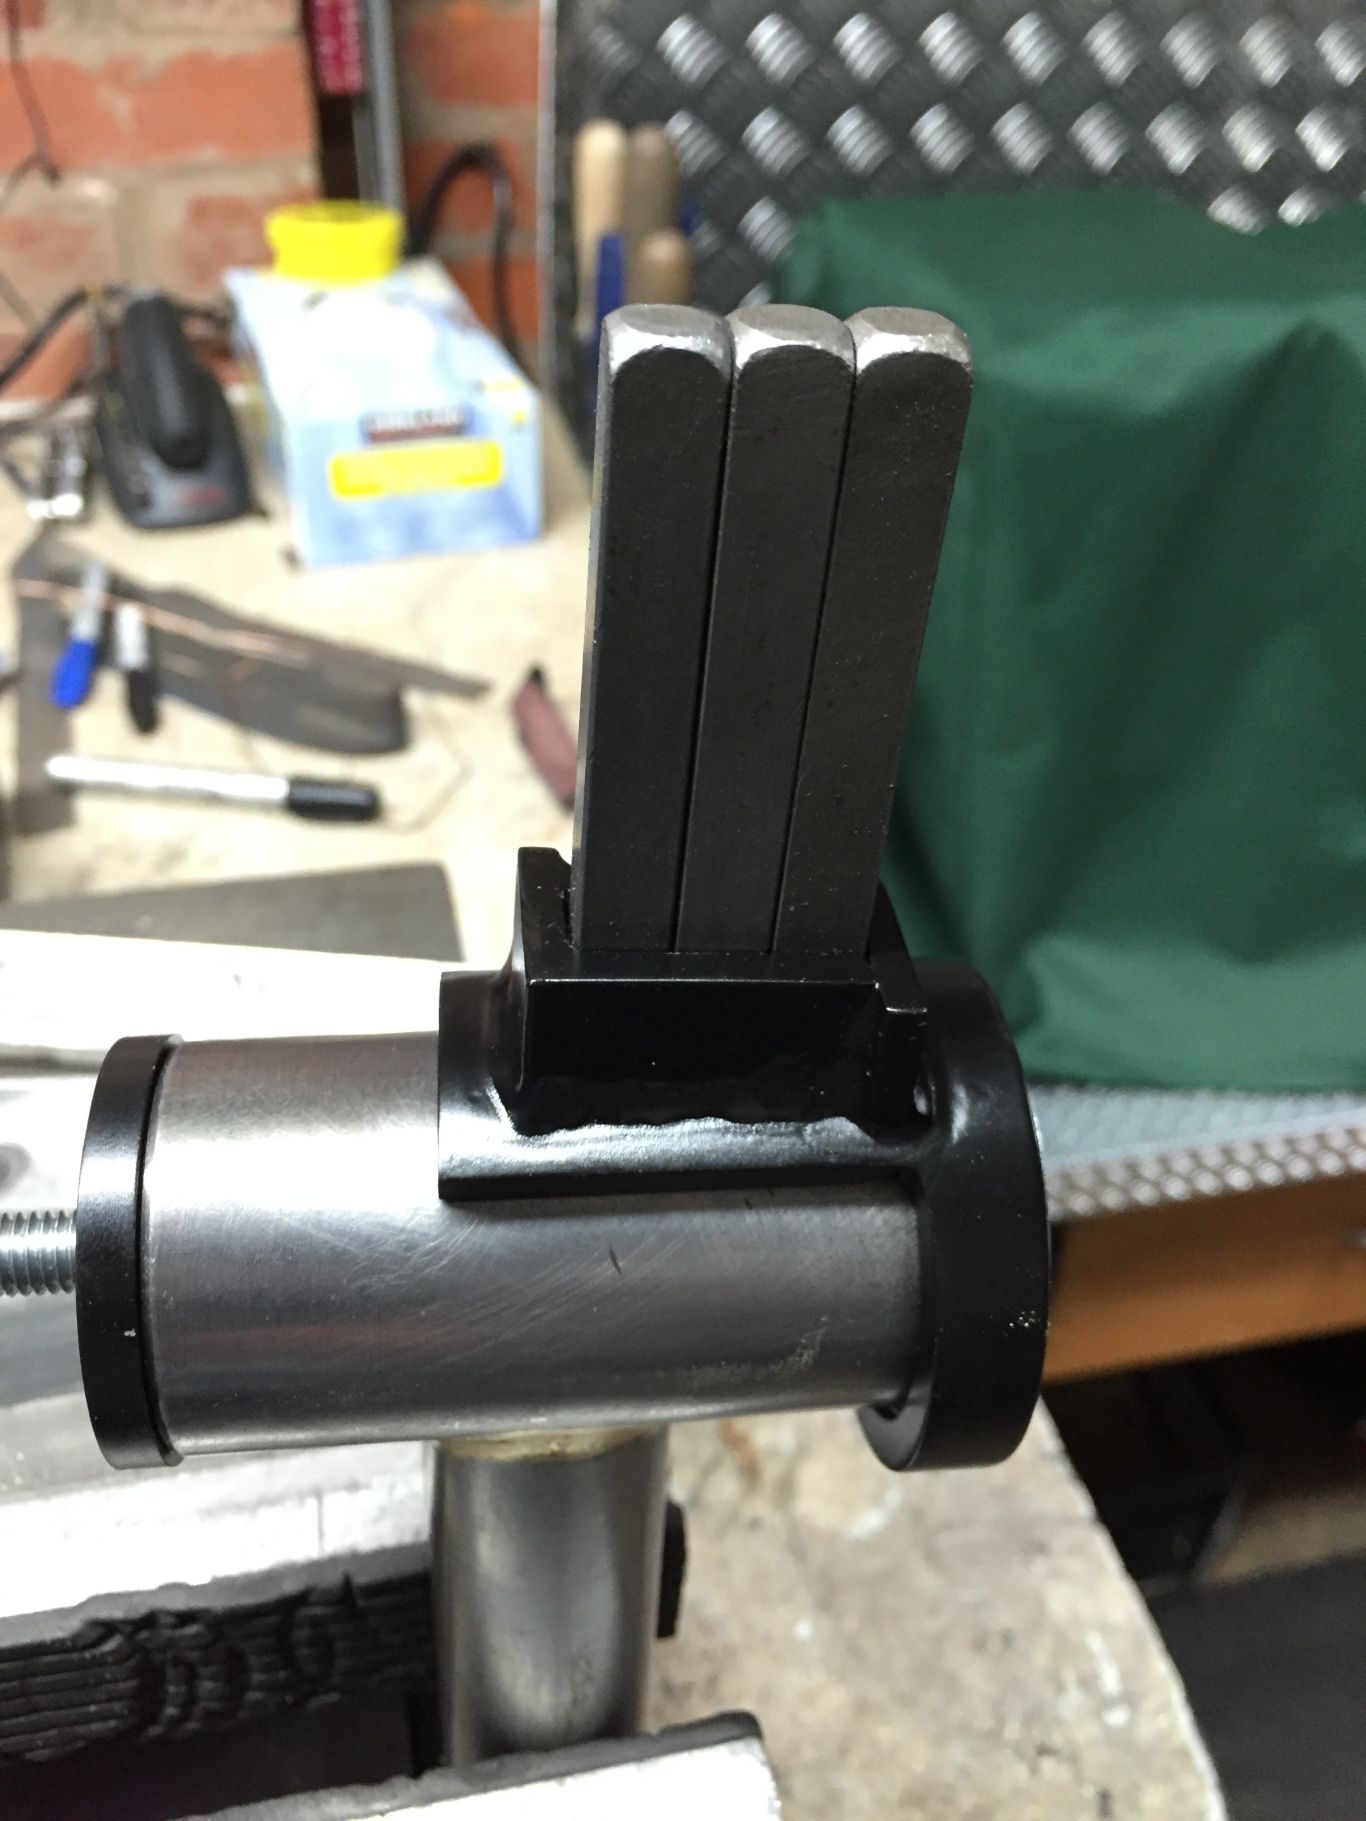
As a traditionalist I am fond of stamping a number on the bottom bracket but anyone who has tried this will be familiar with the punch flying across the room and half stamped numbers or letters. This is supposed to keep the punches in place for the hit. Made of mild steel as it is relatively cheap.
The problem was, however, lining up the 8mm diameter punches sets the numbers too far apart. I therefore eventually modified it to use one punch at a time that can be moved a shorter distance.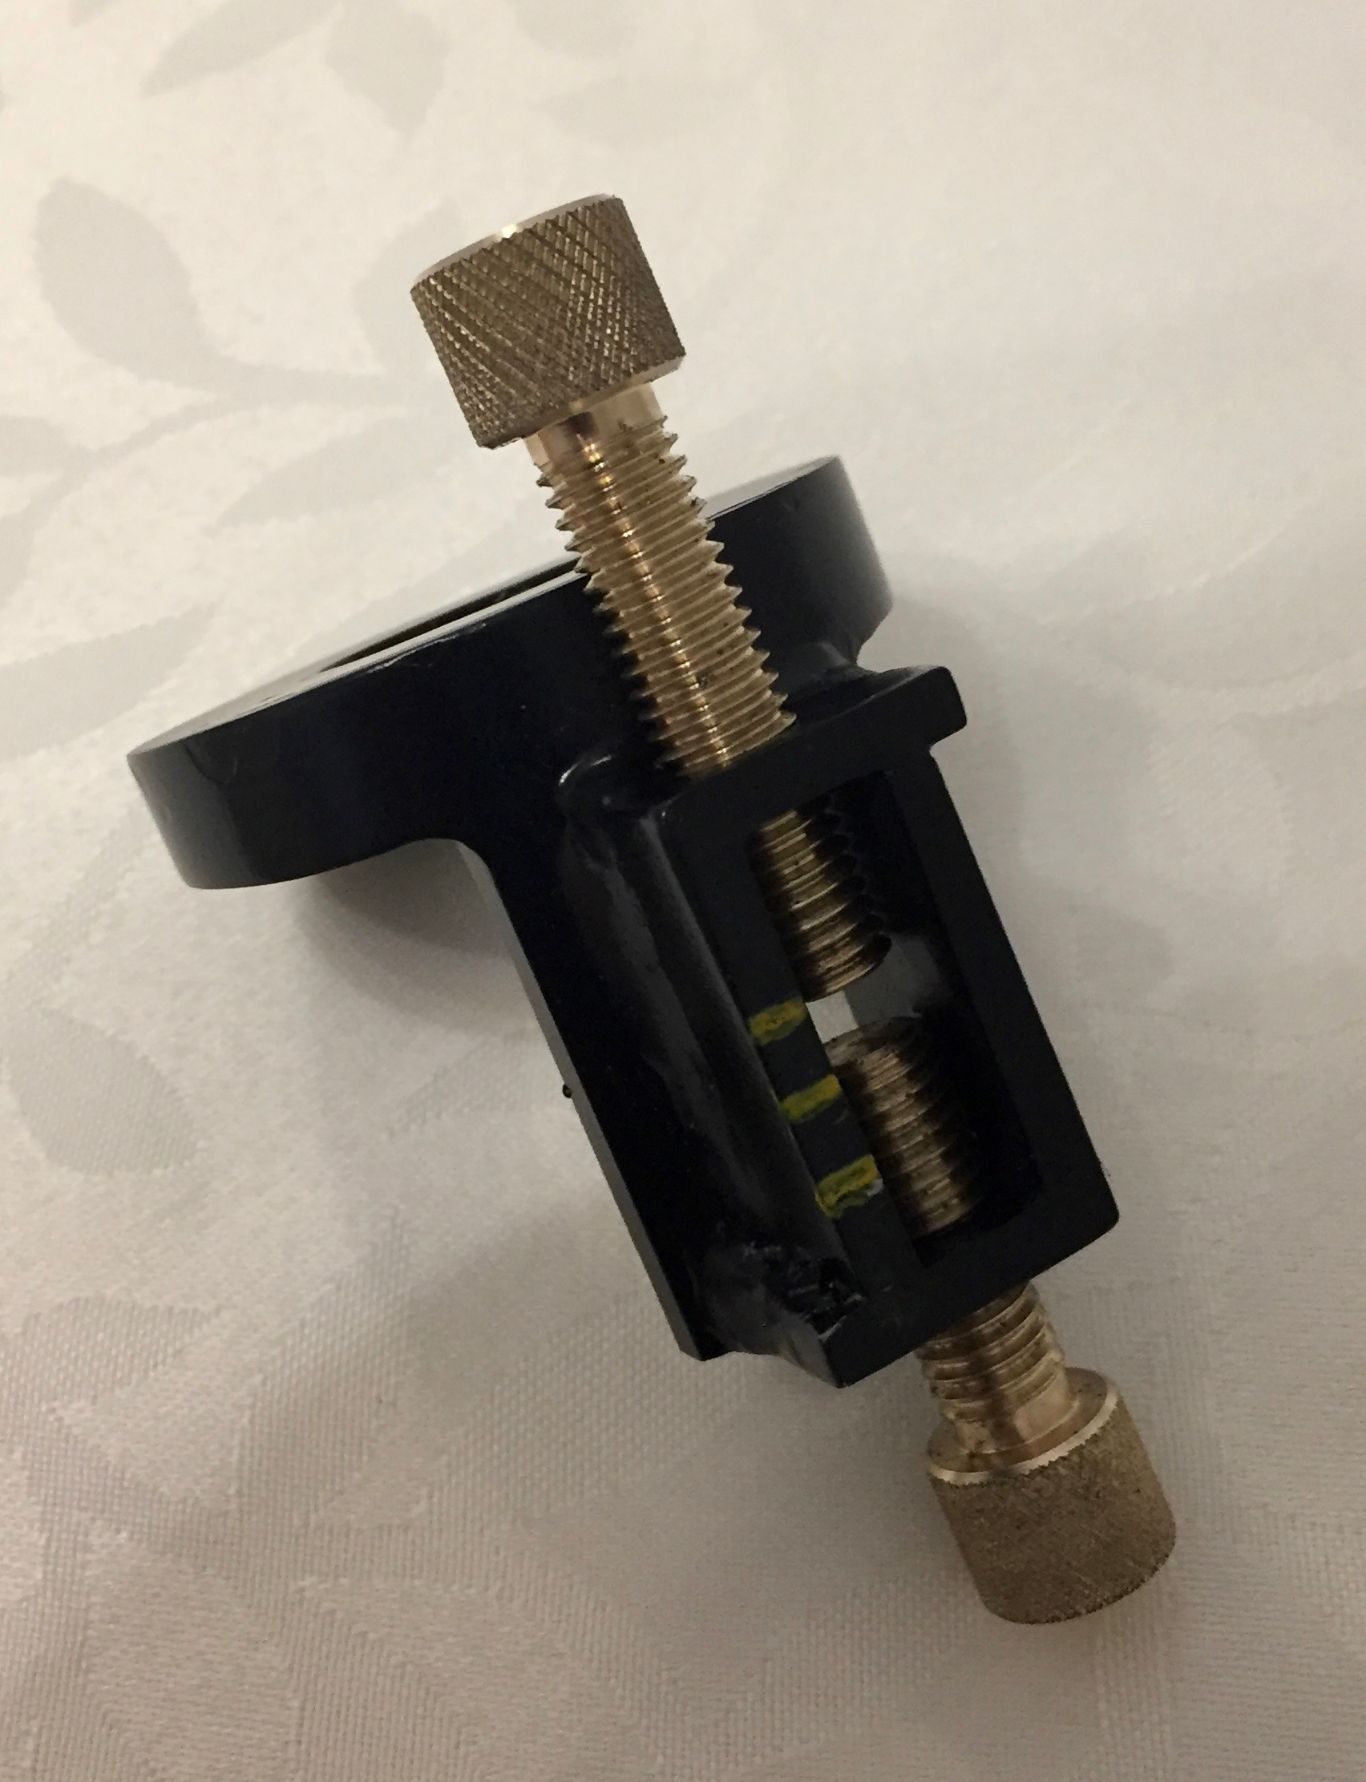
I have since made a second one to a similar design, but out of a solid piece of aluminium, with the help of a milling machine, which was not available to me for the first one. This was, however expanded to accommodate both standard and T47 bottom bracket sizes.
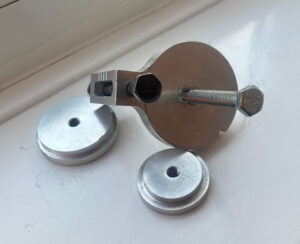
Spring Retainer for Cyclus Crown Race Cutter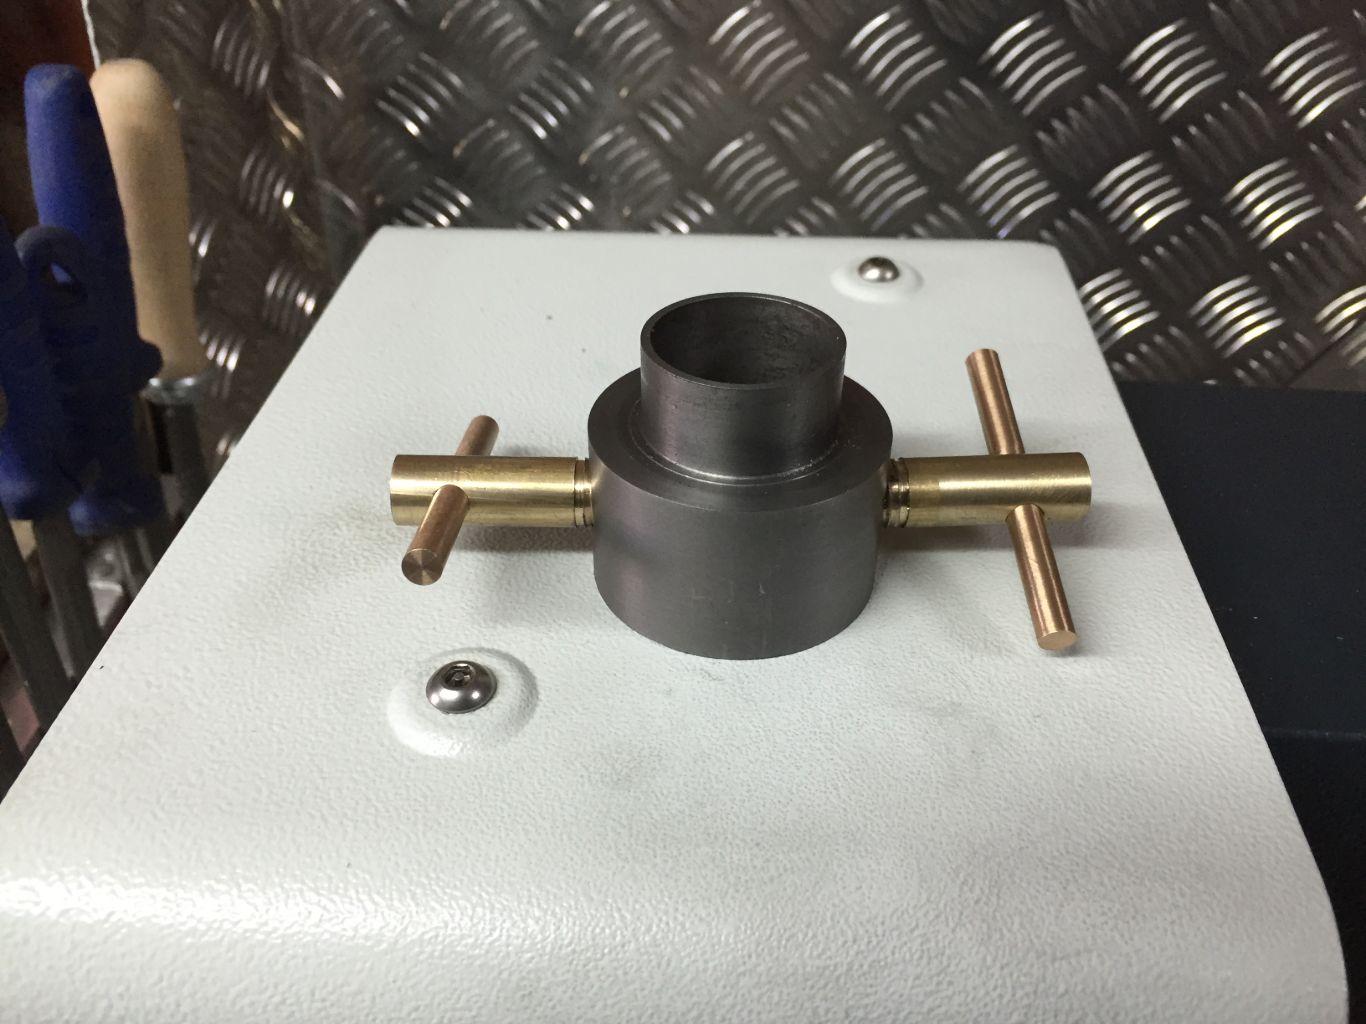
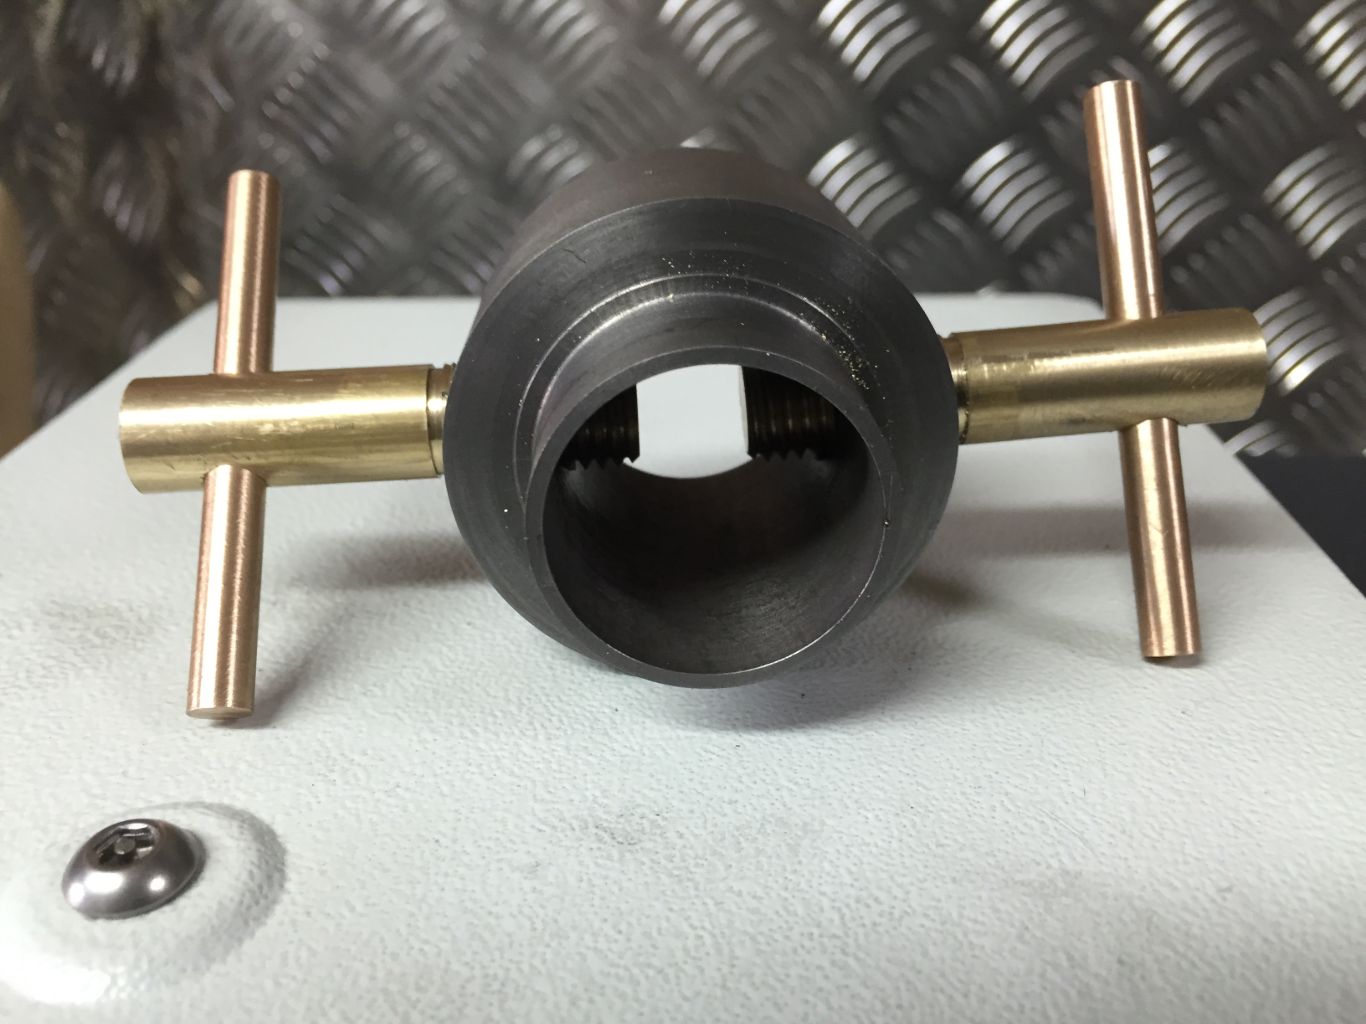

Some must be familiar with Cyclus tools. Apart from lack of instructions the crown race cutter I obtained came with a spring which I assume is to help accurately locate and give some downward force on the cutter. However the collar supplied to compress the spring only seems to fit 28.6 threaded steerers (do they exist!) and has an adaptor for 1 inch unthreaded steerers. My collar is made of cast iron, which is the most economical metal available in large rounds, with brass screws to avoid damaging the steerer tube.
Expanding Mandrel Set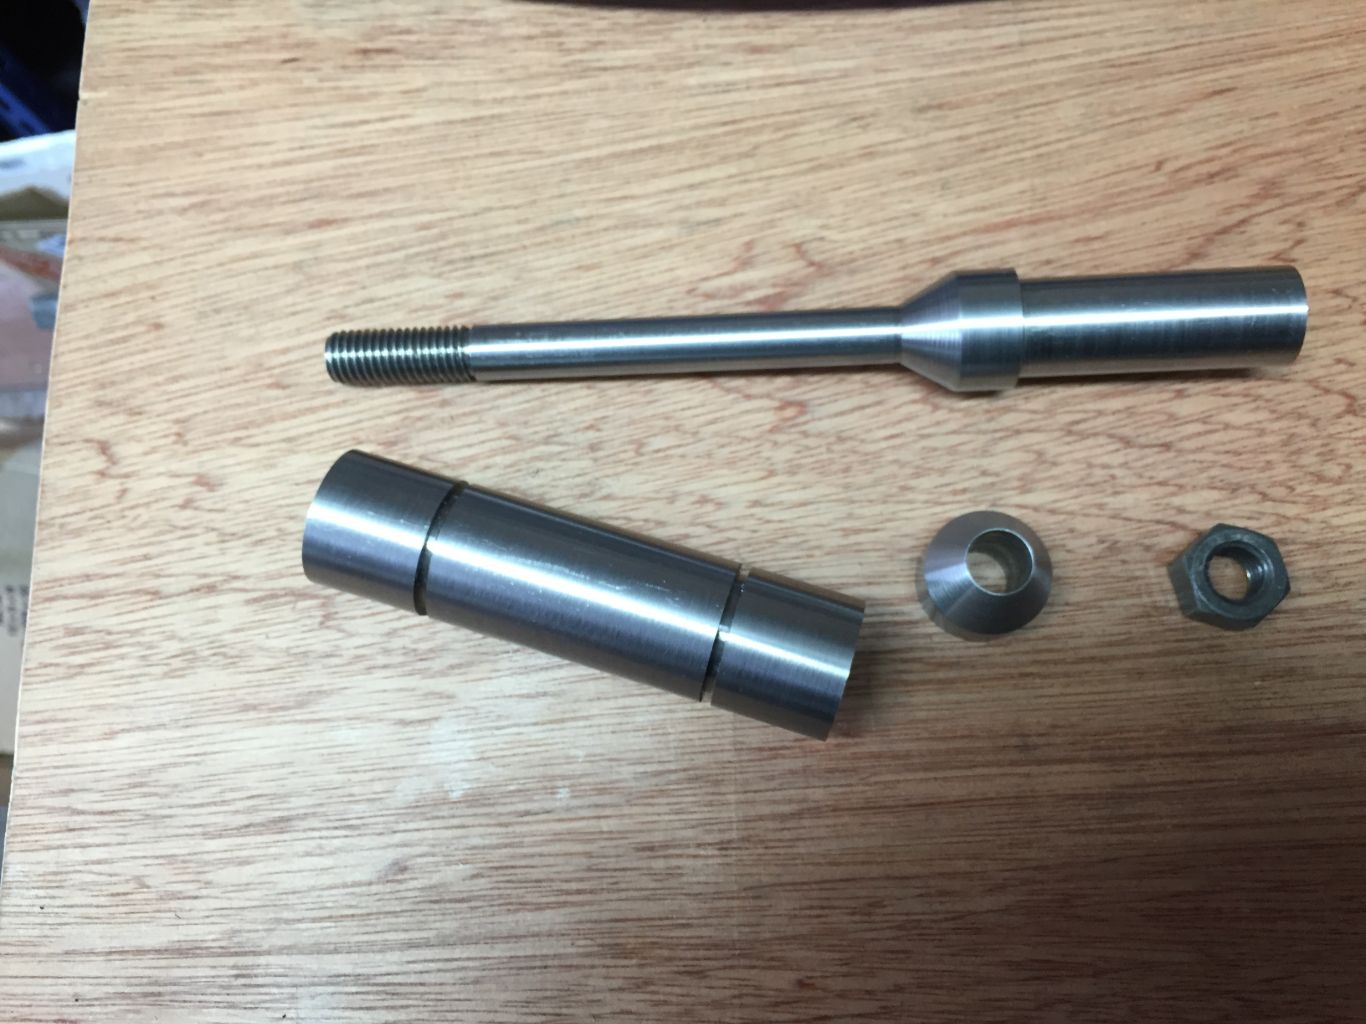
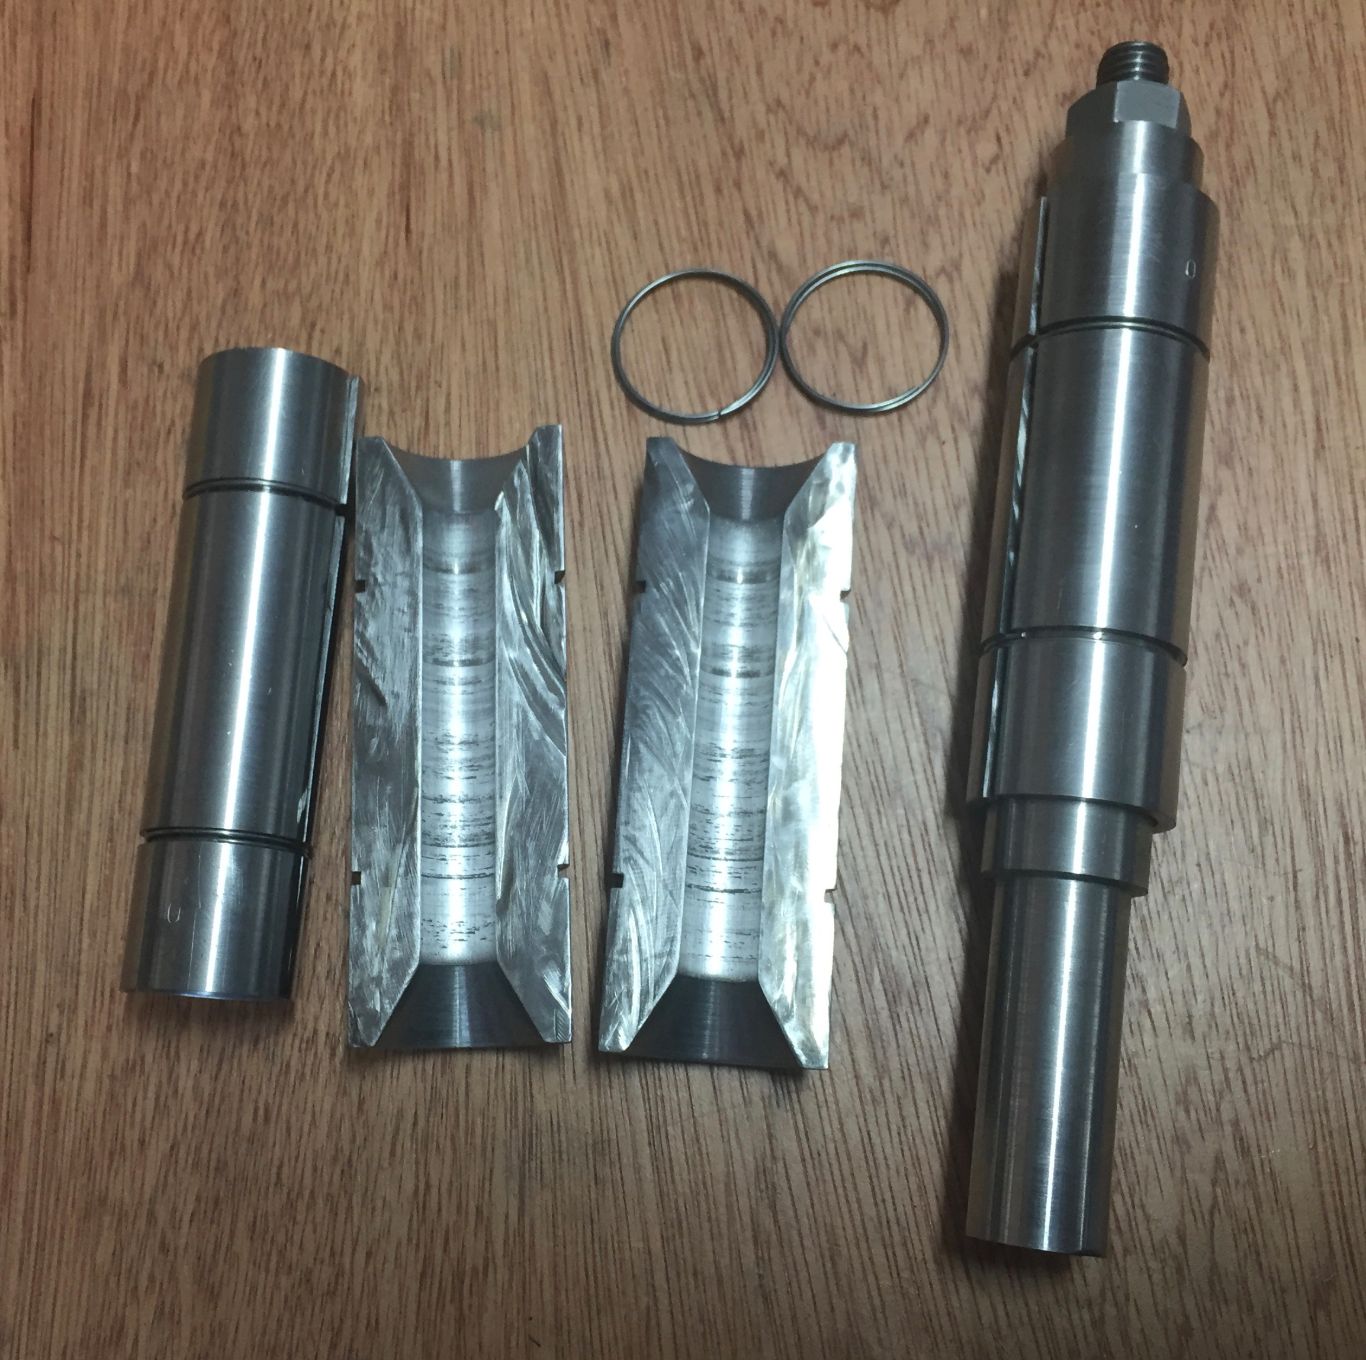
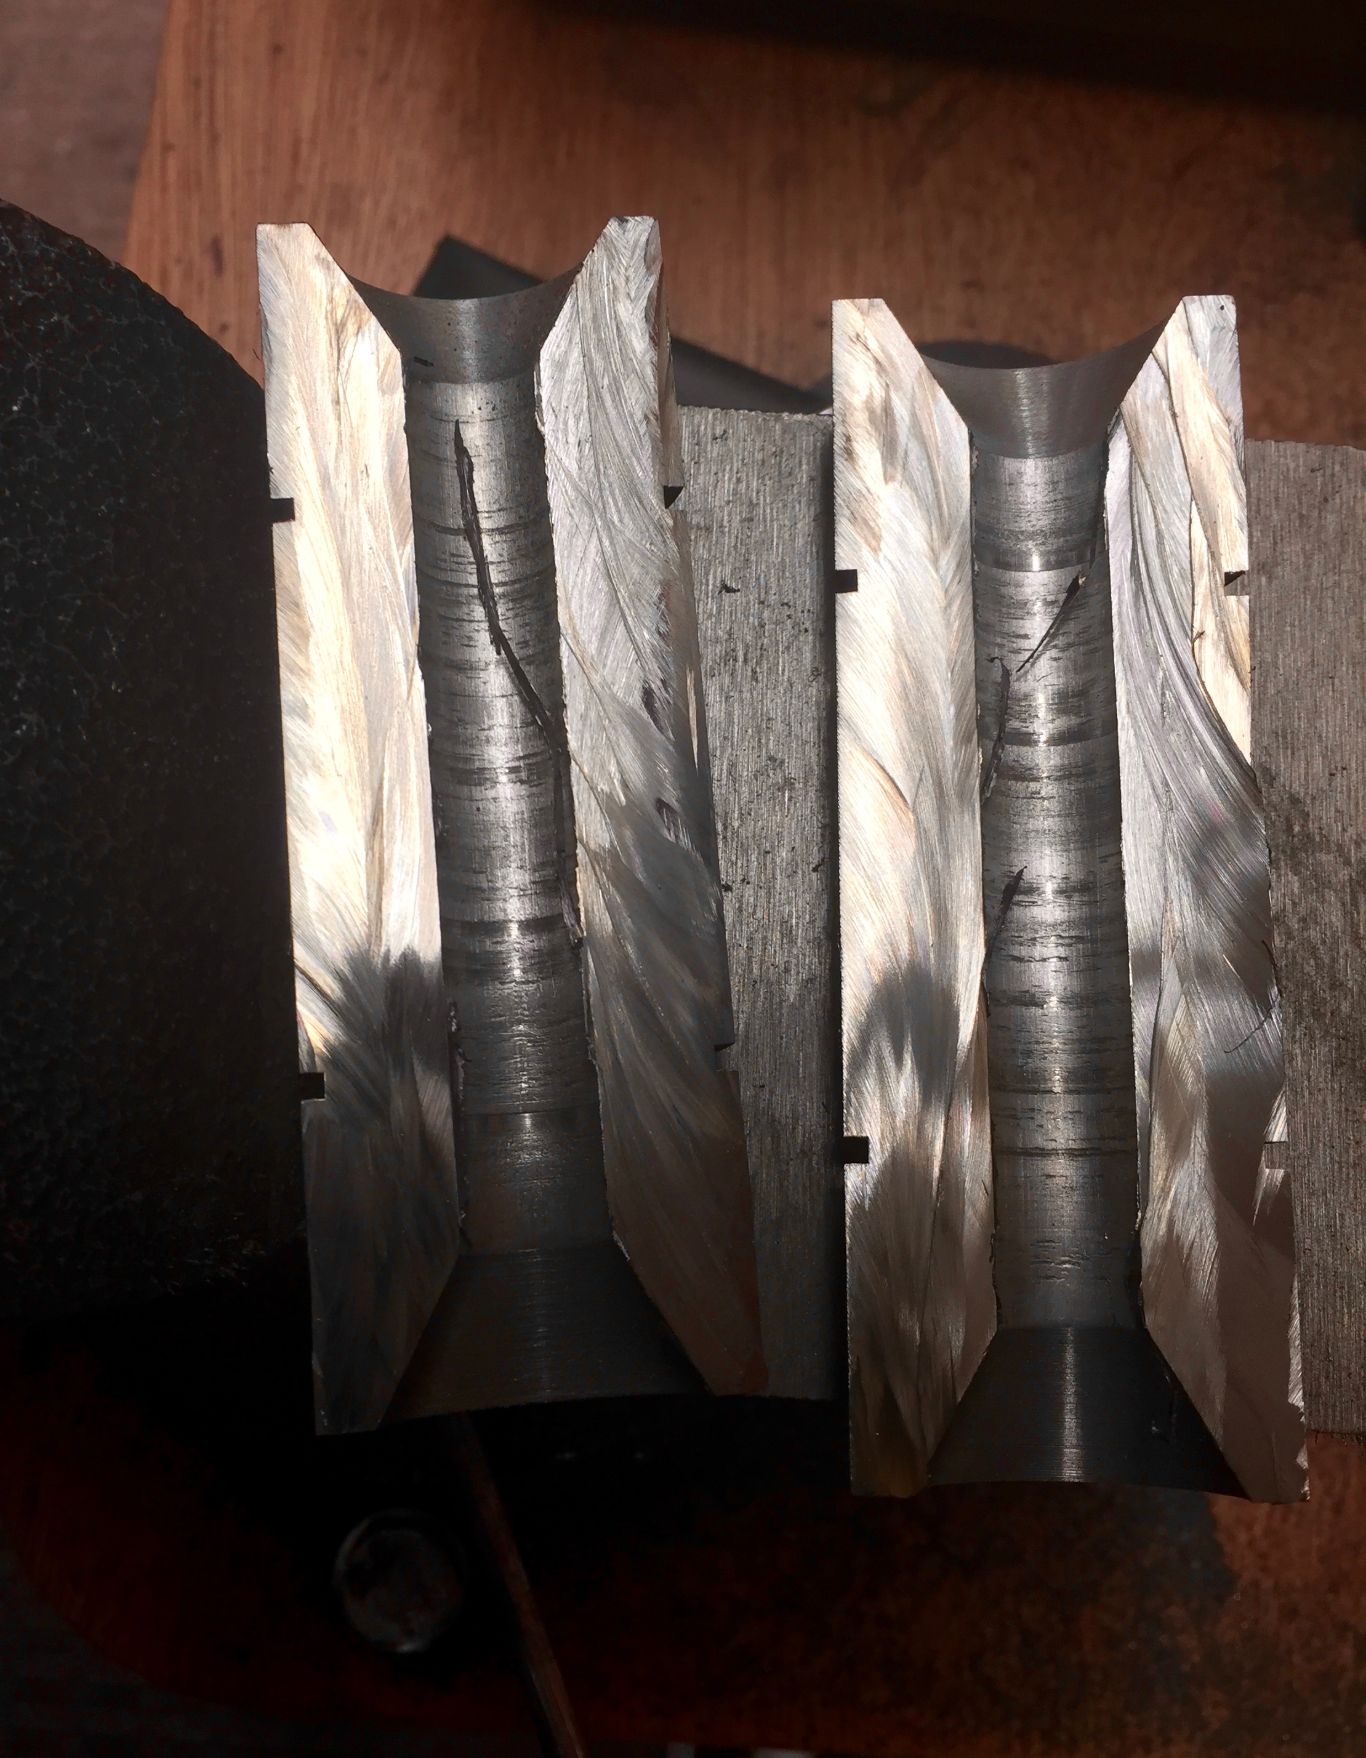
This is an arbor with varying sized expanding outer sleeves. I wish to make reasonably accurate turned sleeves to use as shims for seat posts and maybe lugs but also to make accurate sleeves for the bi-laminate lug idea where you fit sleeves over the tubes, shaped accordingly, then braze the joints to look like lugs. Also useful to maybe strengthen certain points in a frame. I initially found that if you bore out the centre of a thin tube there is a tendency for the pressure from the lathe tool to stretch or ‘bell’ it. My intention therefore, is to bore the centre of the oversize tube or solid bar to size e.g. 28.6mm ‘and a bit’ internal diameter hopefully maintaining a reasonably thick outer wall. Then the tube is inserted on the mandrel, tightened up and the external surface shaved down to size so there is no risk of deforming the sleeve. There are commercial versions available to more sophisticated designs, though none that I can use in my particular lathe. They are also very expensive. Mine was made of mild steel.
Cutting heavy tubular metal pieces like in some of these projects, lengthways, is very difficult. None of the economical and small powered metal saws seem to be equipped to do it so I was resorting to cutting freehand with an angle grinder, though I am now fortunate enough to have acquired a Bandsaw with a table. This is not perfect, but easier than freehand cutting. You can use a slitting saw on a Milling Machine, but even this is far from ideal.
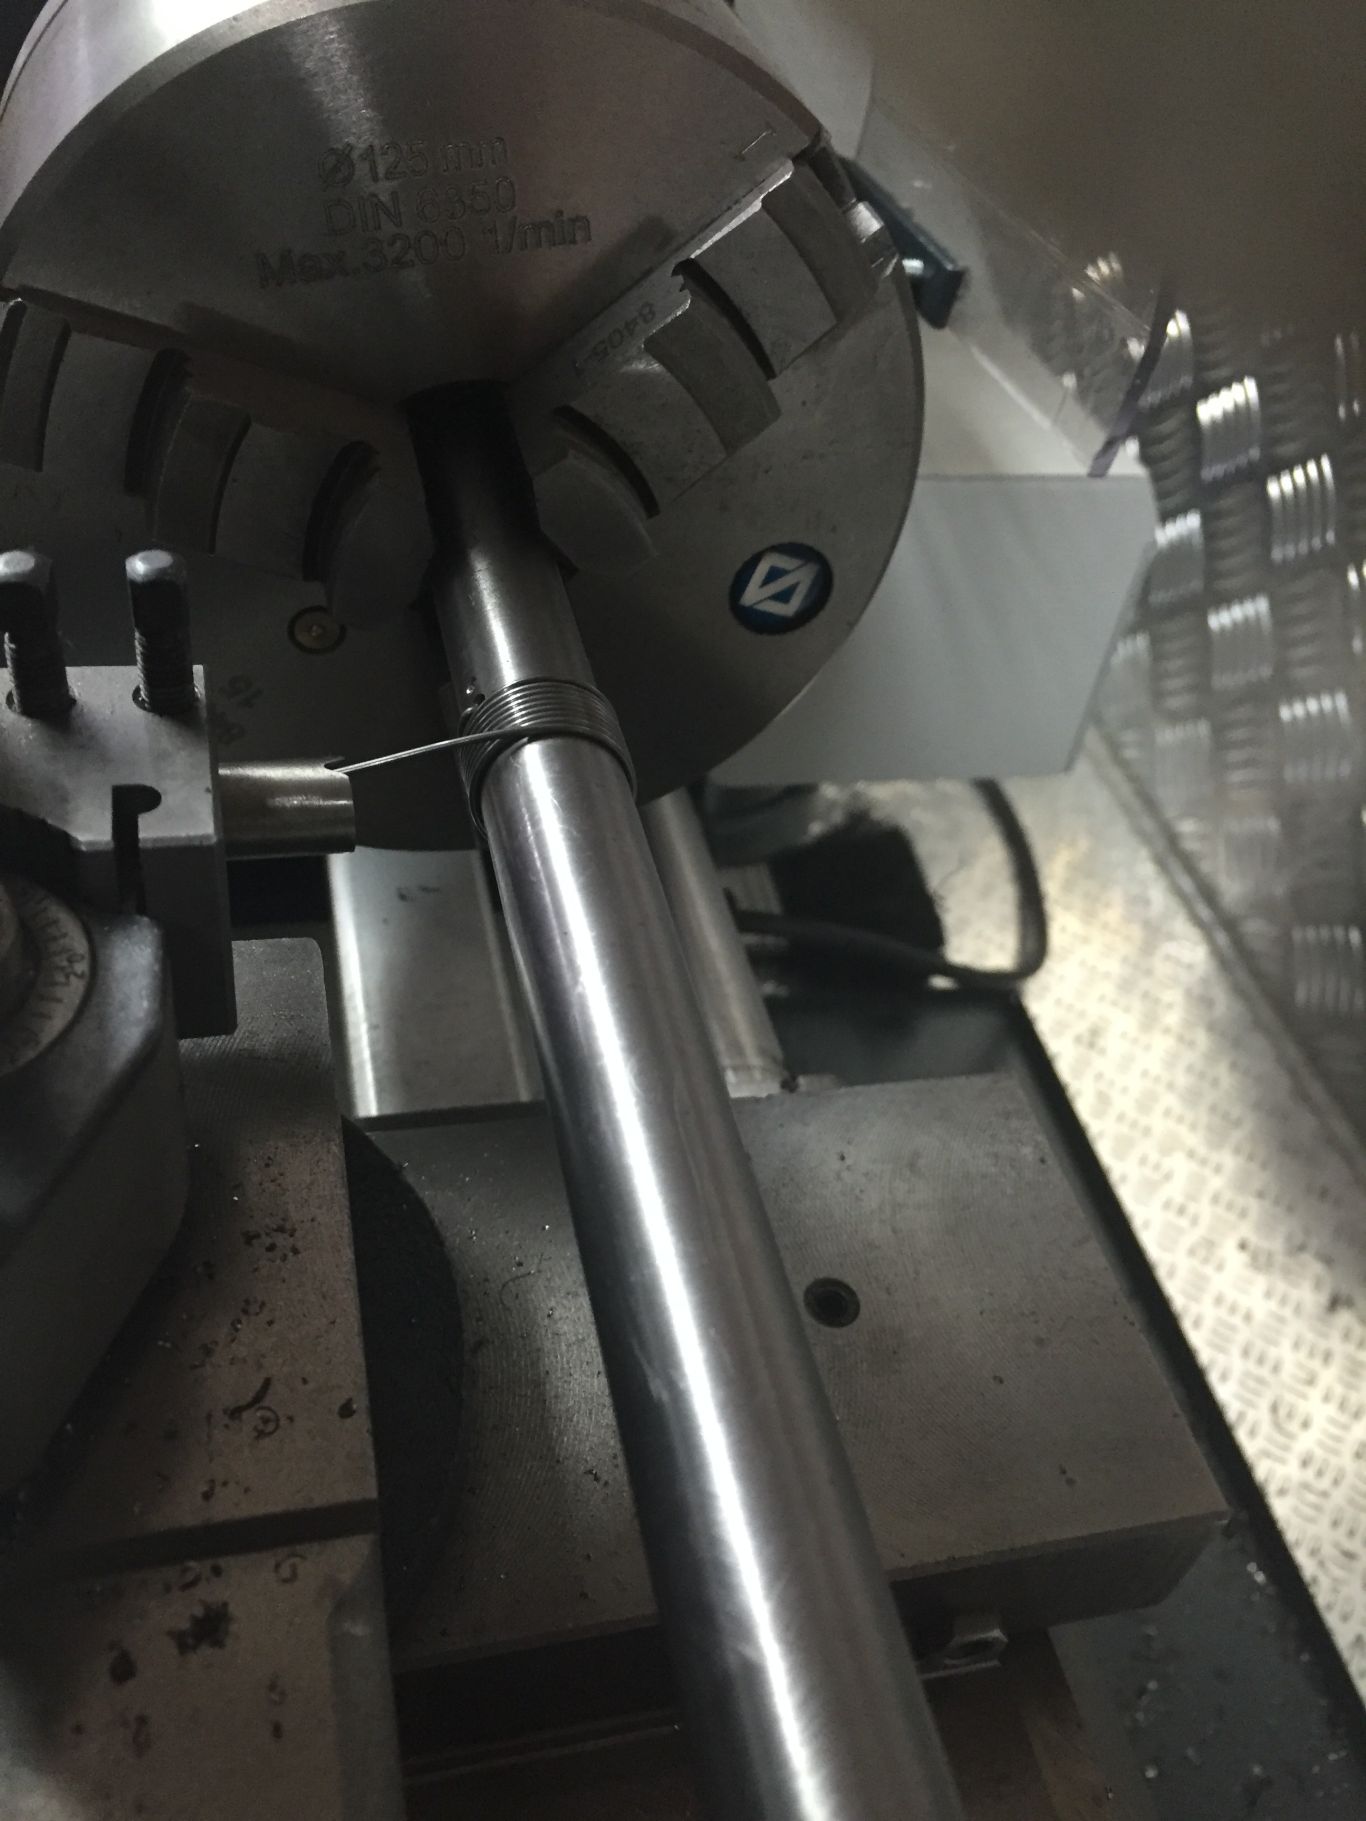
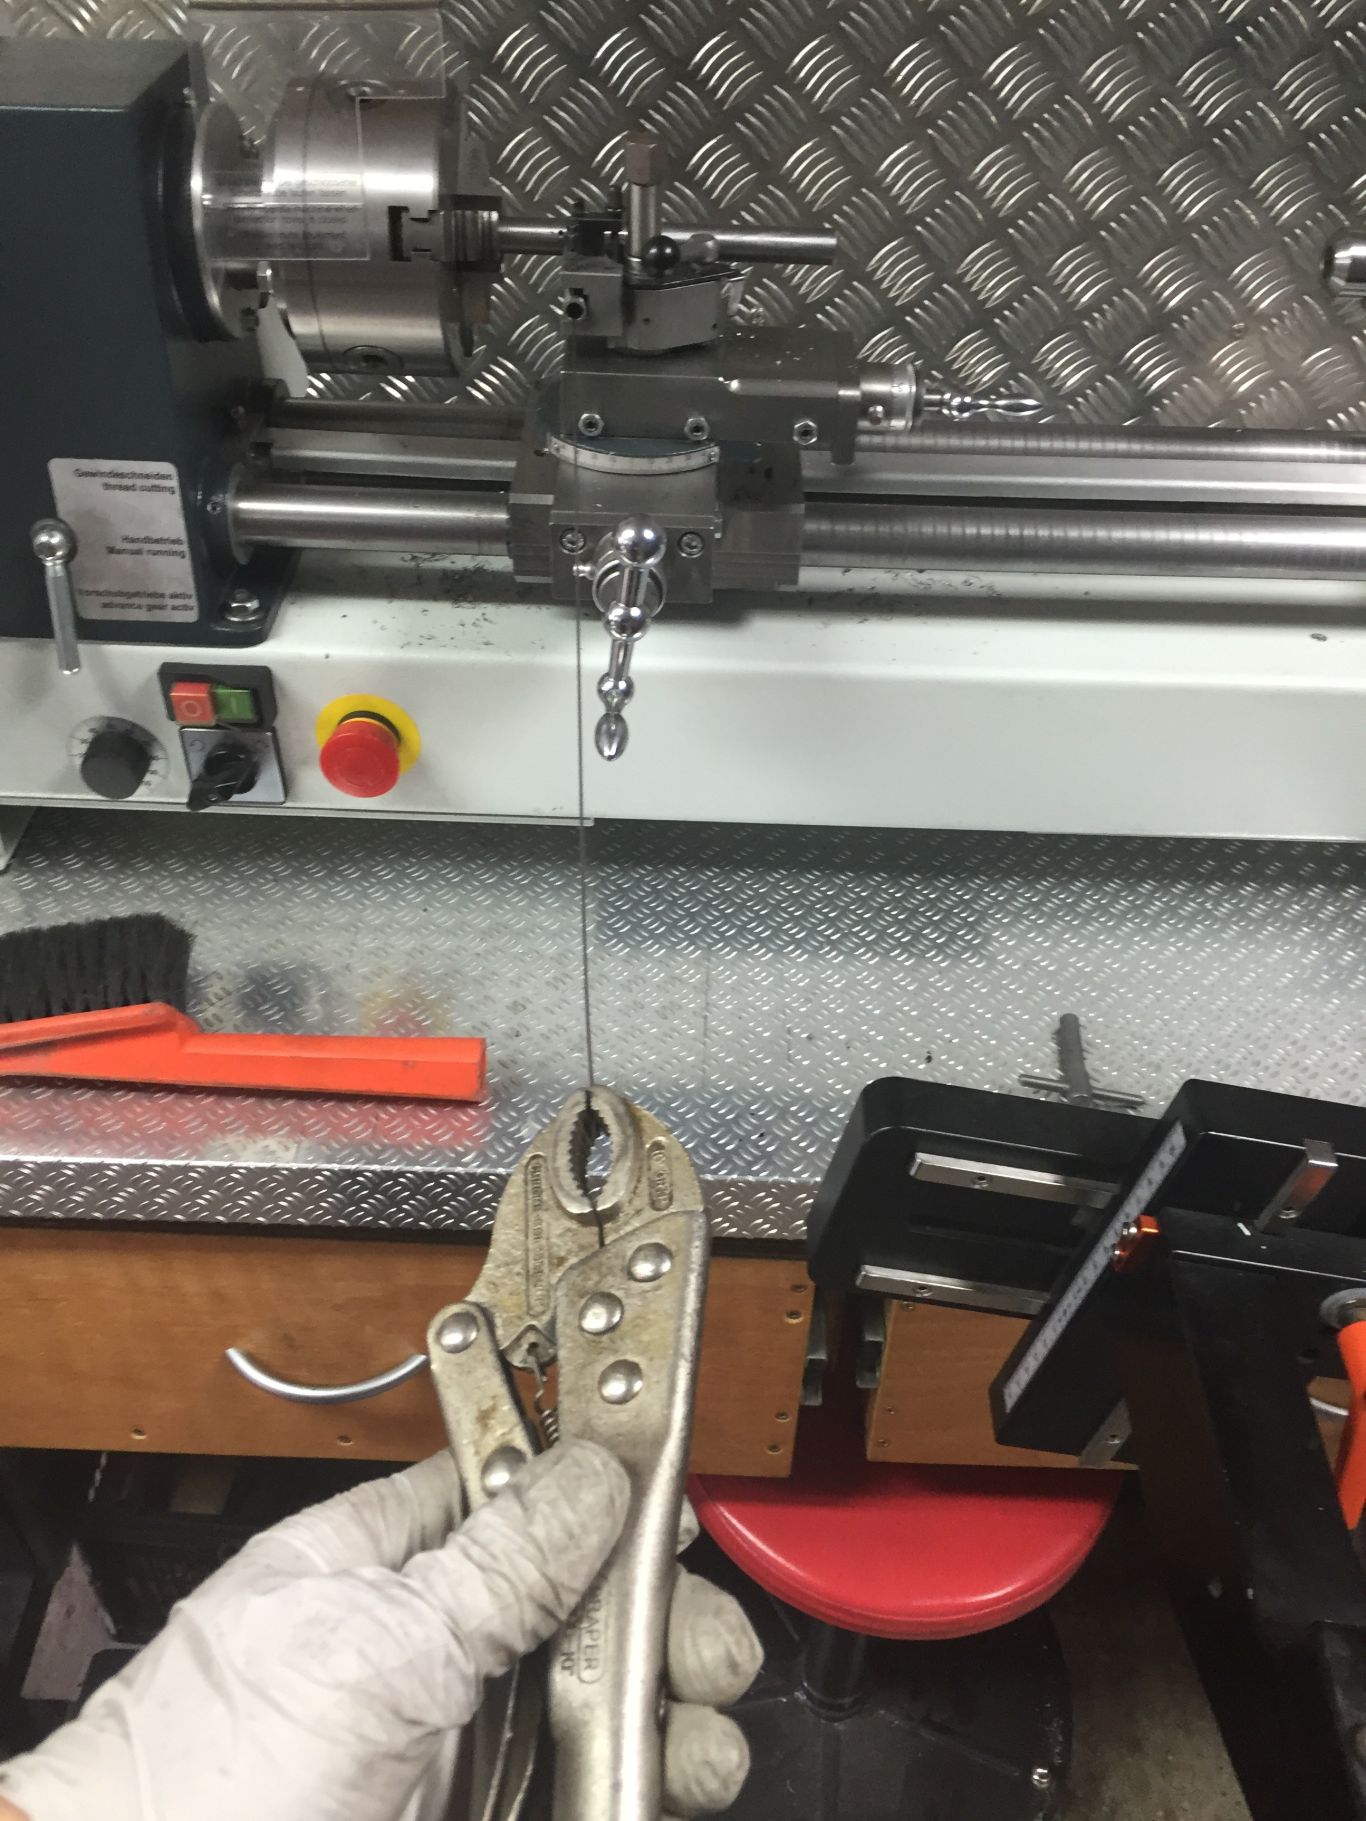
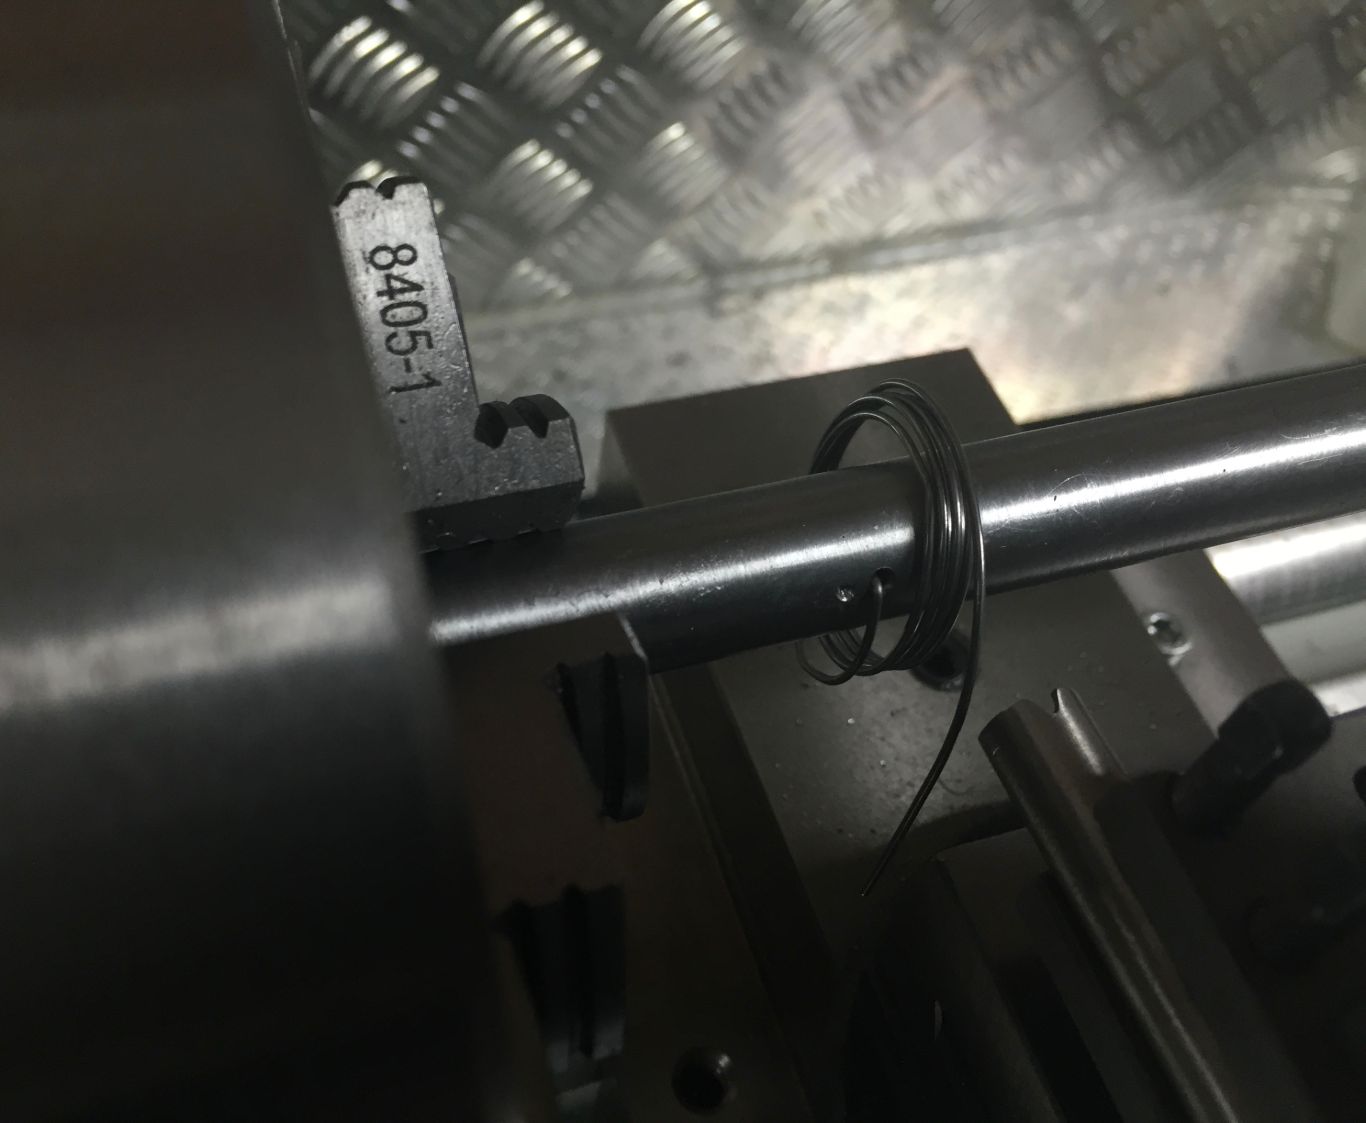
Small circlips can be made on a lathe from Spring wire, also known as Piano wire. It is simply coiled on a bar with a small hole drilled in it, though I admit it doesn’t look very safe and concentration is required!
The mandrels in fact work surprisingly well, provided you tighten up the end nut firmly.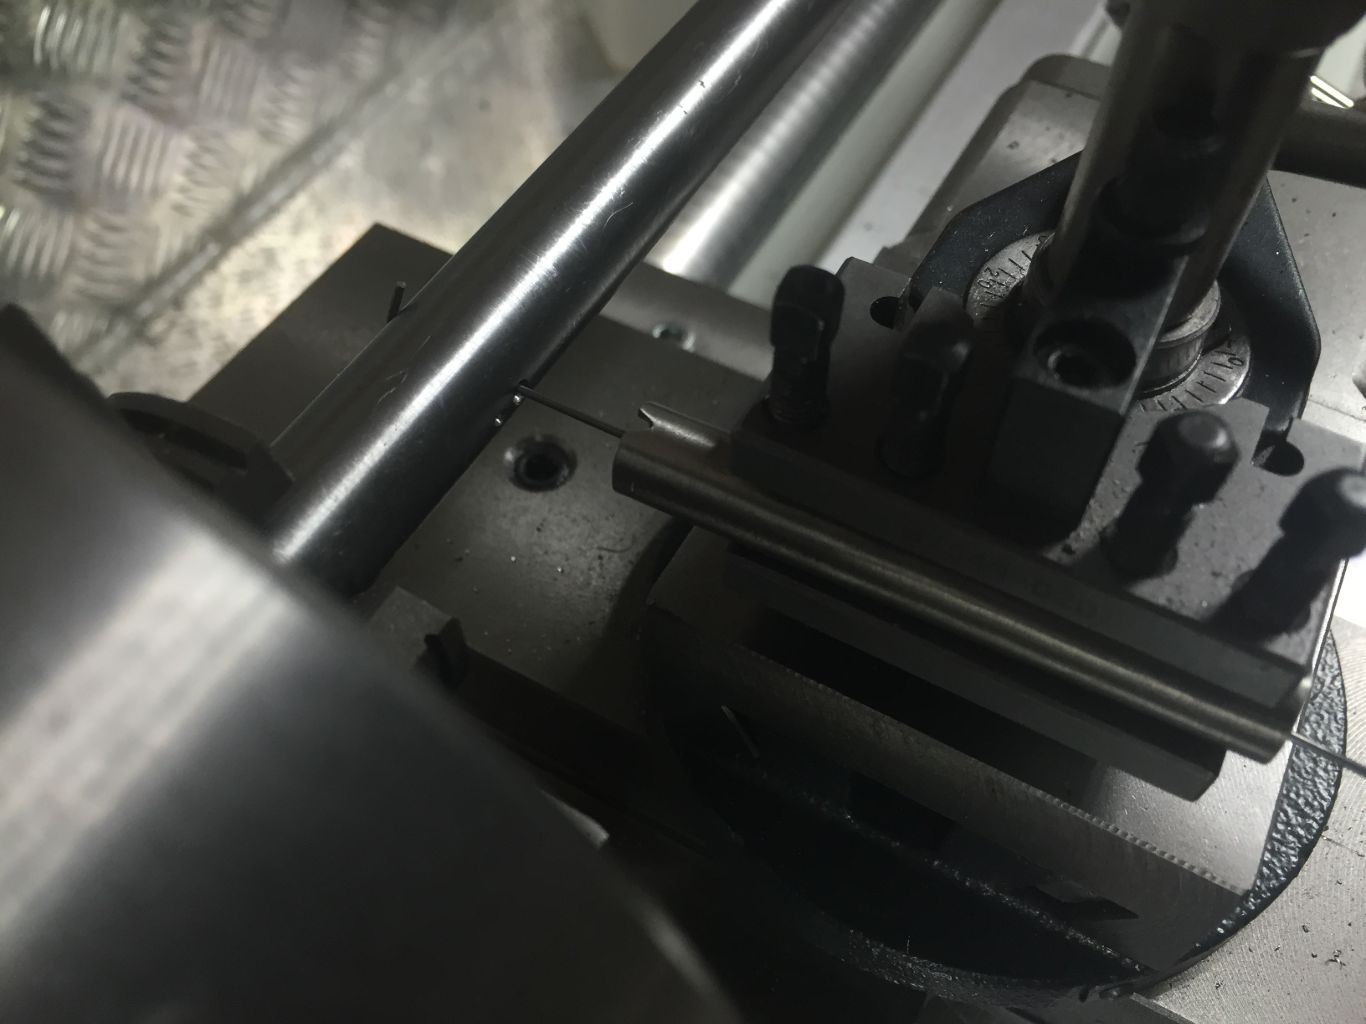
Tube Mitering Blocks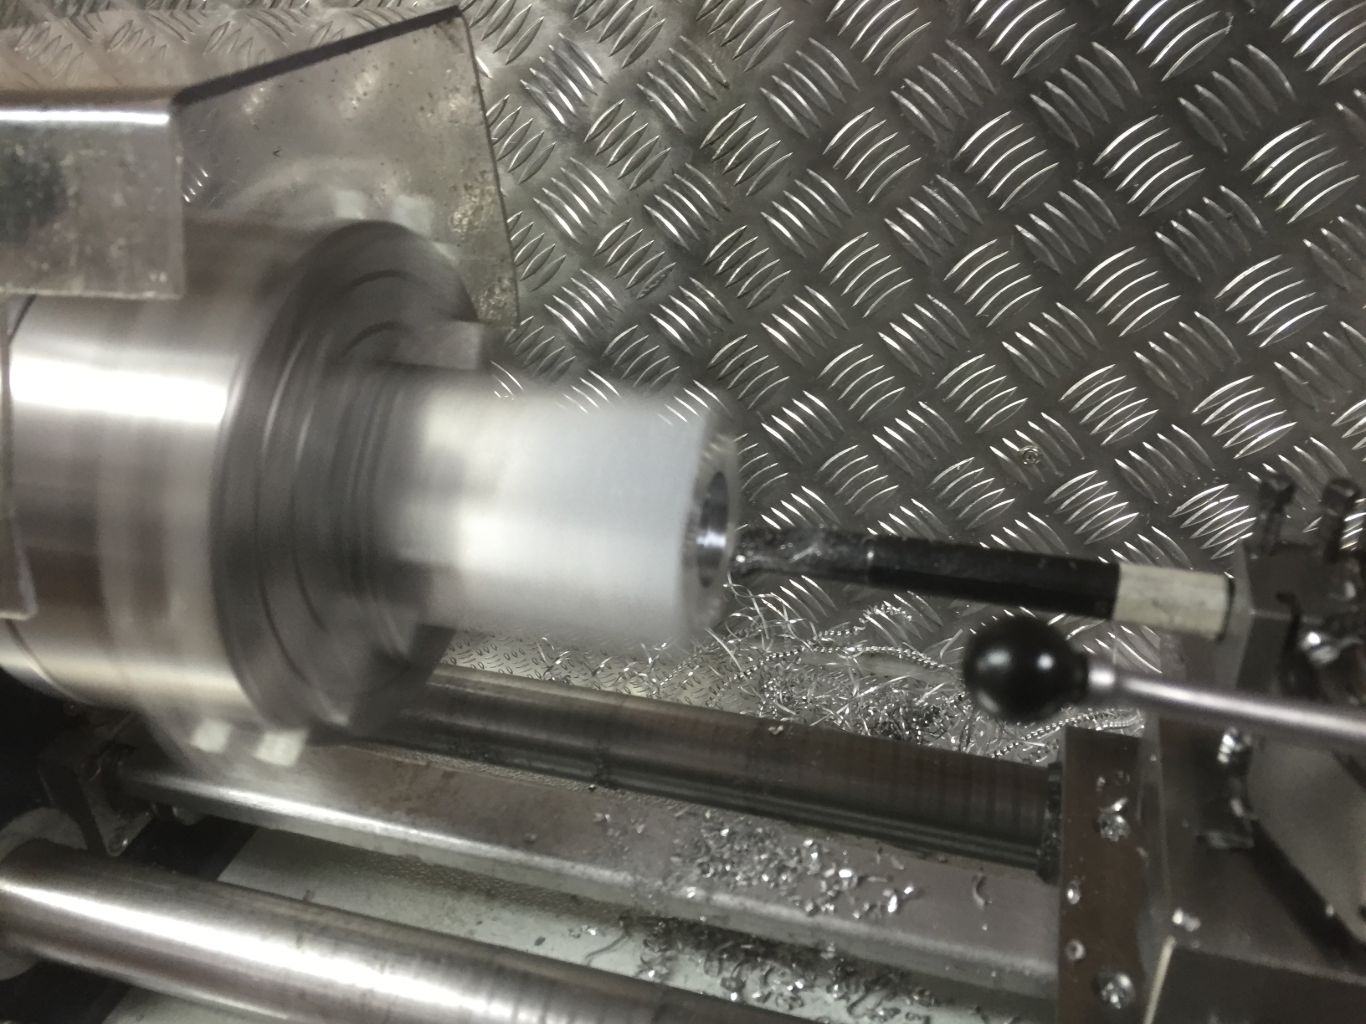
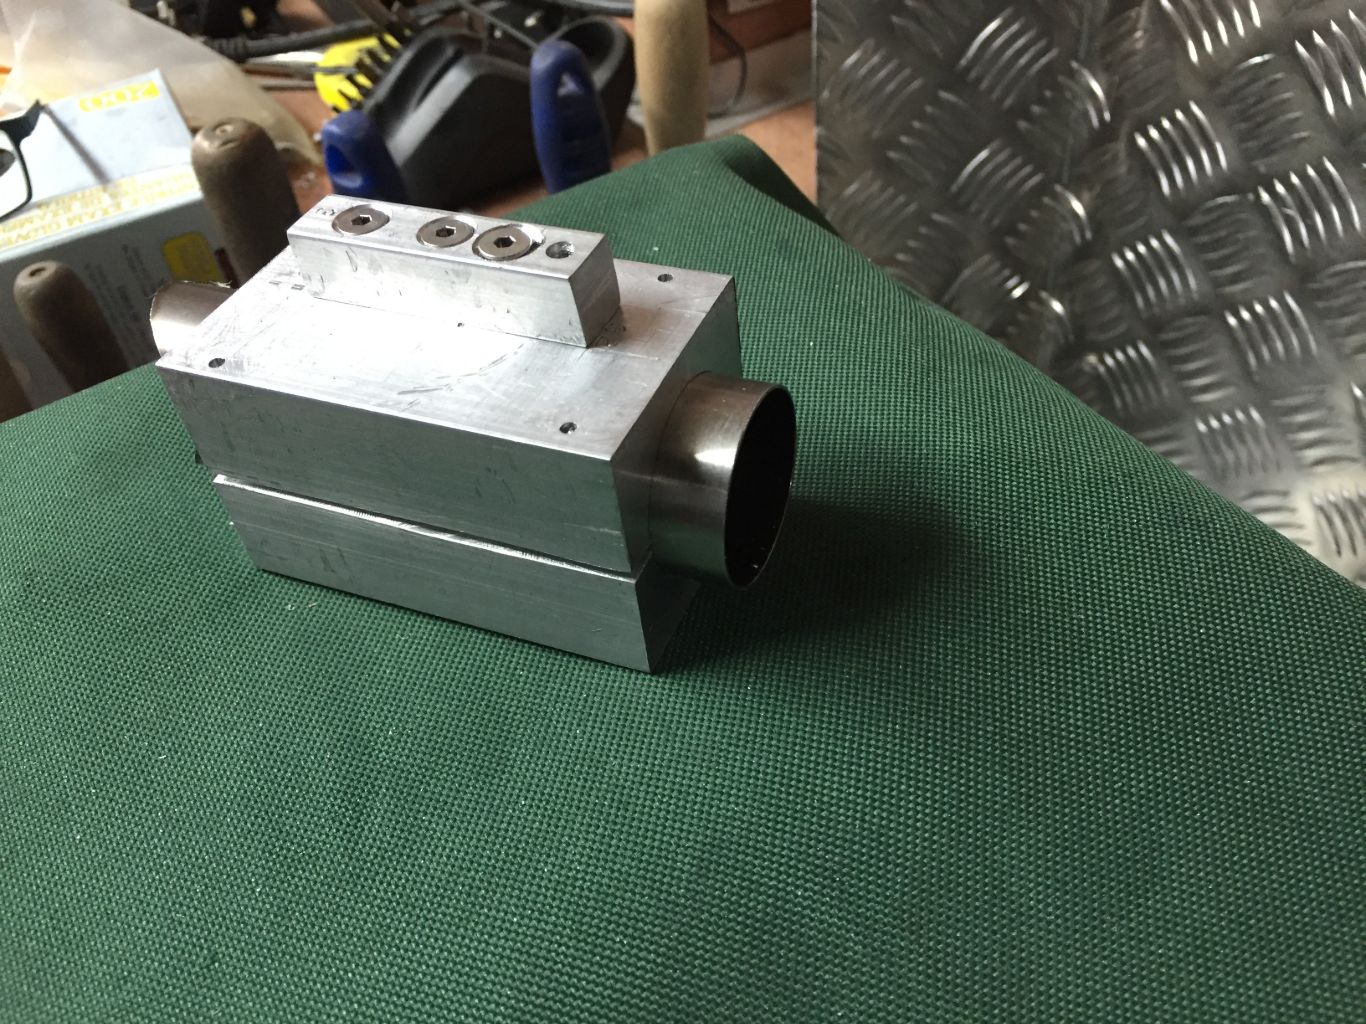
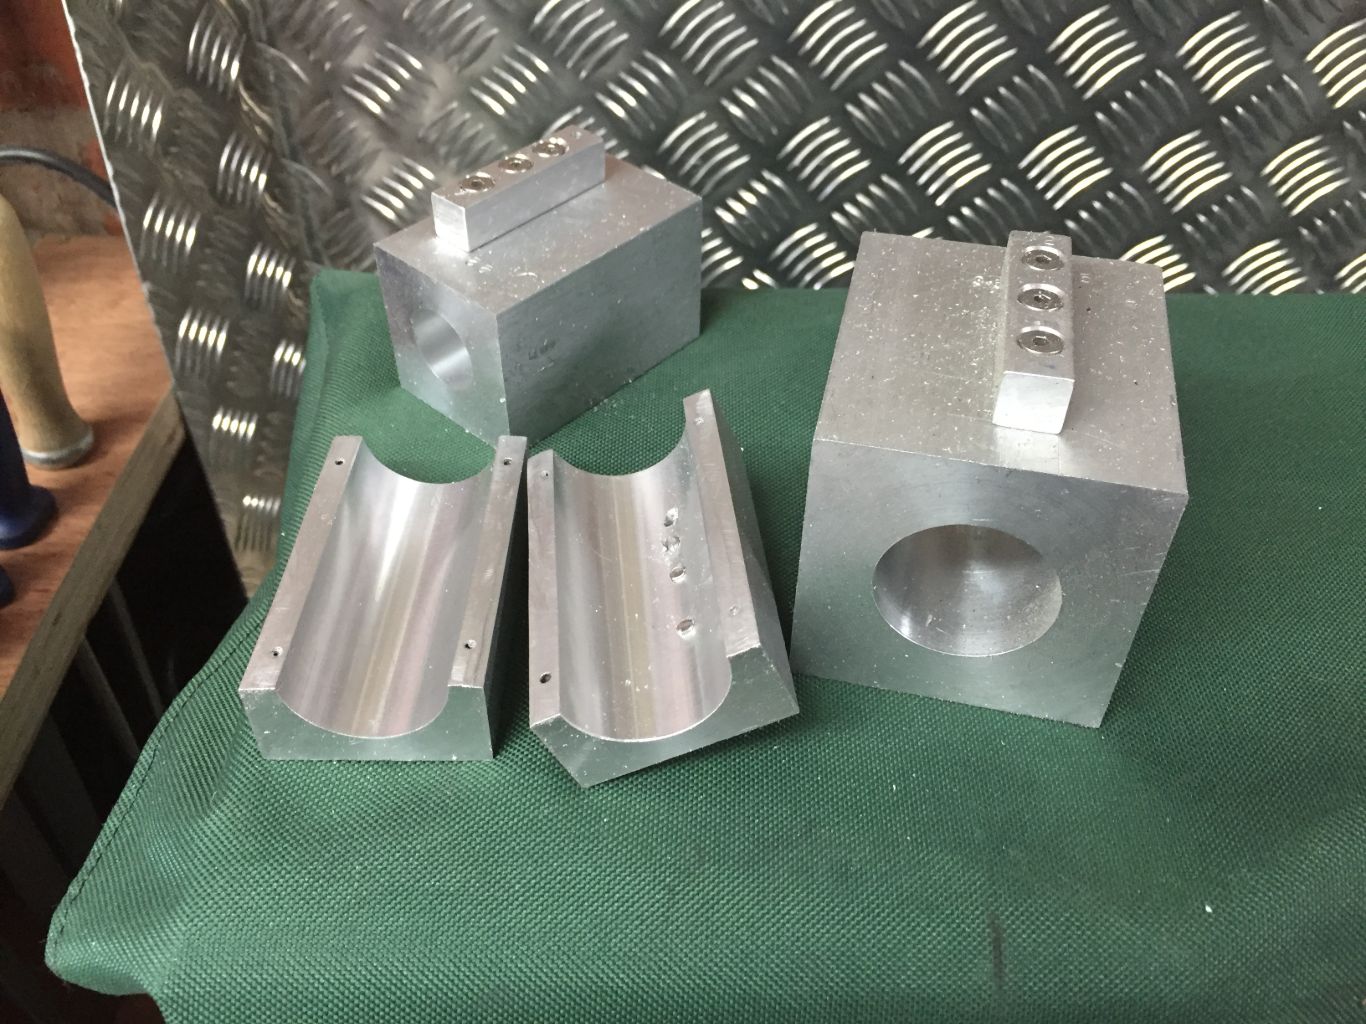
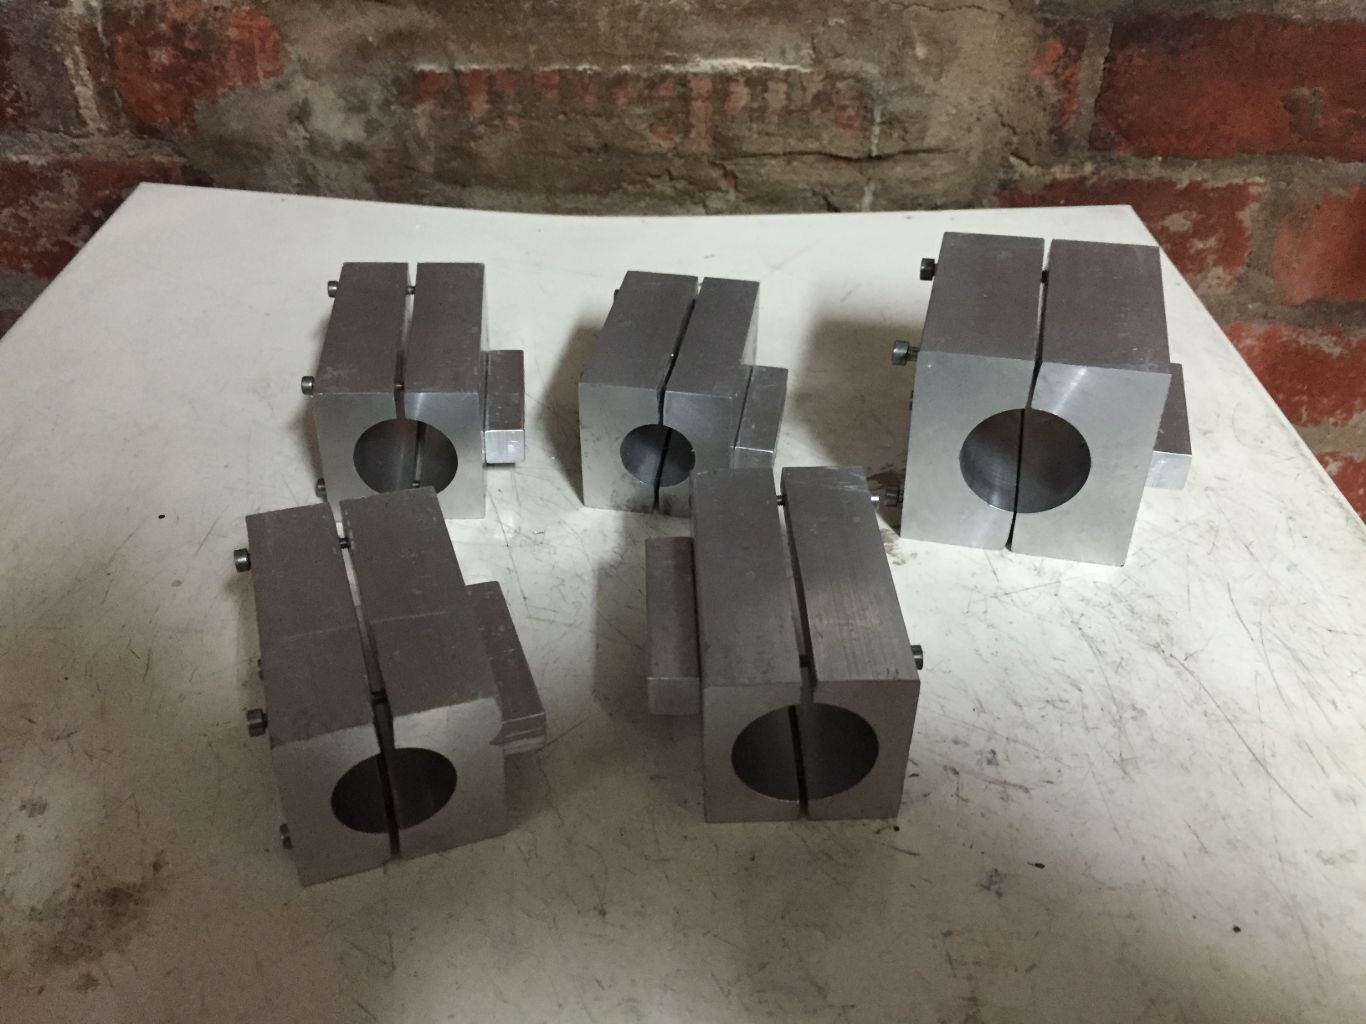
There is a series of You Tube videos on Framebuilding by Pithy Bikes in the USA. In these he makes many fixtures in his workshop in which he has a plethora of machine tools. I was reassured that he was able to mitre tubes in a mini lathe successfully and you can see he makes his tube blocks with a milling machine. These take the form of V blocks bolted together, which I expect would cover a flexible range of tube sizes. At the time only having a lathe, I had to make a separate block for each size of tube, so have started with 5 sizes. Made from aluminium square bar with a piece of square aluminium rod bolted on to facilitate clamping to the lathe tool post. The system seems to work quite well. I have since also sometimes used a milling machine to mitre and have made some V blocks to use in this. You of course need the milling machine to make the V blocks in the first place.
Sanding Mandrels / Holders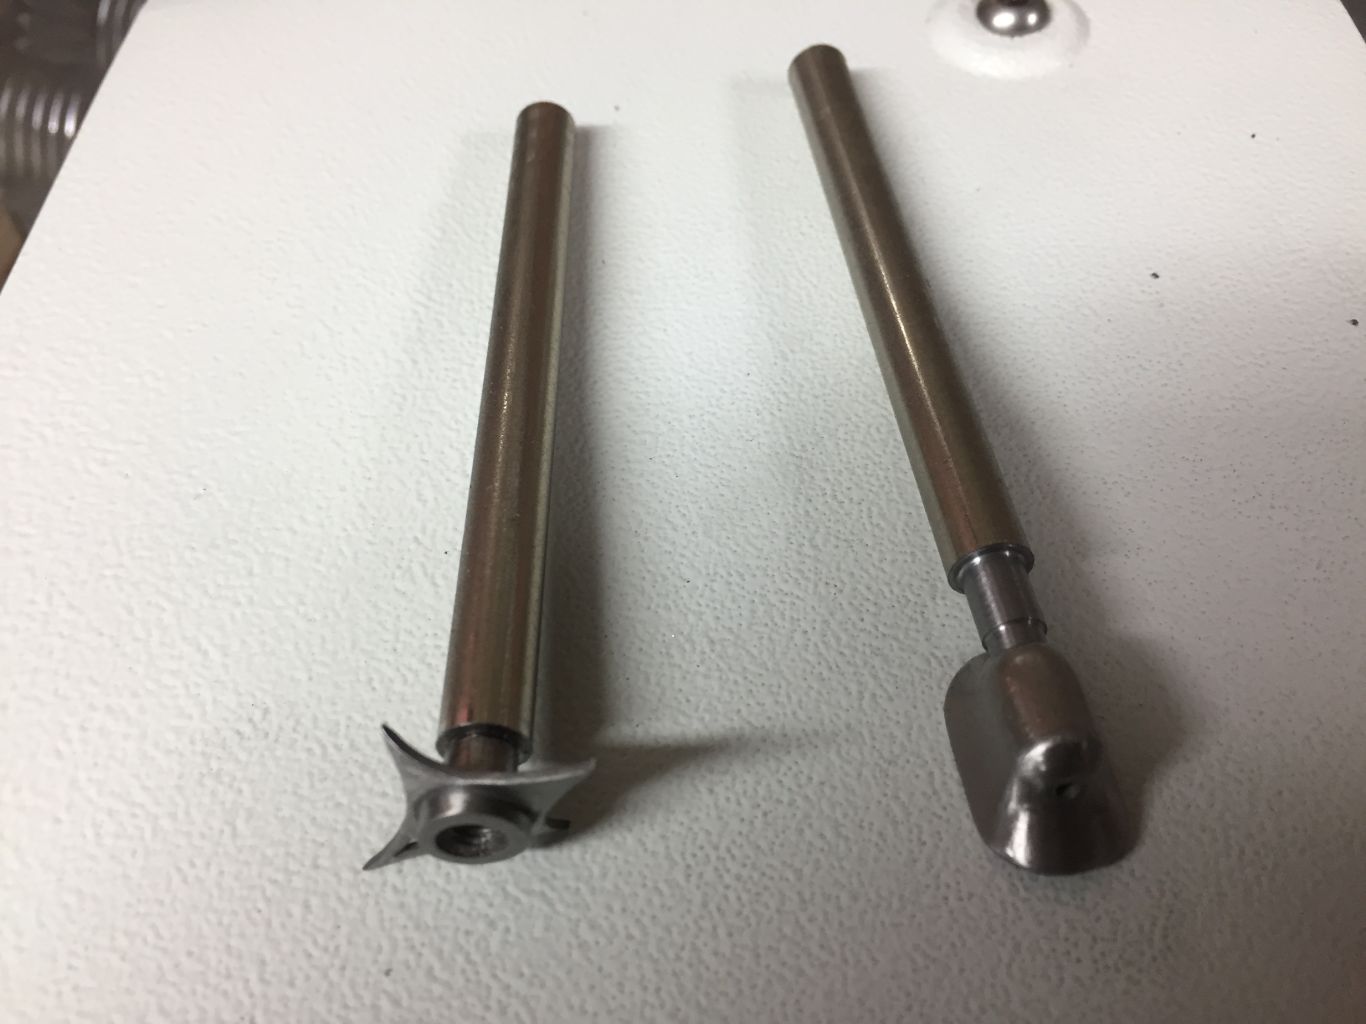
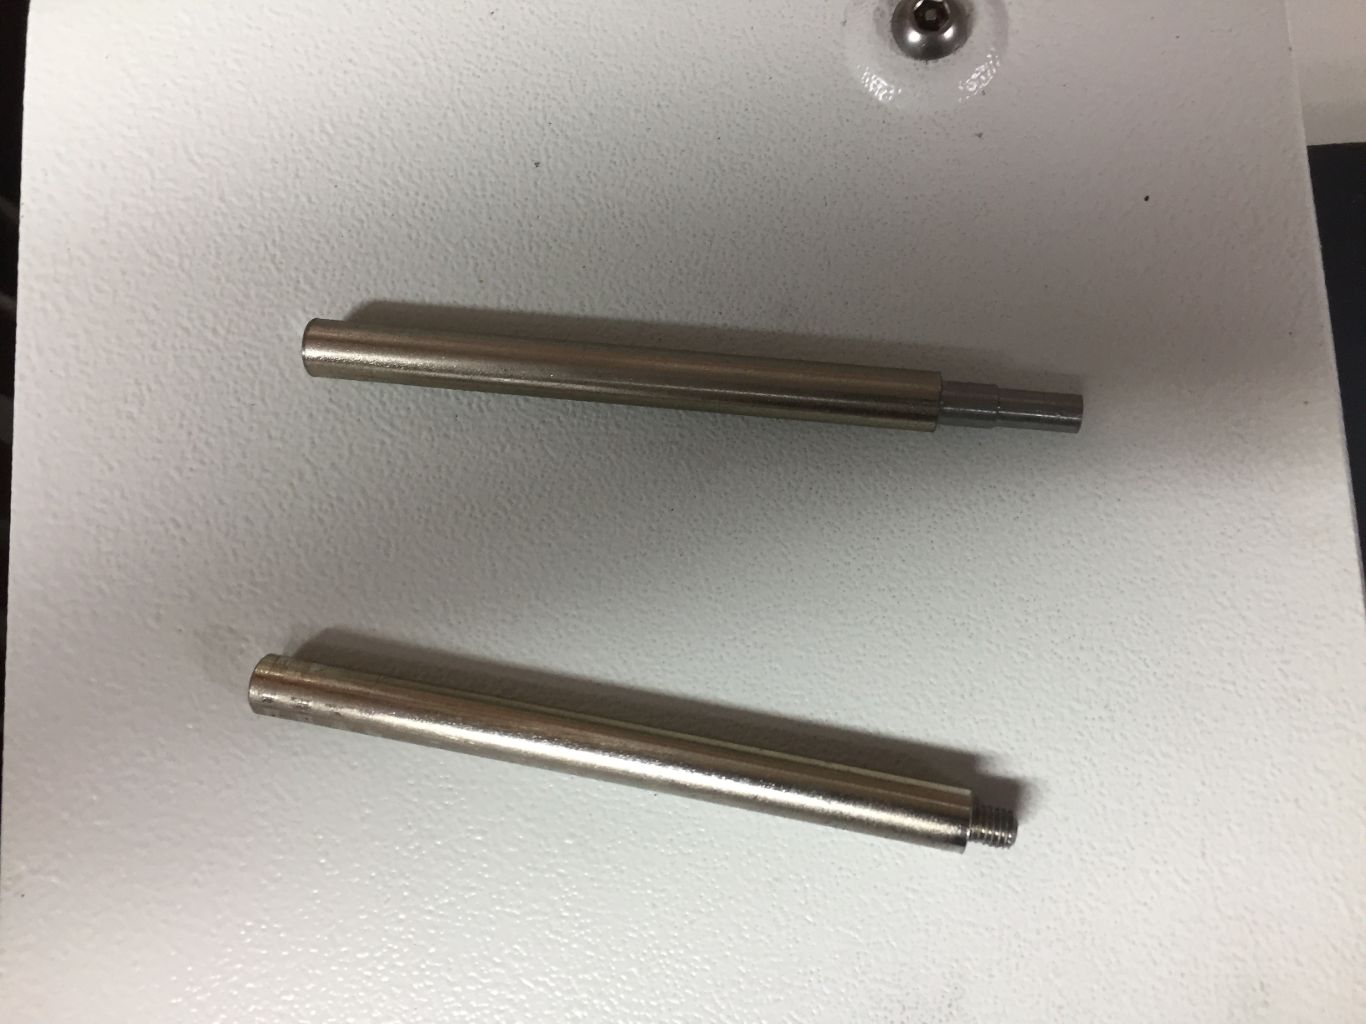
Small bars for holding bottle bosses and cable guides enable me to hold said items for preparatory sanding prior to polishing. One is threaded the other has a slight taper for a wedge fit, helps an awful lot.
Rolhoff Freewheel Removal Tool
Sprocket/freehub removal tools are usually quite cheap to buy – Not Rolhoff which cost £26. You can make them for next to nothing. I took the measurements direct from my hub.
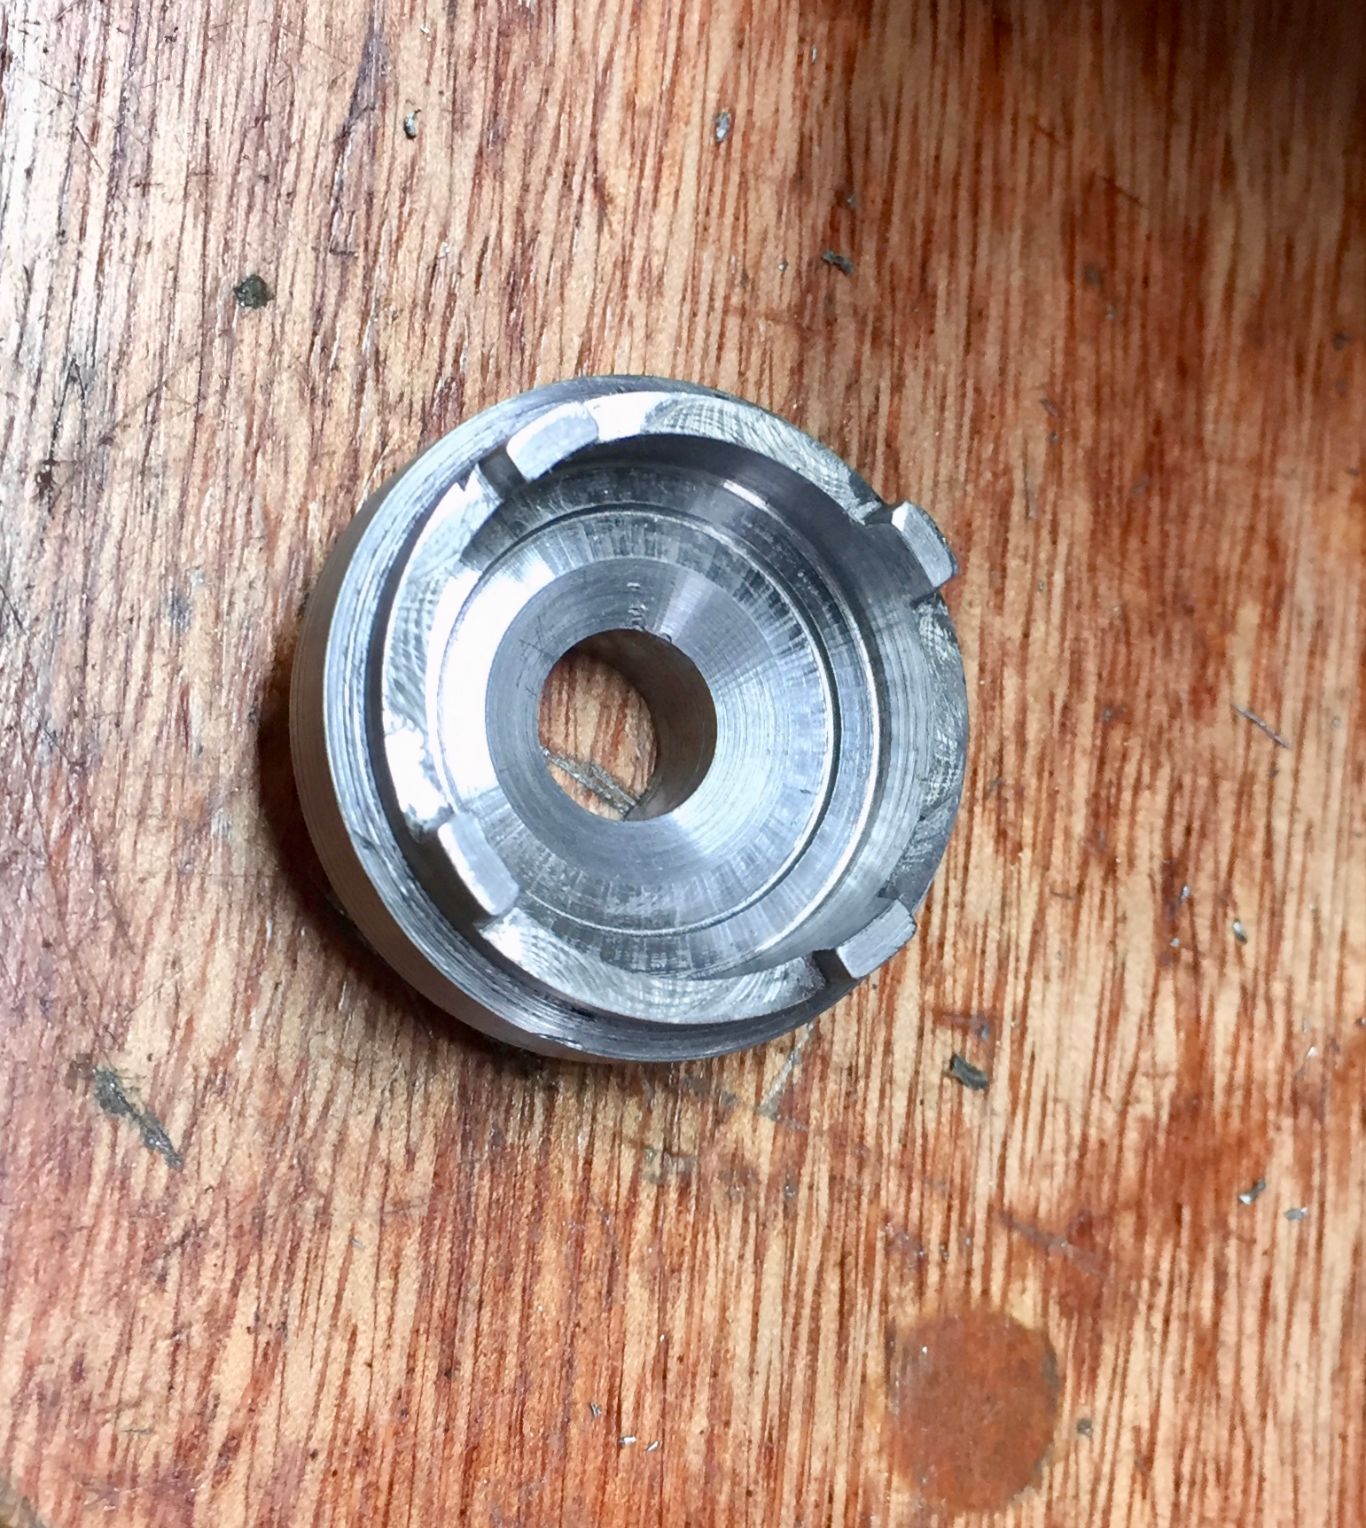
I did cut the flats on a milling machine but they could be done on a lathe milling slide or even with a file.
Handlebar Stem Shim
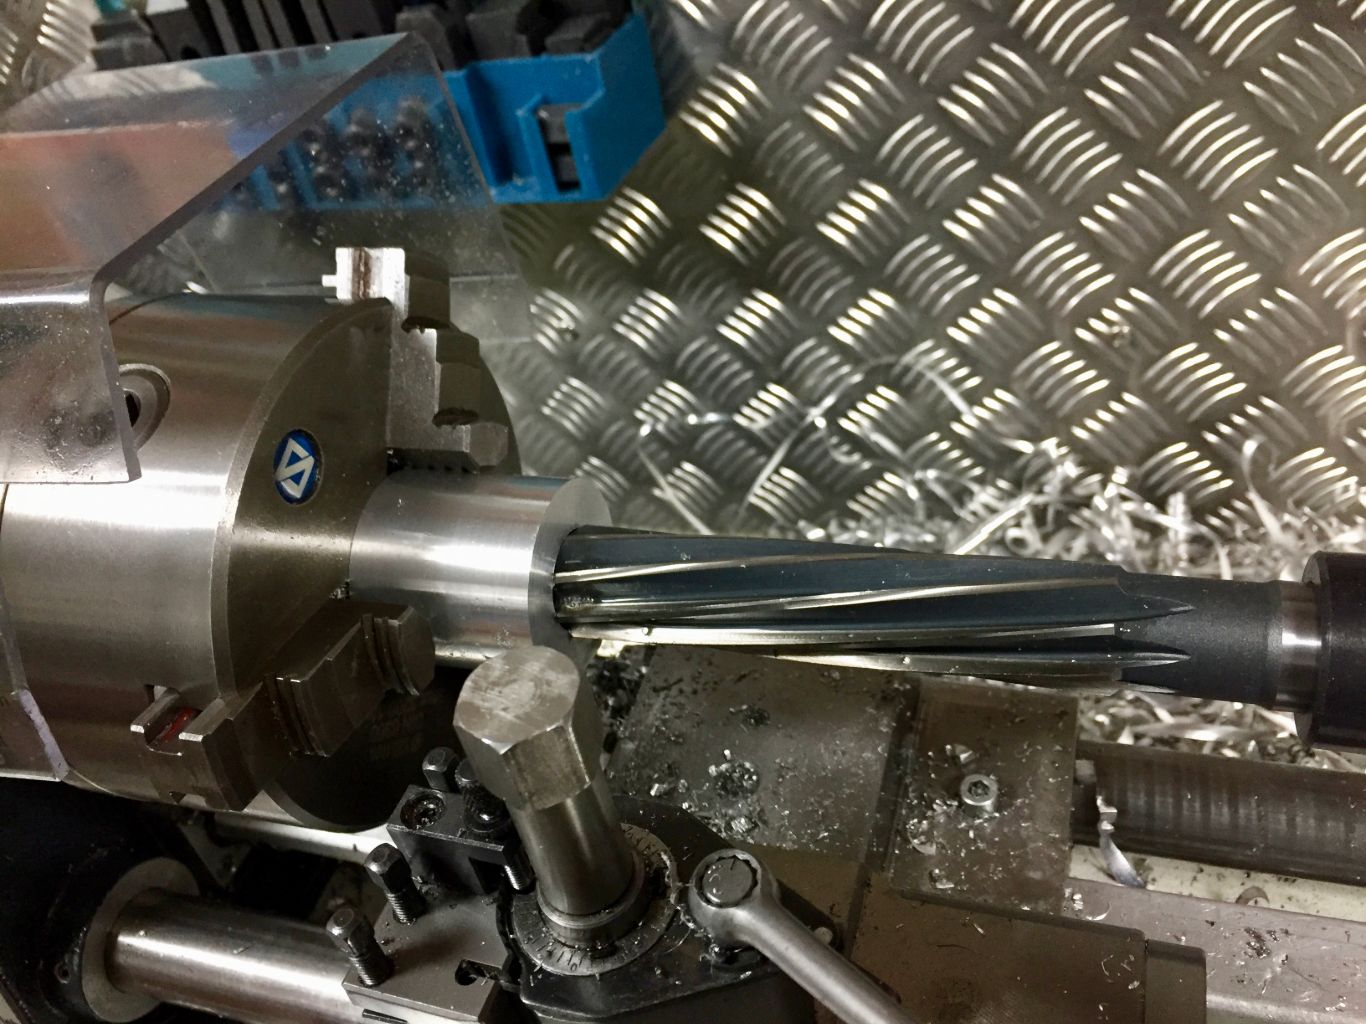
I needed a shim to fit a 24.4 handlebar to a 31.8 stem. It would be simplest to use a thick walled aluminium tube and modify it, but I inadvertently ordered the wrong diameter so went ahead boring out a solid piece of aluminium.
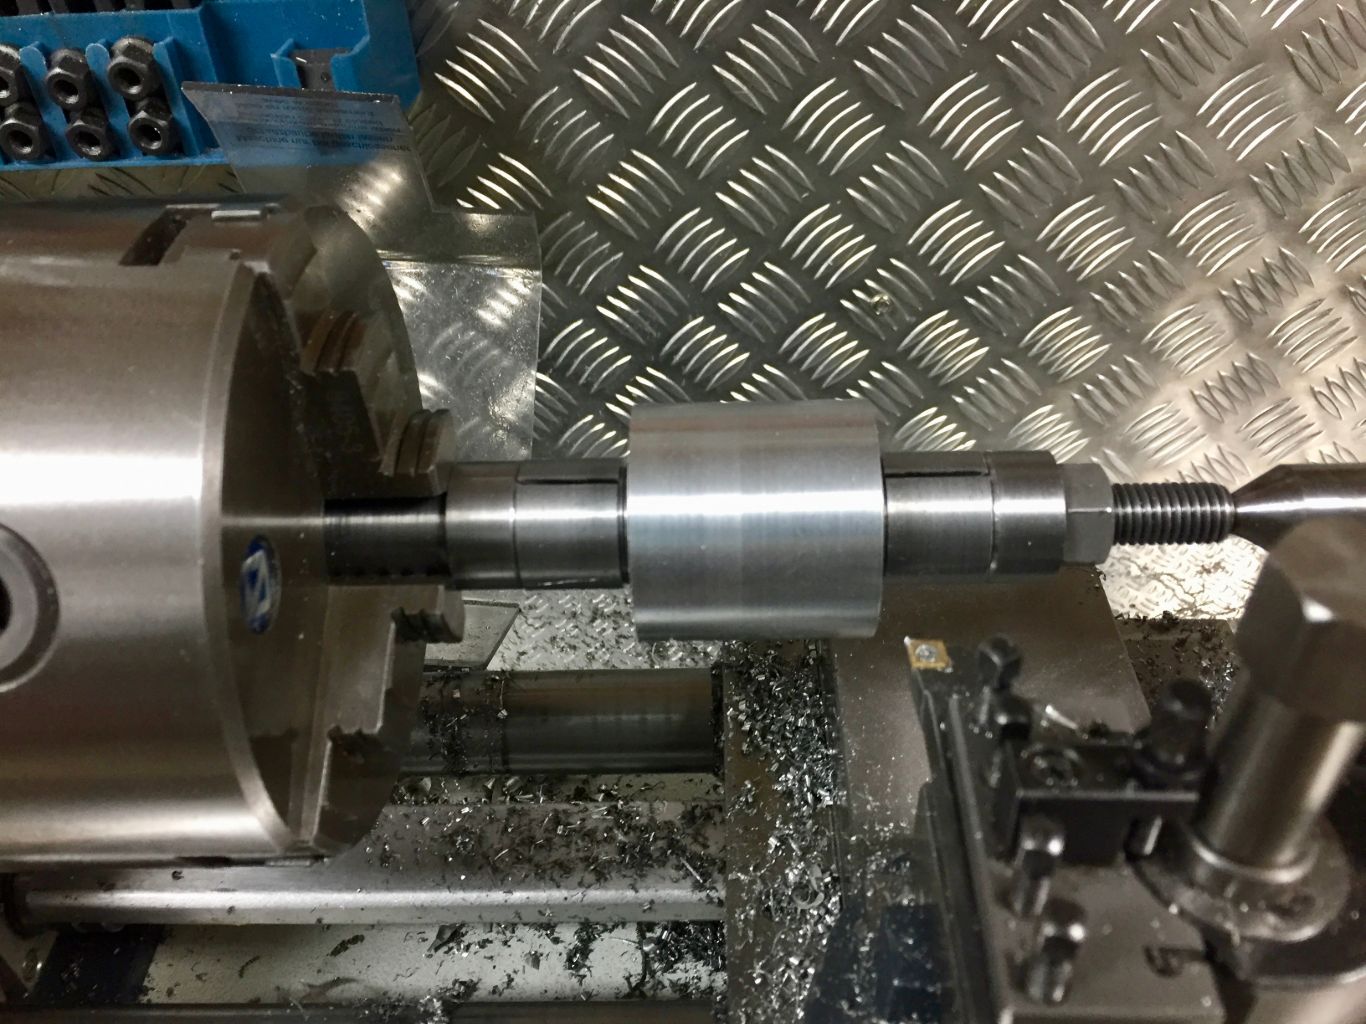
Initially use an undersize drill and finish off with a reamer to ensure the internal diameter is accurate. I then turned the outside to diameter by fitting the bored piece to my homemade expanding mandrel and this worked very well.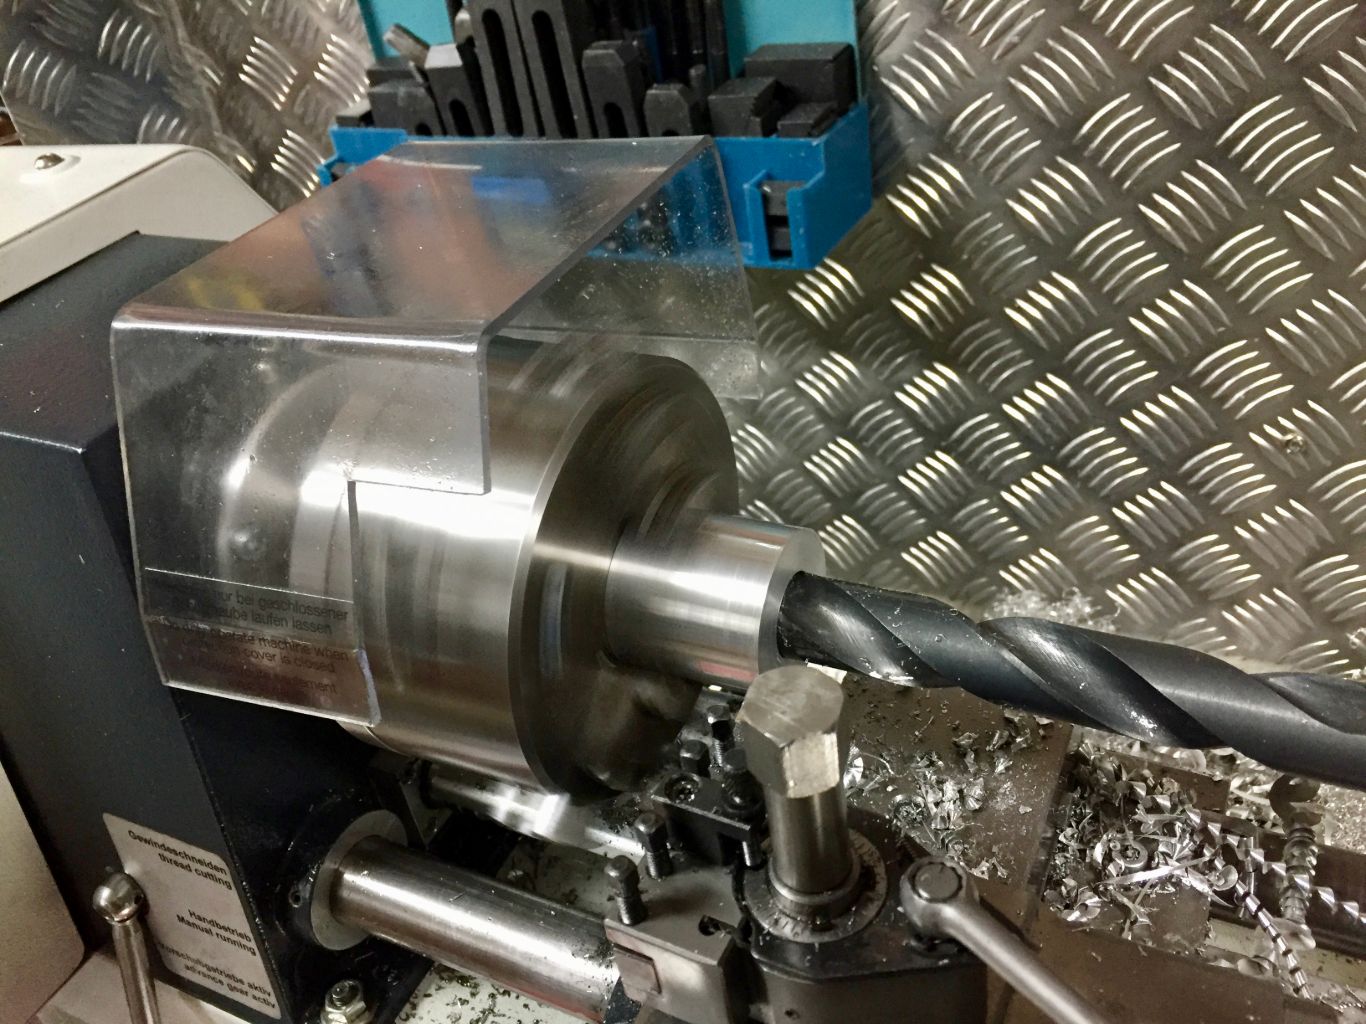
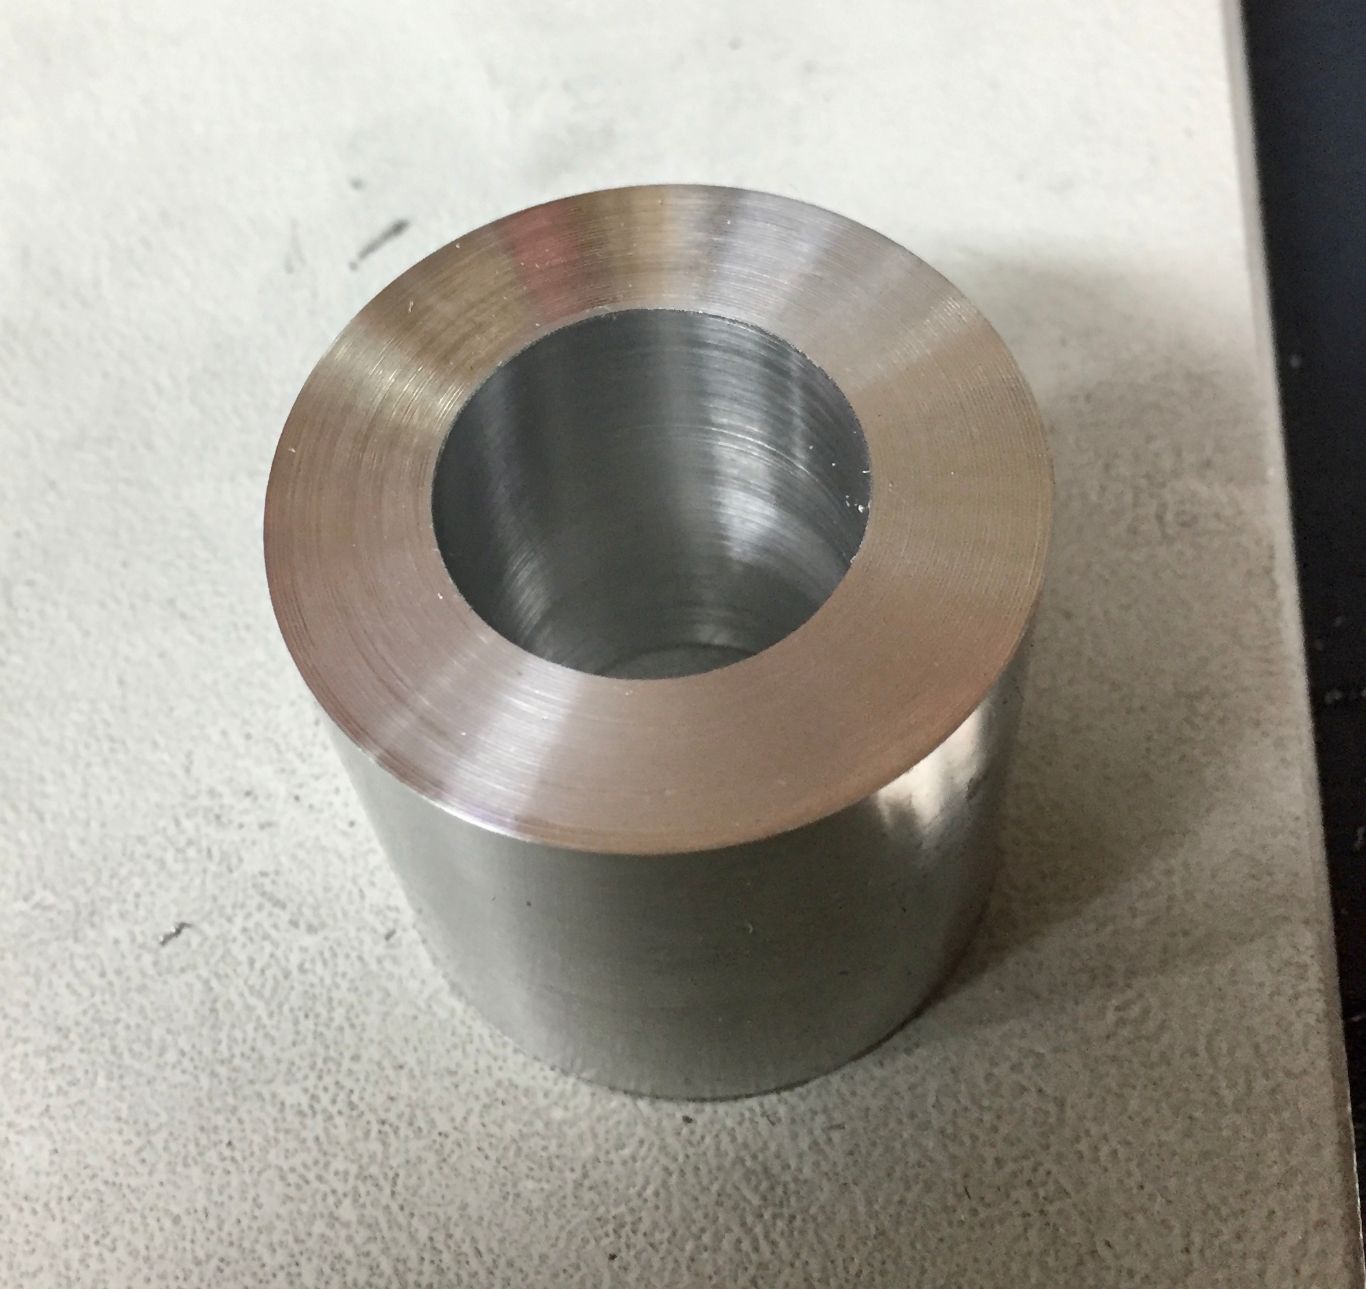
I intended to just cut a single slot into the finished shim but sawed it straight through before I realised I had not intended to do that! It will still work fine of course.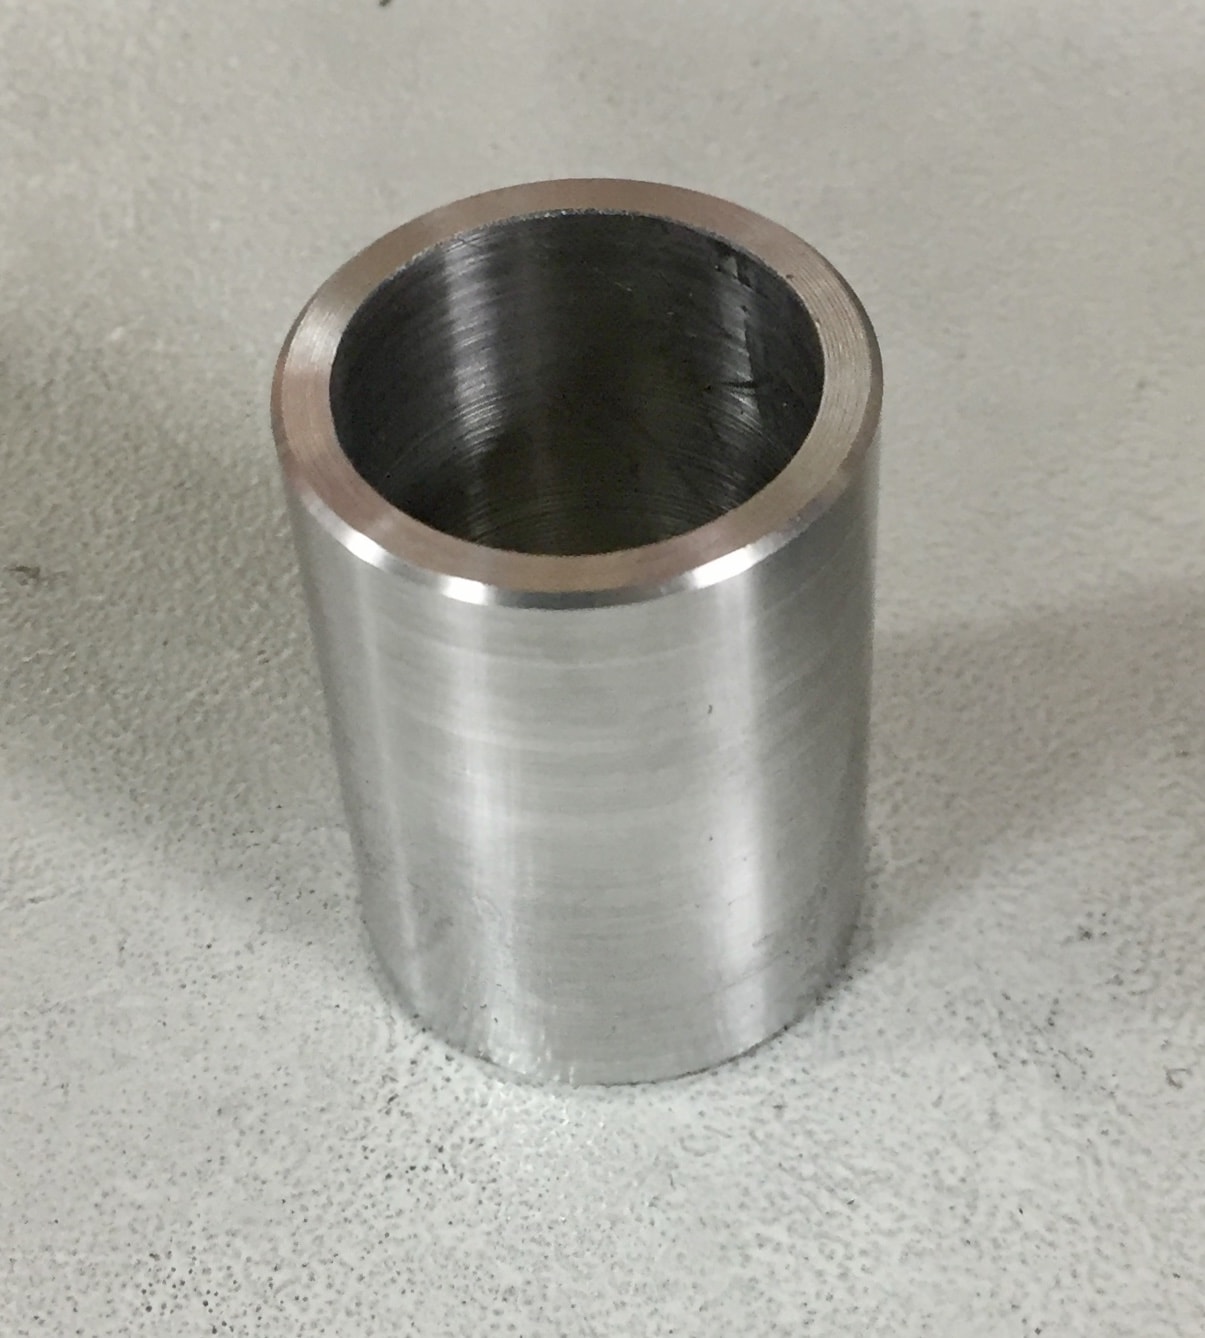
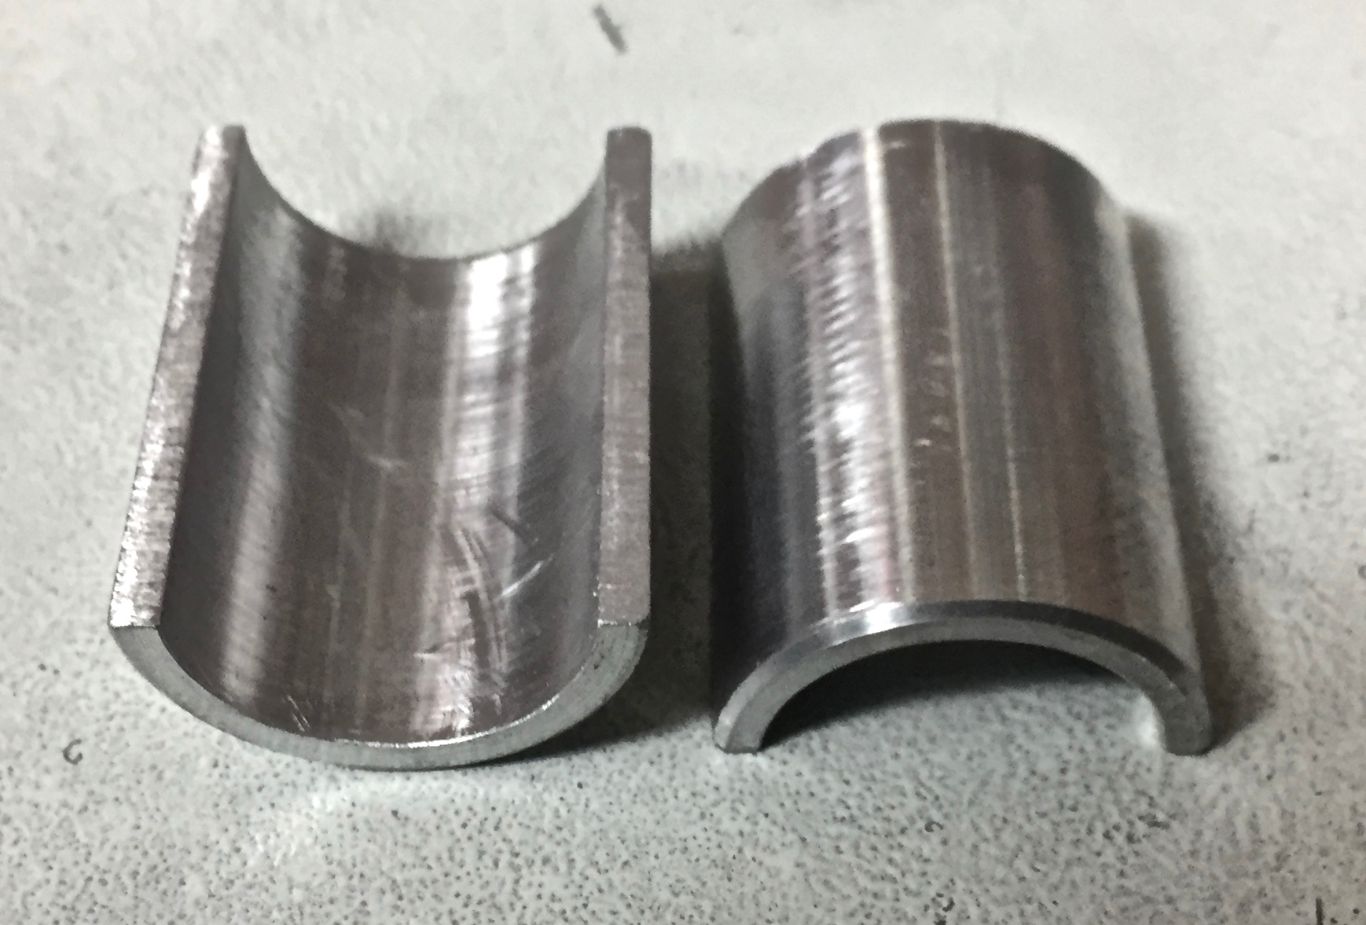
P.S. It is almost certainly cheaper to buy shims like this than to make them out of solid material. St John Street cycles carry an extensive range.
Mudguard Eye Fixture
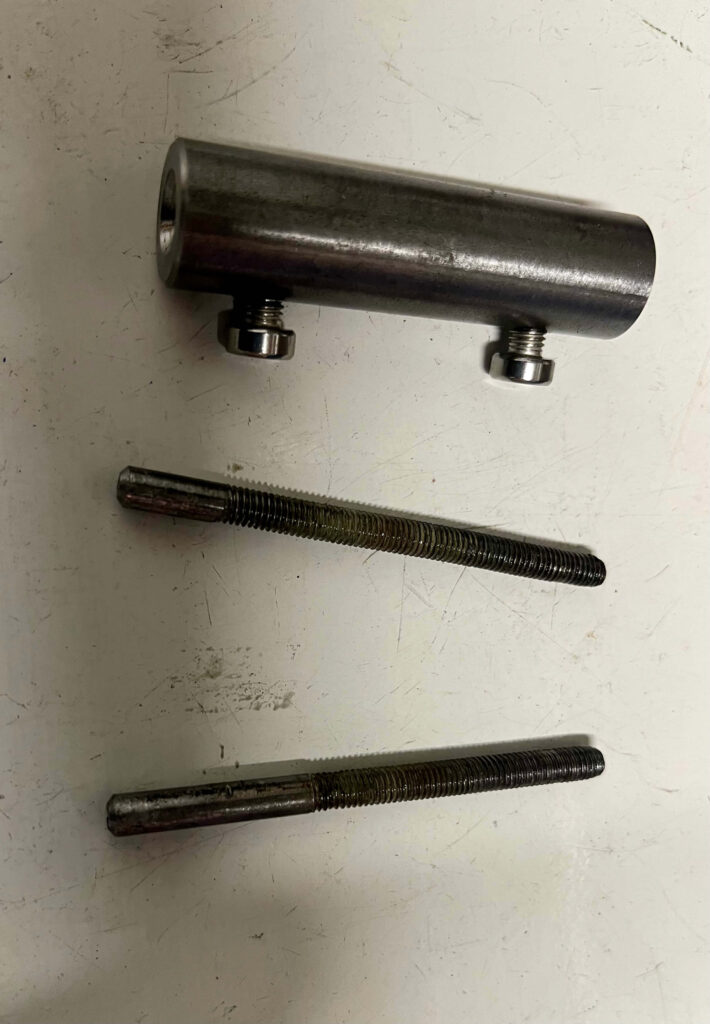
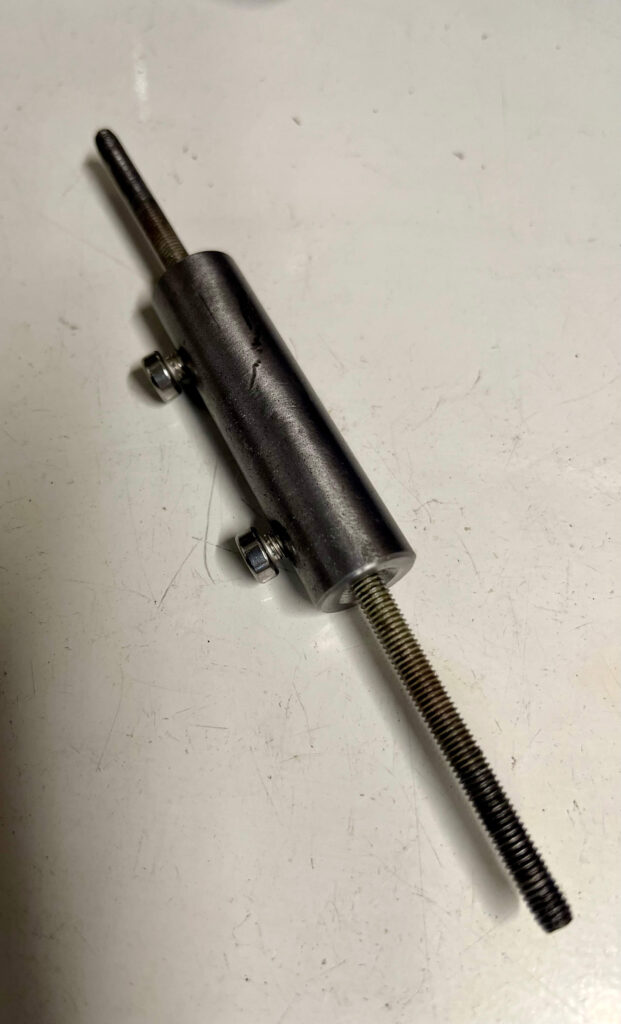
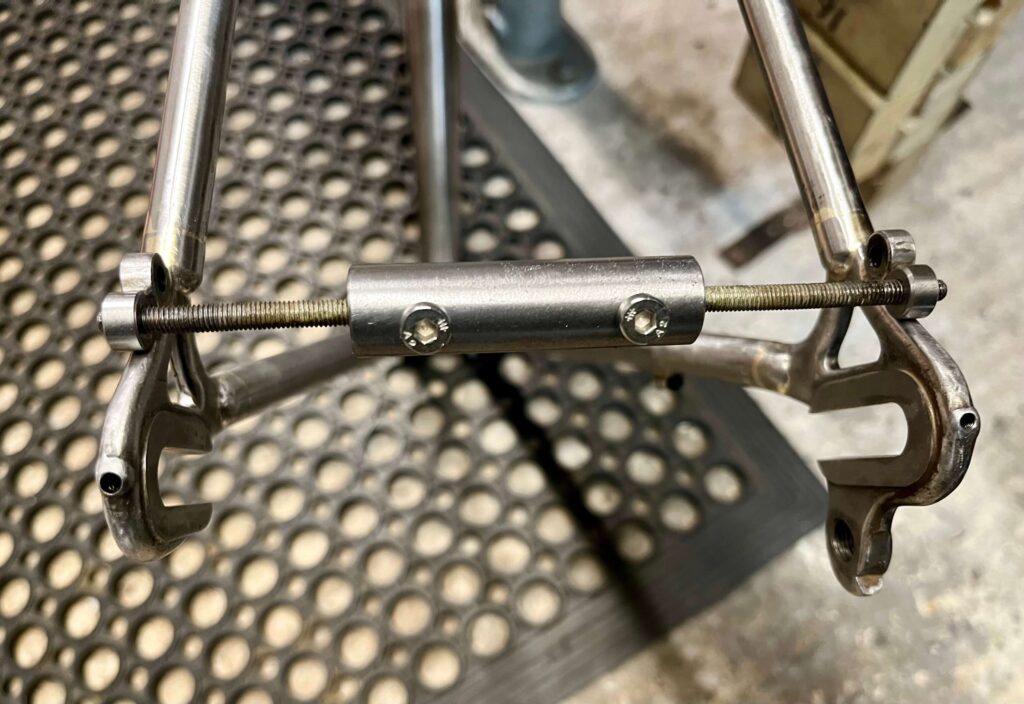
I often wish to add mudguard eyes to dropouts. I finally got around to making this simple jig which is a thick piece of steel bar bored with a 5mm hole to accommodate two M5 threaded rods which can be adjusted for length with grub screws. The weight of the bar holds the eyes in place by gravity and loosening the grub screws enables the rods to be screwed out after brazing.
Chainstay Bridges
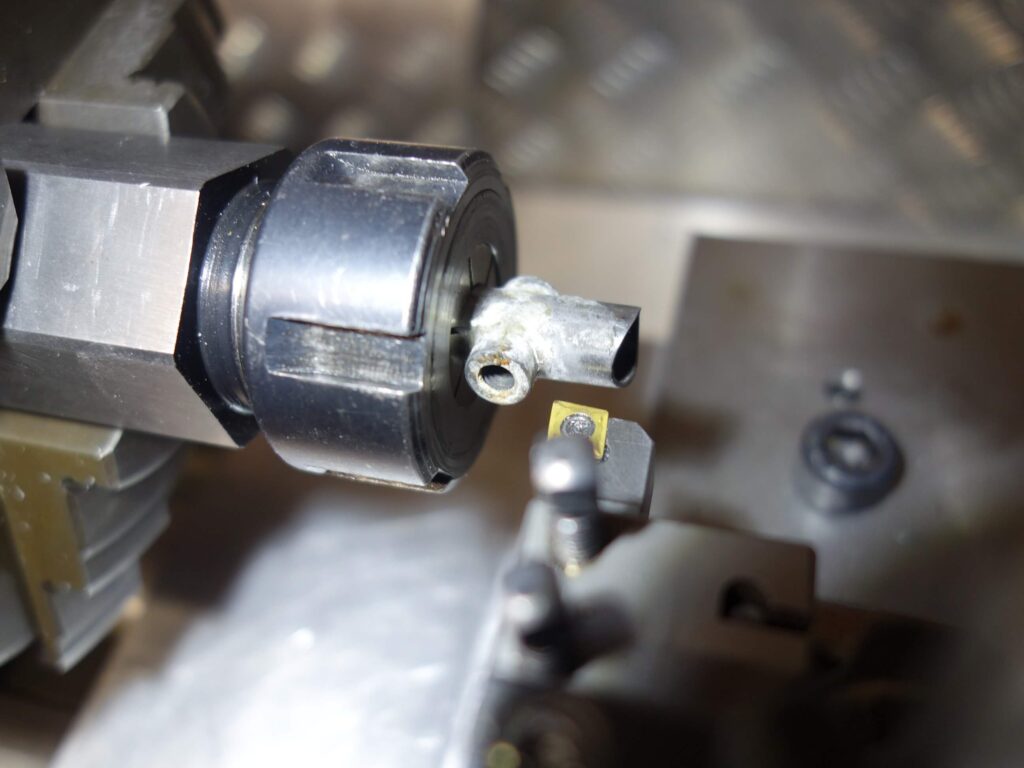
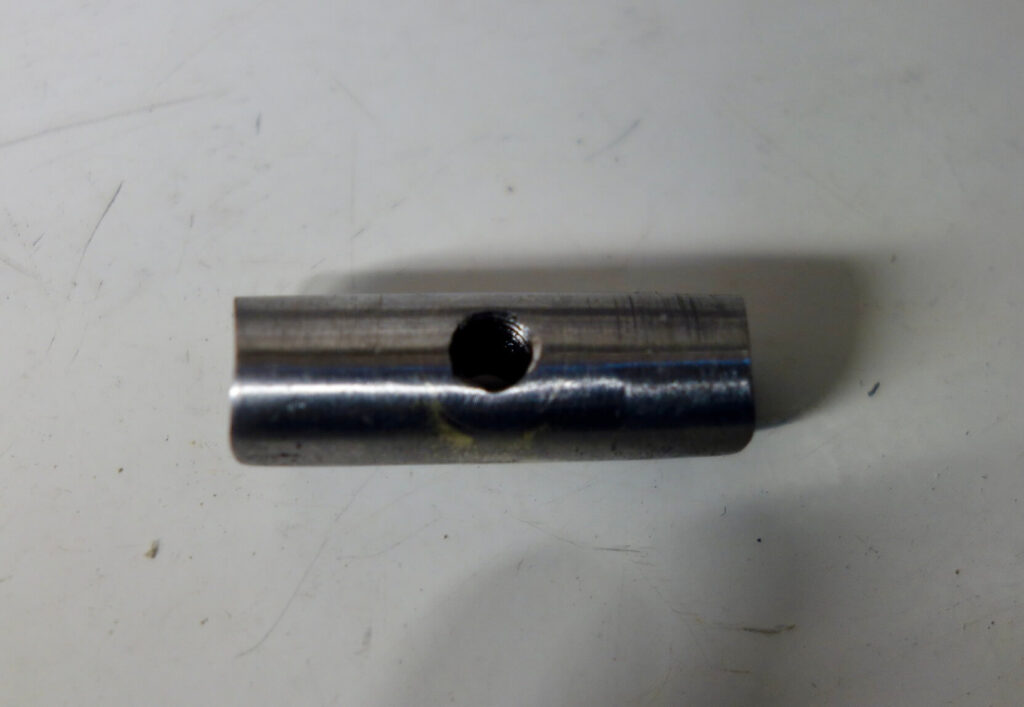
Any number of Chain and Brake Bridges, bosses and the like can be made easily with a lathe and milling machine. Some of mine are demonstrated with individual builds. This is a Chain Stay Bridge, which was made by brazing a small threaded boss into a drilled bit of tubing, then turning off the excess on the lathe. The treaded boss is of course for a bolt to secure the mudguard.
SNH Updated 6/2/23